1. Rock Ledge (And Beginner Tips!)
Flamingo Lake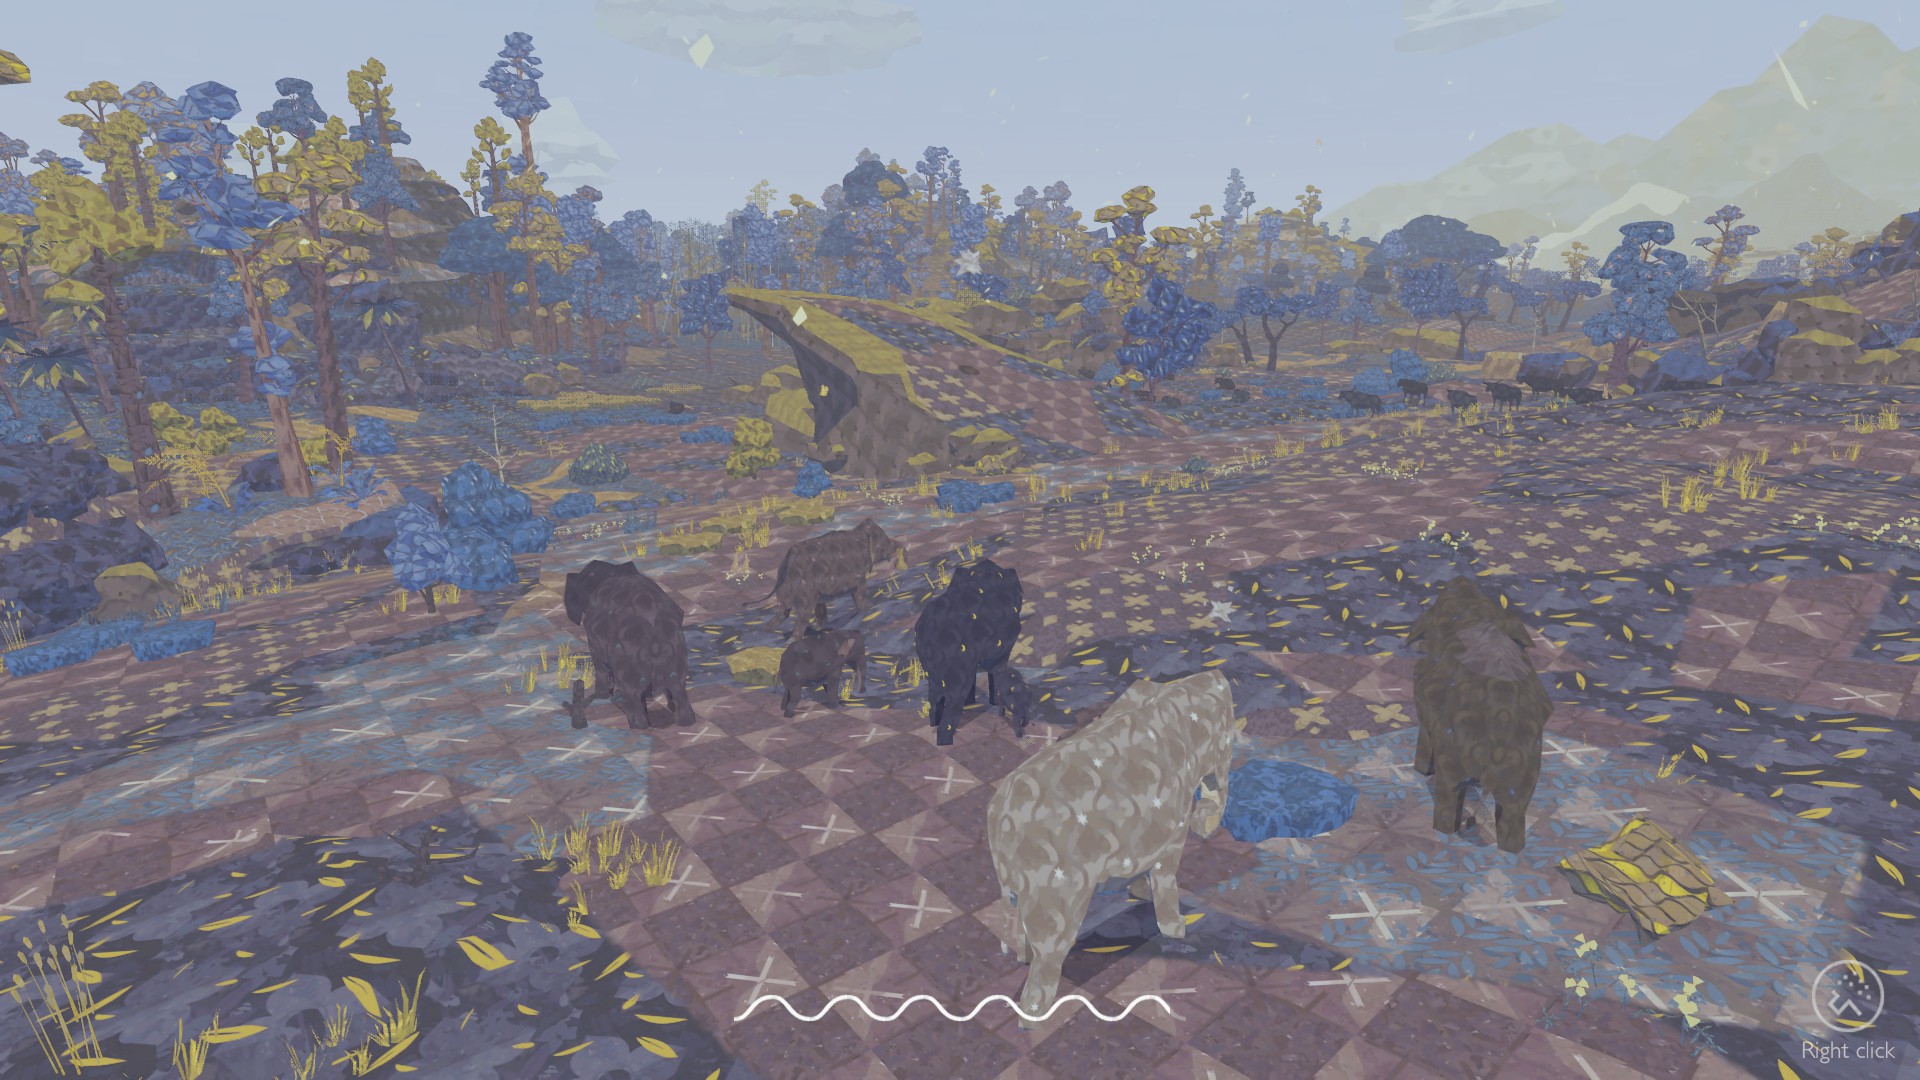
FROM: (Starting Area) Welcome to the game! This location is pretty linear, so there's not much to say. Head down the path, cross the lake, and follow the path to the right, all while eating as you go. I've included a section below on stamina and food to help new players; make sure to give it a read to avoid disasters in more treacherous areas! Once you reach the new plains area, the Rock Ledge will be right in front of you!
-=-=-=-=-=-=-=-=-=-=-=-=-=-=-=-=-=-=-=-=-=-=-=-=-=-=-=-=-=-=-=-=-=-=-=-=-=-=-=-=-=-=-
Herd Stamina and Food
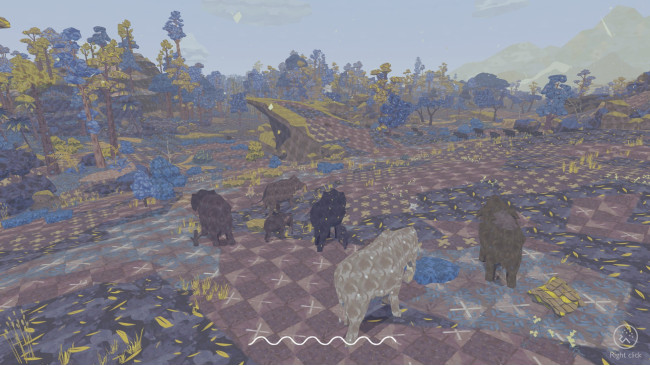
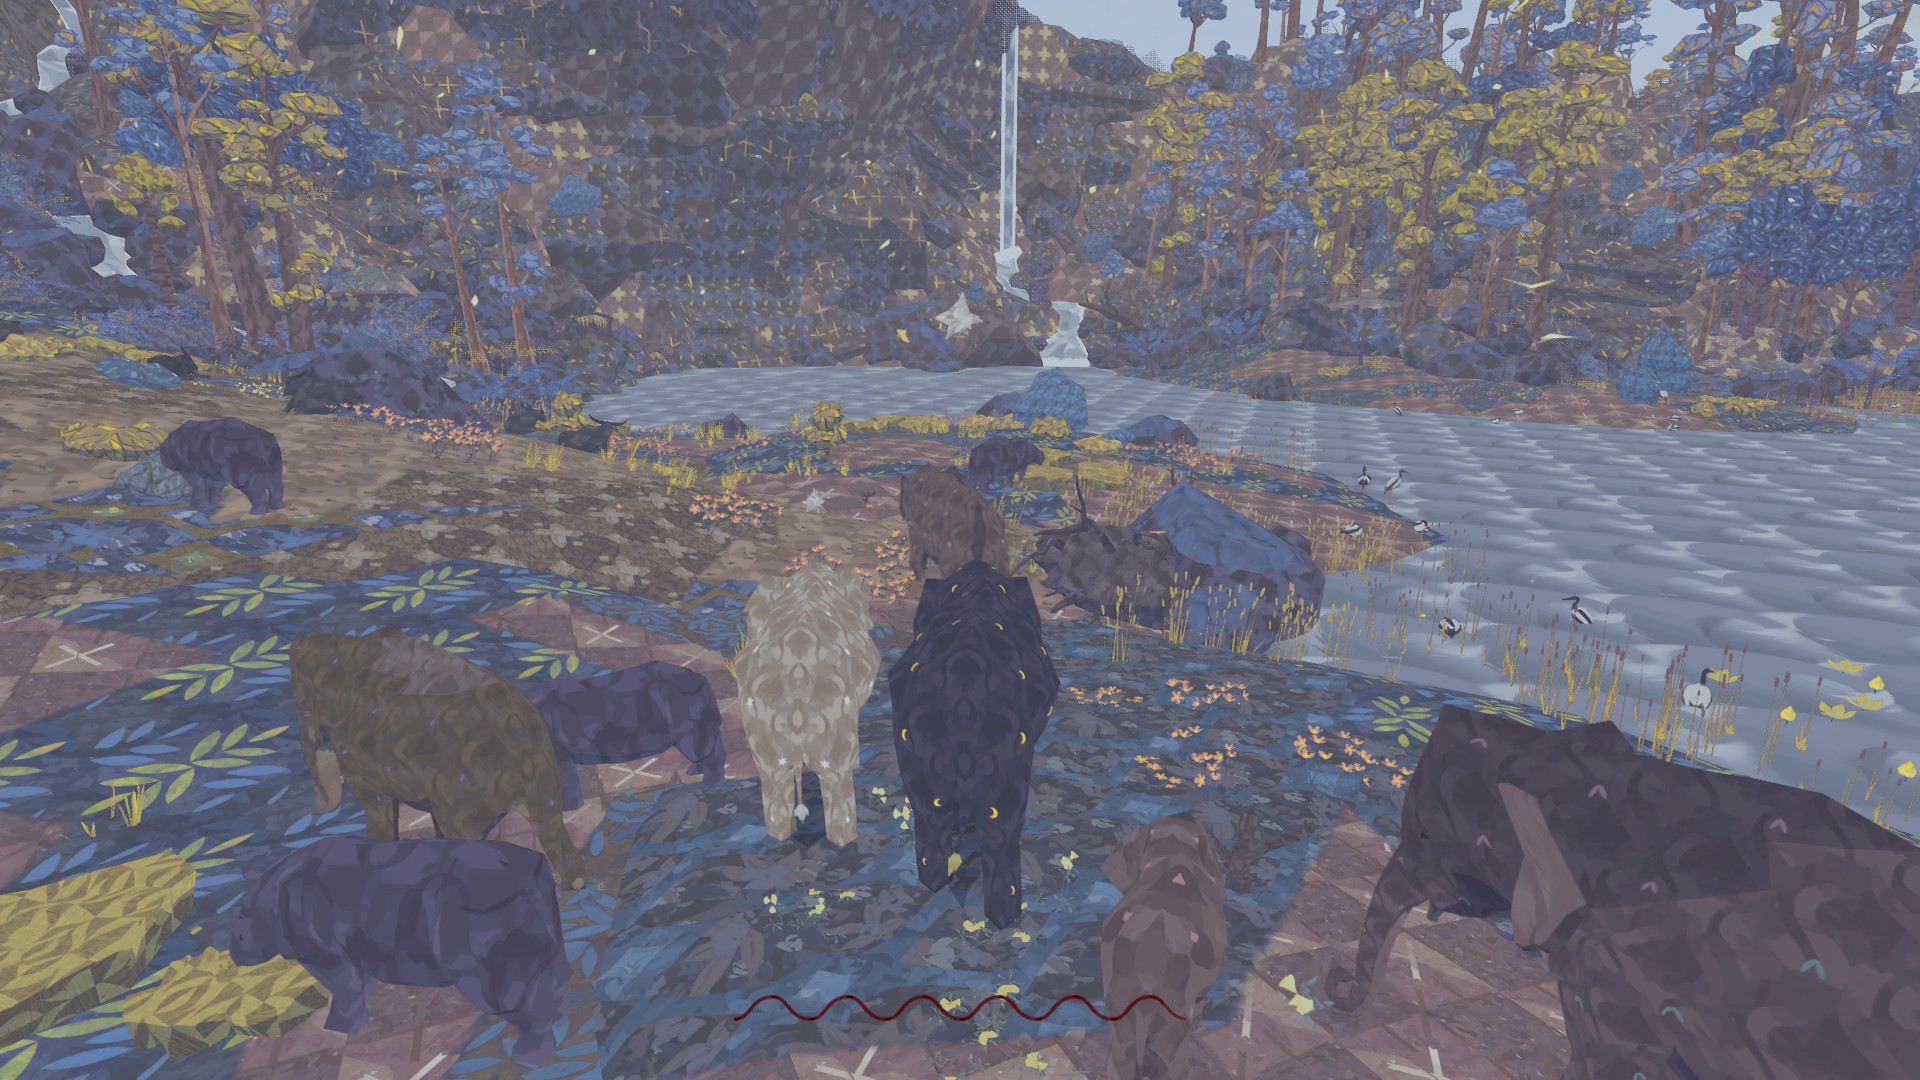
The wavy bar at the bottom of your screen is your Herd Stamina Bar. It shows how hungry your herd is, and how much energy Reva (your elephant) has. This will be the most important thing in the game; your herd has many mouths to feed and a long way to go! Keep it stocked up by eating grasses, bushes and fruit, or drinking fresh water. Grasses and fruit are highlighted when you use the scent bar, but bushes are not- but they are still definitely edible, so don't forget to munch on those! Additionally, fruit trees are your best friend! While grass and leaves are low in calories and will only refill the stamina bar a little bit, each piece of fruit will refill a good chunk! Your herd can also eat up to keep the bar full. If you stop to eat grass/bushes or knock fruit off a tree, your herd will wander around and graze, and they'll also eat any bushes or grass they walk over or near as you travel. If you're all eating at once, you'll have a nice full stamina bar in no time!
Your stamina bar will slowly drain as you walk around- and it'll drain much faster when you run. Keep this in mind on your travels, and only run if you need to. If a path ahead looks like it doesn't have much food along it, always prepare in advance, and stock up as much as you can before you head that way. If your stamina bar gets too low, it'll turn red and your elephants will begin to starve- and if it empties entirely, one of your herd will collapse! You'll get a small burst of stamina back to keep going with the rest of the herd, but sadly there's nothing you can do for your fallen companion.
Additionally, your calf is still too young to eat solid foods, and relies on your milk for nutrition. You'll know when it's getting hungry, as it'll slowly turn a pale grey over time and will begin to ask for food (the two droplets symbol). When you're in a safe location and can pause, press E and you'll call your baby to you and nurse it.
WARNING: There is currently a glitch in place where after a while, you'll be unable to nurse your calf. The only fix for it currently is to quit and re-enter the game, but this itself has a huge risk- upon entering the game again, your stamina bar will have dropped to almost the red zone! If you can, try to quit somewhere where there's plenty of food, but as you'll usually spawn back at your last landmark checkpoint, this can't be guaranteed. My current recommendation is to complete the first few landmarks, then quit at a landmark where there's plenty of food around. Hopefully then, you'll be able to complete the rest of the game without the nursing glitch.
-=-=-=-=-=-=-=-=-=-=-=-=-=-=-=-=-=-=-=-=-=-=-=-=-=-=-=-=-=-=-=-=-=-=-=-=-=-=-=-=-=-=-
Additional Tips
If you knock down fruit from a tree, eat as much fruit as you can even if the stamina bar is full! Your stamina will actually go beyond the bar, and you'll be able to run without the stamina bar draining for a while. Use this to stock up stamina and get a head start going into areas with less food!
Be careful when running- if you pass over grass patches or bushes, you'll trample them and won't be able to eat them!
When in tiger territory, make sure the herd's side or front is facing the tiger when it attacks. Even in defense formation, the back of the herd is your weak spot, and the tiger can still get through and kill a calf.
If you're impatient like me, you don't need to walk around the lake in the Matriarch's Memories scenes. You can actually walk and run on the water, so if you want to hurry things along, just make your way over there jesus-style!
Not sure what this is about, but sometimes, in the Matriarch's Memory area there will be tiny stars floating about over the water or on the shore. If you touch them, they'll rise back up into the sky... perhaps they mean something? Mysterious!
-=-=-=-=-=-=-=-=-=-=-=-=-=-=-=-=-=-=-=-=-=-=-=-=-=-=-=-=-=-=-=-=-=-=-=-=-=-=-=-=-=-=-
Next Landmarks:
For the Lotus Lake, go to Chapter 2.
For the Banyan Tree, go to Chapter 3.
2. Lotus Lake
Rock Ledge
FROM:
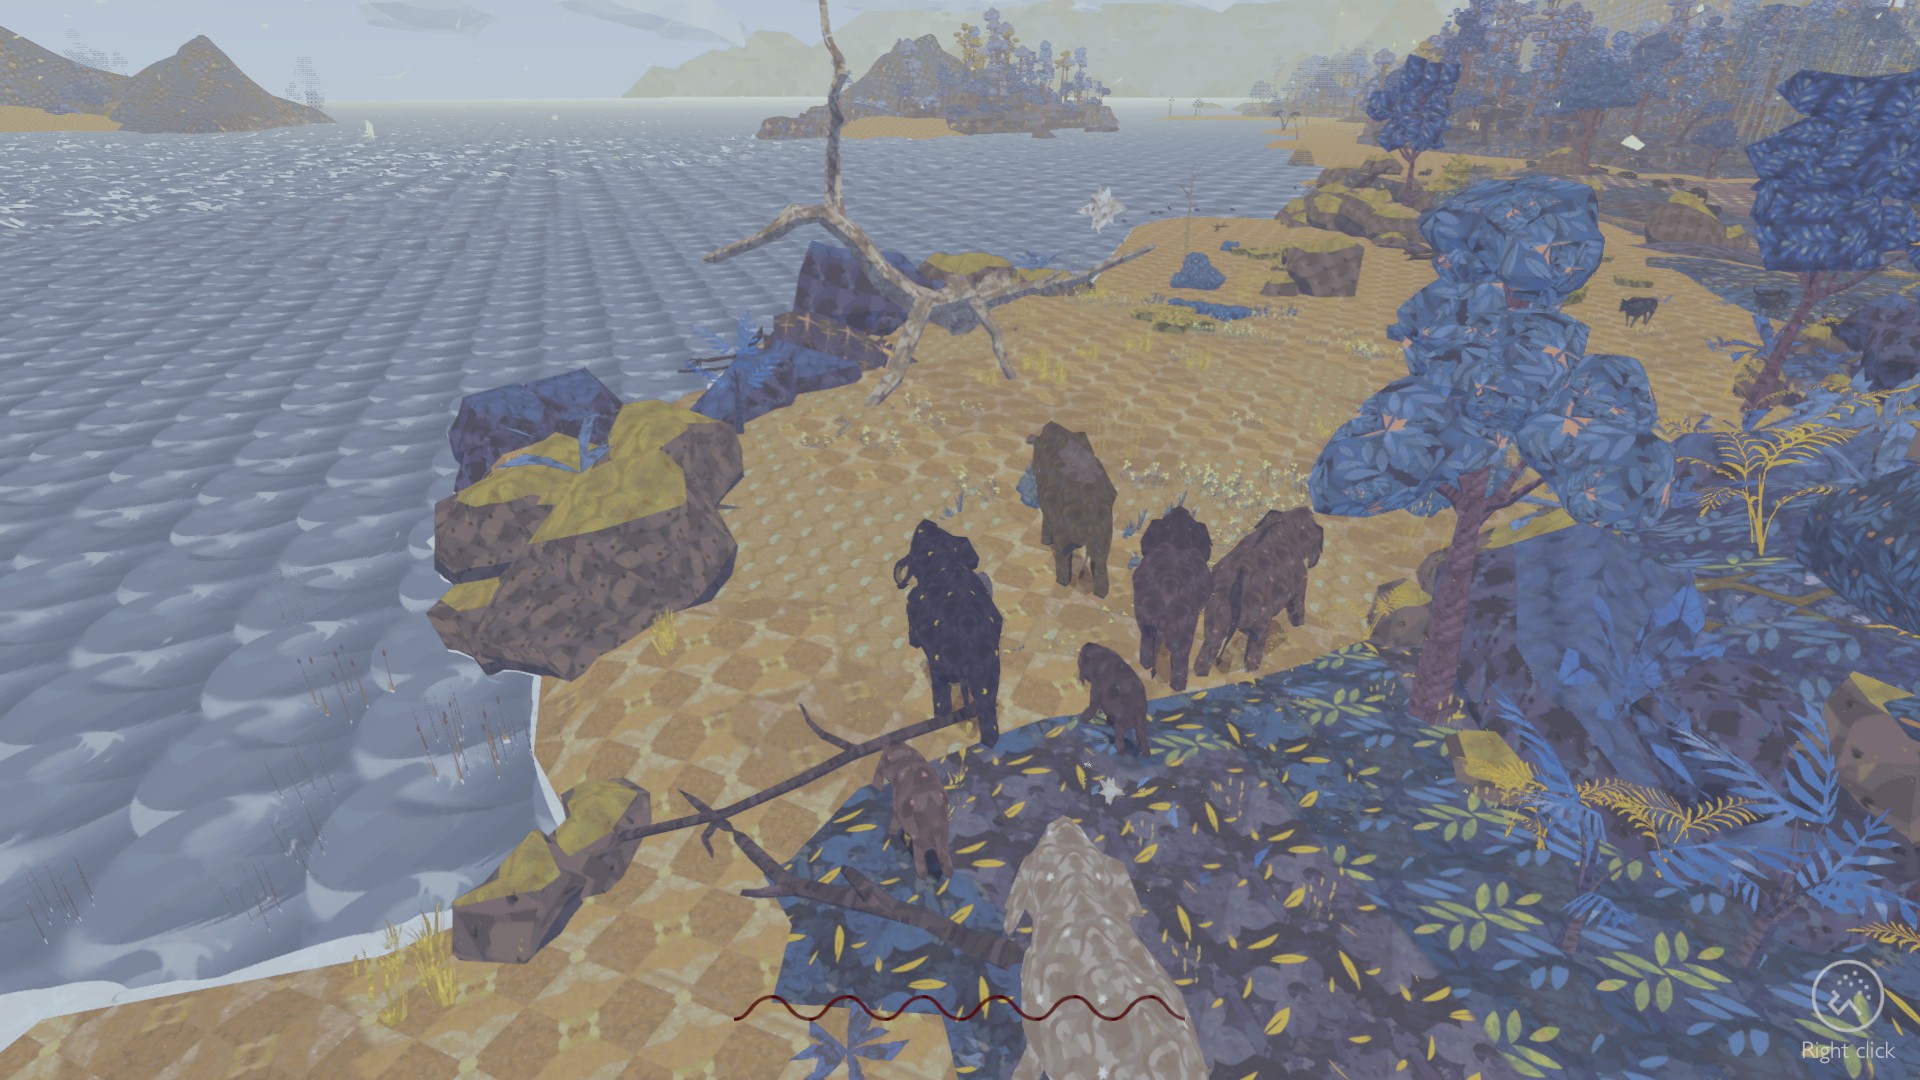
The area around is wonderfully serene, and one of the most peaceful areas in the game. It's a plains expanse full of meandering deer and buffalo, and although there aren't many fruit trees here there's plenty of grass and bushes to keep your herd well fed, even with the other herbivores providing some competition for the food.
Your next landmark is almost directly ahead of where the is facing, so start moving that way and take your time to graze as you walk with your herd. There's a large rocky "island" that way you'll need to go around, so either keep to the left wall of the area and use the fruit tree on that side to get an extra boost at the cost of walking further, or take the more direct approach and go to the right of the "island". On that side, you'll end up at a small patch of bamboo that marks the path to the next landmark. Stomp your way through the bamboo and you'll find yourself in a lovely green-blue area full of thin trees- including two fruit trees you can snack on! And better yet, in the centre of this area is the Lotus Lake!
-=-=-=-=-=-=-=-=-=-=-=-=-=-=-=-=-=-=-=-=-=-=-=-=-=-=-=-=-=-=-=-=-=-=-=-=-=-=-=-=-=-=-
For the Heron's Nest, go to Chapter 4.
For the Rock Formation, go to Chapter 5.
3. Banyan Tree
Rock Ledge
FROM:
The area around is a peaceful plains area, full of yellow grasses, sparse trees and wandering herds of buffalo and deer or antelope. You can even see rabbits running about from time to time. We'll be in this area for a little while, as we need to turn right from where we were on the and travel through the plains. It should be pretty easy going- just make sure you wander directly over the multiple grass patches and bushes, and you and your herd can graze on the go!
Soon enough, you'll be able to see the leaves of a particularly large tree- that's our destination! Head that way and the plains will meet with a much greener, almost swampy area. In the middle of that, in a long pool of water, is the Banyan Tree!
-=-=-=-=-=-=-=-=-=-=-=-=-=-=-=-=-=-=-=-=-=-=-=-=-=-=-=-=-=-=-=-=-=-=-=-=-=-=-=-=-=-=-
For the Tree Of Life, go to Chapter 6.
For the Rockslide Clearing, go to Chapter 7.
4. Herons Nest
Lotus LakeFROM:
The area around this small lake is full of grasses and bushes, and populated by herons, frogs and antelope (of which the bucks have some really fancy tall horns). Take your time and stock up on food and water here if you need to. From here, there are three paths to take: left, right, or straight on. They connect back together at multiple points so you can wander as you please, but the longest route is to the left, the route to the right is shorter, and the middle route just creates a T junction between the two.
Left Route (Shoreline Path)
Taking the left route, you'll wander into a dense jungle area thick with yellow ferns, young trees and small bushes. The path will curve to the right, and up ahead there's a fruit tree if the bushes aren't enough for the herd. When you've had your fill of fruit, continue on the path and you'll soon emerge at the coast- and if that fruit wasn't enough for you, there's a second fruit the on the leftmost side of the beach! There's also a hidden area here: just by the fruit tree, there's a small area to the left with some elephant bones. Spooky!
(Sidenote: there's also a small island just off the shore. Probably beyond the map border, but I wonder if it can be reached? If you're brave enough to try, let me know!)
Back on the beach, there's not much food on the sandy shoreline itself, so keep an eye out for any grasses and bushes and eat as much as you can. Eventually, the path directly along the shoreline will get narrow and lead into the Mist Forest. The music and the thick, obscuring mist here can make this place pretty unnerving for first-time travellers, but fret not- there's no danger here as long as you keep your herd fed. Even if you see moving animals, don't worry, they're just buffalo! If you so choose, you can head back onto the shoreline, but there's almost no food at all along here, so your safest option is to travel into the jungle.
If you do continue along the shoreline, you'll come across a small bit of land that extends into the ocean. Walk along that and you'll find a fruit tree to restore your stamina. Second hidden area: Behind some trees near the fruit tree, you'll find a GIANT ribcage! It's even bigger than you, so it's most likely the remains of a beached whale. Take a moment to admire the size, and then move on before your herd gets hungry. When you head back onto the main beach, you can continue along the beach a little further before either making the short swim around the trees to reach the Heron's Nest directly, or you can head back into the jungle for a short time to eat the fruit trees in there, and rejoin the other route for a slightly longer trip.
Middle Route (T Junction)
Taking the middle route, you'll be directly heading through another small patch of bamboo, beyond which is a fruit tree and the beach to its left (see the path above), and a path by a half-fallen tree into the forest on its right (see the path below).
Right Route (Mist Forest Path)
Going right, the music will change and thick fog will begin to appear, making it harder to see where you're going. Congrats, you're in the Mist Forest! Don't worry about the heavy music; there's no creatures that can hurt you here. As long as you keep going and eat lots, you'll be just fine!
Head down the path and you'll find paths going left and right. The left path just leads to the T Junction described above, so go right and follow the path around. After that, follow the left rock wall around- don't go to the right after that, or you'll end up at the Banyan Tree.] As you curve around the rock wall, if you sense you'll see a huge stretch of grass nearby. Don't go into there, but keep it on your right and make a beeline for the landmark marker. Soon you'll be out of the forest, where you'll be greeted by some buffalo munching on grass- and the Heron's Nest is on the beach just beyond them!
-=-=-=-=-=-=-=-=-=-=-=-=-=-=-=-=-=-=-=-=-=-=-=-=-=-=-=-=-=-=-=-=-=-=-=-=-=-=-=-=-=-=-
For the Driftwood Coast, go to Chapter 7.
For the Salt Pillars, go to Chapter 8.
5. Rock Formation
Lotus Lake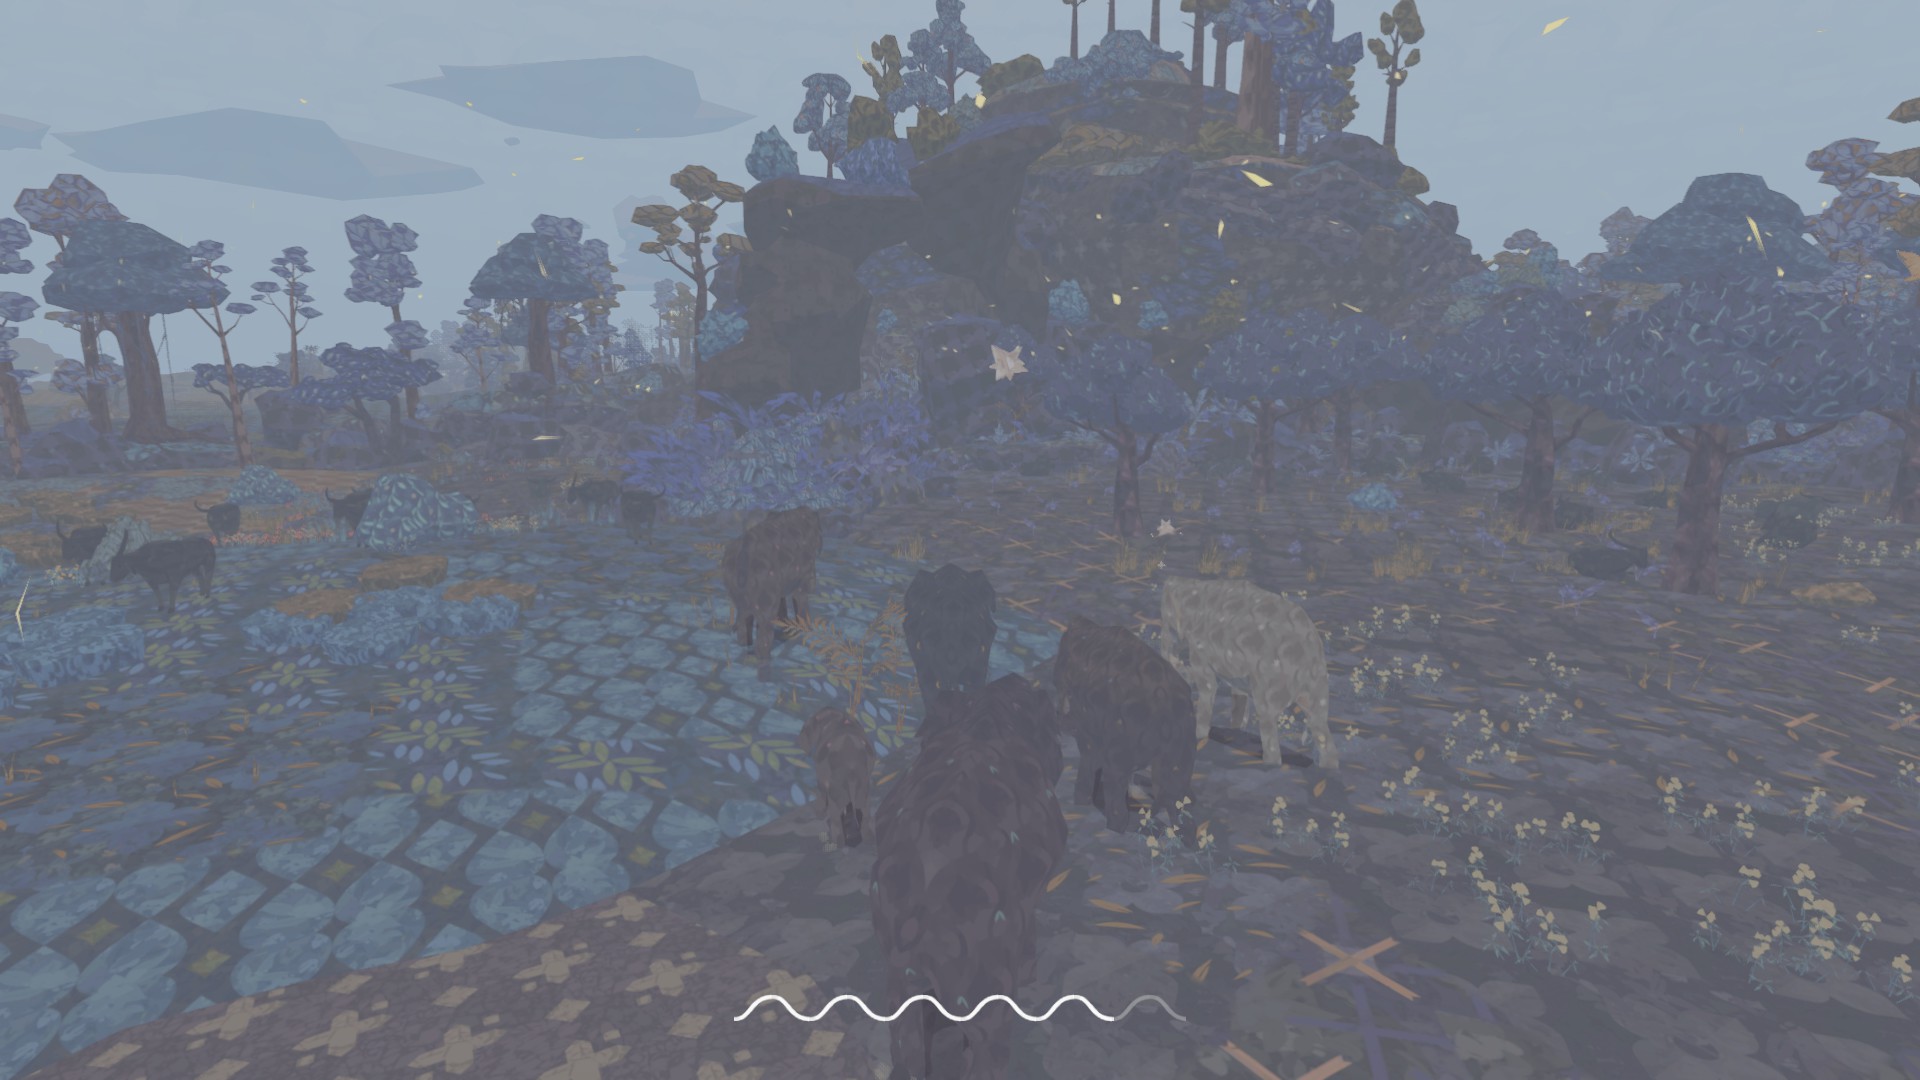
FROM:
The is a wonderfully calm location, full of peaceful buffalo and antelope, and offers plenty of food to help you prepare for the next part of your journey. The fruit trees just behind you will have fresh fruit again after the Matriarch's Memory scene, so take advantage of that and stock up. When you're ready, the quickest route is just to the right of the lake, although if you'd like to partially follow the Shoreline Path from the Heron's Nest Chapter for a scenic beach trip, go for it!
As you head into the trees, you'll find yourself surrounded by fog which will become very dense over time, obscuring your vision. This is the main feature of the Mist Forest, but don't be frightened by the music- there's no danger here, other then starving if you don't keep moving. Just before the fog gets thickest, you'll see a T junction ahead- the left path leads towards the coast, so go right and head further into the jungle.
If you use your scent vision here, you'll see that some way off is a huge area of tasty grass! This is where we need to get to, so use this as a guide if you get confused by the mist.
Follow the path as it curves gently to the left- ignore the first path on the right, as it leads back towards the plains area and the Banyan Tree. After the curve, you'll find yourself at a round-ish clearing with quite a few grass patches. Now you can turn right, and straight into the Riverside Plains, leaving all that mist behind.
With so much grass here, it's no wonder there's so many antelope and buffalo around. Pause and graze with them if you need to, then when you're ready all you need to do is look to the right to find the Rock Formation by a grove of fruit trees.
-=-=-=-=-=-=-=-=-=-=-=-=-=-=-=-=-=-=-=-=-=-=-=-=-=-=-=-=-=-=-=-=-=-=-=-=-=-=-=-=-=-=-
For the Driftwood Coast, go to Chapter 7.
For the Salt Pillars, go to Chapter 8.
6. Tree Of Life, Rockslide Clearing
Banyan TreeBoth these landmarks have the same paths available, and so they've been combined into one Chapter to make things easier.
FROM:
The swamp around the giant tree we came to visit is full of life- buffalo and deer gather on the bank to drink and laze about, and even tiny frogs can be seen hopping about to catch the large numbers of flies, dragonflies and other bugs. There's plenty of grasses around the water, and more up past the towards where we need to go, so follow the trail of food away from the swamp and to the right, curving around the rocky slope beside the large mountain we've been passing.
But, just up ahead is the first sign of trouble. There's a few bones scattered about, and on a small bump in the terrain are the remains of an unfortunate buffalo. It's the sign of a major threat lurking in the yellow grasses and bushes to our left, and if you so choose, it's an available path to get to your next location. There's also another path to our right, but don't think this one is any safer! We'll be covering this path to the right first, as it's the generally more advised path, but if you pick the path to the left, skip the next few paragraphs and go to the Tiger Path section.
Crocodile Path
Keep away from the edge of the yellow grasses, and continue past them towards the bamboo up ahead- if you need to, there's a fruit tree to the left of the bamboo for a stamina top up. When you're ready, approach the water... and be prepared for trouble!
As you might already be able to see on the shore, you won't be alone here. Crocodiles lurk in the waters you need to cross, and there's nothing they love more than a tasty elephant calf! You'll need to time your crossings from island to island to keep everyone safe; and this will start by stopping to let the first crocodile swim past as you near the water. Once it's traveled far enough to the left, get to the first island quickly and make sure everyone's on dry land. It'll circle around this island before going around the smaller island to the right, so make sure that one and the other one up ahead is a safe distance before swimming to the large island to the left.
Now you'll only have to deal with the next crocodile, which will loop around the water on the left before crossing back in front of you and moving up to the right. Let it pass and cross quickly- there's a fruit tree on this island for you to replenish your stamina. Completely ignore the two little islands on the right, as there's a gap between the trees here where you can cross a much smaller gap of water. There's one more crocodile here, but it'll swim to the right and follow the bank to the other end of the water, so it's not too much to worry about. Make that last crossing and you'll have escaped the crocodiles!
In this area are lots of big and small bamboo plants, along with fruit trees, deer and an animal we haven't seen before: rhinos! They seem to not care at all about the local crocodile population, and enjoy resting or milling about near the water. Let them be, and follow the water's edge to the right before going up the slope and leaving the bamboo grove behind.
If you chose the Tree Of Life, you'll find it on the left side of the slope- you'll have to walk around the tree itself to reach the star. If you picked the Rockslide Clearing, follow the right side of the slope and you'll find it almost immediately after you leave the grove.
Tiger Path
Keep your herd close, and venture into the grass when you're ready. Soon the air will have a yellowy tint to it, and a fast paced music will begin to play. This is a sign that the resident tiger is near, and from the many bones scattered around this area, it has quite the appetite! If you're not careful, elephant will be next on the menu...
For the most part, the tiger will make quick dashes from cover to cover, and you'll never quite know where it'll pop up next. Don't get too close to it in this mode, as it'll run in to kill a calf if you do. But this isn't it's main attack- after a while it'll roar loudly before making an ambush charge straight for your herd! Your only defense is to stand your ground- when you hear the roar, get your herd into defense position to form a protective barrier around the calves. If you've done it right, the tiger will be repelled by your herdmates and retreat. This is your chance to progress through the area, but don't run or get too far from the calves or it'll make another charge. After a short time, the tiger will then go back to running around like before, and it won't be long before it tries to attack again.
The area we need is far to the right, so follow the large "path" between the tall bushes towards the small pond up ahead- drink it between the tiger's charges for a useful stamina boost! Then, slowly make your way along the right wall, but keep away from the wall itself or the bushes, as your herd can't form that protective barrier with those in the way. When the tiger roars, turn so you're facing away from that wall before you go into defense mode- the rear of the herd is your weakest spot, and if you leave it exposed the tiger can get through the wall and kill a calf.
Repeat this process a few times until you reach the fruit tree, wait for the next charge attack to pass, then use the time you have to do a short run and get the fruit. Eat as you walk around it, and make sure you have space for the next defensive wall on the other side. As you continue on after that, you'll soon see a path to the right where you can escape the tiger, but be very careful! As you'll be facing away from the tiger when you head down there, the back of the herd will be completely exposed and you'll have to keep turning to face it before defending the calves. Time the initial walk down there just after a charge attack, and try to walk along the path diagonally so you can turn around easier if you have to. Just a little further, and you're home free!
Now that you're free of the tiger, you can focus on food again- your herd will be quite hungry from the encounter. Luckily, there's a fruit tree just a little ways ahead to munch on. Don't forget to stop and feed your calf too! Keep going down the path and you'll find an open space, with lots of sand and some rhinos wandering around to graze. Off in the distance to our left, we can see a mysterious rocky structure in the desert... we might be heading that way soon, but there's no way to get to it from here. Our only way ahead is a small path to the right, leading to a rainy bamboo grove.
In here, you'll find another fruit tree, some more rhinos, and a large pool of water to the right full of crocodiles- this is what you'd have crossed if you took the other route. Walk along the bank, snack on even more fruit trees, and then up the slope to leave the grove.
If you chose the Tree Of Life, follow the left wall of the slope and you'll spot it quickly.
-=-=-=-=-=-=-=-=-=-=-=-=-=-=-=-=-=-=-=-=-=-=-=-=-=-=-=-=-=-=-=-=-=-=-=-=-=-=-=-=-=-=-
For the Sand Sea Oasis, go to Chapter 9.
For the Salt Pillars, go to Chapter 8.
7. Driftwood Coast
FROM: Heron's Nest
Heron's Nest is exactly what it says: a large heron's nest on the shoreline, surrounded by herons. There's not much here other than sparse grasses and the local buffalo herds, so turn around and head back towards greener pastures. However, instead of going back to the Mist Forest, we need to be going left towards the riverbank. Here, we'll find rainy weather, and also our first animal threat: Crocodiles! These powerful reptiles can't hurt you if you keep your distance, but get too close to a swimming croc or stay in the water too long and they'll attack, targeting one of the calves and killing it instantly with an ambush attack. (I think they can also attack your adult herdmates, but I have yet to lose one to a crocodile so I'm not certain.)
On the riverbank, you'll find a fruit tree, and some grasses in a dead-end area to the left. Stock up well, and take the time to nurse your calf, as you won't be able to for the next short while. Approach the water, but don't go in yet! A crocodile will swim down from the right and pass you. Once it's passed by, you can start swimming to the island in the middle of the river. There's a few grass patches on the island that can provide a small stamina top up.
The next crossing is more difficult, as there's now more than one crocodile and a wider stretch of water to cross. There's also some crocodiles basking on the riverbank to the left, so I wouldn't recommend going towards them. In the water, one crocodile will head down the river to the right before looping around the island itself, and another will circle around the area you need to cross before swimming upriver with the other. Wait for them to be on your right side, and make the last swim to safety!
On the other side, you'll find lush grasses, bushes and a fruit tree to replenish your stamina, along with bamboo patches, yellow ferns and equally yellow deer wandering about. From here, you can either go past the fruit tree to the left to get back to the beach (and some buffalo) and follow the coast up from there, or you can continue straight ahead (don't go through the bamboo patch to the right) and circle around a rock "island", passing another fruit tree before you find yourself at the next landmark: the Driftwood Coast!
-=-=-=-=-=-=-=-=-=-=-=-=-=-=-=-=-=-=-=-=-=-=-=-=-=-=-=-=-=-=-=-=-=-=-=-=-=-=-=-=-=-=-
For the Mountain Spring, go to Chapter 10.
For the Smoking Mountain, go to Chapter 11.
8. Salt Pillars
Rock FormationFROM:
The area around the is the perfect place to stock up- with fruit trees and grasses galore, you'll have a full and happy herd in no time! But, you might notice that the area to the right is blocked off by trees and rocks. In an easier world, this would be the best path to our next location, but sadly this is not available to us. Our only way through is to traverse the river before us- and it's not going to be an easy trip.
As you may have already seen basking on the riverbank or swimming about, these waters are infested with hungry crocodiles! They won't pose much of a threat to you on land, and will actually flee into the water if you approach them, but in the water the environment's in their favour and the tables turn. Get too close to a swimming croc and they'll disappear into the water, before lunging out to kill a calf. (I've also heard they can take adults, but I'm not certain on this.)
Approach the riverbank carefully, and as it starts to rain a crocodile will slowly swim past and to the left. Once it's far enough, you can venture into the water and swim to the first island. There's a fruit tree here to keep your stamina high, and you'll need it- you might be spending a while in this river, and the next islands have almost no food at all! Other crocodiles will be circling both this island and the island you need to get to next, so use the fruit to buy some more time here and time the crossing carefully!
-=-=-=-=-=-=-=-=-=-=-=-=-=-=-=-=-=-=-=-=-=-=-=-=-=-=-=-=-=-=-=-=-=-=-=-=-=-=-=-=-=-=-
9. Sand Sea Oasis
Rockslide Clearing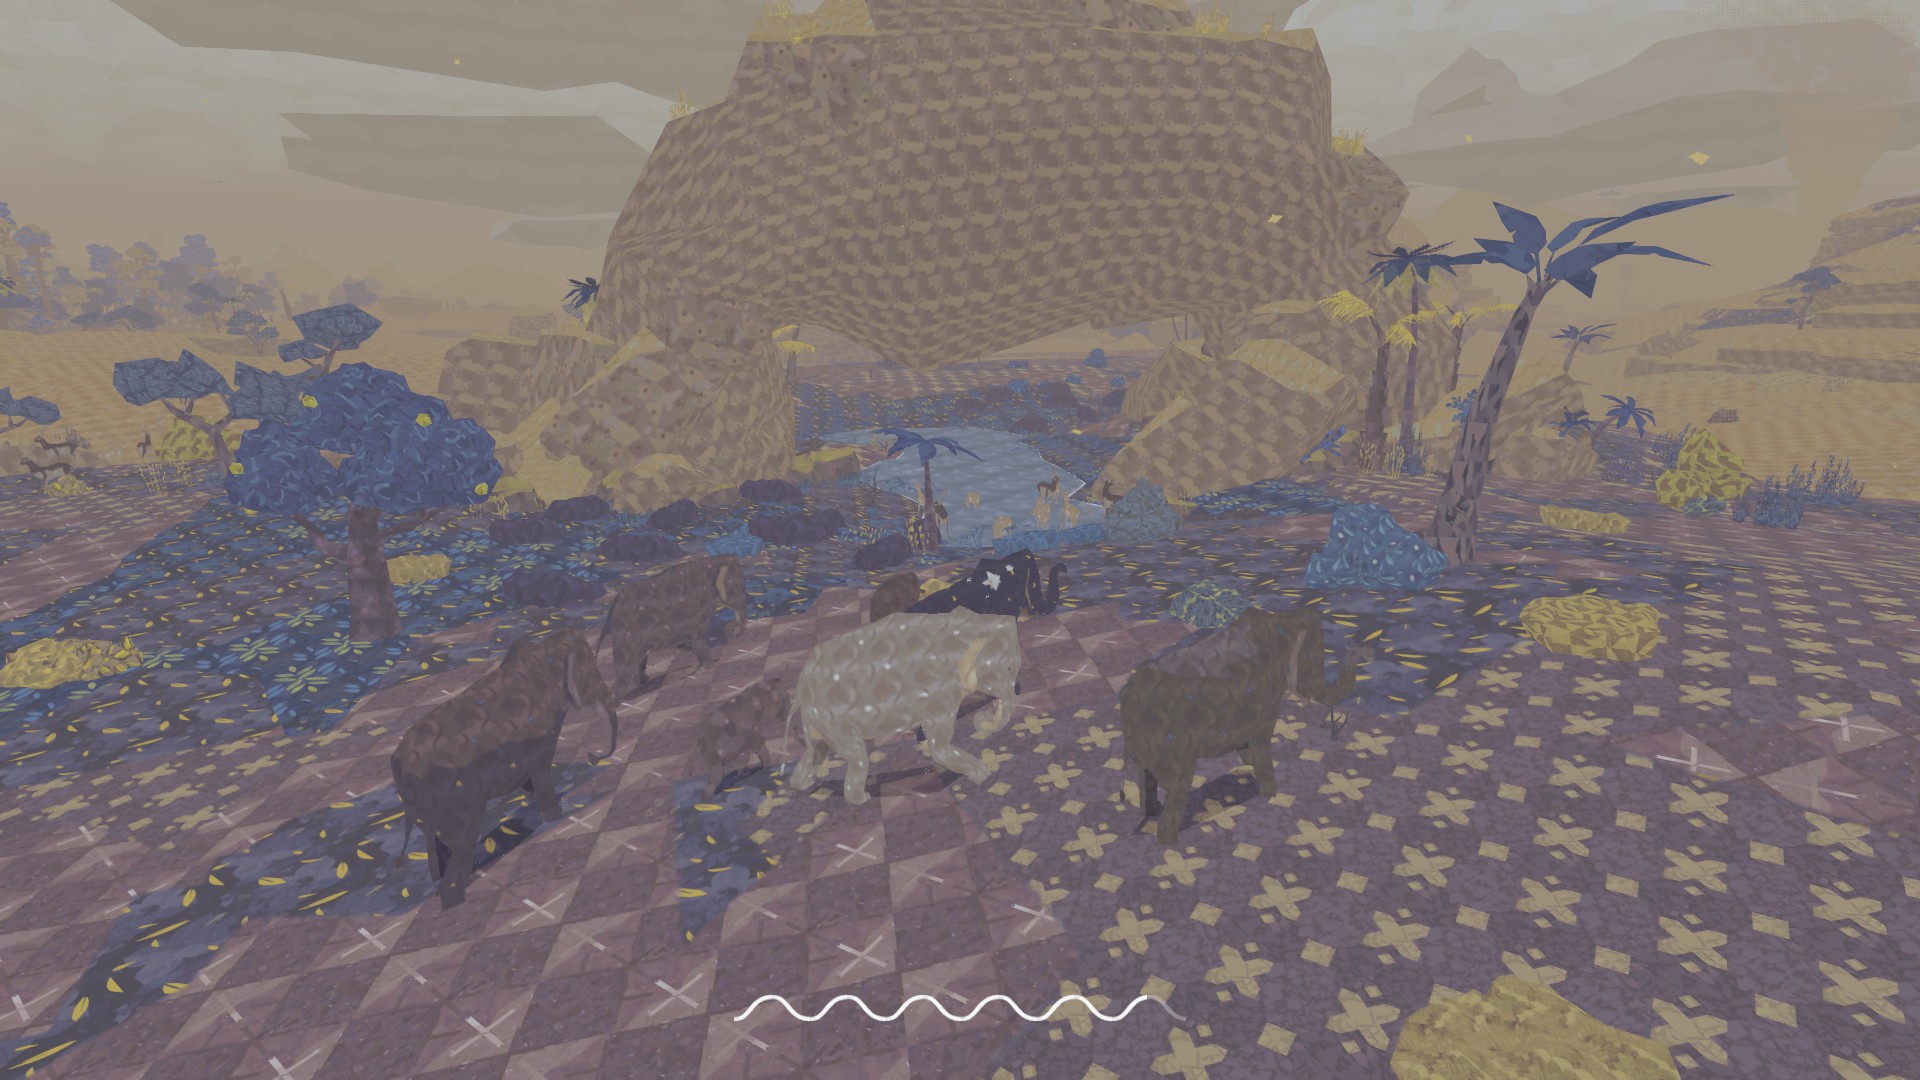
FROM:
The next part of the journey will be a difficult one, so make the most of the grasses and fruit trees around the and take your time. You want a completely full stamina bar when you leave- and don't forget to feed your calf while you have the time here!
Follow the grass patches back past the bamboo grove and up the slope to the right, where we'll find an endless expanse of desert sands and nearby, another landmark we could have chosen earlier: the Tree Of Life. Sadly, it doesn't look particularly alive right now- especially not with the smoke coming from it. There's a fruit tree near it you can eat for one last stamina boost- but don't continue along the desert border after that, as there's a rock wall completely blocking that way off. Instead, use your scent vision to locate a distant area of grasses inside the desert, and head towards it.
Now you're in the desert, let's make some rules very clear: Don't stop walking unless there's food, don't run, and don't waste your energy here at all! Food is incredibly scarce here, and just a few extra seconds could mean life or death for a herd member if you spend too much time here.
When you reach the grass patches, try to eat them in order- don't go wandering back and forth, just eat the closest ones to you and keep moving to the other side. Stop while you're eating, and your herd members will wander to graze on the further away grass patches, saving you valuable time and energy. As you progress, the winds will pick up, and a sand storm will begin, forcing you to go slightly slower as you walk into the wind.
On the other side of the grasses, use your scent vision again and you'll see a thin trail of grass patches leading around the end of that rock wall. Follow them around and to the other side of the rock wall, and don't worry about keeping to the sand "paths". Make a direct line from grass patch to grass patch, and if don't bother to walk to the ones behind rocks- you'll actually use up more energy than you'll get back. Just stop and let your herd grab it.
If you've done everything right, you should have just enough energy to reach a fruit tree by our next landmark. If you can make it to that, you'll be safe! Refill your stamina with the grasses and other fruit trees, then walk into the water under the giant rock formation here to complete our journey to the Sand Sea Oasis!
-=-=-=-=-=-=-=-=-=-=-=-=-=-=-=-=-=-=-=-=-=-=-=-=-=-=-=-=-=-=-=-=-=-=-=-=-=-=-=-=-=-=-
For the Smoking Mountain, go to Chapter 12.
For the Desert Geyser, go to Chapter 13.
10. Mountain Spring
Driftwood Coast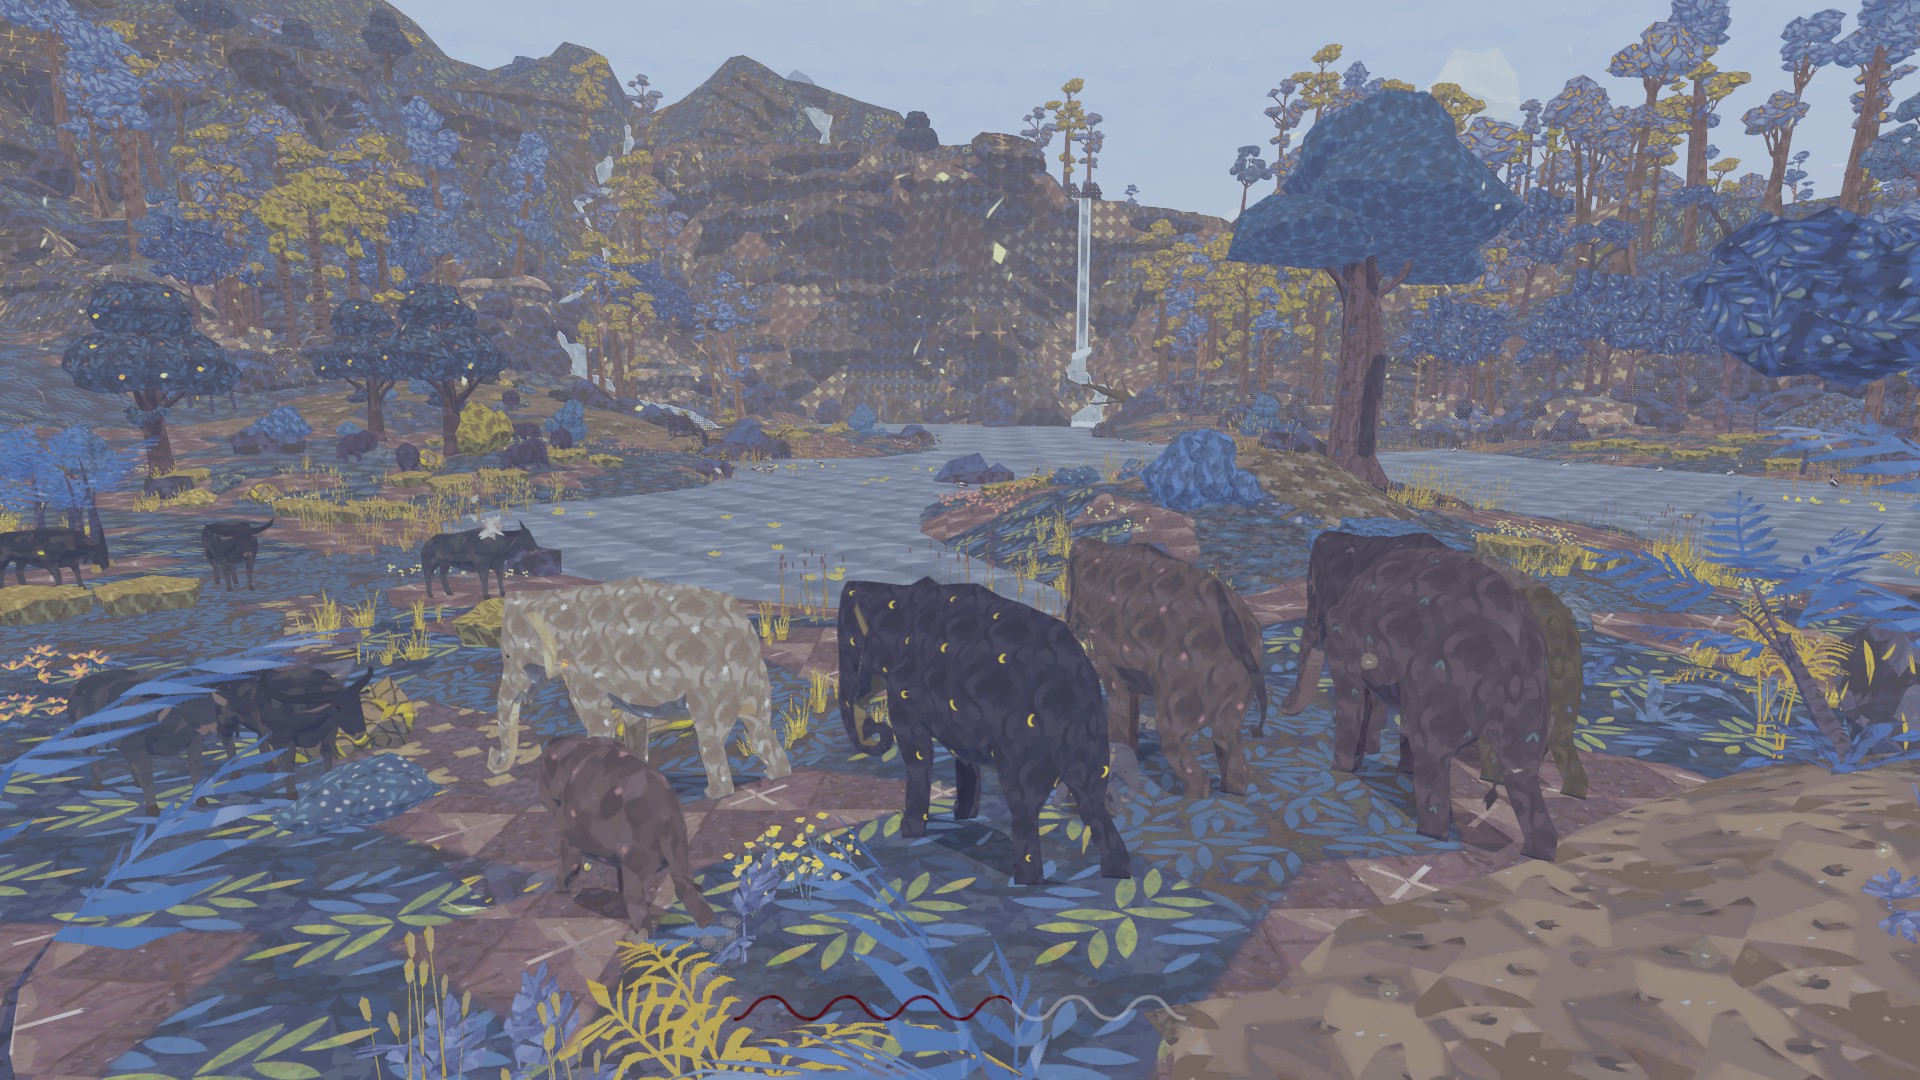
FROM:
The is a fairly empty spot; its main feature being a large dead tree washed up on the shoreline, bleached white by the sun. There's some more driftwood scattered around, along with some flowers and grass, but that's about it, so move on and head into a large meadow. There's lots of buffalo, deer and tons of grass... but something isn't quite right. Not all is at peace here, and as we travel towards the forest and the bamboo patch on the other side, we'll quickly learn why.
Passing through the bamboo, the path to the left leads to a dead end cliff overlooking the sea, so head right and through some more bamboo. There's a fruit tree here for a last stamina boost- eat up, you'll need it. Just past it is a large area full of tall, yellow grass (which you can't eat!)- and within it, lurks the apex of the jungle, the tiger.
When a tiger's around, your only hope for complete survival is to keep your herd and your wits about you. Avoid the larger bushes in this area, as they'll block your path and stop your herd from making a defense formation. Every now and then, you might see the tiger darting from cover to cover- keep away from it, as if it gets too close in this mode it'll run in and kill a calf.
The tiger's main attack is it's ambush charge- after a while of running around, it'll roar loudly and soon after make a dash for your herd. When you hear the roar, get your herd into defense formation, don't budge, and make sure the back of the herd isn't exposed! If you've done it correctly, the tiger will be repelled by you and your adult herdmates, and will retreat back into the grasses. This is your chance to keep moving, but don't think the danger's passed- after a short time, it'll return to dashing between the grasses, and it won't be long before it makes another charge. Don't run when you make your move either- if you herd gets too scattered it'll seize the opportunity and charge much sooner.
Keep to the left of this area and after a short distance you'll see a path leading back into the trees. (There's also another way out past that path that leads uphill; if you pick this route skip ahead to the Alternative Route section.) Make sure the tiger doesn't spring at you, and escape when you have a chance. You'll be quite hungry after the tiger encounter, so use the scarce bushes along this path to keep your herd going just a little further- there's two fruit trees up ahead so if you can reach them, you're safe!
Past this point, your best option is to head on into the jungle- following the coastline will actually take you past your next landmark, and will lead to nothing but some empty coastline and some buffalo.
Move into the jungle and slowly make your way to the right, munching on the plentiful bushes and fruit trees as you go. Be aware of where you're going though, as there's a couple dead ends here and there due to the dense rocks and trees. Around this area, we'll also find a new animal- herds of rhino love this area, and can be found wandering around and grazing. Soon after you find them,
on your right side you'll find the entrance to the beautiful Mountain Spring.
Alternative Route:
The other path to the landmark is quicker, but riskier. Going uphill from the tiger territory leads to a rocky mountain path overlooking the Mountain Spring, your next location, but we're not quite there yet. There's a fruit tree on your right by a stream that falls into the lake below, so refill your stamina there and continue on the narrow path to the left. There's hardly any food along this path, so if you picked this option and lost too much stamina from the tiger encounter, you might be at serious risk of losing a herd member.
If you can make it to the bottom of the slope, you're almost there. There's some bushes here, and another fruit tree ahead- this is also where you'll reconnect with the first path, so read the last paragraph from the route above to finish your journey to the Mountain Spring!
-=-=-=-=-=-=-=-=-=-=-=-=-=-=-=-=-=-=-=-=-=-=-=-=-=-=-=-=-=-=-=-=-=-=-=-=-=-=-=-=-=-=-
For The Herd's Tree, go to Chapter 13.
11. Smoking Mountain
12. Desert Geyser
Sand Sea Oasis
FROM:
You decided to go for ANOTHER trip through the desert? You're one tough elephant!
As you've already found, the is the only place in the desert where life can survive. It's small water source is a lifesaver for plants and animals alike, including rhinos, antelope, and... well, yourself! Make the most of the food here and refill your stamina completely; you'll need it for the next desert trek. When you're ready to go, use your scent vision to locate the landmark marker, and head for the path between the rocks to it's left- you'll be able to see the smoke plume from the Smoking Mountain in the distance.
Apart from two bushes to the right side of this path, there's no food here at all. Thankfully though, our next location isn't too far away- you can already see steam rising on your right side! Continue on and follow the rock wall around and to the right, then make a straight line towards the greener pastures in front of you. You'll find lots of grass to eat, and you can follow the grass patches all the way to the next landmark; the Desert Geyser!
-=-=-=-=-=-=-=-=-=-=-=-=-=-=-=-=-=-=-=-=-=-=-=-=-=-=-=-=-=-=-=-=-=-=-=-=-=-=-=-=-=-=-
For The Herd's Tree, go to Chapter 13.
13. The Herd's Tree (Final Location)
Mountain SpringSmoking MountainDesert Geyser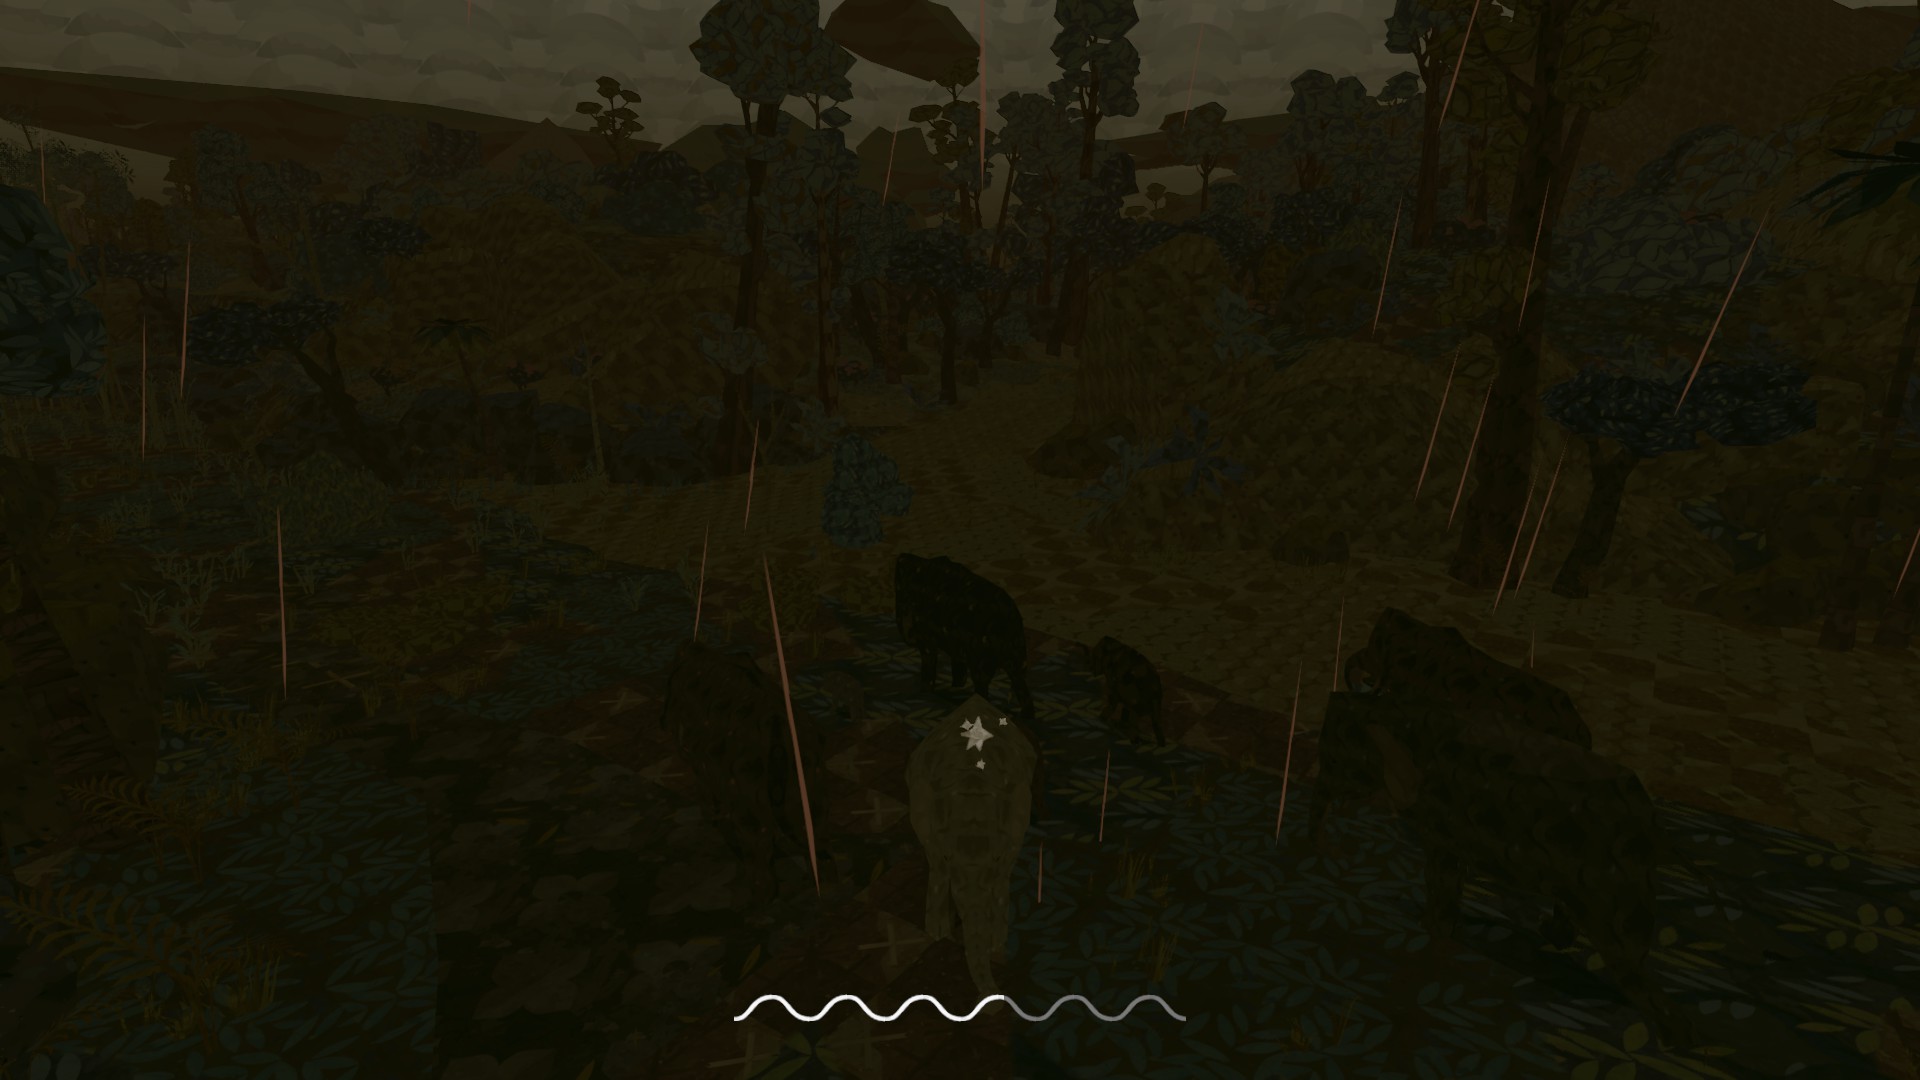 Epilogue
Heads up- The landmark itself will not be described here, as it's mostly a cutscene, but also for the protection of new players and any others who have not seen the ending.
FROM: This place is arguably the prettiest place in the game. Calm waters and plentiful food, populated with buffalo, rhino and herons. Sadly, as you already know we must leave this beautiful location and move on to our final destination. Stock up on the fruit trees (they will have reset after the Matriarch's Memory scene) and leave the lake. Head to the right but instead of going back up the mountain if you came from the Salt Pillars, continue straight on and down the slope.
You'll eventually come to the Dead Swamp. It's a foul, murky place full of black tar-like mud, and covered in bones- yikes! The only good thing about this place is a lone fruit tree on an island to the left, but that's about it. There's also a small slope behind this tree, leading up to some stony pillars, but don't go up there as it's a completely dead end. Instead, continue on into the mud and head for the bamboo patch on the other side.
Heading into the bamboo, it'll look like you're actually walking past the landmark marker at first. There's also not many bushes here to begin with, but you'll pass a puddle you can drink if you need a quick stamina boost. Eventually you'll be able to turn left, and you'll be directly facing the smoke plume of the . There'll also be a unique looking rock formation to its left, and just past the bamboo forest there's two fruit trees for you to completely refill your stamina!
Now, you can finally head straight towards the landmark marker. As you pass the rock formation, there's plenty of grasses to eat, but past that point the sky will darken and the storm will begin. Continue on through a narrow-ish path and towards a second bamboo forest. Once in there, be careful where you step- there's a few rock "islands" that scatter the area, but more importantly there are a few that form dead ends! These are made even more perilous by the decreasing amount of food- use the water puddles and scarce bushes to your advantage here if you can, and absolutely do not sprint unless you have to. Using scent vision, you'll see some of the highlighted grass patches on the other side- head for there.
When you reach the grasses at the other side, you'll only need to stock up a little more- the path to the final landmark is just there at the first few grass patches. Munch a little more if you're particularly low, then head down that path and onwards to the Herd's Tree.
-=-=-=-=-=-=-=-=-=-=-=-=-=-=-=-=-=-=-=-=-=-=-=-=-=-=-=-=-=-=-=-=-=-=-=-=-=-=-=-=-=-=-
FROM: TBA
-=-=-=-=-=-=-=-=-=-=-=-=-=-=-=-=-=-=-=-=-=-=-=-=-=-=-=-=-=-=-=-=-=-=-=-=-=-=-=-=-=-=-
FROM:
The is a welcome respite from the harsh desert; with two fruit trees and plenty of grass to prepare you for the final part of your journey. In fact, I would advise hanging around the geyser for an extra minute or two- if you're lucky, you'll see it erupt with a spray of water and steam!
Once the show's over, head directly towards the landmark marker and follow the desert border- there are a couple paths heading back towards the jungle areas, but they either lead you away from your destination, or are actually dead ends entirely, so I wouldn't recommend them. There'll be some stormy weather, but other than that you should be fine.
Continue on down this route and soon you'll meet a rock wall at the very end of the map. Turn left, and after a short distance you'll find the path to the The Herd's Tree and the ending, just by a small patch of bamboo.
-=-=-=-=-=-=-=-=-=-=-=-=-=-=-=-=-=-=-=-=-=-=-=-=-=-=-=-=-=-=-=-=-=-=-=-=-=-=-=-=-=-=-
Congratulations on beating the game! It's been a long journey, and perhaps not everyone has made it, but you had the determination to keep going. I hope this guide helped you, wherever you needed it, and may your future playthroughs be successful too!
Source: https://steamcommunity.com/sharedfiles/filedetails/?id=2443196913
More Shelter 3 guilds
- All Guilds
- Easy walkthrough or Where to encounter ...?
- Film et walkthrough complet de Shelter 3
- Guide 5
- Shelter 3 100% Achievement Guide
- 100% Achievements / 100% (ENG/RUS)
- The Ultimate Guide to Shelter 3