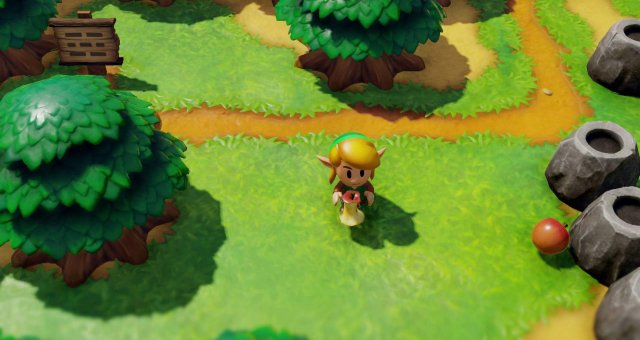
Link’s Awakening’s item trading sequence is an island-wide bartering quest that has you exchanging bizarre trinkets with wonderful characters all over Koholint Island in order to earn a few final rewards - like the Magnifying Glass, which let's you see invisible things, and the Boomerang! This quest actually weaves into the progression of the main story, so you won’t want to ignore it.
The Legend Of Zelda: Link's Awakening Guides:- Fishing Pond Guide (Minigames Tips and Rewards).
- How to Get the Ocarina and All Songs.
- Key Cavern Dungeon Walkthrough.
All Trading Sequences In The Legend Of Zelda: Link's Awakening
#1 - Yoshi Doll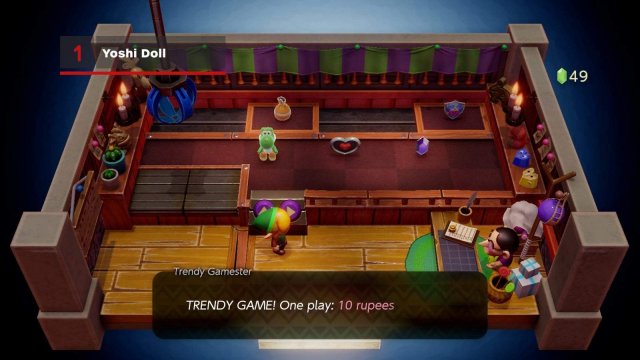
The trading sequence begins in Mabe Village’s Trendy Game in the south east. Head in and you’ll immediately notice a suspicious looking plushie from the Super Mario franchise. Pay the ten rupee fee and navigate the claw above the Yoshi doll to grab it. Exit the shop, and a young boy will tell you a clue on what to do with your prize.
#2 - Ribbon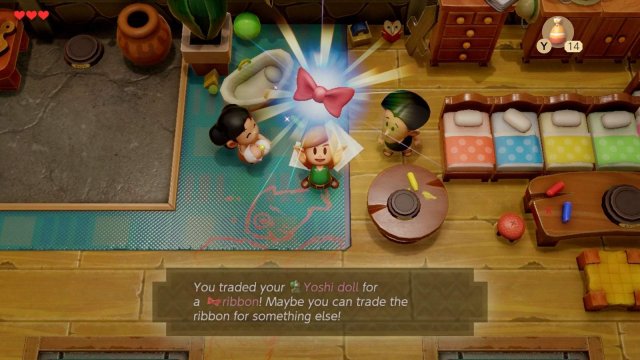
Head to the long house in the top part of Mabe Village. Papahl and Mamasha live in this quaint house full of children and obviously need something to keep them occupied, so give Mamasha the Yoshi doll. She’ll thank you by giving you a ribbon. If you’re a Nintendo fan, trading away a toy based on an iconic and beloved character for a simple accessory probably feels like a huge downgrade, but we’re only just getting started with this crazy trading sequence, so just roll with it.
#3 - Dog FoodHead to Madam MeowMeow’s house, which is the house in the center of town with the barking Chain Chomp out front. Head into the door on the right and give the ribbon to CiaoCiao, the yappy little chain chomp on the floor. She’s seemingly obsessed with fashion and is so ecstatic to have a ribbon to wear that she’ll give you her dinner… a can of dog food.
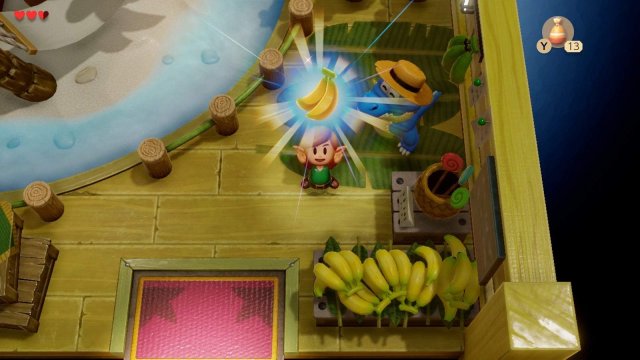 #4 - Bananas
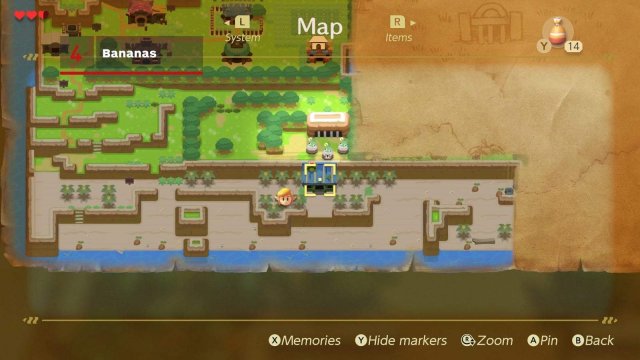
Bring the dog food to a talking crocodile named Sale who lives in a house along the beach on Toronbo Shores, east of where you first found your sword.
Sale lives in a house full of bananas so he’ll get so excited to eat some meat (even dog food) that he’ll devour the entire can right in front of you like some kind of monster. In exchange, he’ll give you bananas.
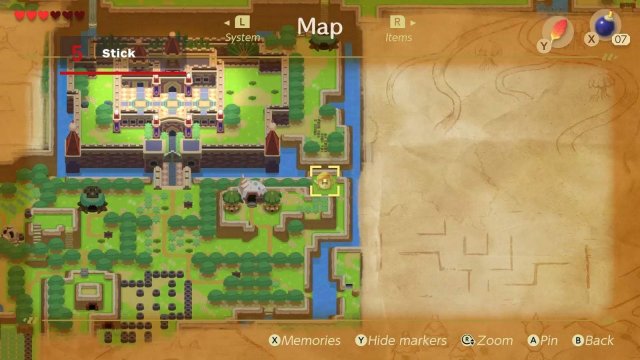 #5 - Stick
You’ll need the Power Bracelet from the second dungeon, Bottle Grotto, before you can reach the next item. Head to the east from Mabe Village, through Ukuku Prairie until you reach the right side entrance of Kanalet Caste. You’ll see a collapsed bridge guarded by a monkey. Give him the bananas and he’ll call in some friends to build a bridge (allowing you to access the castle for main quest purposes just prior to the third dungeon) and they’ll leave a lone stick behind.
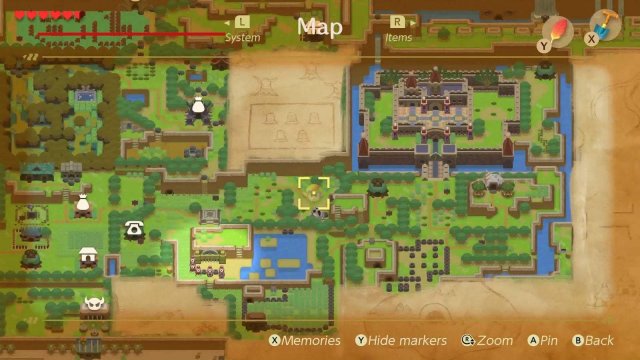 #6 - Honeycomb
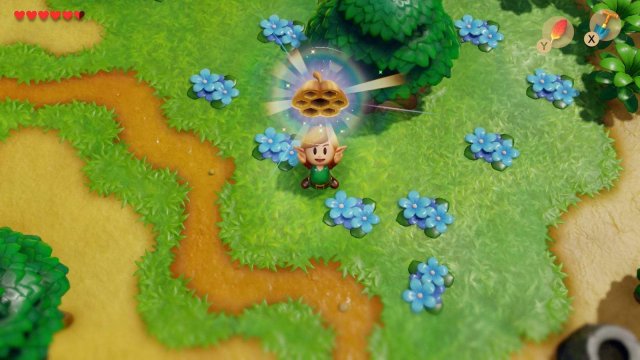
Head over to the center of Ukuku Prairie and you’ll see Tarin - Marin’s dad and local Super Mario cosplayer - trying to grab a honeycomb hanging from a tree.
He’ll swat at the honeycomb with your stick, and then get chased away by furious bees, leaving his sticky, sweet treasure behind.
 #7 - Pineapple
You'll need the Pegasus Boots from the third dungeon, Key Cavern, to get to this point.
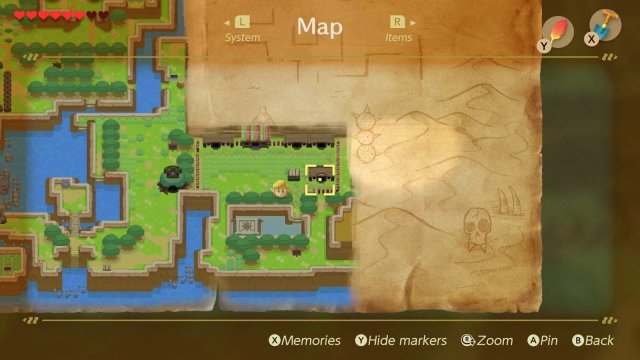
Grab the honeycomb and head to the Animal Village in the south east corner of the whole map.
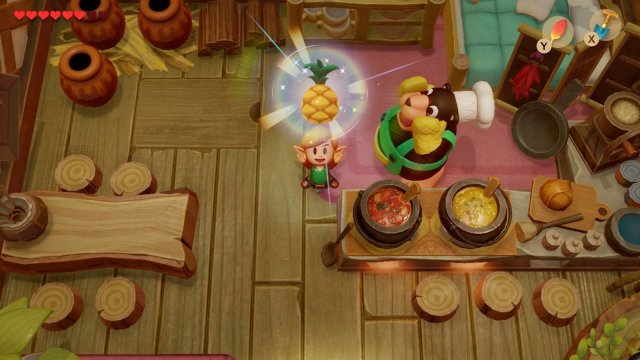
In the bottom right of the Animal Village, a hungry bear in a chef’s outfit is attempting to cook a few dishes inside a house, but is missing the perfect ingredient. Bears love honey, so hand him the honeycomb and he’ll give you a pineapple, which, like the bananas earlier, you’d expect to be much easier to come by on a tropical island.
Make sure to unlock the Warp Zone here just below the bear's house!
#8 - Hibiscus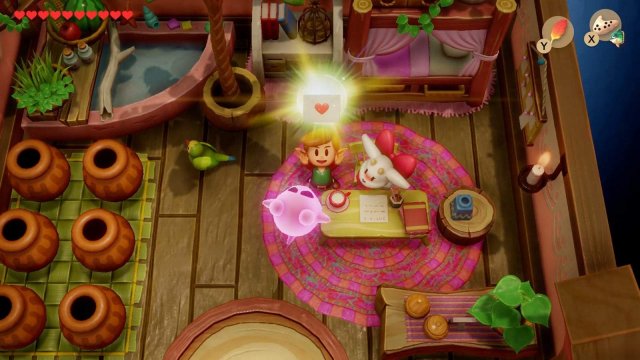
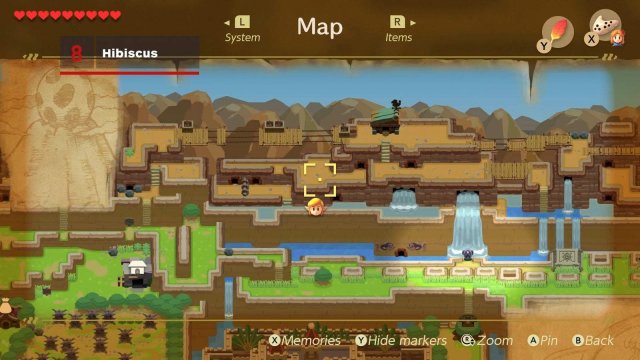
Take the pineapple all the way to Tal Tal Heights in the far north of the map to the right of the giant egg. You'll pass this way on the way to Angler's Tunnel, the fourth dungeon.
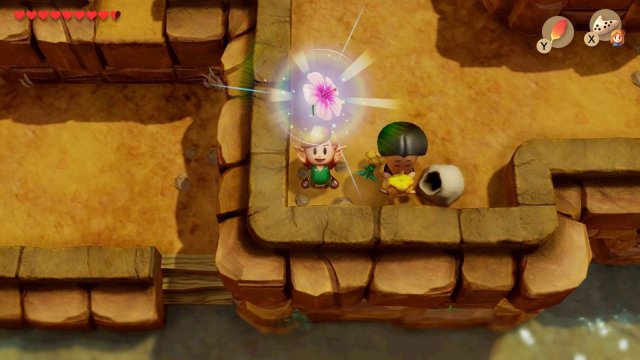
You should see Papahl, the father of four who lives in town and who is now inexplicably lost on the top of the mountain. Feed him the pineapple to give him the energy he needs to go home and he’ll give you a hibiscus flower.
 #9 - Letter
After completing the fourth dungeon, Angler's Tunnel, you’ll be able to get to a cave just to the left its entrance, and learn Mamdo’s Mambo for the Ocarina you found in Dream Shrine (you have done that already, right?).
This song will let you fast travel - which you’ll want for the rest of this sequence! Use the song to get to Animal Village. In the second to last house on the right, you’ll find a lady goat named Christine who tells you it’s rude to talk to her unless you bring her a gift. Hand her the hibiscus and she’ll give you a letter to deliver to Mr. Write outside of the Mysterious Woods.
 #10 - Broom
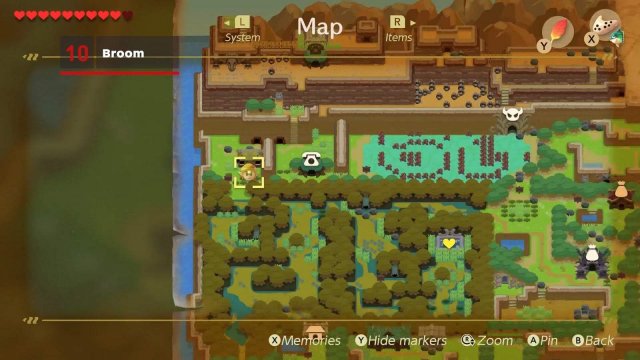
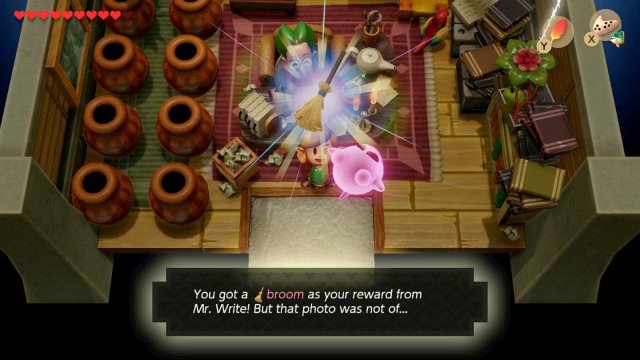
Head over to the upper left corner of the Mysterious Woods, just beneath the mountains. You’ll see a small house guarded by some potholes. Here lives Mr. Write, a bashful, unassuming man who loves getting letters. Hand him the letter from Christine and he’ll open it to reveal a photo of… Princess Peach? Wait, did this dude just get catfished by a goat?
You shouldn’t concern yourself with other people’s relationships (even when they’re built on deceit) so take the broom he’ll offer you and head back to the Animal Village.
 #11 - Fishing Hook
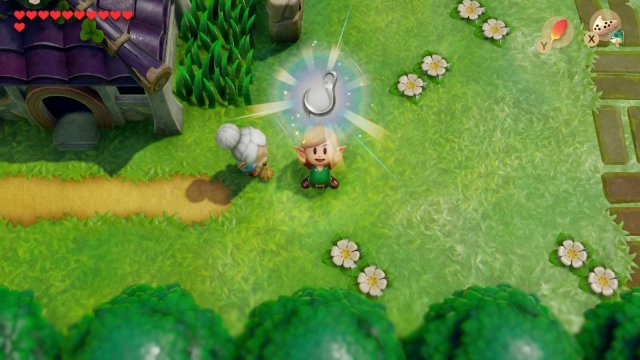
You’ll see Grandma Ulrira fussing around Mabe Village in front of her house (or in Animal Village - she can appear in both!) desperately in need of a new broom. Hand her the broom and she’ll be ecstatic and give you a fishing hook that she found while sweeping near the river. Yes, this woman has decided to spend her life sweeping the entire island, which is commendable but also totally crazy. Let’s move on, but you’ll need the flippers from the fourth dungeon before you can.
 #12 - Mermaid’s Necklace
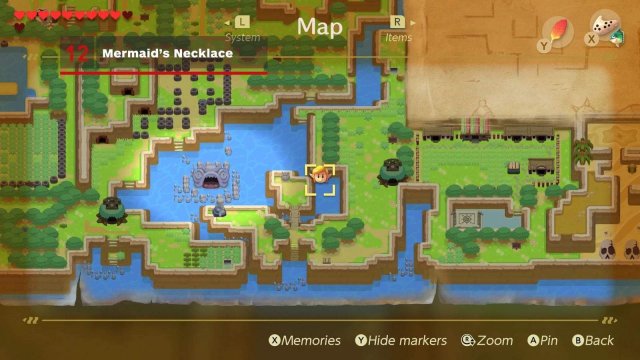
To the west of the Animal Village, you’ll see stairway that leads into the water. Go for a swim to beneath the bridge just to the south. Link will appear swimming by a fisherman who is struggling to catch fish.

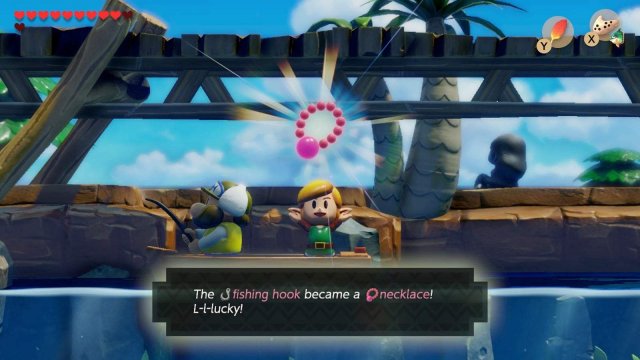
Jump on his boat and give him the fishing hook and he’ll immediately put it to work, catching a mermaid’s necklace for you. Grab the necklace and swim to the right.
 #13 - Mermaid’s Scale
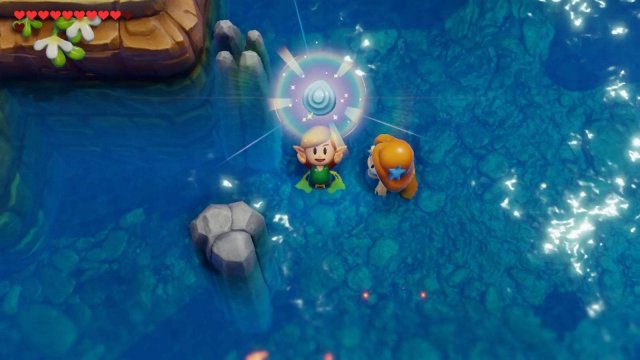
While still in the water from the bridge, swim a bit north and a little to the west to find a mermaid in the water. Talk to her, give her the necklace she’s been missing, and she’ll give you a scale from her tail, which she’s hopefully able to grow back at some point because otherwise this would be a weird exchange.
#14 - Magnifying Lens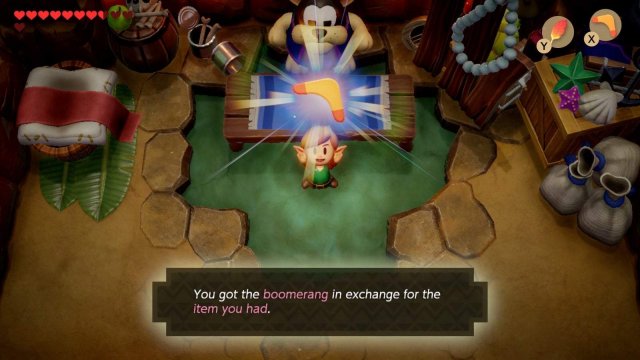
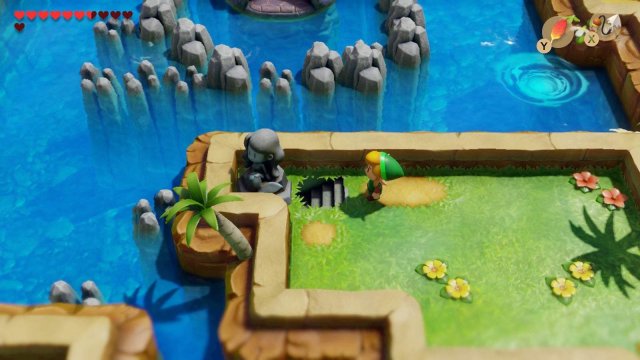
You’ll need the Hookshot from the fifth dungeon before you can continue. Swim towards the walls on the right and make your way back to where you just jumped off the bridge on land. Hookshot yourself across the small gap just south of the bridge and make your way up a bit.
You’ll see a mermaid statue looking over the bay. This statue is the work of Schule Donavitch, an alligator artist who lives in the Animal Village who was missing the finishing touch - a mermaid scale. By inserting the scale, the statue will move and a cave will open.
Head in and immediately go up to open the chest and find the magnifying lens, a new item that allows you to see a few invisible things in the game as well as collect a new weapon and some items - like a Secret Seashell from a previously invisible Zora living in a house in the Animal Village, so don’t forget to visit him. But, most importantly, the Magnifying Lens allows you to access the final boss, which is obviously mandatory to complete the story.
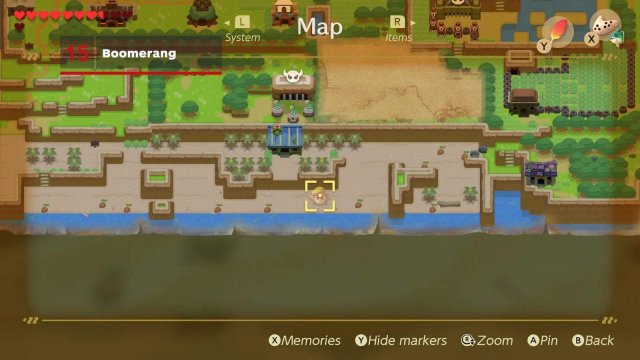
#15 - Boomerang, BookOnce you have the magnifying lens, warp to Martha Bay, and head west. Along the beach at Toronbo Shores you’ll see a wall with a crack in it. Bomb the wall and enter to meet a once-invisible Moblin.
He’ll offer you the boomerang, but there’s a catch! You’ll have to trade him one of your precious items for it! Give him the shovel since it’s the least integral to your overall quest at this point; plus, you can always buy it back from him for 300 rupees. The Boomerang is one of the most useful items in the game. It lets you hit switches in dungeons from afar, stun most foes, and even hurt tougher enemies.
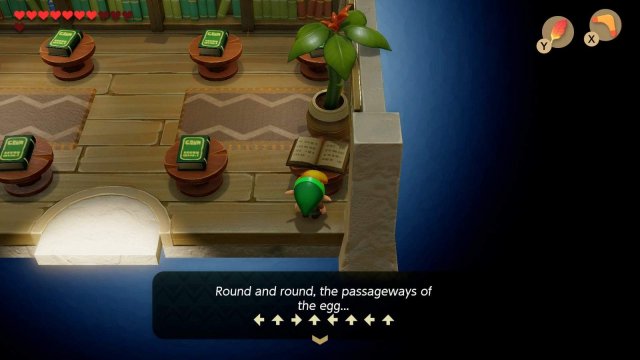
Now, travel to Mabe Village and head inside the small library. Walk to the darker colored book in the lower right. Now that you have the lens, you’ll be able to read it. This book has detailed instructions on how to navigate the maze under the giant egg which leads to final boss fight. Screenshot (or write down a note) of this unique set of directions - which is always a randomized series of arrows - and use it once you enter the giant egg at the top of the island. Keep in mind that each time you start a new file in Link’s Awakening, these directions will be different, so don’t expect to re-use your notes in your next playthrough!
Source: https://gameplay.tips/guides/5324-the-legend-of-zelda-links-awakening.html
More The Legend of Zelda Links Awakening guilds
- All Guilds
- The Legend of Zelda: Link's Awakening - How to Get the Ocarina and All Songs
- The Legend of Zelda: Link's Awakening - Fishing Pond Guide (Minigames Tips and Rewards)
- The Legend of Zelda: Link's Awakening - Key Cavern Dungeon Walkthrough
- The Legend of Zelda: Link's Awakening - Trendy Game - Claw Machine Prize Guide
