A temporary guide for utilizing the new winches. Short and to the point.
Guide To New Winches
Introduction
So, the new winches seems to be a little bit of a hate-love kind of thing, this guide hopes to pad that bridge a bit for the time being.
According to something that Beginner noted elsewhere, they have features coming, so this can pretty much be considered a first implementation.
At any rate, less waffling, more winching.
Basic Winch Setup
Just as a note now, these will be for advanced mode as the vast majority of people play in that.
The absolute most basic winch is nothing but a rope connected to what basically is a hook, but before that, let's deal with the absolute basics that are common for the new and old:
Skip this bit if you already understand basic winches.
- The winch needs electricity to work.
- To be used, it also needs 2 on/off signals (push button, usually) tied to the winch up & winch down.
- The winch also has a numerical output that tells the winch length (this can be used in automation).
- The winches have a fluid port on the bottom so they can transfer fluid through the pipe.
- Can transfer electricity (providing the connector accepts it).
And now for the new stuff:
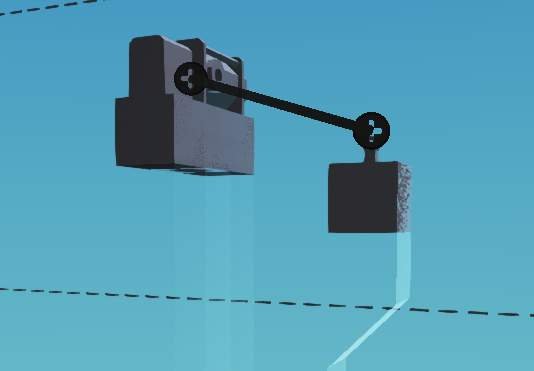
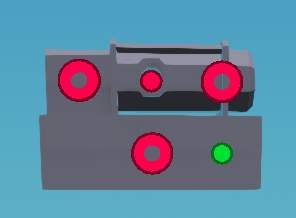
There are 5 new connections (varies on winch, i'm using the medium as an example)
These are, in order of importance:
- Rope logic node (allows you to attach the winch rope, essential).
- On/Off Input & Output.
- Composite Input & Output.
- Video Input & Output.
- Audio Input & Output.
All of the Input & Output are specifically for communication with the anchor.
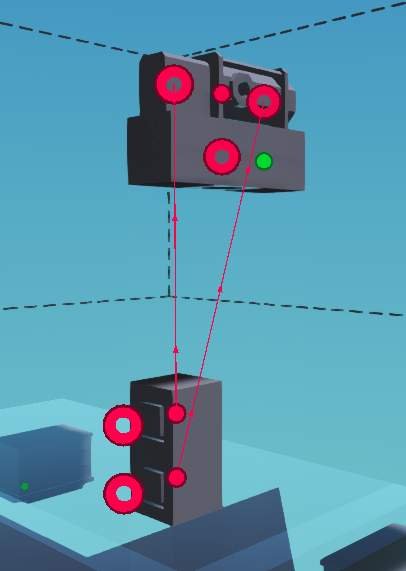
When you are communicating with the anchor, input into the winch's input comes out of the anchor's output, and vice versa. I will go on greater detail for this in advanced winch setup, so if you are only interested in that, move to that section.
 Basic Winch Setup Step-by-Step
Step 1: Put down a winch, ensure you have a battery, and 2 push buttons.
Step 2: Ensure they have electricity
Step 3: Connect the push buttons to up/down nodes on the winch.
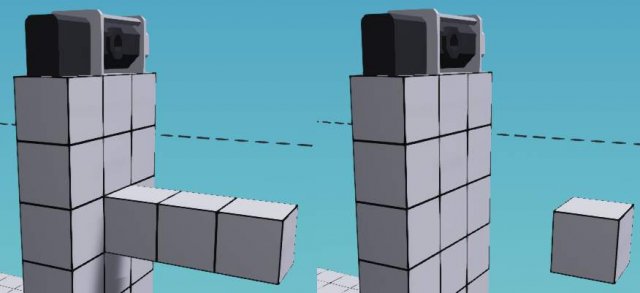
Step 4: Make an extension and cut out the extra parts to make a floating bit.
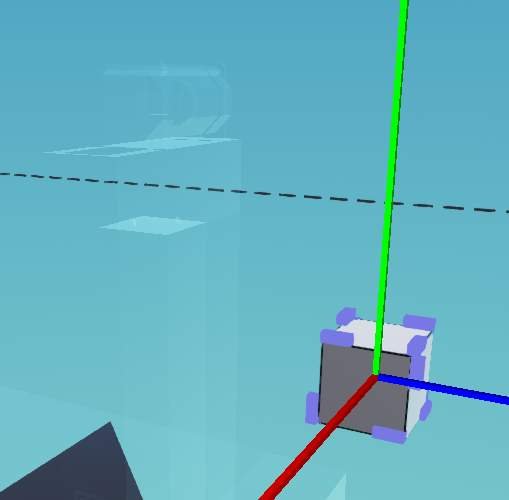
Step 5: Using the selection grid, ctrl+click on the separate cube, on the left side click on the move/cut button, then the paste button, and finally the clear selection button.
Now anything you build on the separated cube is of a separate grid.
Final Step: Attach any of the anchors (for this one, rope anchor) and draw a rope logic node between the anchor and winch, then design a mechanical hook.
Success! You've hooked a big catch!
Advanced Winch Setup & Communication
CommunicationSo this is what throws most people off, so i'm dealing with it first.
- The cables will now route signals, outgoing, and incoming, if the anchor supports it.
- One cable can facilitate two of each: An on/off signal, a composite signal, a video signal and an audio signal.
- They are exclusively either going from winch to anchor or anchor to winch (or anchor to anchor).
- The winch's output reads from the connected anchor's input, and the anchor's output reads from the winch's input. At this time this communication is limited to the electrical anchor.
On top of this, electrical cable anchor is also able to transfer electricity from the same electric network that is connected to the winch. Other anchors cannot do this. Unlike before, you do not connect the power to the anchor, you connect power from the anchor to the winch parts.
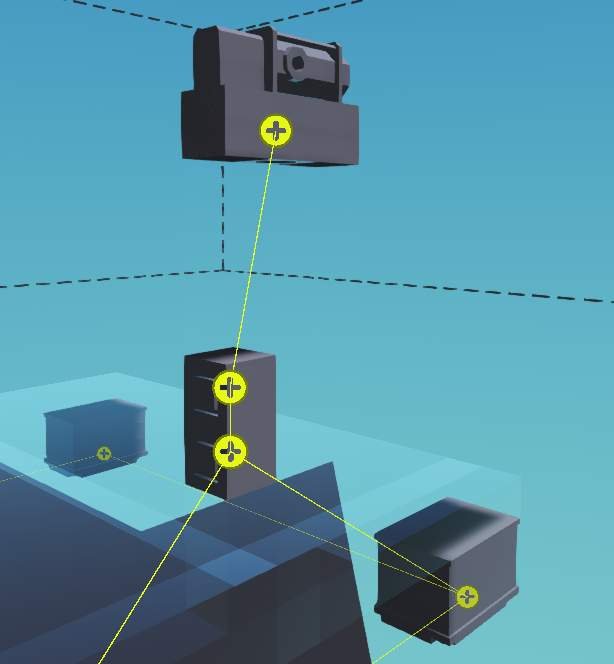
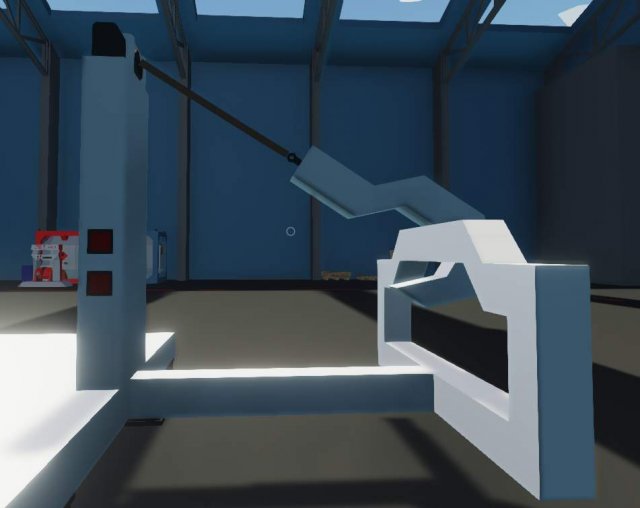
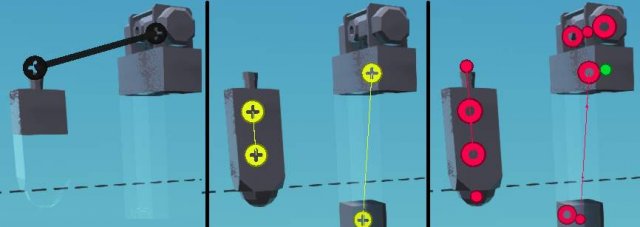
Here's 3 pictures of a functional communication that allows the use of a mag-all attached to a winch:
Note that the only connection between the winch and the anchor is the rope node.
So What Else Is New?Multiple connections. Unconventional and creative connections that weren't possible before.
I will give one example here, and then link to a workshop creation of 3 i made before, on the launch date of the winch update.
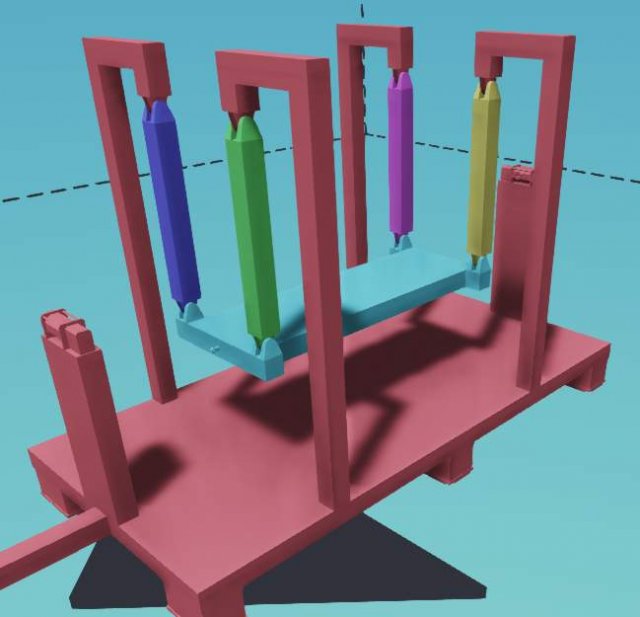
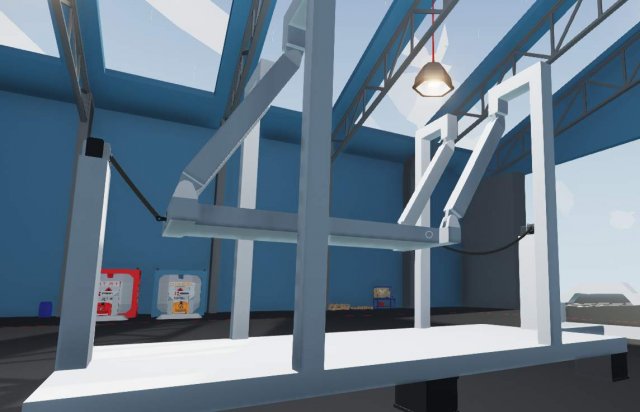
Let's say you want to make a cargo cradle that needs to have its floor sit level, but you also need strong and reliable way to move it from side to side. You could use rotors, but with very heavy loads, rotors struggle, and you'd need some advanced maths to get them to sit their rotors in the right positions at the same time.
You can now do the same with 2 winches.
One winch pulls, the other one gives slack. While it's not a perfect setup, when both the winches are drawn taut, the platform is rather stable. It can be even more stable with magnets on either end that connect it to the extremes.
- And finally, 3 examples of the new winches in other setups can be found here.
Questions Asked
- But how do i do a fluid connector?
- Fluid connectors do not require electricity except for the signal-based release (you can just do it by hand as well), and release can be done at the other connection point, like this.
Source: https://gameplay.tips/guides/7230-stormworks-build-and-rescue.html
More Stormworks Build and Rescue guilds
- All Guilds
- Stormworks: Build and Rescue - Designing Engines Guide (How to Get the Most Out of Your Contained Explosions)
- Stormworks: Build and Rescue - How to Make a VTOL Aircraft
- Stormworks: Build and Rescue - Gearbox Guide
- Stormworks: Build and Rescue - Guide to Custom Doors
- Stormworks: Build and Rescue - Why Doesn't My Ship Float?
- Stormworks: Build and Rescue - Vehicle Optimization
- Stormworks: Build and Rescue - Multibody Pivot Propulsion (Glitch)
- Stormworks: Build and Rescue - Mi-4 Hound Quick Guide
- Stormworks: Build and Rescue - RN Type 23 Frigate Guide
