
An introduction to the basics of Space Haven.
Guide To Basics
Basics
Here are some basics that might help you.
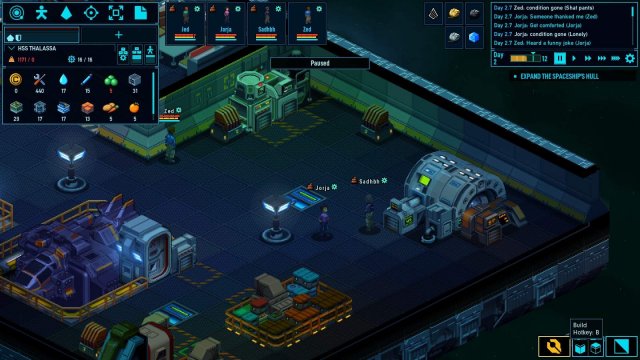 Build Mode
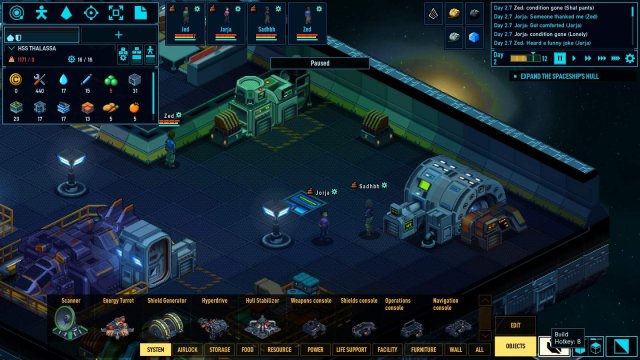
All of your building options are in the yellow box in the bottom right of the screen.
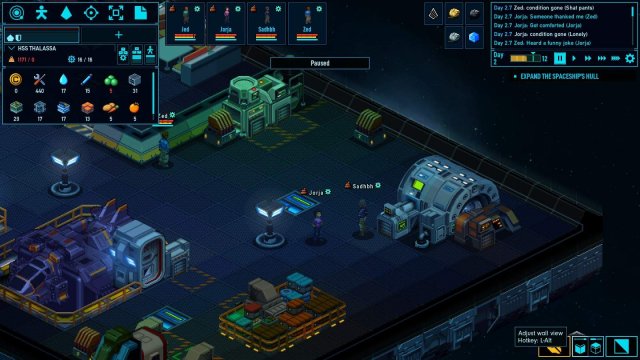
Adjust Wall View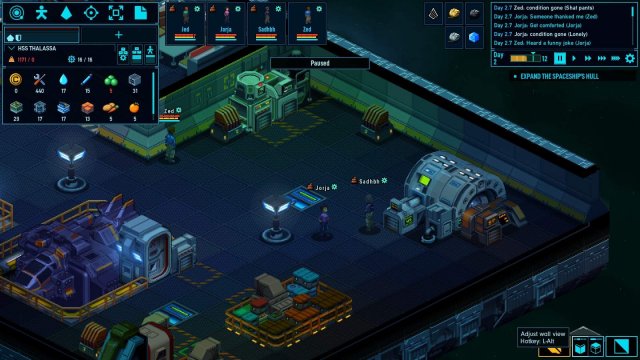
This will allow you to lower or raise the height of the wall. This can help when a wall is blocking your view, or if you prefer the walls hidden or at full height.
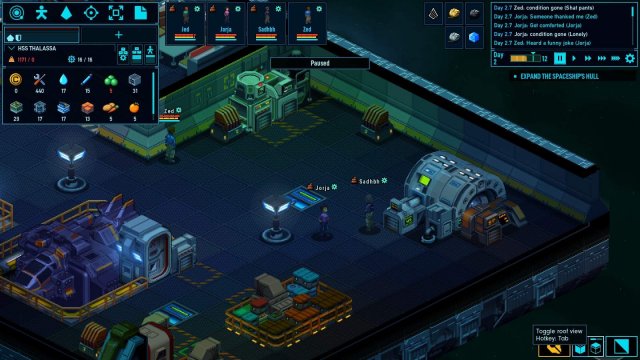
 Toggle Roof View
This will allow you to see the roof of your station/ship.
 View Mode
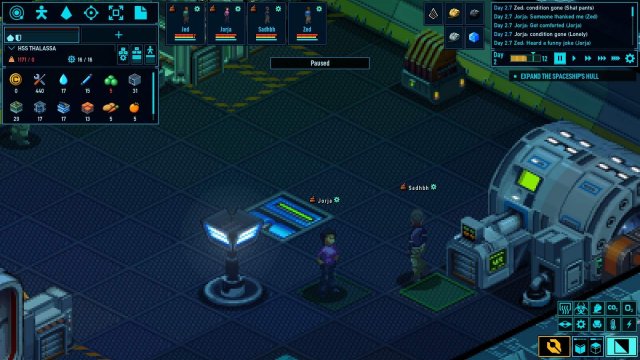
Get used to accessing the view mode by either the R key or the button in the bottom right of the screen. This opens up the view mode, which allows you to see different views of your ship, including: O2, CO2, Comfort, etc.
After selecting this, you should see a small menu appear.
Simply select one of the ten options and it will show you that view.
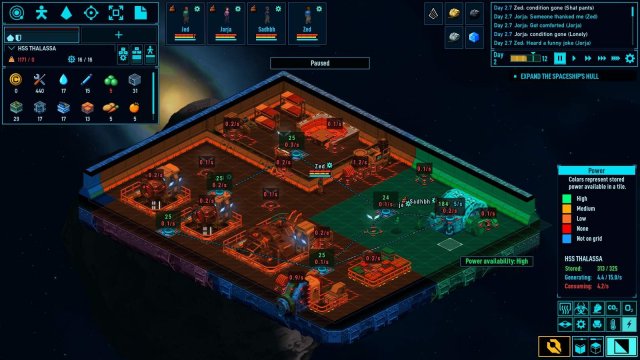
Electricity
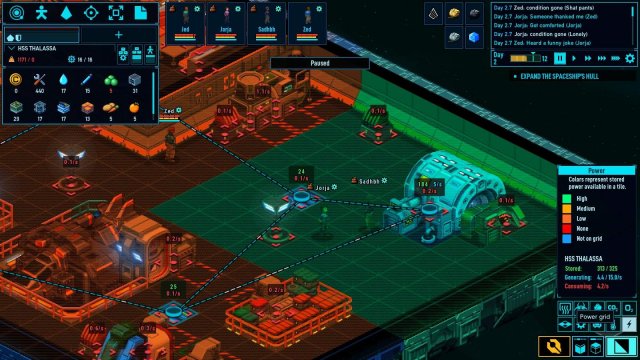
Electricity is essential for survival. Your electricity comes from the power generator.
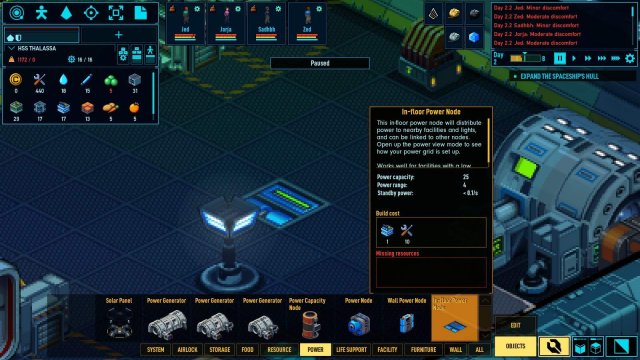
You create a power grid by using one of the four power node items.
Linking these nodes is simple after you figure it out. You first select the node you wish to connect. You should see a green square near another node, or power generator.
All you do is select that green square and now you will see it become a red square. This is used to disconnect.
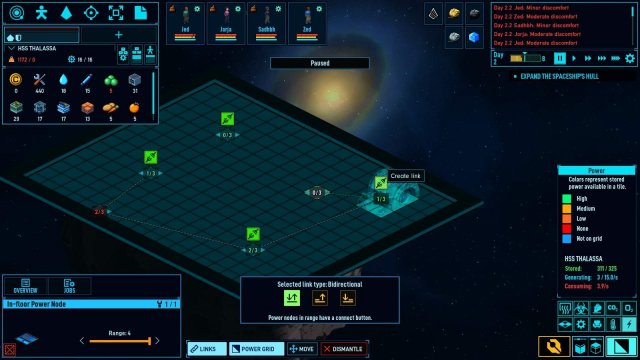
Remember to place nodes in areas where powered items are. The image below show a node providing power to the living quarters.

You may want to connect multiple nodes together to prevent power outages. If one node breaks everything down the line goes. It could save someones life (It appears floor nodes can have three connections).
Combat
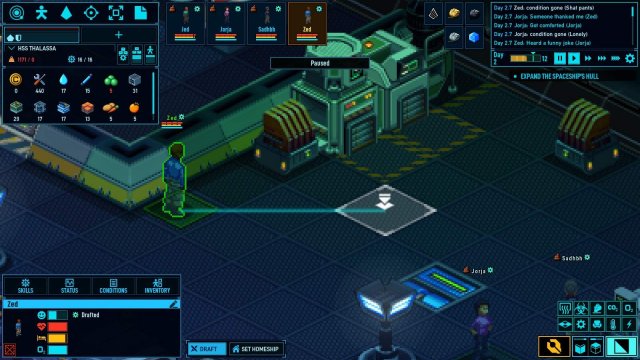
Drafting is the first step to controlling your survivors. All you have to do is select a person and then select the draft option.
After this they are now controlled by you. You can make them walk by right clicking the tile you want them to go to.
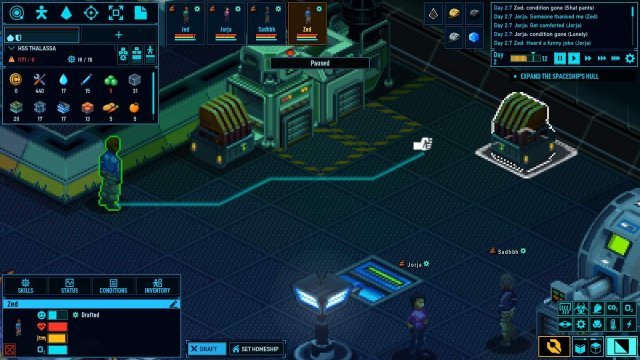
You can attack items by right clicking a non-floor item/creature (Here you can see he would attack the thermal regulator).
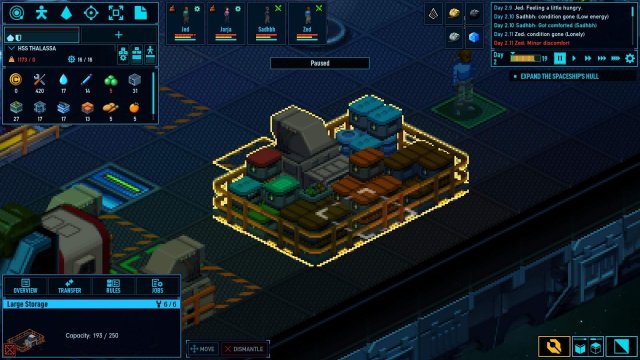
Obtaining a weapon! You have to first draft a person, then right click a storage device and select the grab option.
After this you can see the contents of the storage device. Simply drag and drop into your inventory.
View Modes

Simple guide for the view modes.
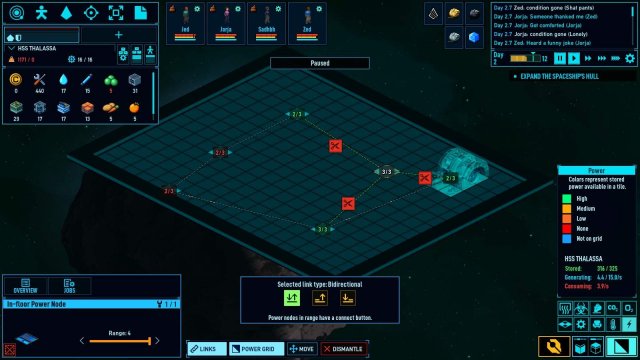
 Electricity
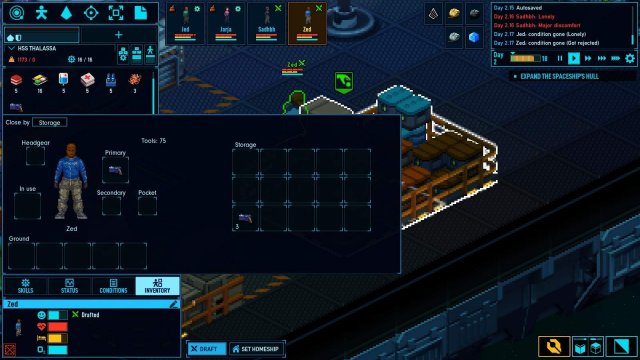
Power availability is color coded. Green being high availability, and red being no power.
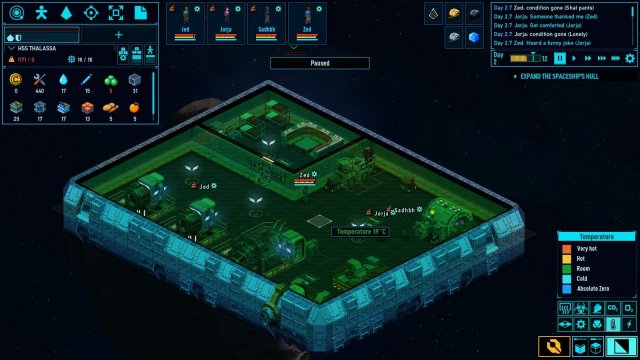
TemperatureTemperature is important in space, where the base temp is absolute zero. Here we can see that the temperature can be anywhere from very hot to absolute zero. This station is currently in the green, with a temperature of 19 Celcius.
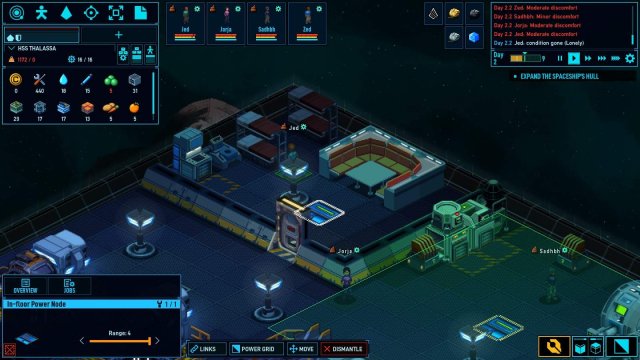
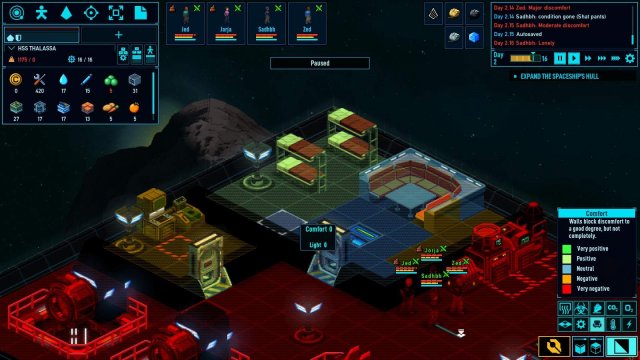
 Comfort
Here you can see that most of this station is very negative comfort, with my barracks having slightly better conditions. It appears that the toilet adds a negative score to the room. Lets move that and try to improve room comfort.
Now the comfort level is better in the barracks.
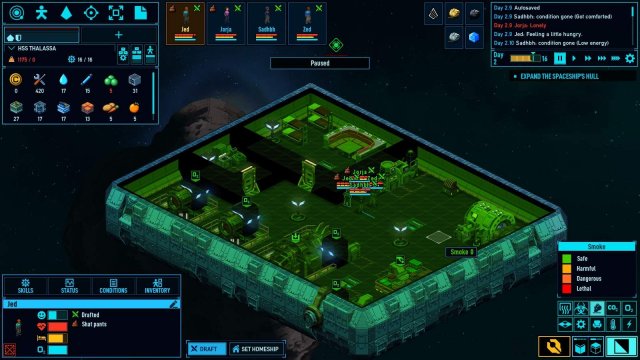
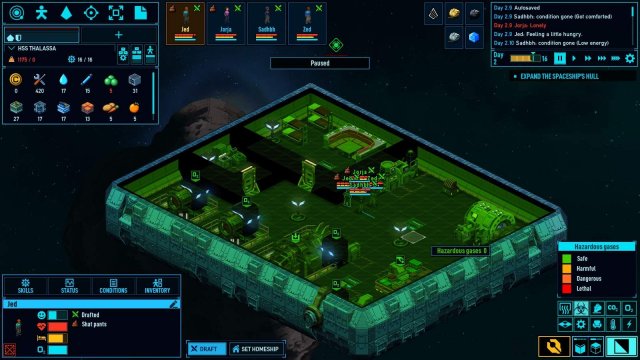
Atmosphere
This has multiple view option in one area. O2 is essential for their survival. A high O2 is optimal with no O2 being in the void of space.
CO2 is for growing plant matterial, so a slightly higher CO2 level would be beneficial in a grow room. But higher CO2 can also be dangerous.
Smoke & Hazardous Gasses have ranges from safe to dangerous.

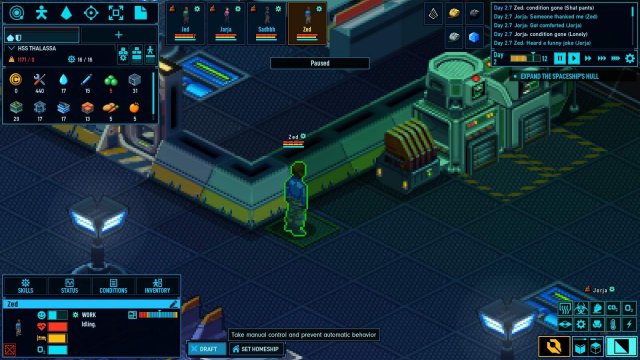
Character Menus

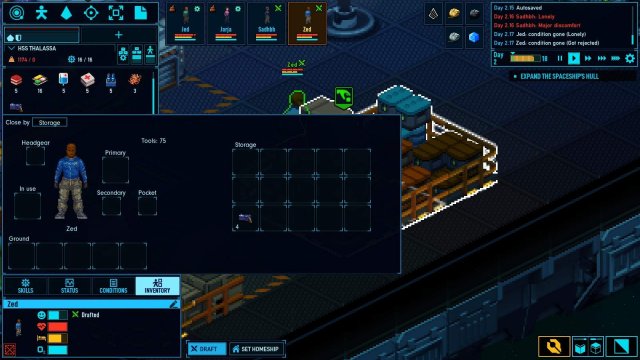
There are four menus for each character. Skills, Status, Conditions, and Inventory.
Skills tell you about the stats of a specific person. Things like occupation, skills, attributes...
Status menu is going to hold the real time needs/emotions of the person. Here we can see this person is feeling a little hungry and is experiencing major discomfort.
Conditions menu has the detailed buffs/debuffs of any status, as well as medical issues.
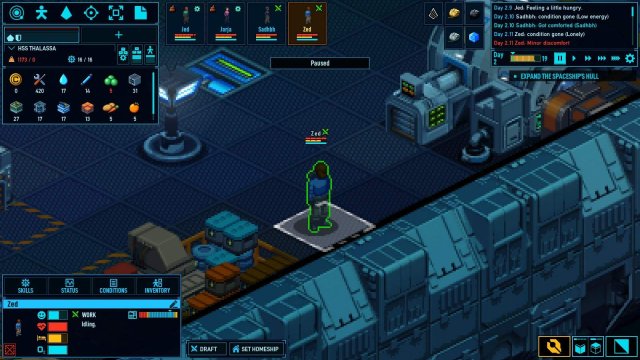
Inventory is simply the inventory of the person. Equipped items will be found here.
Source: https://gameplay.tips/guides/7701-space-haven.html
More Space Haven guilds
- All Guilds
- Space Haven - How to Copy an Old Ship to a New Save
- Space Haven - How to Board an Enemy Ship