Introduction
This guide is a useful resource for any player of Sins of a solar Empire Rebelion, at any skill level. The focus of this guide is 5v5 multiplayer games, although the infomation within can be applied to the majority of the game online. If you manage to apply the lessons you learn from this guide reasonably well you are already better than 70% of players online. If you apply them near perfectly, you will be better than 90% of the players online. Before attempting to benefit from this guide, the ingame tutorials and one or two matches versus AI are pretty much mandatory, and Goafan's guide for beginners is highly recommended reading material.
That being said, you are probably used to playing AI. The AI is not intelligent, and relies solely on having a massive amount of resources and good multitasking to kill you. It will throw a random fleet composition straight at you, with little regard for positioning or ship counters. You can easily beat an AI by just making a starbase, or making a bunch of cannons, because the AI will autoattack the cannons, even if they are in empty space, not defending anything.
Human opponents, however, are intelligent. Most of them, at least. If you try to make a starbase at a choke, they will fly around it. If you make a bunch of cannons, they will ignore them. Therefore a less defense stance is required when engaging humans and a more aggressive stance is preferred, because fleet maneuvering suddenly becomes important, since humans will retreat from overwhelming force and not engage static defences without good reason. Therefore, it is usually better to have a huge fleet and little defences than the other way around.
This guide will teach you how to become the king of multiplayer!
5s Lobbies
5s lobbies go by different names. Common ones are: 5s, 5s skilled, 5s dlc and 5s waiting. 'Skilled' means that players joining should have at least 30-40 games, but varies by host definition. 'Dlc' means that the host explicitly states that he has the dlc, so all players will play with the dlc after the game launches. Usually, even if it's not explicitly stated, the host will have dlc. 'Waiting' means that a 5s lobby might take a long time to fill, and that the host will be afk and checking back every 10 minutes or so.
So, you join a 5s game, now what? To reduce the chance of getting kicked, do the following:
First, instantly go on team 10 (team 0). Don't say things like: "Everybody is on the same team! wtf!"
Talking is silver, silence is gold.
Don't instantly add everybody in the lobby to your friendslist. People hate that.
No spamming, flaming, or capslock abuse.
Don't go afk for longer than 1 or 2 minutes
Of course, you may still get kicked if the host doesn't like you, or needs spot for a friend. The better you are at the game, the more reluctant people are to kick you, so that's a good incentive to get better.
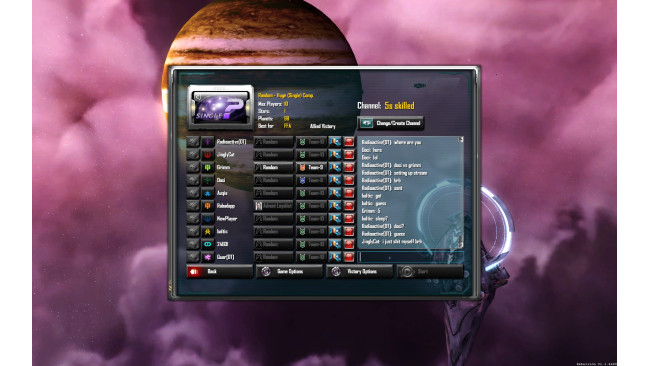
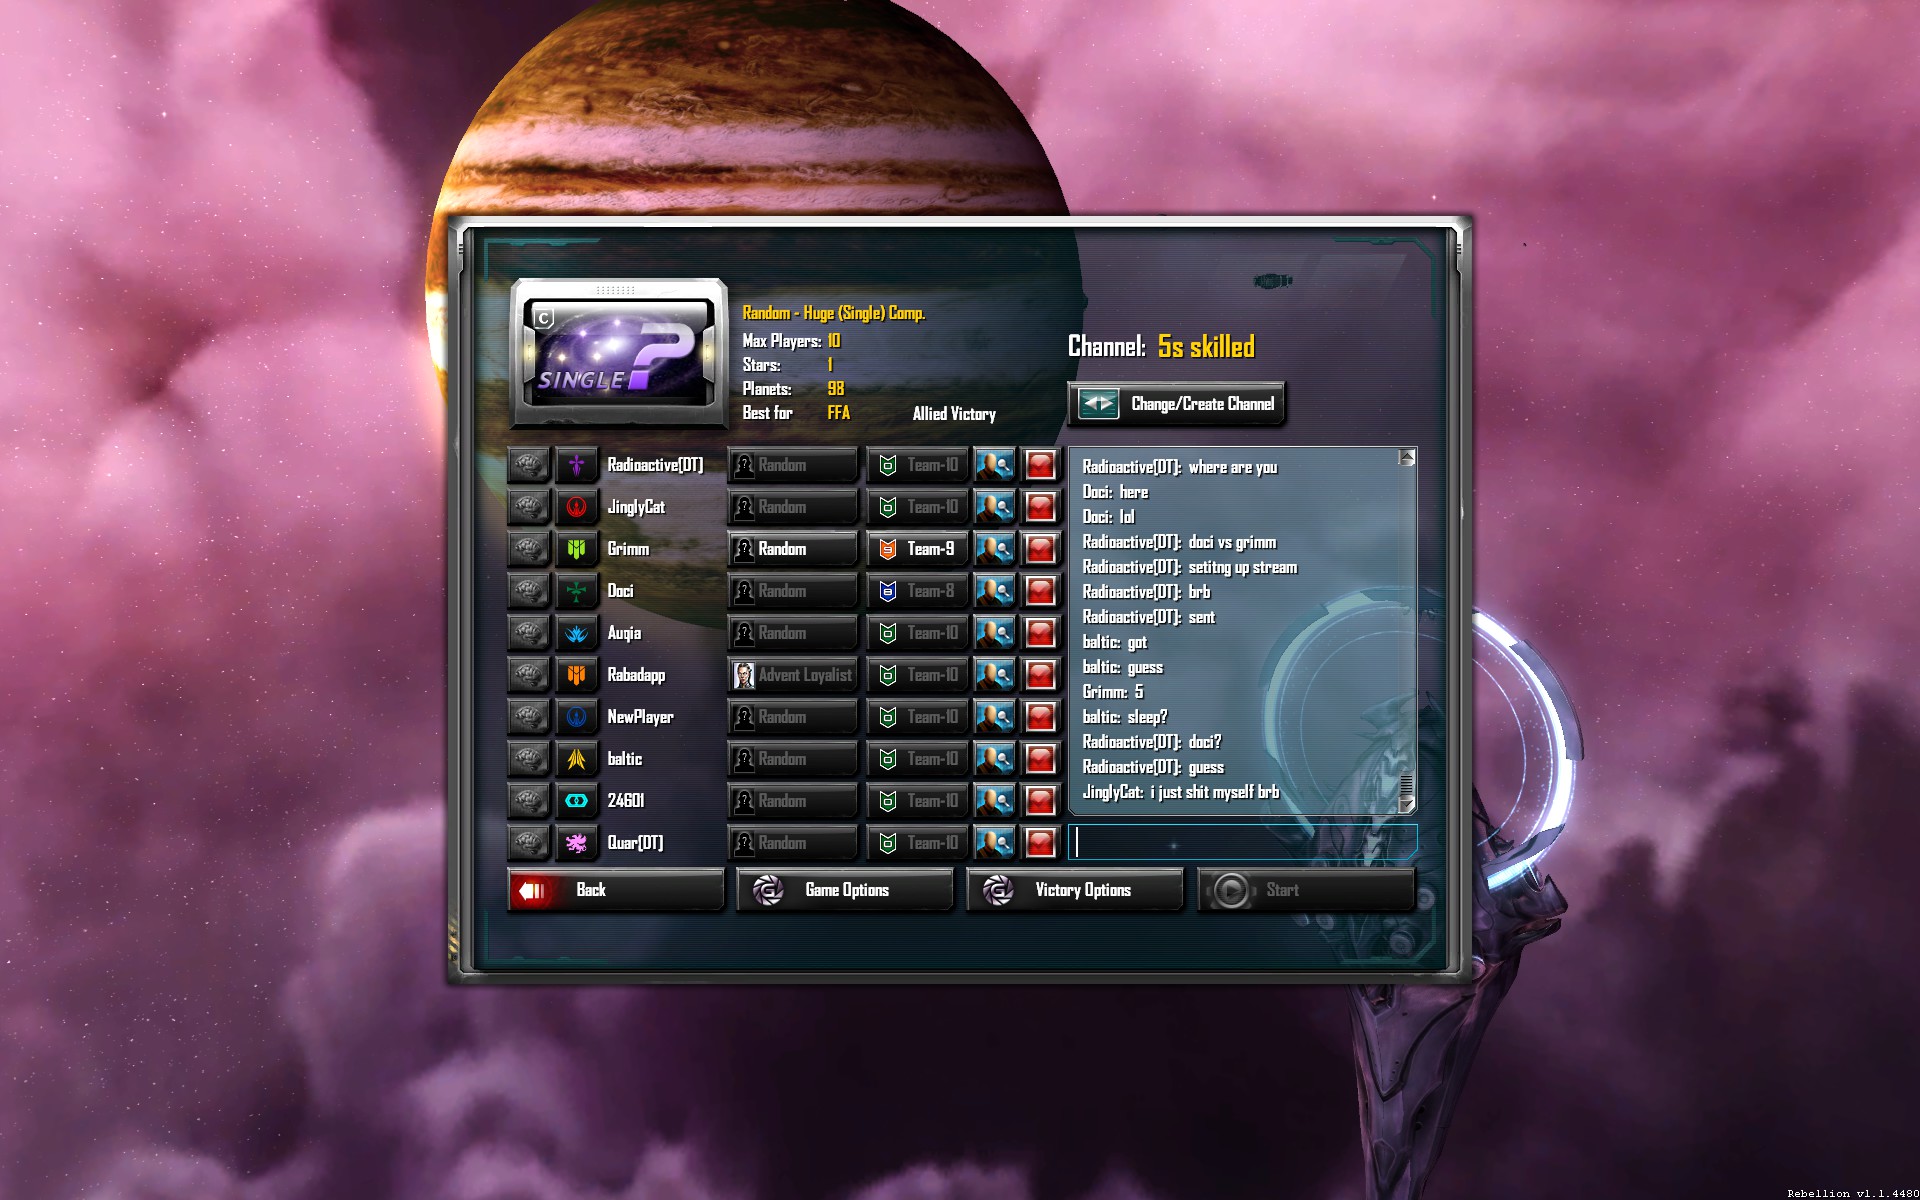
Below is what a full lobby can look like:
Note how 8 players are team 10, and the other 2 players are two different seperate teams. The reason for this is because they are captains. Teams in 5s games are decided by captains, just like in primary school sports, who each pick 1 or 2 players each turn, until all the players have been picked. This usually results in fair teams.
The first pick gets decided by the numbers between 0 and 10. A player that is not captain sends a random number to another player that is not a captain, for example 7. Now captain A says 5, and captain B says 6. 6 Is closer to 7 than 5, so captain B wins. This means he can decide whether he gets the firstpick, or whether he defers. To defer means to give the first pick to the other captain.
If captain B defers, the 8 picks are decided in this order( A is short for captain A, same for B):
A - B - B - A - A - B - B - A
This means that captain A gets the firstpick, but also gets the 'fatkid', the worst player in the lobby. This means the best and the worst player get in the same team, for maximum balance. The order in which people get picked is a good way to gauge their skill. You, as a new player, will start out as fatkid, but as you get better, you will be promoted to 3th pick, 2nd pick, or even firstpick! It's of course all relative to the skill of the lobby you are in.
Of course, another thing you do in the lobby is select your race. As a beginner, which race do you choose? For a thorough explanation, check the next chapter. If you are a man of few words, skip it and select either Advent Rebel or TEC rebel.
Race Selection
At this point you might be wondering, what is the best race for online competetive play? Truth is, the races are fairly balanced, and generally all races are viable. That being said, the most commonly used races are, in order of popularity; Advent Rebel, TEC Rebel, Vasari Loyalist. Now, a better question to ask yourself would be: what race is best for ME? This is a question that is not easily answered. I will not go into detailed race discriptions, if you really want to know what a race is about, check Goafan's guide: 'Getting started with Sins of a Solar Empire: Rebellion'. Here's a short overview of my assesment of race's strengths and weaknesses:
Aspects Advent TEC Vasari General strengths Easiest to play
Strongest early game rush
Guardians with repulse
Best culture Best economy
Strongest defensively
Early repair cruisers
Red button (Upgrade of a self destruct feature for starbases - useful for disuading potential attackers) Strongest early defence
Extremly strong lategame techs
Scouts can capture neutrals
Phase gates
Dedicated minelayer General Weaknesses Weakest starbase
Lategame eco is worst of all races
Titans have low bombing damage
Tier 3 LRM, making transition from LF hard Weaker than Advent early game
Reliant on cap ship reaching lvl 6
Weakest colonizer cap ship early game Dependent on starbases earlygame
Weak, cost-ineffective fleet earlygame
Weakest earlygame eco (tier 4 tradeports)
Hardest to play properly
Advent Rebel vs. Advent Loyalist:
Comparison Advent Rebel Advent Loyalist Strengths vs. Weaknesses One of the strongest titans
Has 'wail', which does enormous damage to ships on neighbouring planets by sacrificing a planet
Temporarily clone ships on kill
Carriers can't capture mines
Protection of the unity tech, very good military tech
Good culture techs One of the weakest titans
Has fury of the unity, giving a 20% damage bonus in culture
Permanently capture ships on well exit
Carriers can capture mines
Global unity tech, extremly good eco wise
Extremly good culture techs Overall Better midgame because of good low-tier techs, much stronger titan, but lategame inferior to loyalists. With correct wail usage, can become extremely hard to kill. Slightly weaker midgame and a weaker titan, but has a lot of strong very lategame minded techs that increase economy and military might, and can use culture as a slow weapon to deny planets and to force reaction.
TEC Rebel vs. TEC Loyalist:
Comparison TEC Rebel TEC Loyalist Strengths vs. Weaknesses Very agressive titan
Has 'Pirate mercenaries', allowing to buy ships for credits at culture stations
Has techs that increase damage and credits gained when bombing enemy worlds, and when your own worlds get bombed!
Has corvettes that increase vurnerability to damage upon hit, up to 25% Very defensive titan
Has 'Twin Fortresses', allowing for extreme defence and eco
Has 'Novalith Deregulation', allowing for cheap and early novaliths.
Has a lot of techs that increase armor, damage, and experience gained in owned wells
Has corvettes that decrease turn-rate, acceleration, and speed upon hit, up to 100% each Overall Much better at agression lategame because of stronger titan with massive frontal damage output, range, and AOE damage, and agression oriented techs. Worse eco because no twin starbases, and a lot weaker defensively. When leveled up, titan is the strongest titan in the game, taking out titans, cap ships, starbases, and fleets of anything on its own. Has most useful corvettes of all races. Has extremly strong lategame defences, a titan that becomes unkillable at higher levels, but with weak damage output, super early and cheap Novaliths that can change the game, twin starbases that are near unkillable when in friendly wells, and do massive damage, because of defensively oriented techs. Best economy in the game. Much less effective than Rebels agressively.
Vasari Rebel vs. Vasari Loyalist
Comparison Vasari Rebel Vasari Loyalist Strengths vs. Weaknesses Weak titan with high survivability and low damage output
Has 'Starbase mobilization', allowing for starbases to jump from one well to another
Has 'Shared Network', allowing allies to use your phase network
Has techs that increase damage upon warp-in and increase damage when allies are in the well.
Has phase gate techs, letting you warp in fleets
Has the best hull and shield techs in the game Extremely strong titan wich does AOE damage with standard atacks and high mobility with blink.
Has 'Stripped To The Core', the one tech that can permanently destroy planets
Has 'Civilian Evacuations', giving credit income for each cap ship
Has Techs that make your cap ships into research labs
Has stronger phase gate techs, letting you warp in cap-ships and fleets
Has a lot of research that increases damage Overall Vasari rebels have a weak titan that doesn't become useful until level 5, and have the extremely lategame oriented jumping starbases, for which you need 16 research stations. Vasari Rebels excel in the lategame, when they have maxed their hull and shield research and have moving starbases, and their allies can use their phase gates for coordinated atacks. Vasari loyalists have one of the strongest titans in the game. The autoatacks of their titan do AOE damage, and the titan can blink around the well at will, allowing for extreme offense or fast retreat. Their ability to consume planets is the only thing in the game that does permanent damage to the landscape. While not as strong as the Vasari rebels in allied wells with their strong hulls and shields, Vasari Loyalists rely on their mobility to do massive damage.
In order of difficulty, from easiest to learn to hardest to learn, the races are:
Advent
TEC
Vasari
There are some differences in each race's titan, but a race having a stronger titan doesn't necessarily mean it's imbalanced. Races with weaker titans have techs that make up for that weakness. It's a matter of preference. What race to pick? If you are a beginner, pick either Advent Rebel or TEC rebel, those are easiest to learn and have fairly easy titans. Don't pick Vasari, they have a unique playstyle more fit for advanced players.
Start Of The Game

Okay, so the game is loading up, what do you do? The first thing you've got to do, is to first make additional scouts, and then a colony frigate/migrator/missionary vessel, as can be seen in the bottom right of the following picture:
Then, you set the two scouts on your homeworld on autoexplore. How many additional scouts do you need to make? I usually get two, but depending on preference, you can make up to 4, to maximize intel. Scouts are very cheap. After that, instanty make a cap ship. If you do not know which cap ship to make, the colony cap ship is a safe bet for all 3 races. If you do not get a colonizer cap ship, you need to make two colony frigates. Sometimes, when 'neutrals' are present (neutrals are extractors in wells without a planet that don't have an owner (or have an enemy owner)), you can can capture said neutrals with colony frigates (as TEC or Advent) or scouts (as Vasari). This will be elaborated upon later.
Recap:
Make 2/3/4 extra scouts
Make colony frigate(s)
Make cap ship
Set scouts on autoexplore
Role Determination
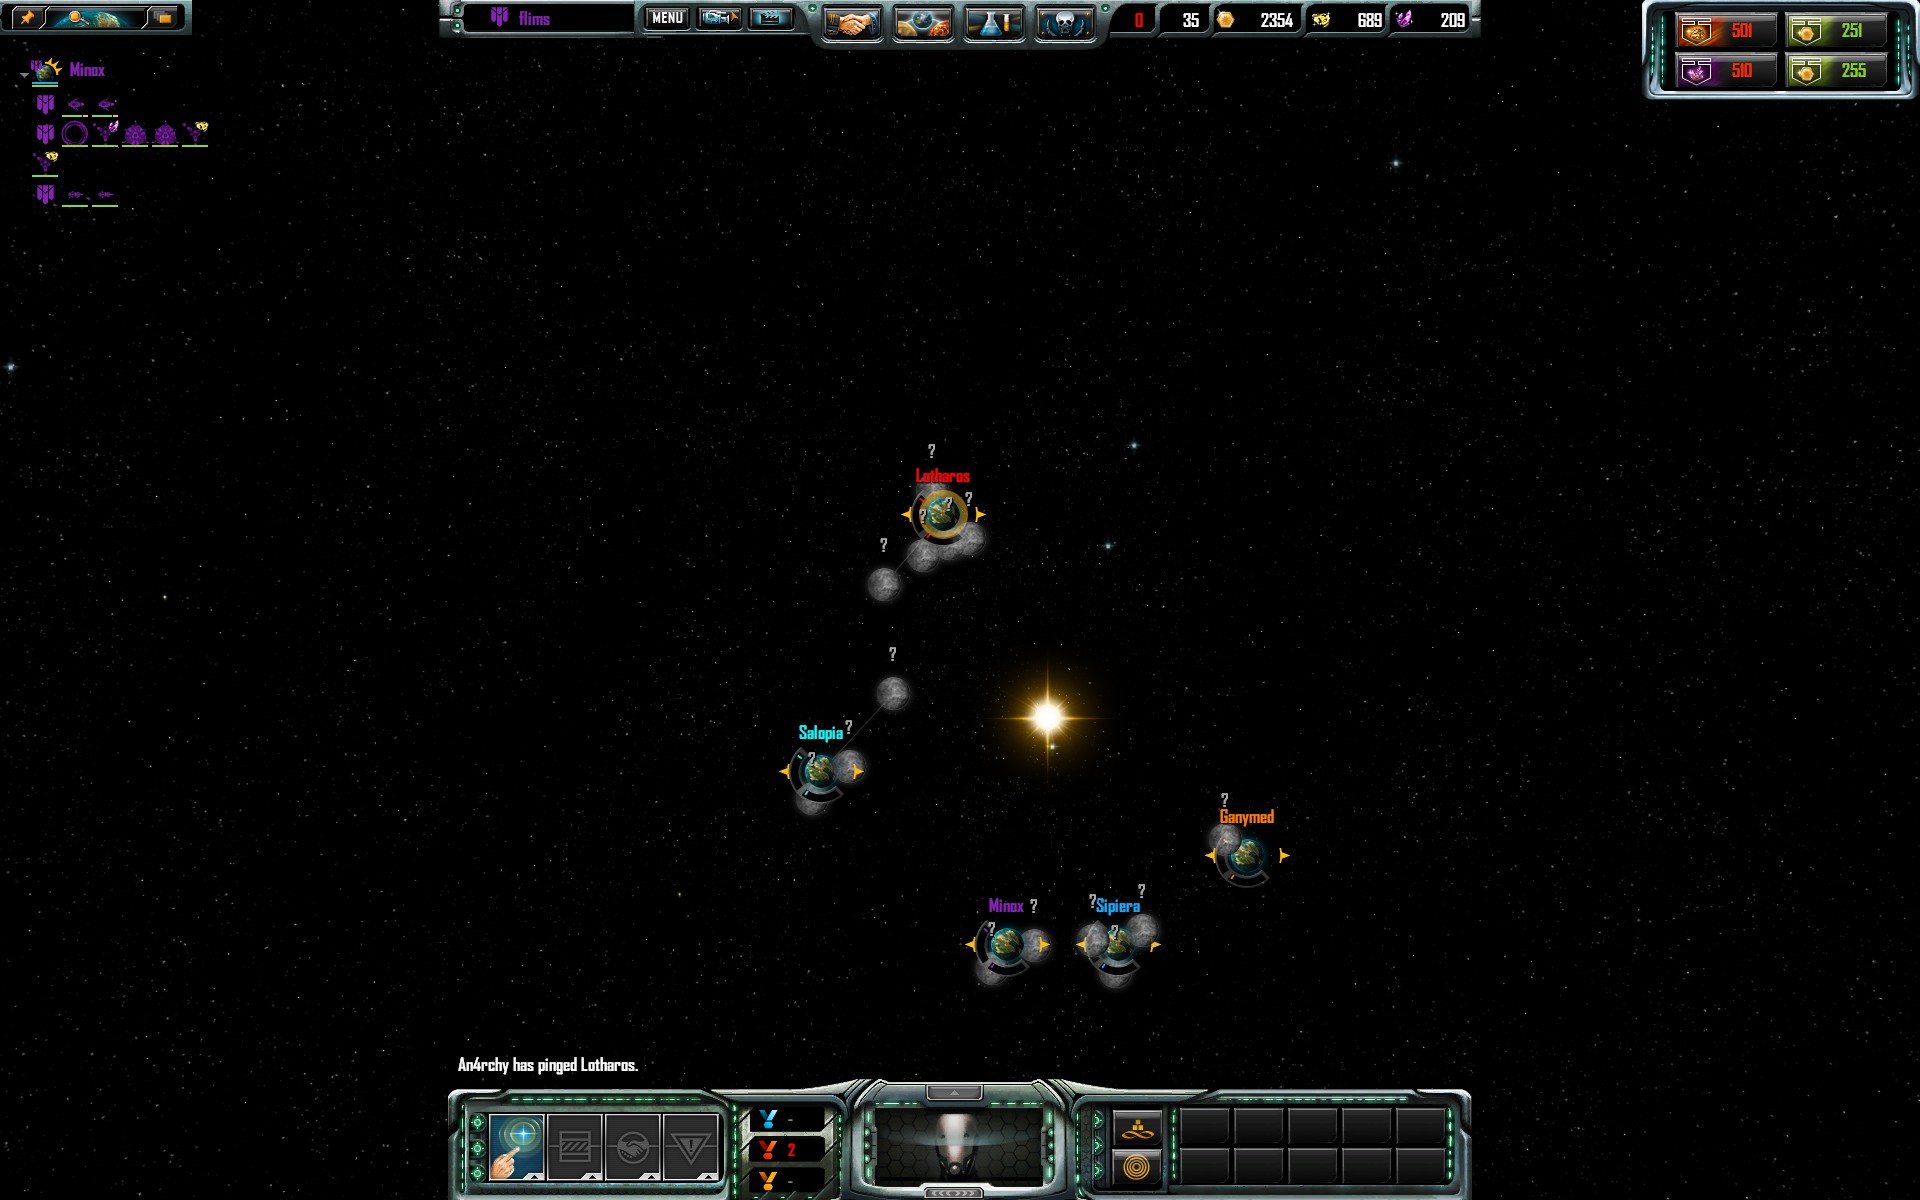
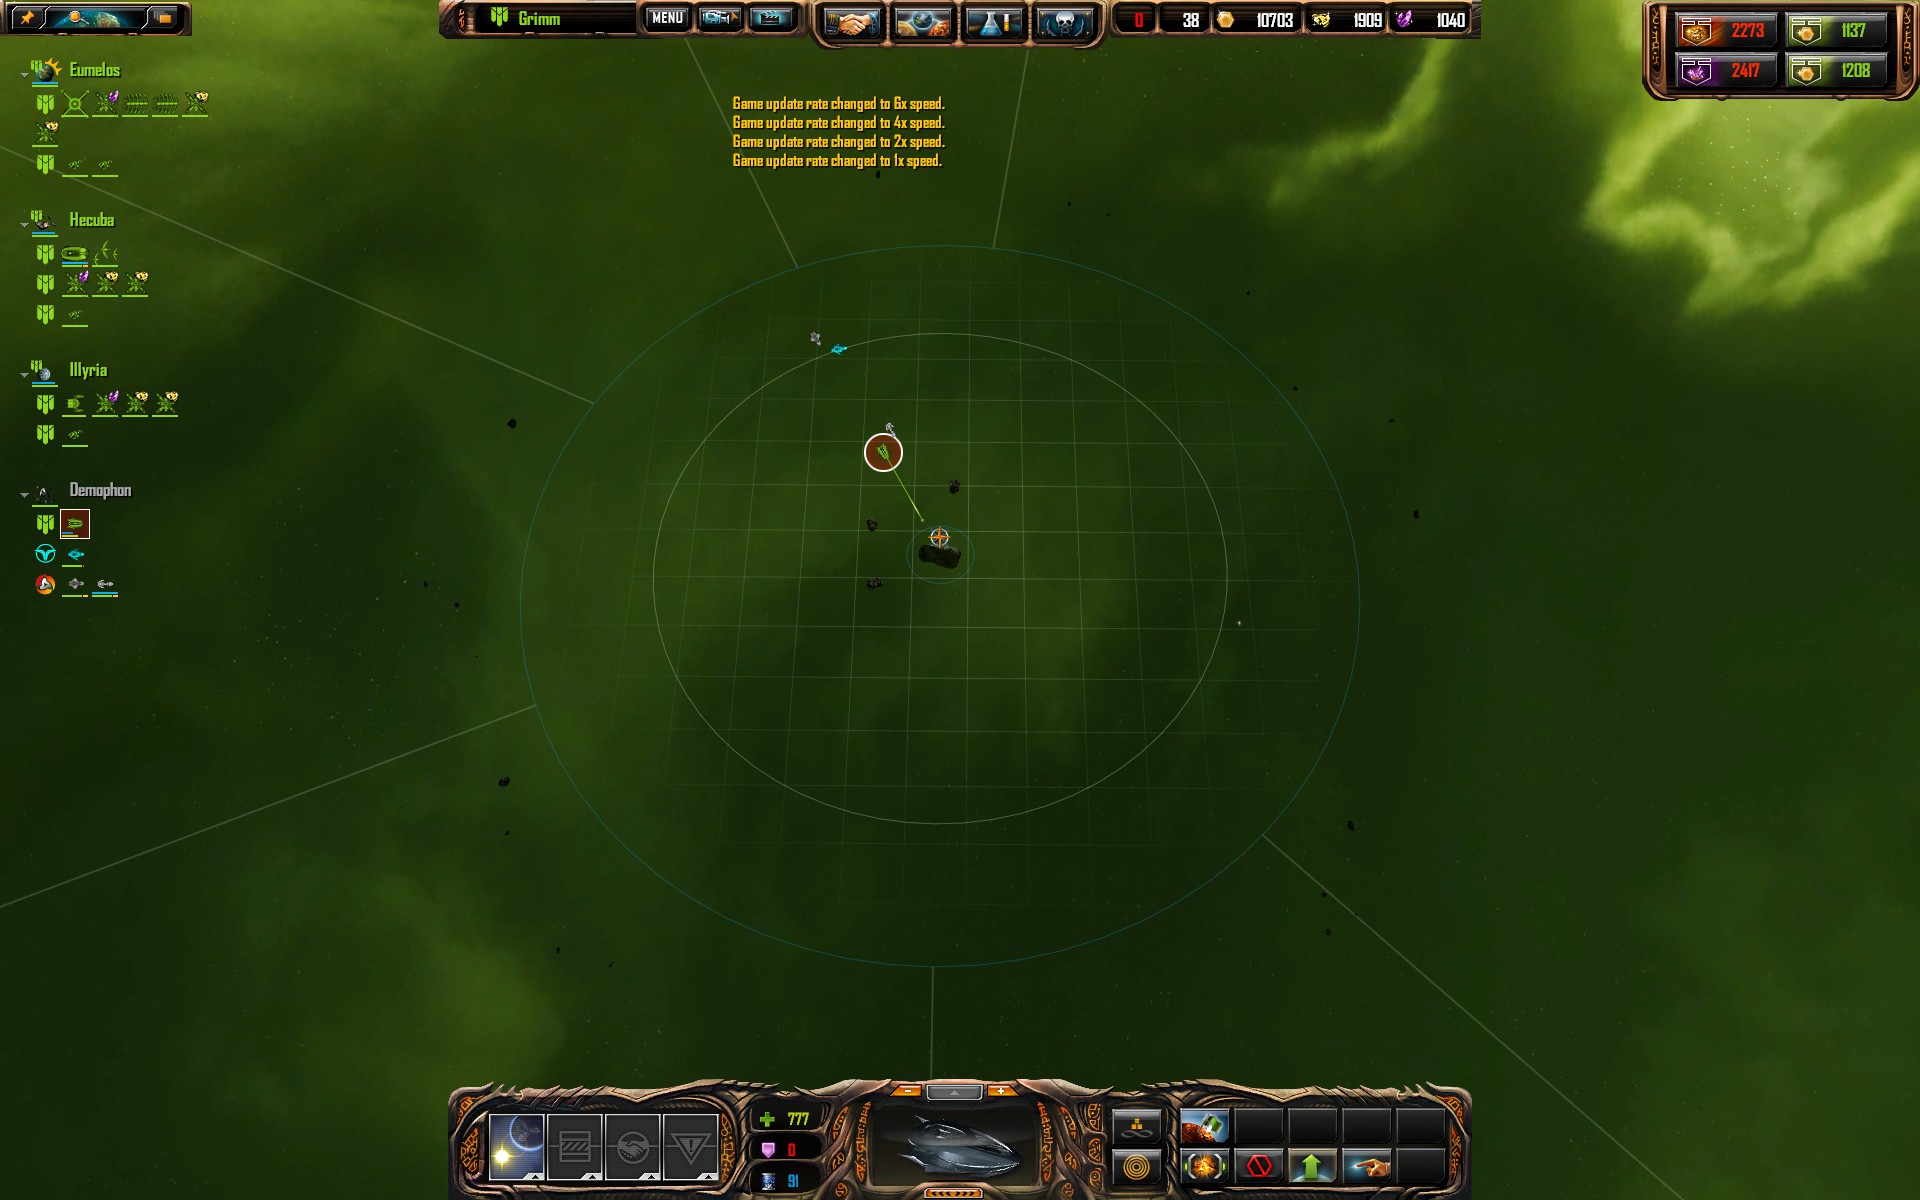
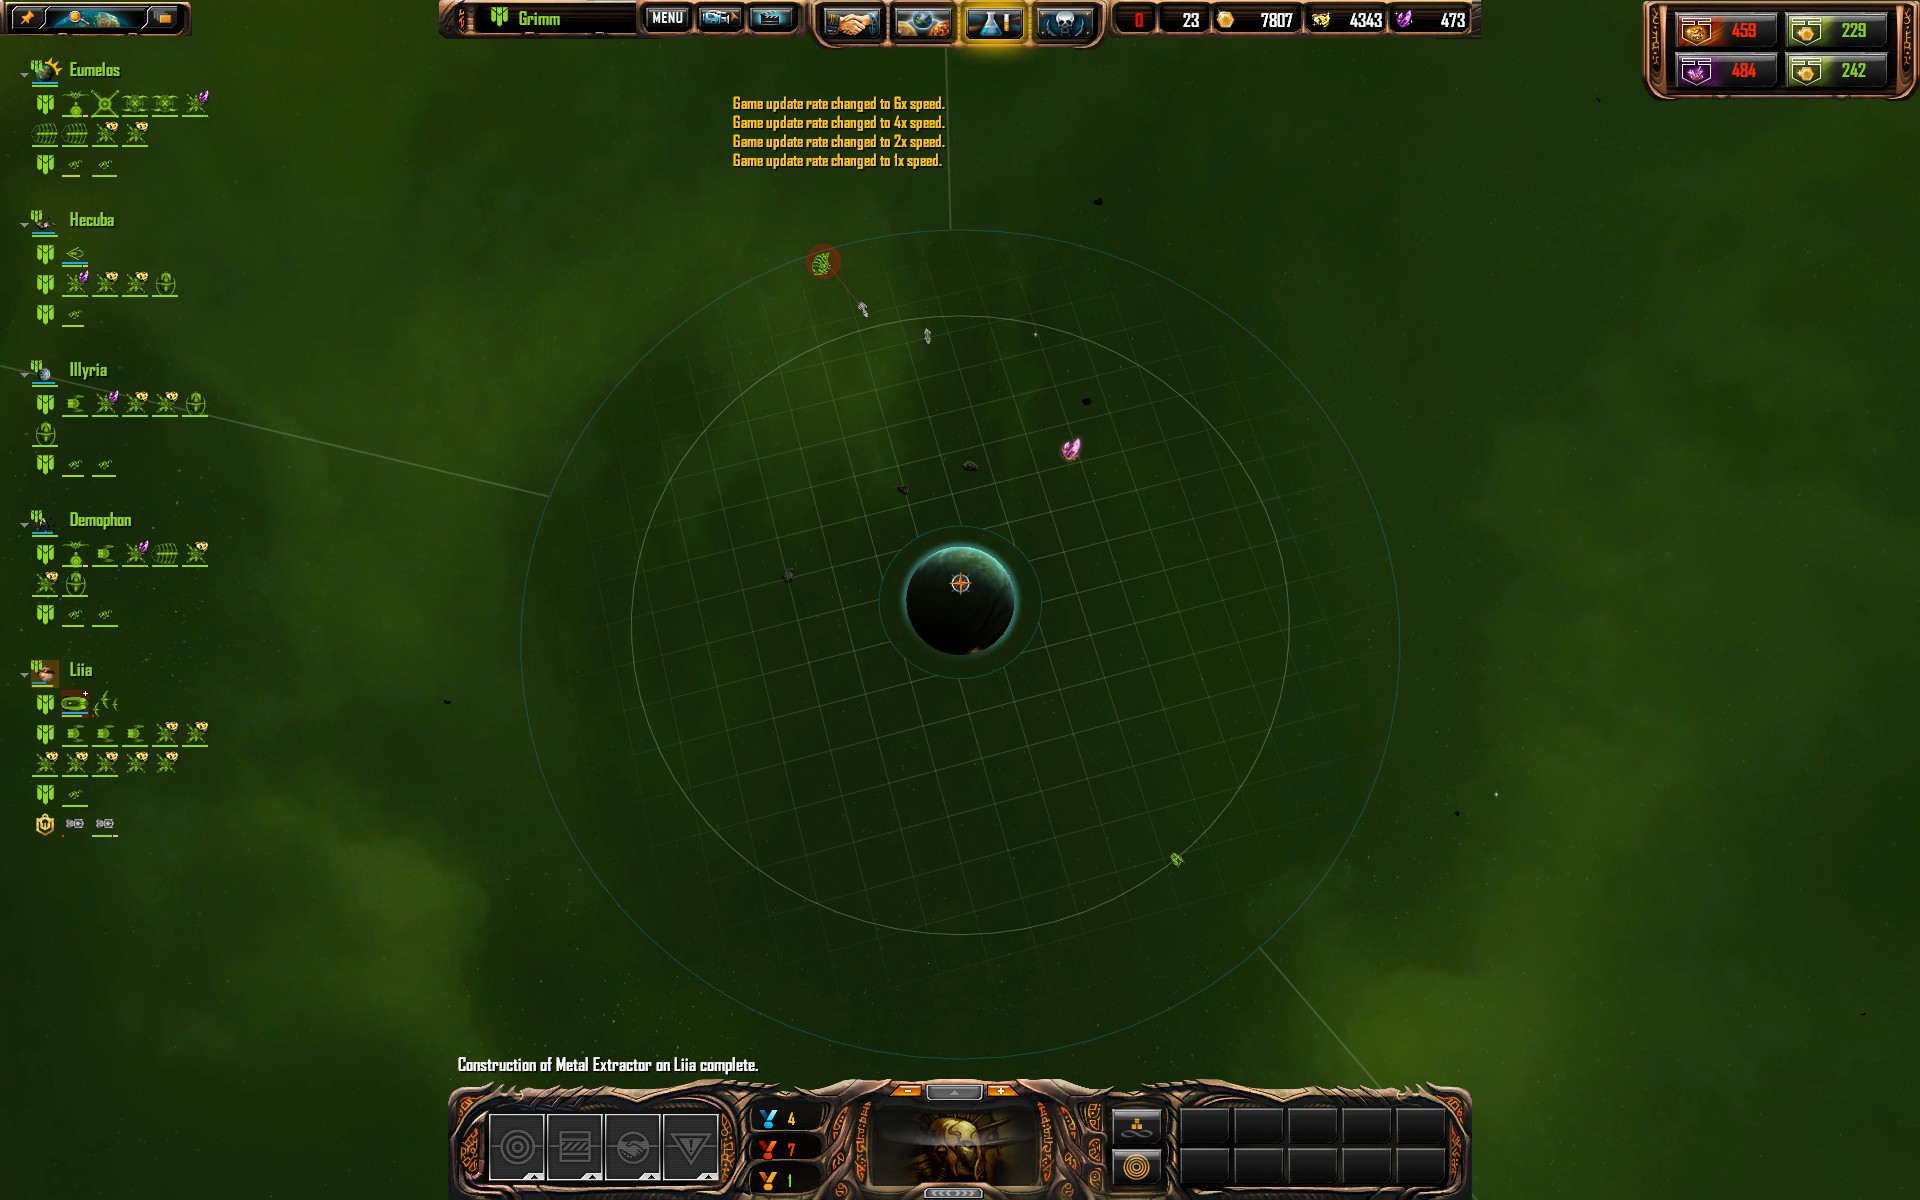
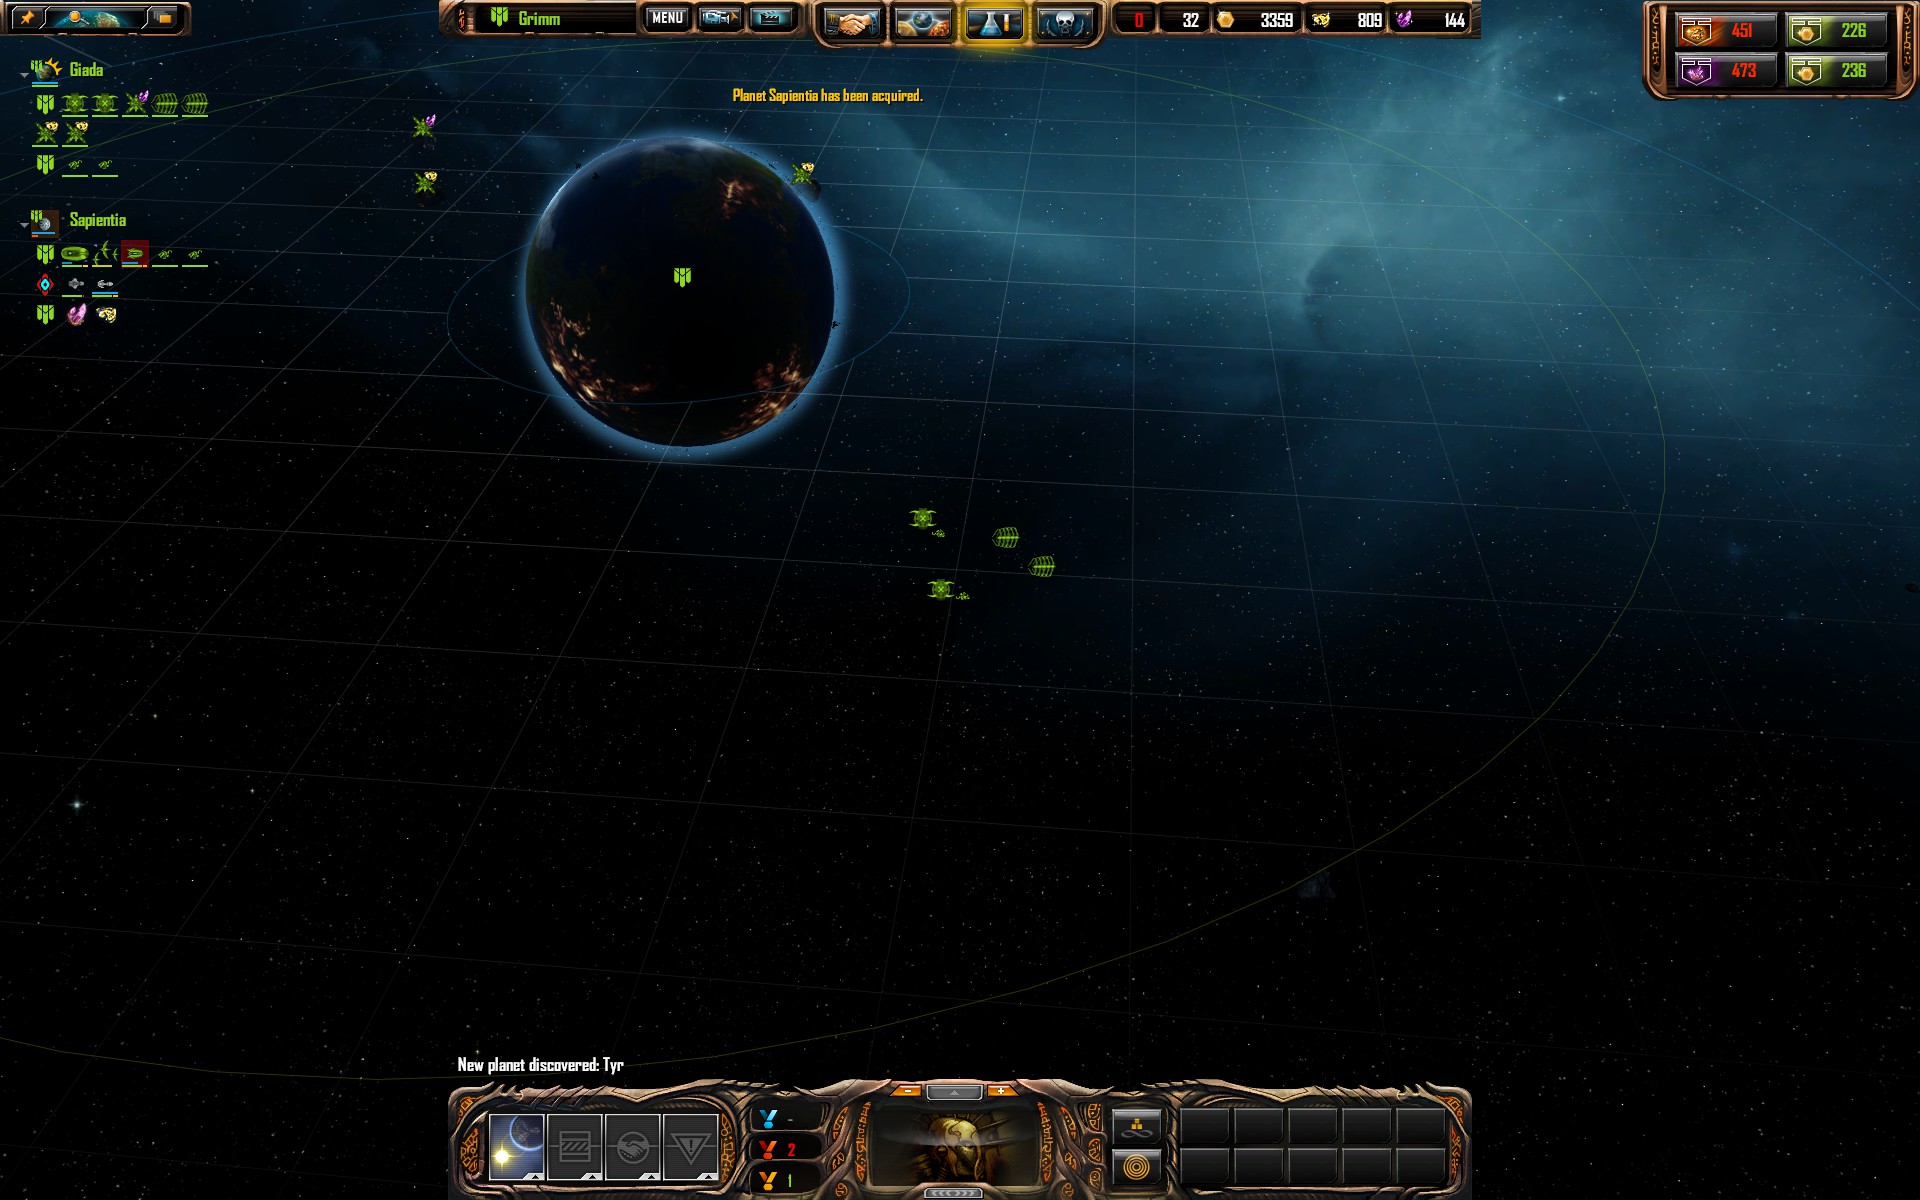
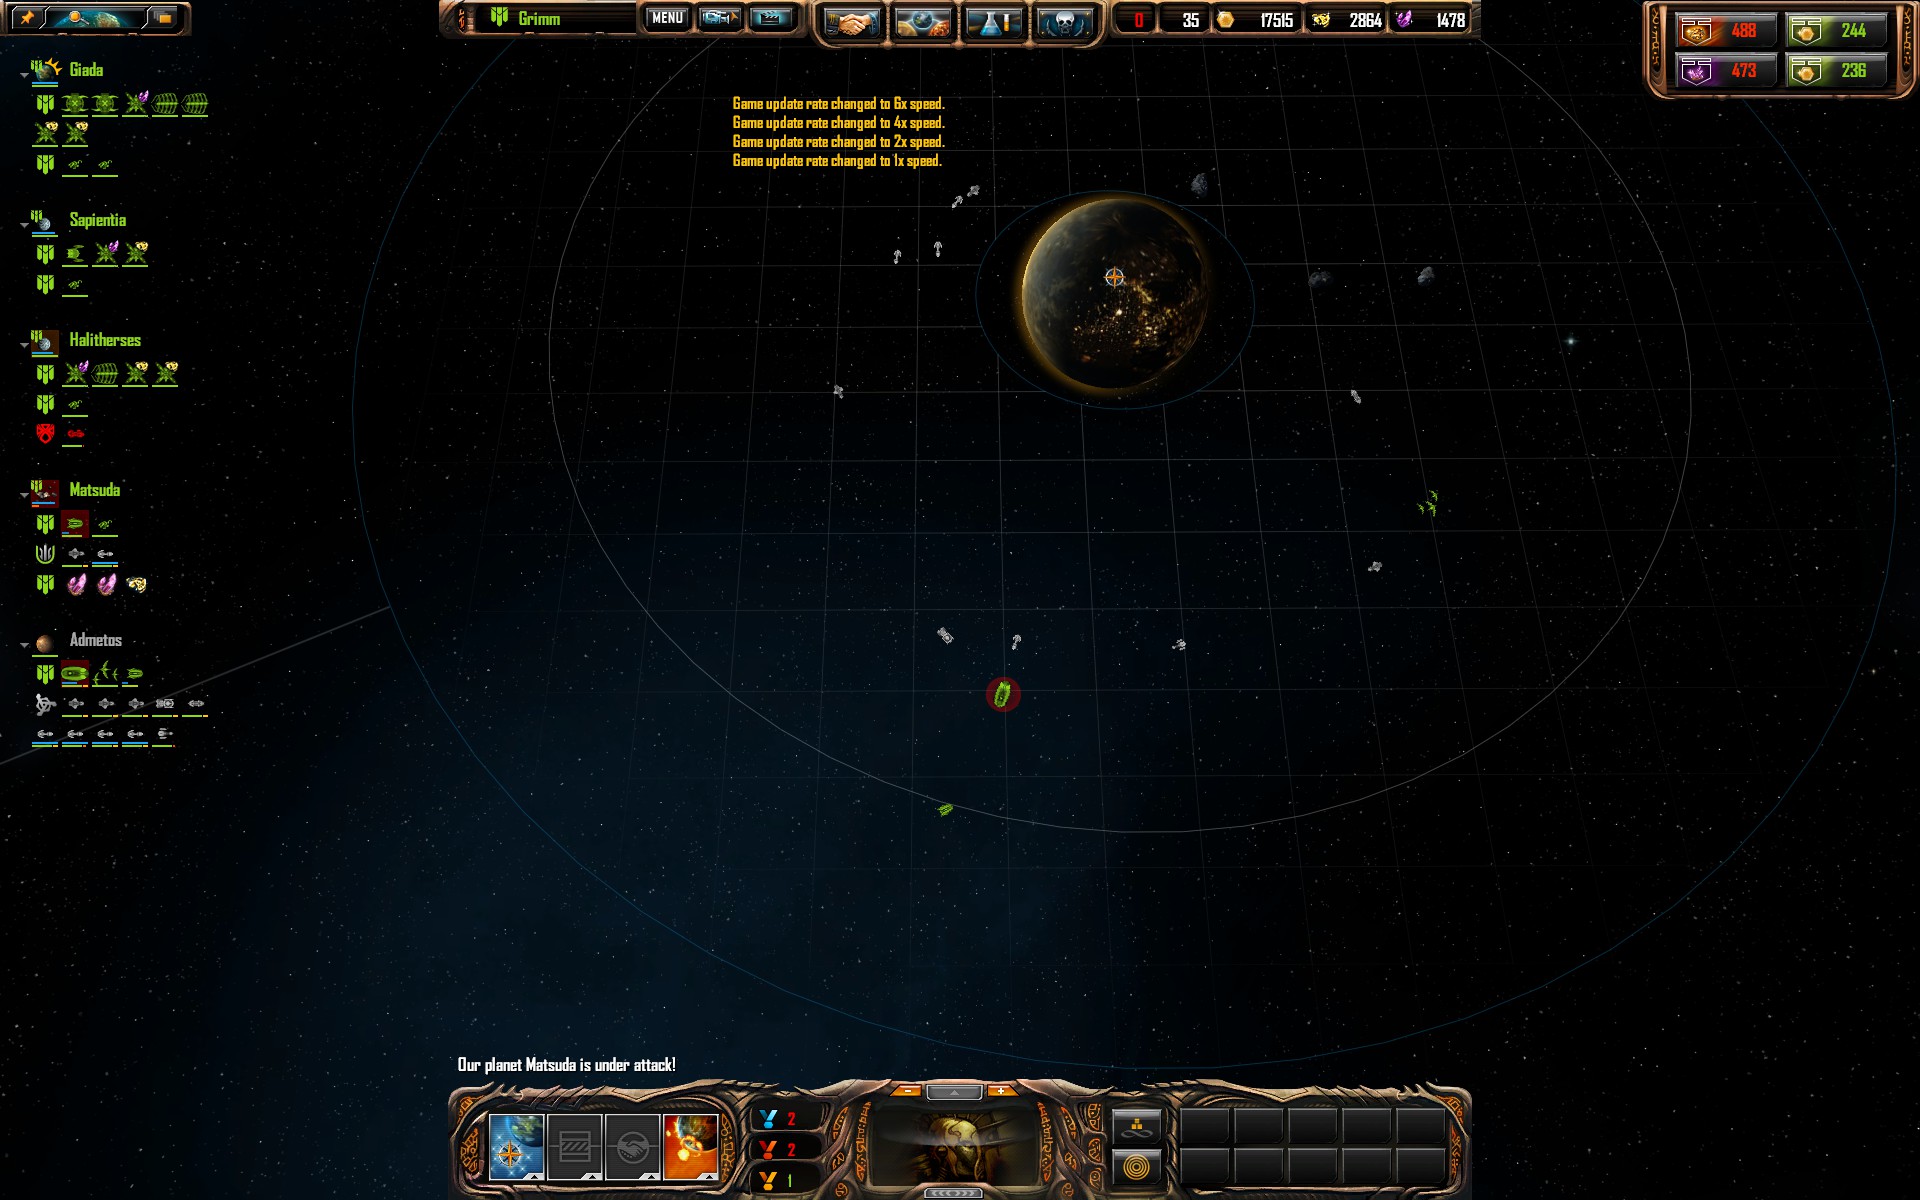
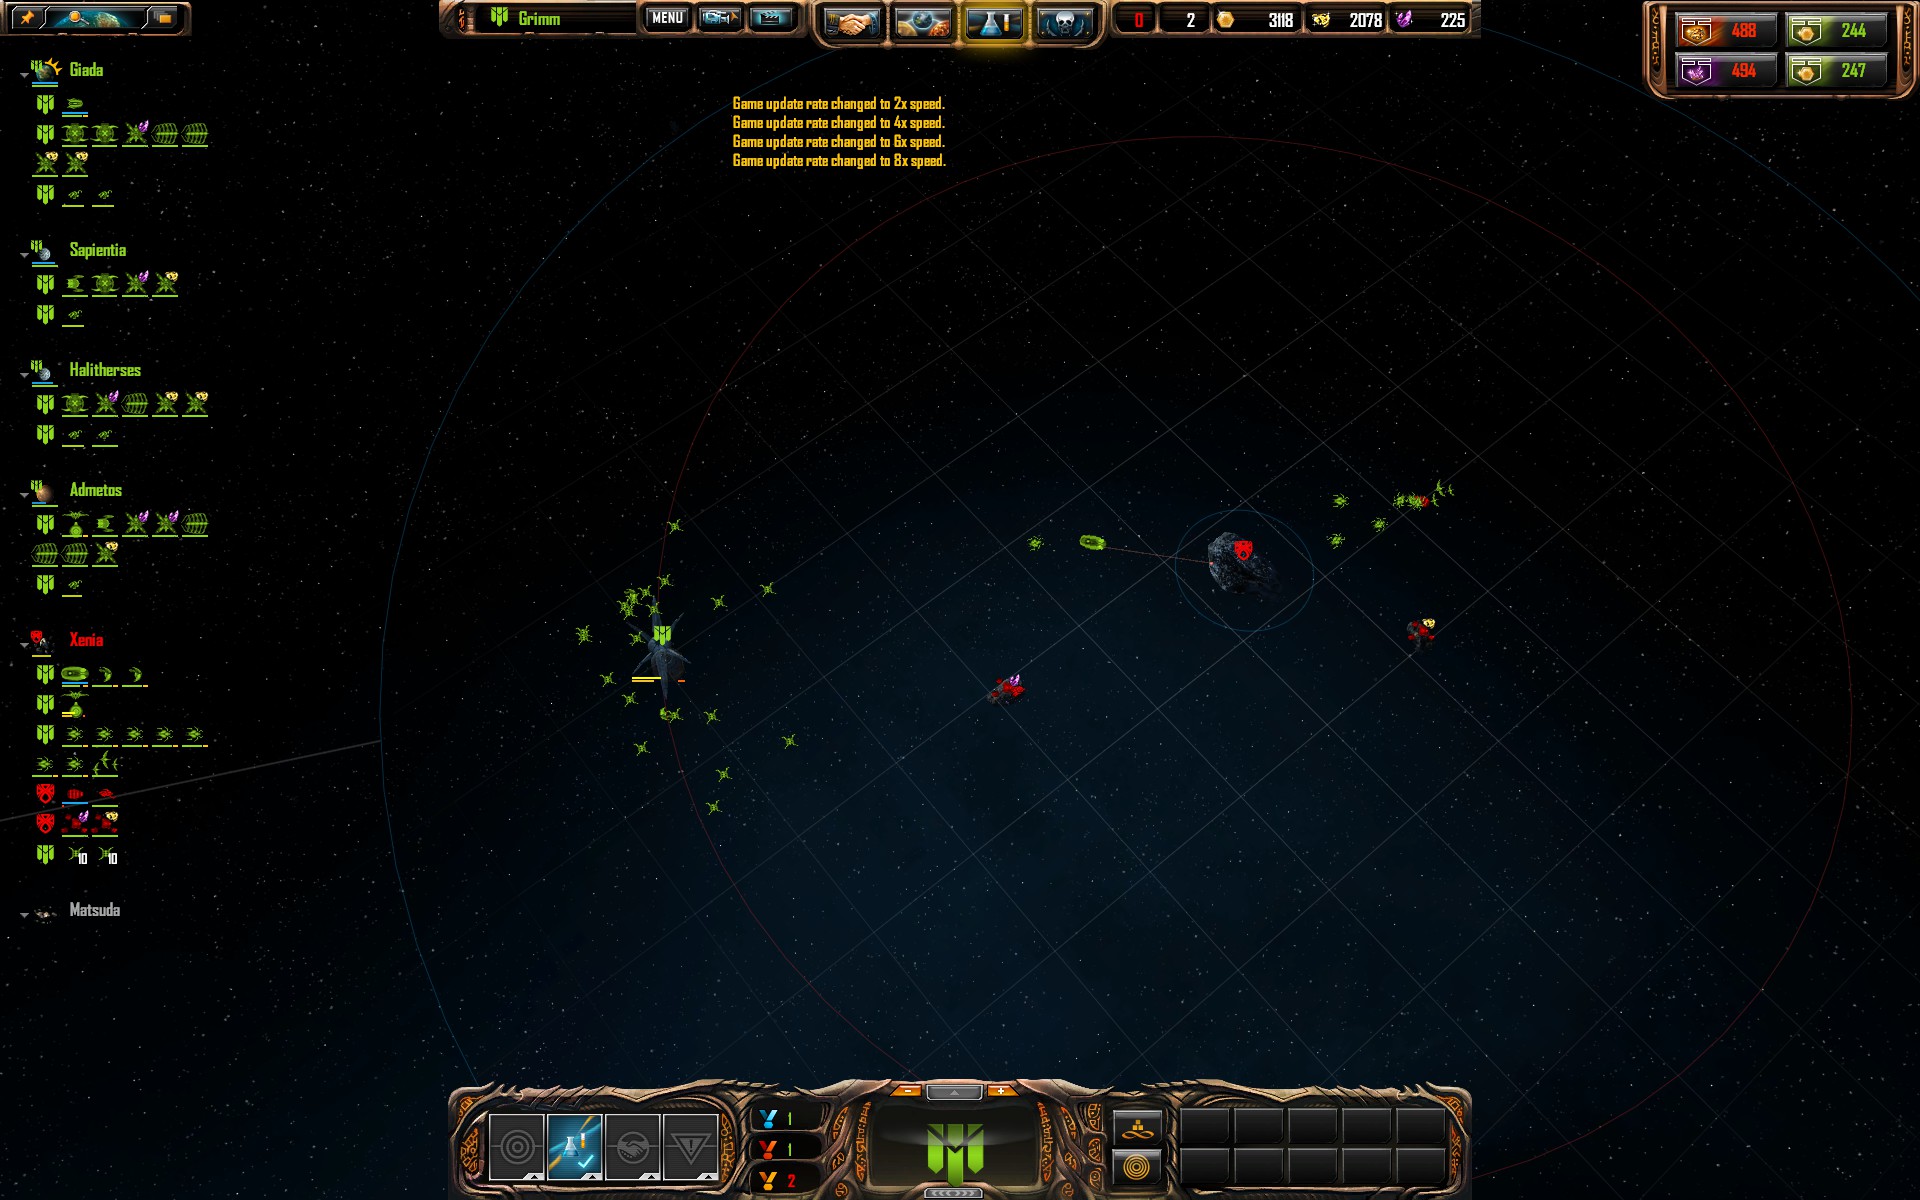
Now, zoom out (zooming out to check your role is usually done before selecting cap ship as done in the 'Start of the game' section, as cap ship choice may depend on role), and look at the map you'll see your own homeworld, and 4 others, like in this example :
The position you have relative to your teammates determines your role. There are 3 distinct roles, with corresponding teammates bordering you, or lack thereof:
Economy [2 friendly neighbours]
Agression [1 friendly neighbour, 1 enemy neighbour]
Death spot [2 enemy neighbours]
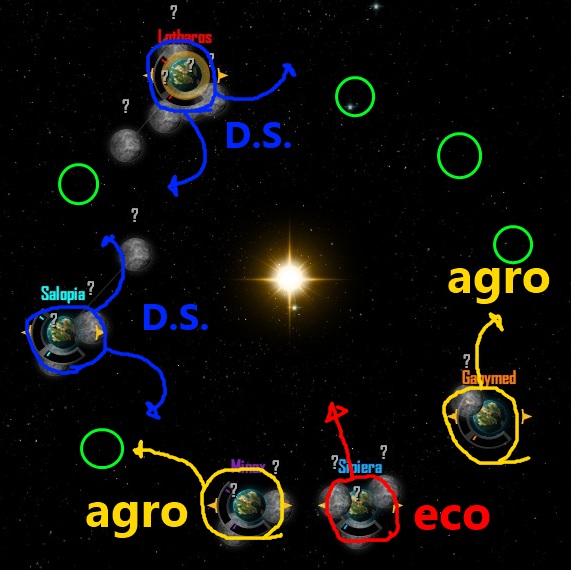
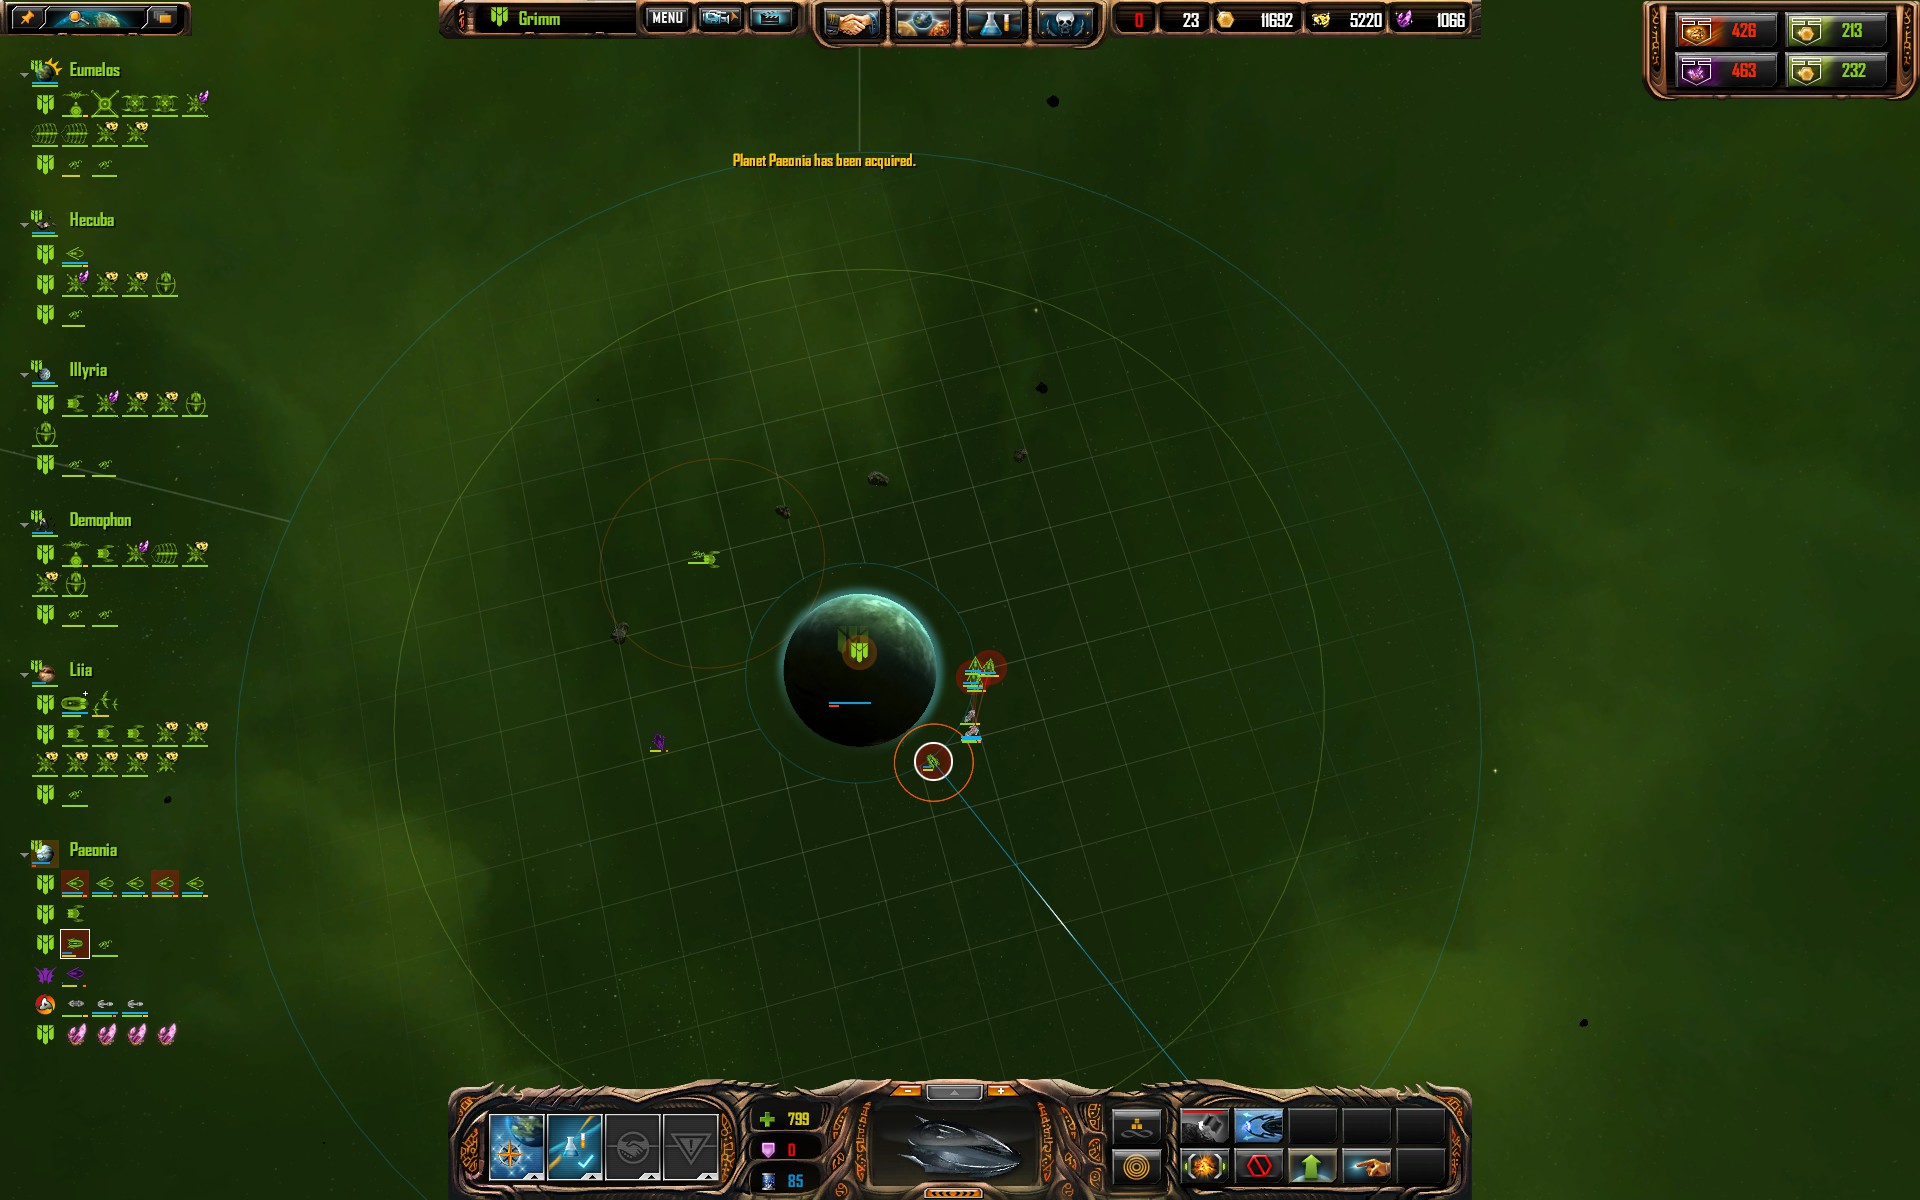
Here's a close-up picture of the planets with role illustrations:
The visible planets are the planets on your team. The neon green circles are the presumed locations of enemy planets.
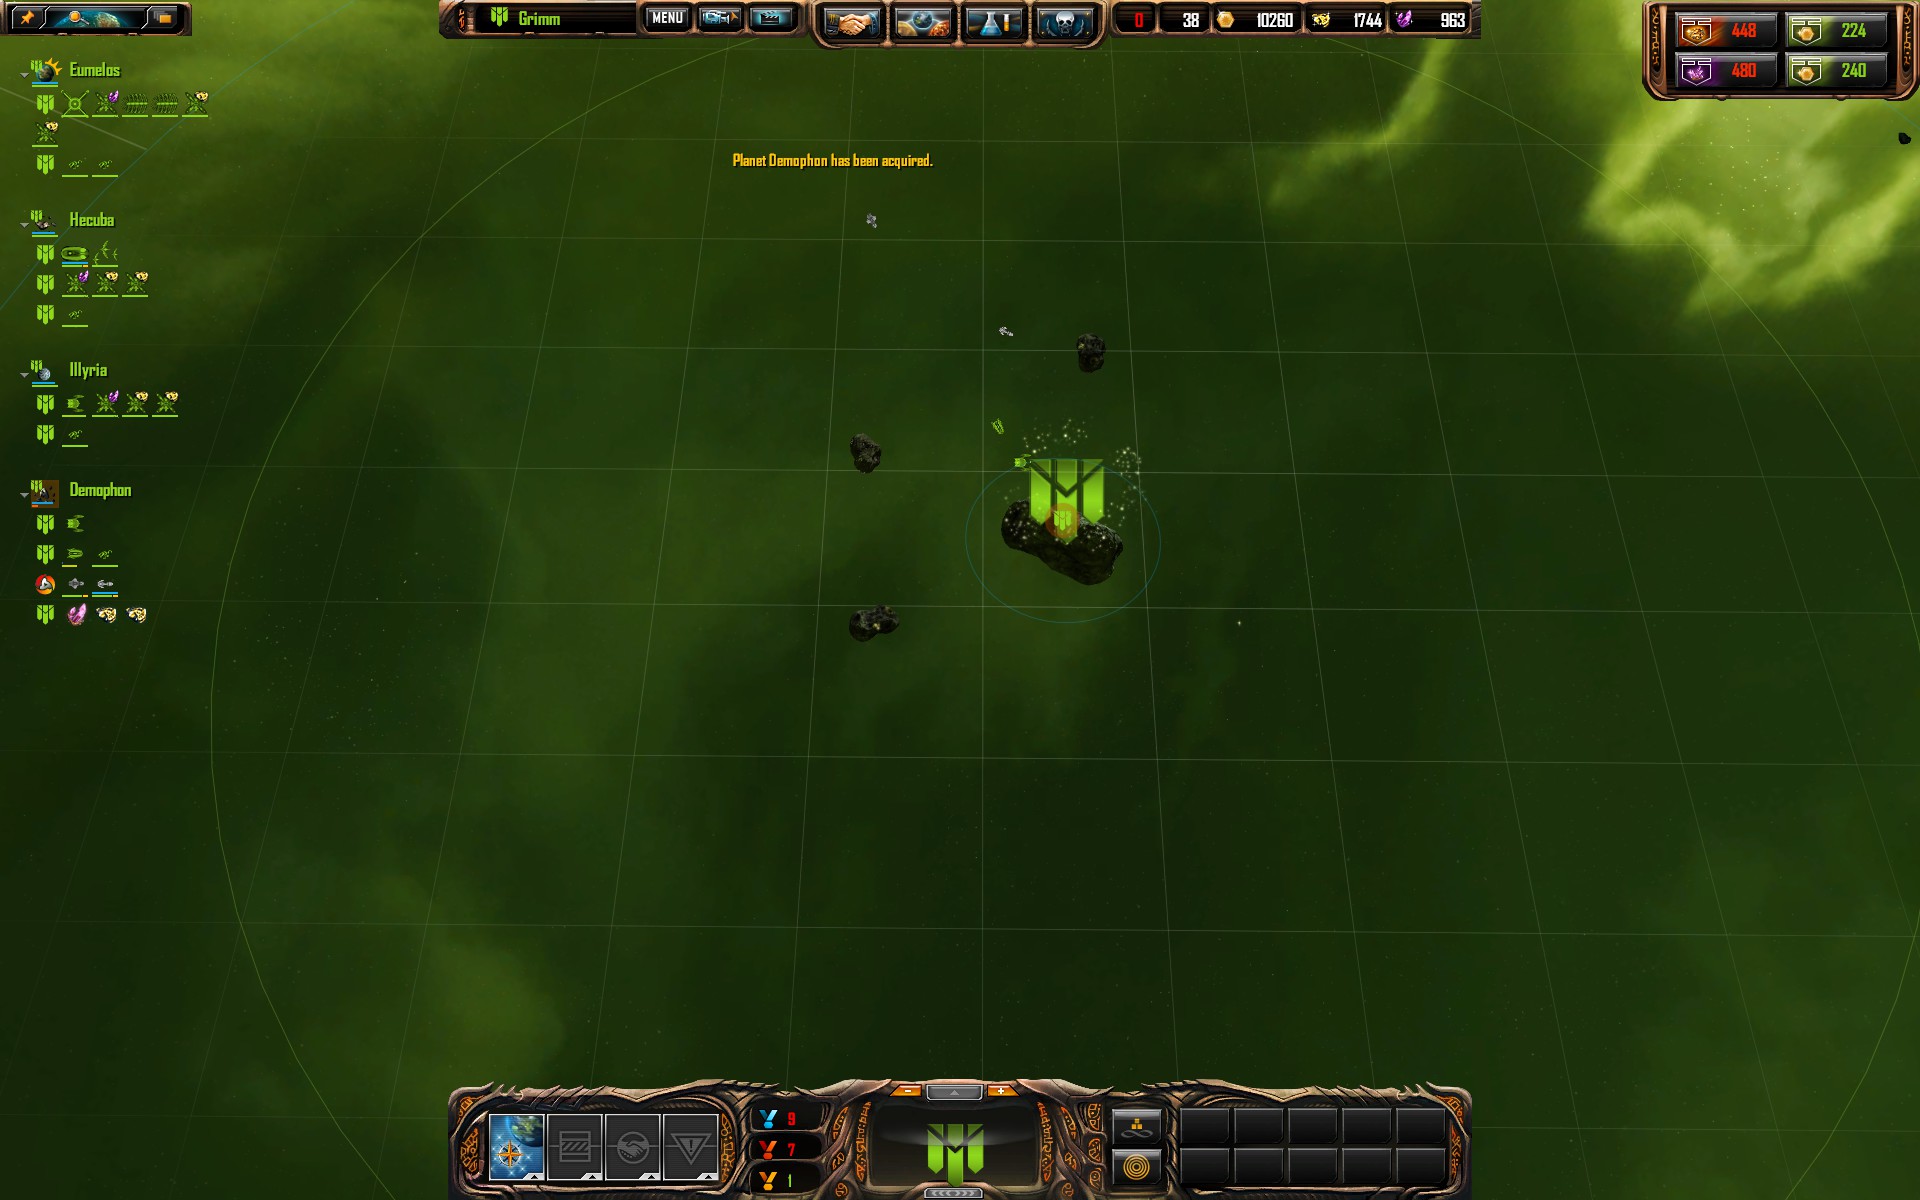
he player that owns the planet circled in red, surrounded by 2 friendlies, is the eco player. This means that he doesn't atack enemies (initially), but instead focuseses on expanding and on increasing his income, in order to be able to 'feed' (give recources and credits) to his allies that are in trouble.
The players that own the planets that are circled yellow are the agressive players. Because they have a friendly in their back, they can focus on atacking in one direction. This is the most straightforward role to play: your only worry is killing your one opponent.
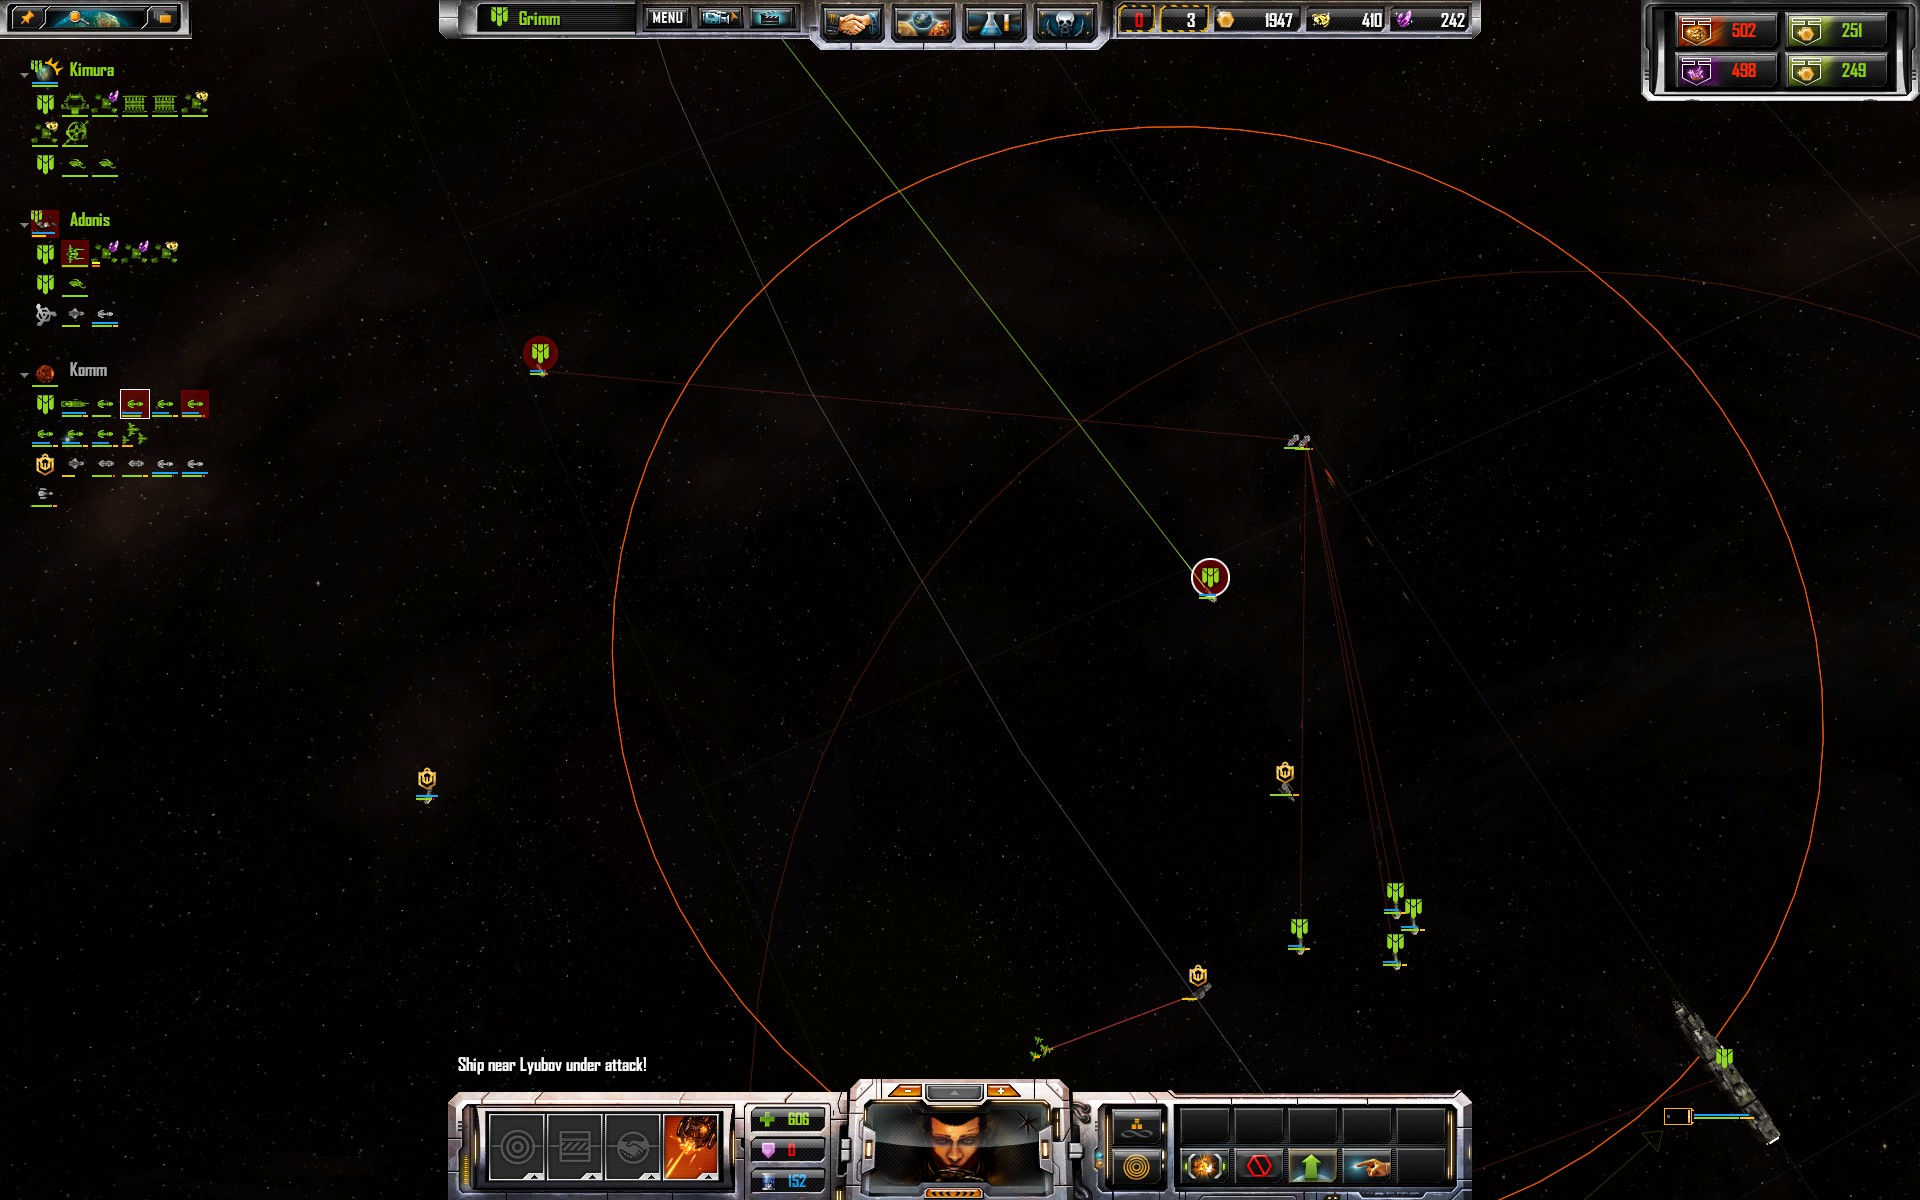
The players that own the planets circled in blue are in the so called 'death spot'. This means they are surrounded by two enemies. Usually death spots imply a 1v2 situation. If for example the player in the death spot position on 9 o' clock decides to 'double' the guy on 7 o' clock inbetween him and his agro teammate on the 6 o' clock position, he might get atacked in the rear by the enemy just above him. If however, he 9 o' clock player decides to atack up instead of down, he is playing a 1v1, and is in the same situation as the two agressive players. Usually you want to play a 1v1, because trying to double somebody while being atacked in the rear is unfavorable. If you are completely surrounded by enemies however, like this: Enemy - enemy - you - enemy - enemy, you will be 1v2, and are dependent on feed, or on fleeing, to survive.
More information about the roles can be found in their respective sections.
Eco Position
So, you see that you are inbetween two of your teammates. This means you've got arguably the most important role in the game. A good eco can make or break a game! First, you must follow the steps outlined in the 'Start of the game' section. You make some scouts, as eco ALWAYS a colonizer cap ship, one or more colony frigates, and you are ready to go.
Remember, as eco, your primary goal is to support your teammates, either through feeding, or through spamming starbases or, lategame, making a huge fleet. To accomplish this, you've got to increase your income. This requires expansion of your empire by capturing new planets, and exploitation of those planets by building trade ports. There are different eco styles with different expansion vs exploitation speeds, each having its own plusses and minusses. I've labeled them 1 to 4, with 1 and 2 being the basic techniques, and 3 and 4 being the advanced techniques.
# Eco methods Expansion Exploitation Advantages Disadvantages Effectiveness 1 1 cap ship + 1 colony frigate Very slow Very fast No money spent on ships, fastest route to trade ports, low multitasking required. Slow expansion leads to small final territory, huge neutral fleets will kill cap. Low: this build gives big initial eco, but will leave the enemy eco with a gigantic territory to exploit. 2 1 cap ship + light frigates + colony frigate Medium Medium Easy, doesn't require cannons. Requires microing the LF in and out of the well meaning constant supervision, losing LF is costly. Initial LF price is high. Medium. This is the most used build online. Some people get one fleet upgrade and about 20 LF to expand quickly at the price of handicapped eco. 3 1 cap ship + scouts + colony frigate Fast Fast Faster expansion than with light frigates, scouts are cheaper. Requires the building of cannons at conquered wells, slightly micro intensive. High: easy to do, makes for fast expansion towards the enemy. 4 1 cap ship + scouts + colony frigate + scouts Faster Fast Faster expansion than with only scouts at cap ship, still cheaper than LF. Cannons at conquered wells, requires good multitasking. Extreme: Very hard, allows for extremely rapid expansion at minimal costs.
I will elaborate on the eco styles in the next sections. For now, if you are a novice I recommend learning to use the second technique, which is mainly used in agro positions, because there you need lf anyway, and the third technique, which will make you a better eco than 90% of players.
Remeber, as eco, you have to feed your struggling teammates. A chain is a weak as its weakest link, and if one of your teammates dies, the game is basically over. On the other hand, you have to survive as well, so at some point you need to get starbases up on your border so you don't get invaded. Lategame, you might need to fleet up to make a difference.
Basic Colonization Techniques


technique 1 (cap + colony frigate):
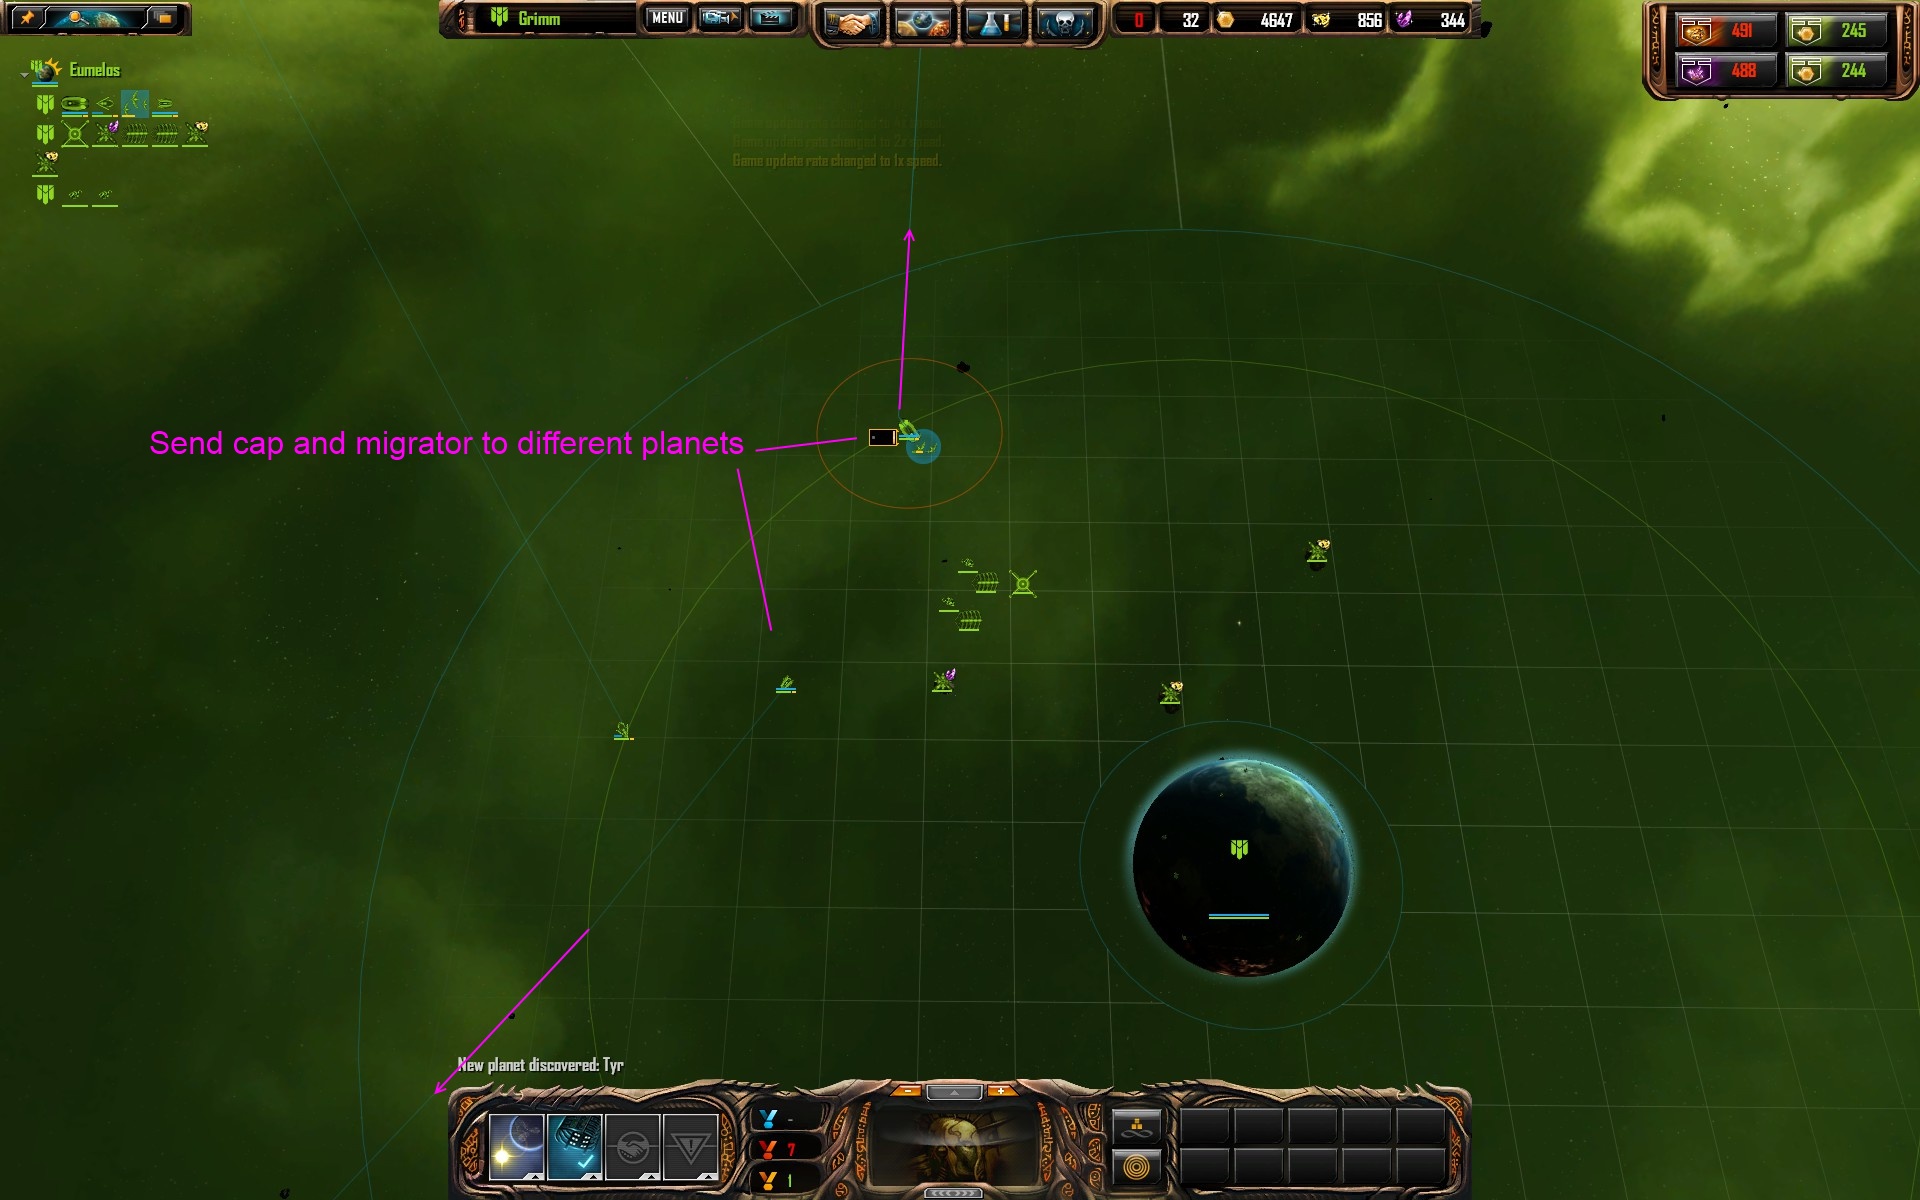
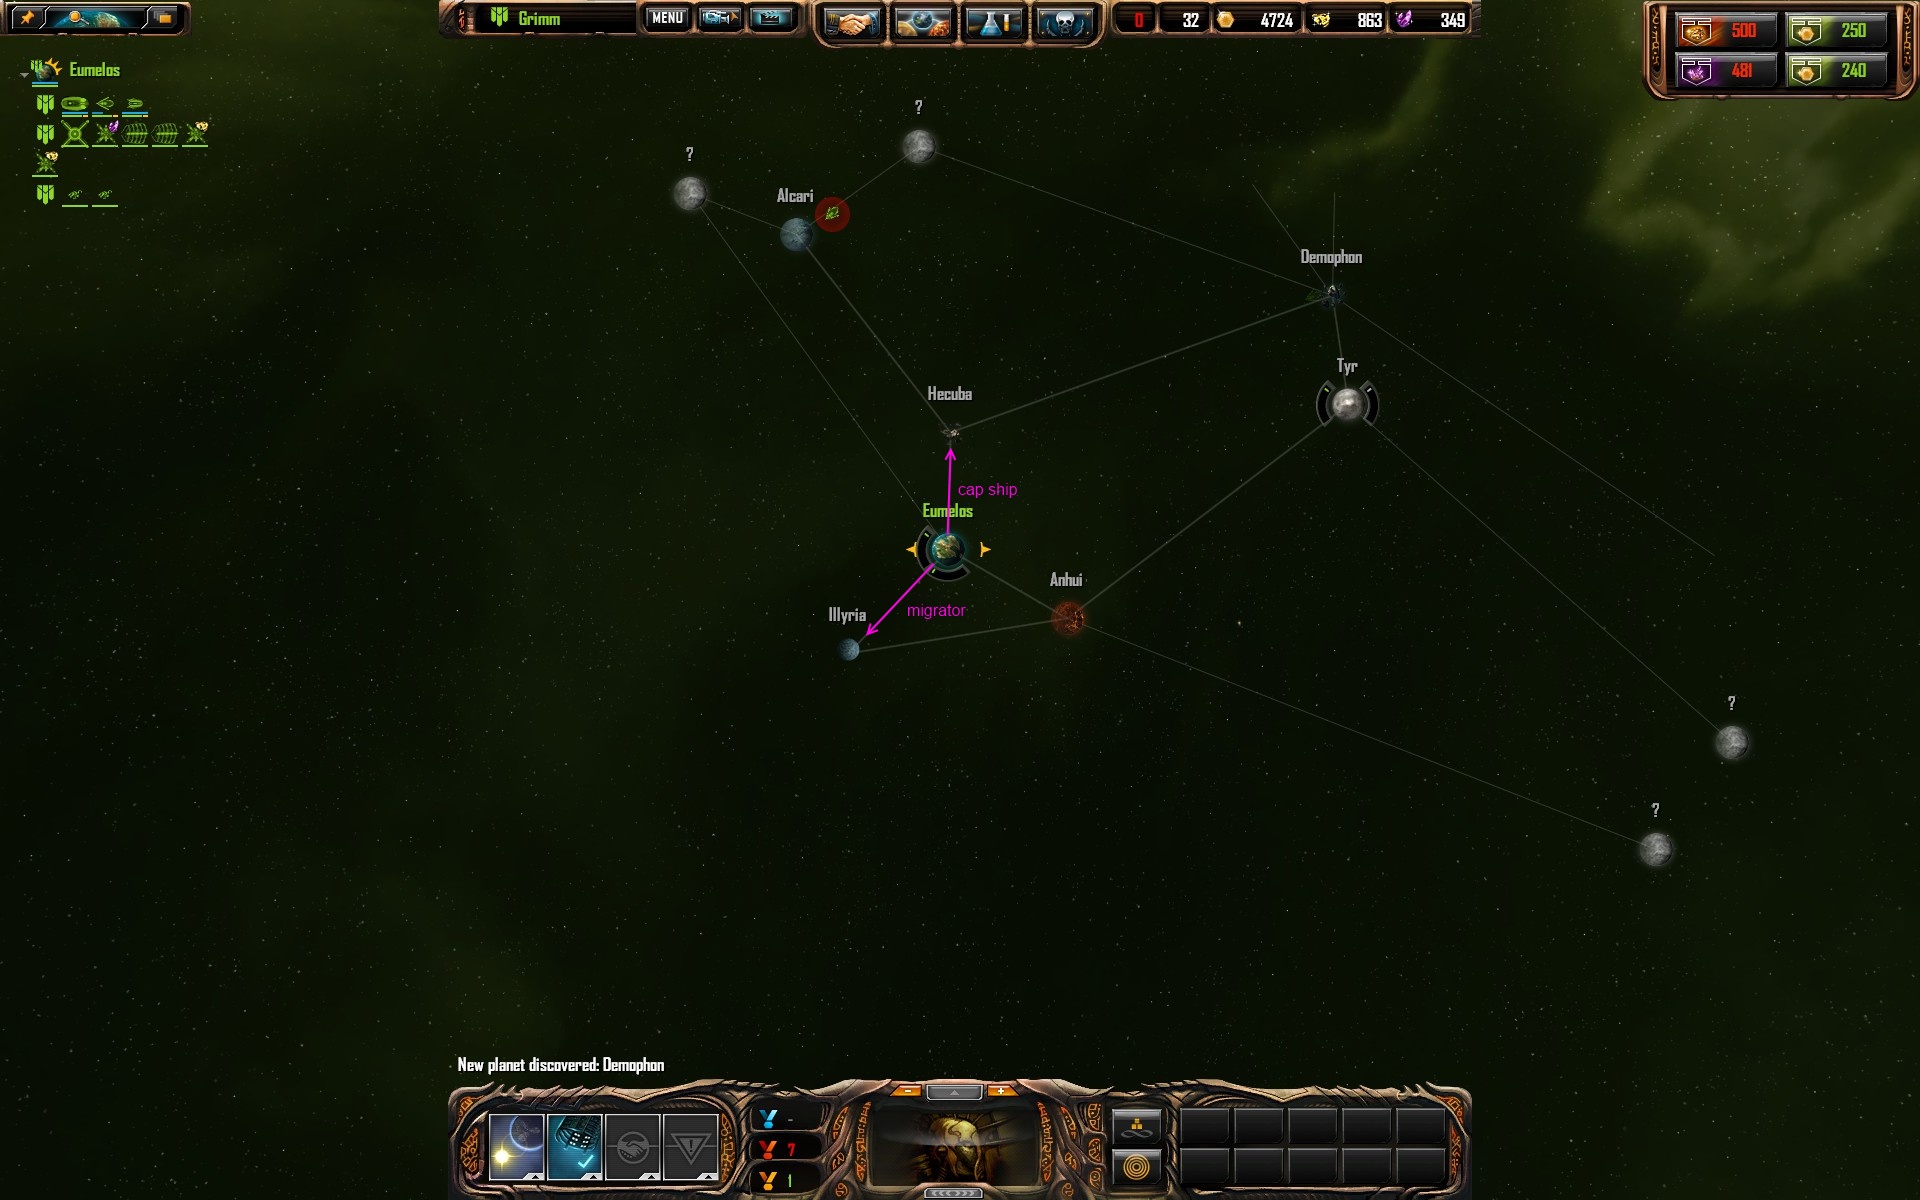
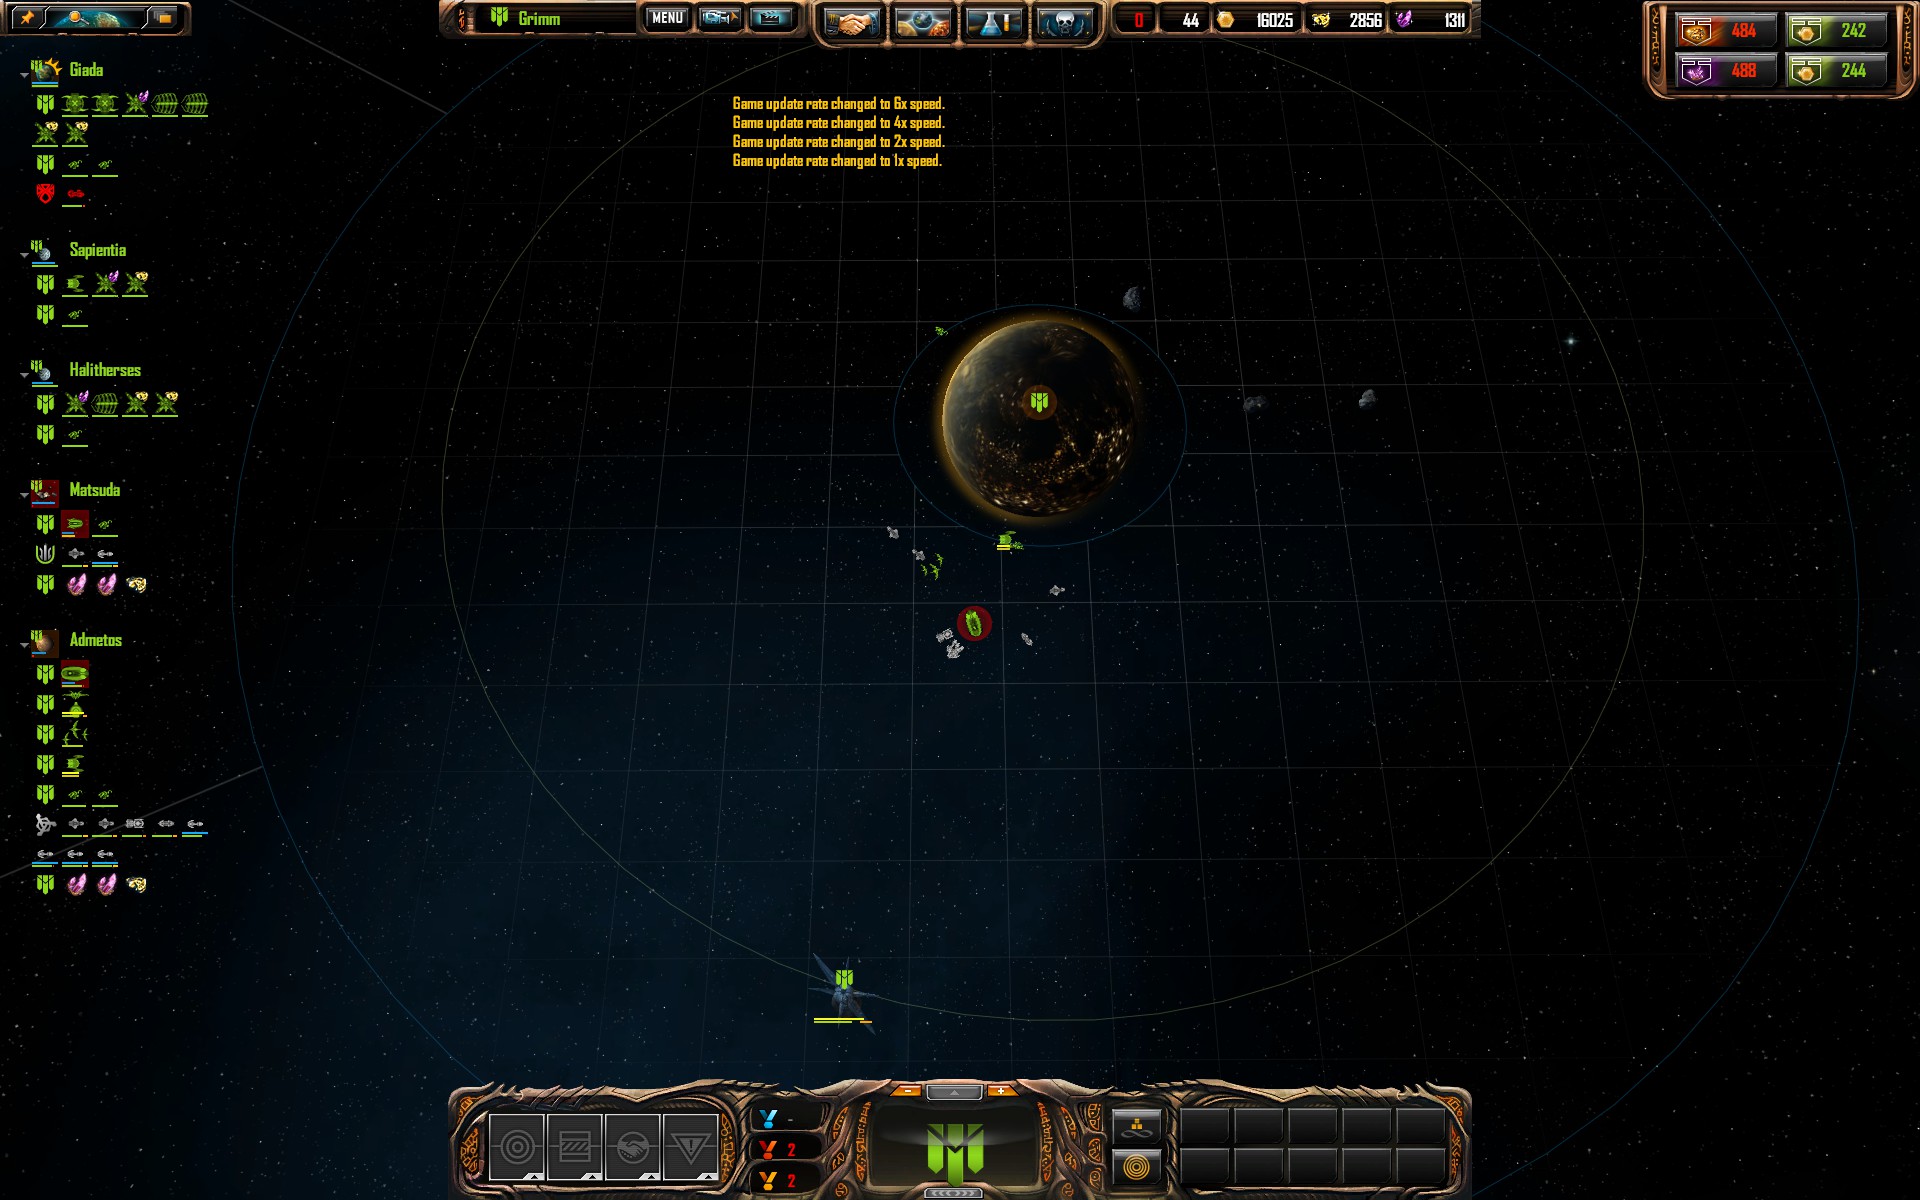
At the start of the game, you have got to send your cap ship one way whilst sending your colony frigate the other way, like in this example:
Capturing a planet with your cap ship is straightforward: just kill the enemy ships. How do you capture an astroid or a moon with just your colony ship, though? It's simple! After capturing the planet, you make a cannon that hugs the planet and faces in the direction of the enemy siege frigate, like so:
Paravox explains it eloquently in his video:
What Paravox doesn't touch upon, however, is the fact that if you colonize a roid next to your homeworld, your colony frigate will spawn from the factory with 225 antimatter. When jumping, it loses 100 antimatter, leaving it with 125 antimatter. It needs 90 antimatter to colonize, so it can colonize straight away. But what do you have to do if your astroid is two jumps away, or if you want to colonize another astroid straight away after colonizing the first one? Look at the next screenshot (you might have to enlarge it):
As you can see, the colony frigate just entered a well and it has 0 antimatter. It will get killed before it regenerates 90 antimatter. There's a trick you can use here, though, by using shift+right click to queue this exact triangular movement pattern, the ship will move around until it has 90 antimatter, and it can colonize.
This trick works because when ships are moving, they are harder to hit, and thus take less damage.
technique 2 (cap & LF + colony frigate):
The next technique is used alot by noob ecos and by people in the agro position. If you are in a 1v1 situation, a normal agro position situation, you will spam light frigates. You want to capture planets like lava planets and terran planets, which are heavily defended, without losing any light frigates. With fleets from 8 up to 30 light frigates, this means you have to micro. You have to individually manage your ships. There's 2 micro tricks that will allow you to keep your light frigates alive: Fleeing and dodging.
Fleeing
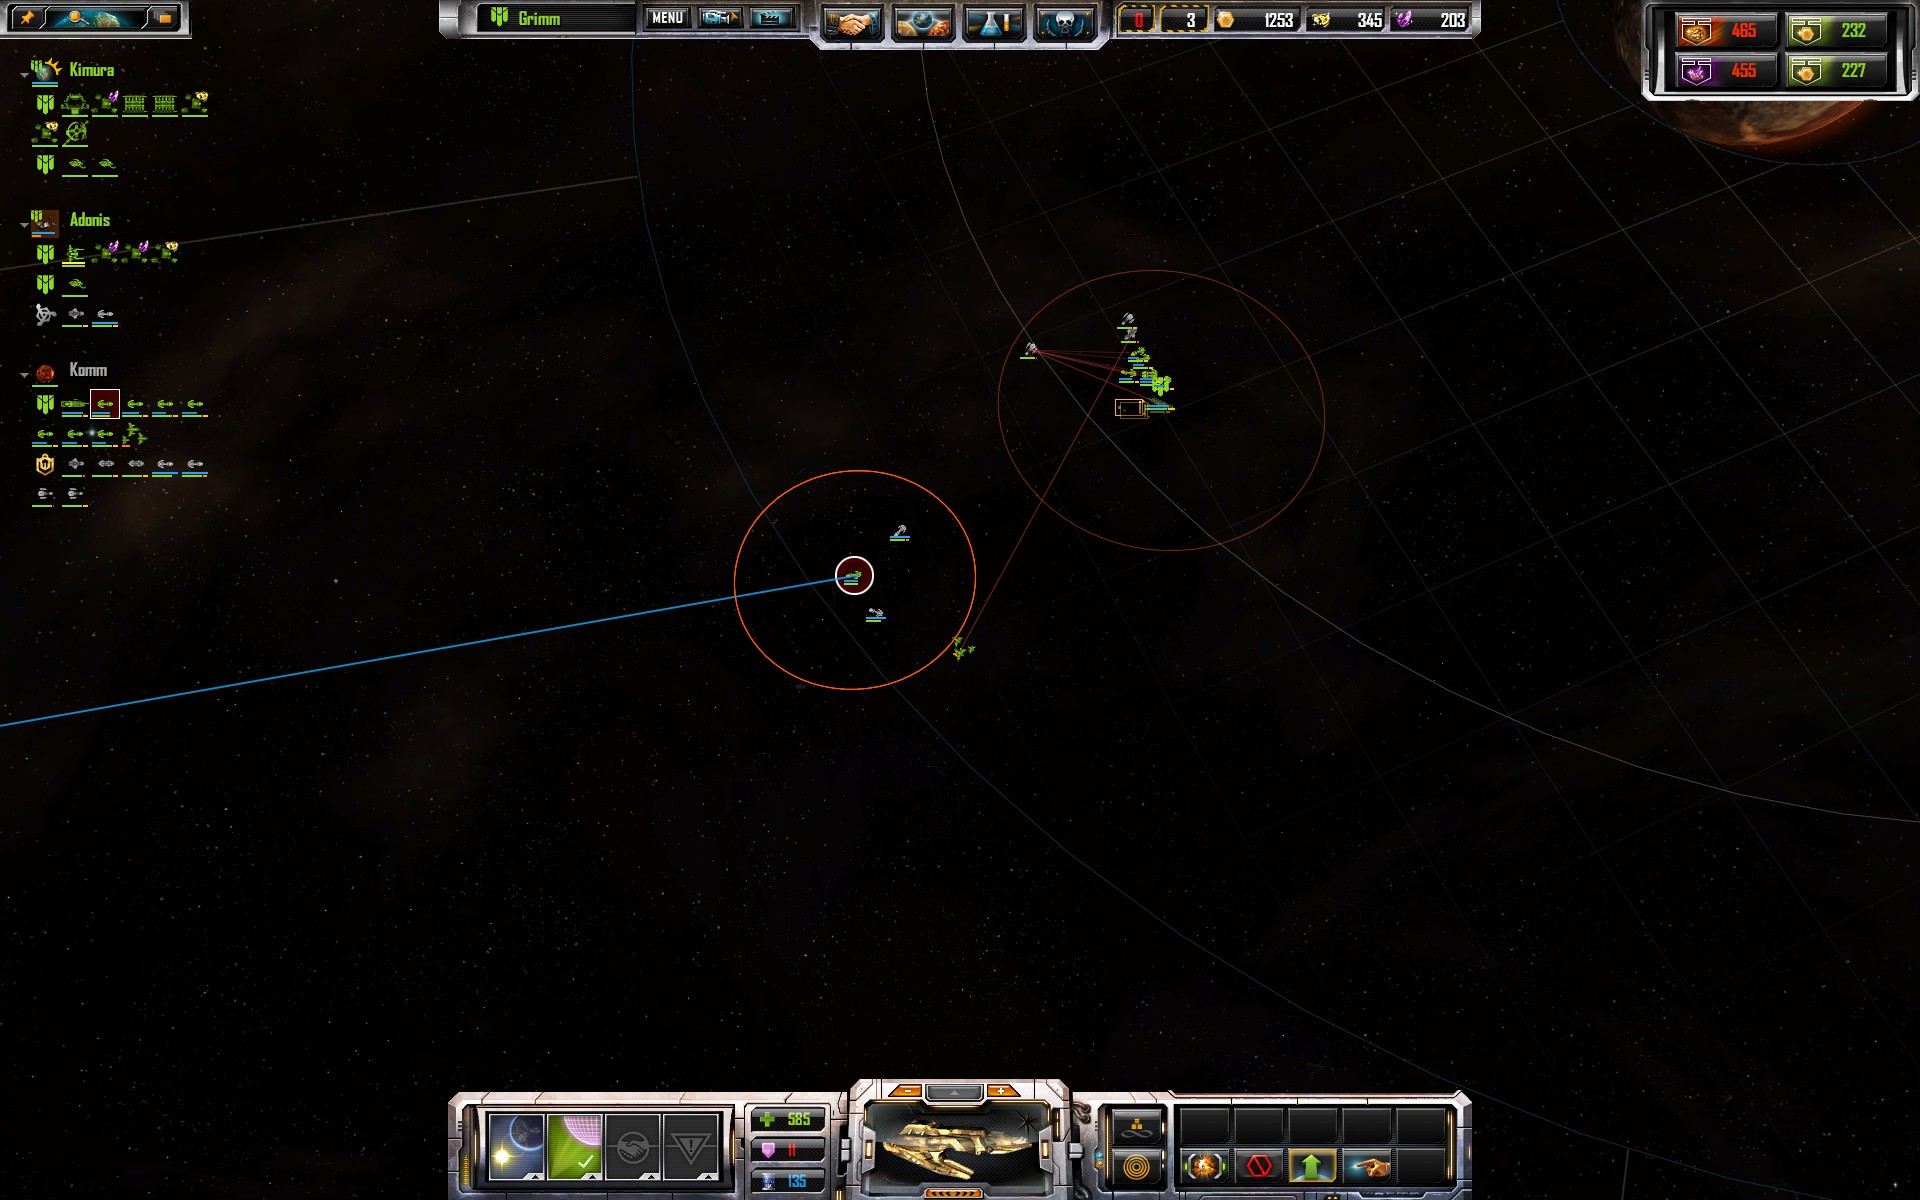
I'll show fleeing to you in this example on a lava planet. As you can see in the next image, I've jumped in with a cap ship and 7 light frigates. Without micro, I'd lose 2 or 3 light frigates to the neutral fleet. The most dangerous neutral enemies are LRM, because LRM do extra damage to my LF. Therefore I target them first, and shift-queue the 2 LRM and then the 2 LF, because they pack a punch too.
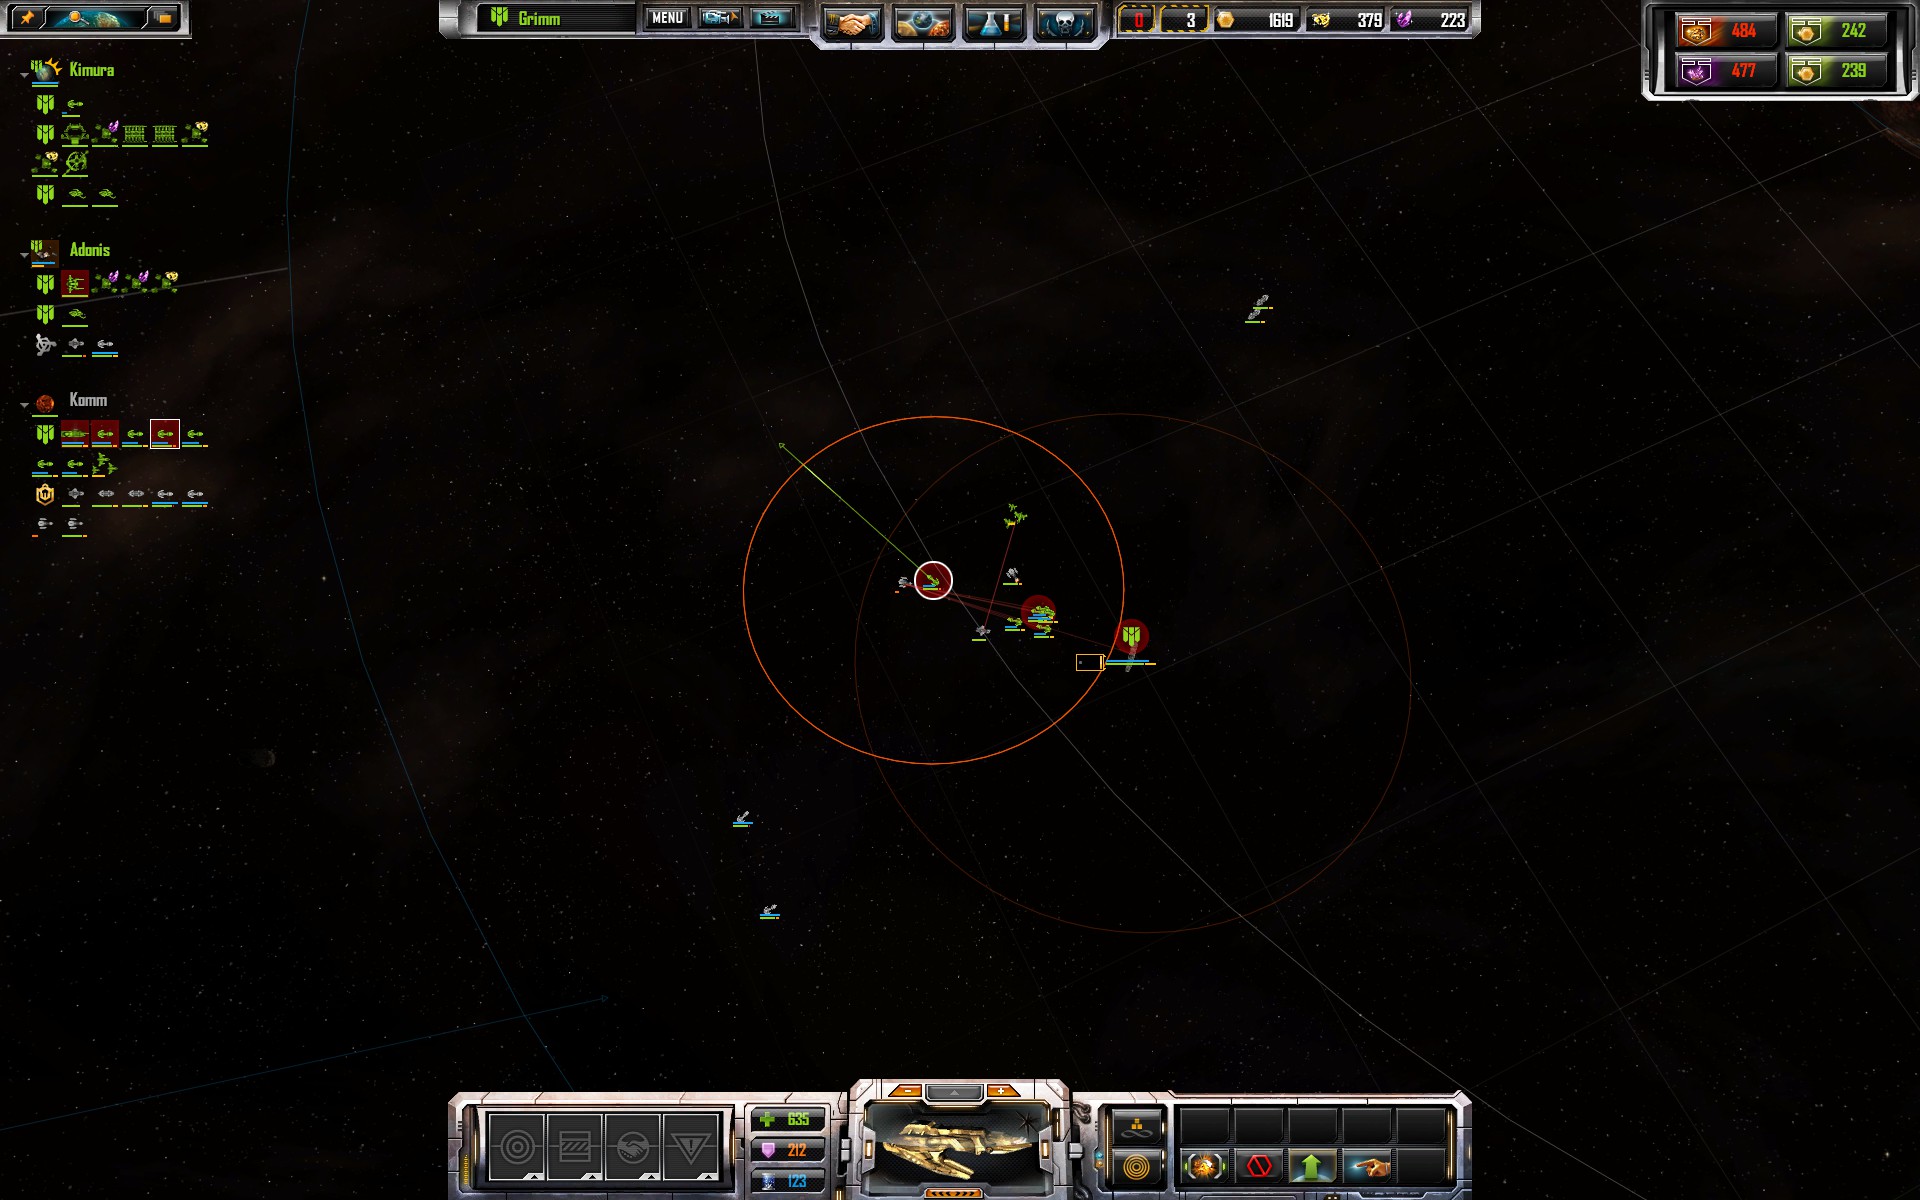
As you can see, my ship on the bottom left is being targetted by the neutral fleet. I manually tell him to move to the bottom left, so he is already aligned with the phase line. If you don't manually align them, they'll take longer, which can sometimes make the difference between losing them or not. I then zoom out, tell him to retreat to the neighbouring planet, and then shift+rightclick back on the lava planet, as you can see in the next 2 images:
This way, it'll come back and the neutral fleet will switch target to a different ship, which I have to micro away again. This time, I'll use dodging instead of fleeing.
Dodging
Sins of a solar empire is a great game. Ships in this game, have different weapon banks, namely: front, left, right, and back banks. This means different ships do damage in different directions. As you might have guessed, most simple ships only do frontal damage. Therefore I can negate the damage I take by moving the ship that is targetted behind the ships that are targetting them, forcing them to turn around. You can use this technique to run circles around heavy cruisers and LRM without taking any damage. The next 2 screenshots show me moving ships behind the LRM so they don't take damage:
In conclusion: These 2 colonization techniques and 2 micro tricks are the fundementals. If you can consistenly pull these off, you're already a good player.
Advanced Colonization Techniques


To expand upon the techniques in the earlier section, this section will teach advanced colonization techniques, namely techniques 3 and 4 from the eco section. Using these, it is possible to out-expand a mediocre player that uses truce amongst rogues. You can expand about three times as fast as a good player using light frigates using these 2 techniques. I often find myself 2 jumps away from an enemy eco's homeworld on the other side of the map at the same time as him: a really bad situation for him. These techniques are used almost exclusively in the eco position, but can be adapted for use in the agressive position as well.
Technique 3 ( cap & scouts + colony frigate):
Using this technique, you send your colony frigate to your roid, as shown in the basic colonization techniques section, and similarly, you send your cap ship to your other roid. But instead of making light frigates, the very commonly used technique 2, you send scouts. Why scouts? Because scouts are cheap and do extra damage against LRM and siege frigates. As advent or TEC, you send 10 scouts with your cap ship, as vasari you send 8 scouts, since Vasari scouts are better and more expensive. IMPORTANT: make sure autoatack is on, by right clicking the atack button in the bottom right when having all scouts selected! The next screenshot shows a vasari cap ship taking of with 8 scouts:
After arriving on the enemy planet, first use shift+rightclick to queue target the siege frigates, then the LRM, like so:
Then, when your scouts are being atacked, shift+rightclick to queue the scouts that are being targetted to move around the planet in a triangular pattern, like so:
As as there are 2 or less siege frigates left, you can capture the planet. It doesn't matter that they bomb it; if you have enough scouts the siege frigates will die before they can kill it. After capturing the planet, you have to make cannons proportional to the amount of heavy cruisers in the gravity well. The general formula is:
c = 1 + n
Where c is the number of cannons and n is the number of heavy cruisers. In most cases, there'll be 2 heavy cruisers, so 1 + 2 = 3 means you have to make 3 cannons really close to each other, like in this case with the ferrous planet:
When all the siege frigates and LRM are dead, you can move on to the next planet. Using this method, you can capture one planet each minute. If you can multitask well enough, however, you can also accompany your colony frigate with scouts, meaning you are clearing 2 planets at the same time, all the time, for extremely rapid expansion, on par or better than TAR, because TAR takes a while to get researched and costs a lot of money, you can expand a lot faster initially, and it takes the TAR player a while to catch up. So without furder ado:
Colonization technique 4 (Cap & scouts + colony frigate & scouts):
So, you're using your cap + scouts to colonize all planets, and your colony frigate to colonize moons and astroids. But hey! Your colony frigate reaches a dead end because there's a lava or ice planet in the way. No problem! Just make about 5 scouts, and do the same thing as outlined in the technique 3 section, like so:
When all the siege frigates and LRM are dead, send your scouts to the opposite side of the well from where your colony frigate is gonna jump in. That way, when there's heavy cruisers and that sort of ships around, you won't lose your colony frigate because it'll take them longer to reach it. Make sure your colony frigate has at least 170 antimatter (so when it jumps in, it'll have 70 antimatter, and it'll regen 20 on its way to the planet).
Then, you can capture the planet:
You must cluster together the number of cannons according to the forumla I gave you earlier, c = 1 + n.
In conclusion: if you can use techniques 3 to 4 effectivly, you're already a great player! Keep it up!
Aggressive Position
This section will detail how agro position is played as a TEC or an advent player. I'll touch upon Vasari later in this guide. In agro position, the most important thing is to expand towards your opponent as fast as possible. You want to get as much planets as you can, because capturing a neutral planet is a lot easier than capturing an enemy planet.
It is vital that you spam light frigates (unless you are Vasari, in which case you spam starbases and corvettes). I can not stress this enough. In 95% of scenarios, spamming light frigates wins you the game. If you make eco, and he spams light frigates, you lose. If he makes eco, and you spam light frigates, you win. If you both spam light frigates, the person with better multitasking and better tactics and strategy management wins. As you can see from above examples, spamming light frigates never loses you the game. Until you are good enough to really know when it is time to get some eco, or to tech, you have to spam light frigates.
I'll write about the different TEC and Advent matchups from the point of view of what caps they choose. For Advent, you basically always start with a progenitor because it's just so good, altough other ships such as the Radiance and the Halcyon are also viable for very skilled players.
Advent vs Advent (Progenitor vs Progenitor)
You're fighting for a neutral astroid, and both of you have 30 light frigates and a Progenitor with Malice (in light frigate battles, ALWAYS prioritze malice and turn shield restore off). What do you do to win? You'll have to micro. You can use dodging, to move targetted ships behind his ships. Especially with lower ship numbers, this method is extremely effective. You can shift+rightclick to queue targets and get maximum damage in. This method is succeptible to him dodging you, though! If he figures out you targetted all the ships in a row then he'll move 3 of them behind your ships and you'll lose valuable time turning around. Same goes other way around.
You can micro your cap for maximum damage as well. If you look at the Progentor, you can see it does all its damage to the left and to the right. To capitalize on this, you can move your Progenitor in the middle of his fleet. This can really make a big difference. On the other hand, if he targets your Progenitor, and you target his light frigates, you can dodge your Progenitor around his ships, and retreat at the very last moment to a repair bay! This is a good way to get ahead. On the other hand, you can target his cap ship, and if you kill it, you're golden. That's the thing though, it's all or nothing. If you don't kill it, you're behind.
So when do you target his cap? When it's vurnerable. Caps are vurnerable when they are either low health, or out of position. When are caps out of position? When they are facing towards the center of the gravity well, when they are not near the edge but instead near the center of the gravity well, or when they are in the influence area of a phase jump inhibitor. When you get about 60 light frigates, caps die really, really fast. But when your Progentor becomes level 5, it'll roughly double the damage output of your fleet. So there's this fine balance of keeping it around but out of harm.
TEC vs Advent (Marza vs Progenitor)
The Marza is an amazing cap ship. It has extremely high frontal damage output, and does great bombardment damage. When it gets level 6, the game's over for the Advent, unless they have some sort of advantage (e.g. starbase, second cap, bigger fleet). Until that time however, the advent are in a good position: advent light frigates are more cost effective than TEC light frigates, so Advent can rather easily outspam TEC. The TEC player still wants to engage in battles though, because even though it is cost-ineffective for him, if he manages to get his Marza up to level 6, the game is won for him. So there's this fine balance where Advent has the advantage right up until the Marza becomes level 6, when the switch flicks and the advantage moves to the TEC player. This creates an interesting game where TEC will suicide fleets to level up the Marza while Advent will suicide fleets to kill the Marza. This matchup is heavily micro dependent. Generally, agressive players that are confident in their micro choose the Marza.
TEC vs Advent (Akkan vs Progenitor)
When playing with the Akkan, the TEC player has to play more defensively, because they'll have less damage output and no trump cart when the Akkan gets level 6. On the plus side, the TEC can cheaply colonize, expand much faster, and pick of caps with Ion Bolt. With the Akkan you can reach the choke astroid just a bit faster to get a repair up faster than with the Marza, which can make the difference between having a choke and having no choke. Generally, conservative players that are confident in their strategy management choose the Akkan.
TEC vs TEC (Akkan vs Marza)
This matchup is similar to the ones above, the difference being that the Marza player doesn't have a trump card when he gets to level 6, because the Akkan Ion bolt can interrupt the Missile Barrage ability, rendering it useless. As the players near level 6, the Marza TEC player will try to pick off the Akkan, because the Akkan can become extremly hard to kill due to its level 6 armistice ability. This is a very micro intensive matchup.
What to do when the enemy switches it up
What do you do when the enemy decides to start making LRM, or corvettes, or a starbase? No big deal. If you see LRM, you spam corvettes proportional to the amount of LRM he has: 2 for each LRM. If he makes corvettes, you can keep making LF, because LF own corvettes. If he makes a starbase, you can refer to the section 'How to deal with starbases' which I wrote for just that occasion.
What to do when the enemy is winning
Never fight a losing battle. It's better to lose a planet and keep your fleet than to lose both the planet and your fleet. You can always retreat to a planet closer to your homeworld, or your homeworld yourself. If you're losing, you're suspecting the enemy is getting feed, you should play very conservatively, make defences, get a starbase as fast as possible. Alternativly you can distract him by sending your fleet to his homeworld, while using the oppertunity to make starbases yourself.
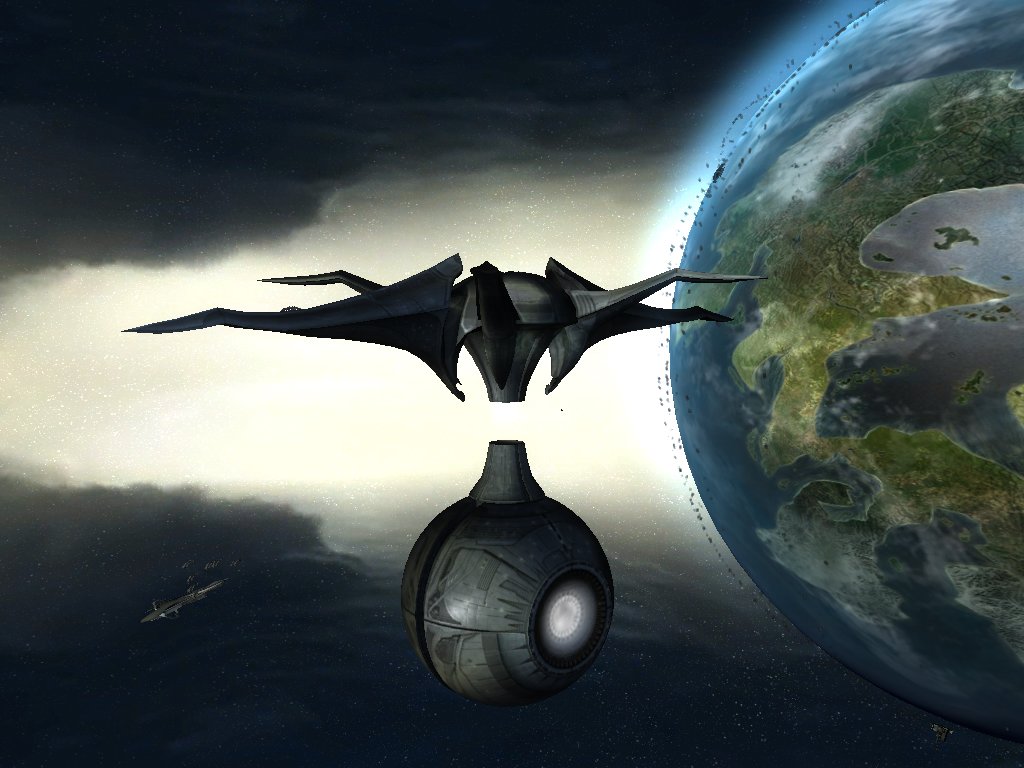
Playing As Vasari In Aggressive Position


Vasari is a notoriously difficult race, both to play as and to play against. Especially early game and very late game, their mechanics differ a lot from the other two races. Whereas TEC and Advent have to spam light frigates like their life depends on it, Vasari has to tactfully make starbases at key locations. Where TEC and Advent bruteforce their way to victory, Vasari players make cunning use of diversions, minelayers, starbases and corvettes to obtain victory.
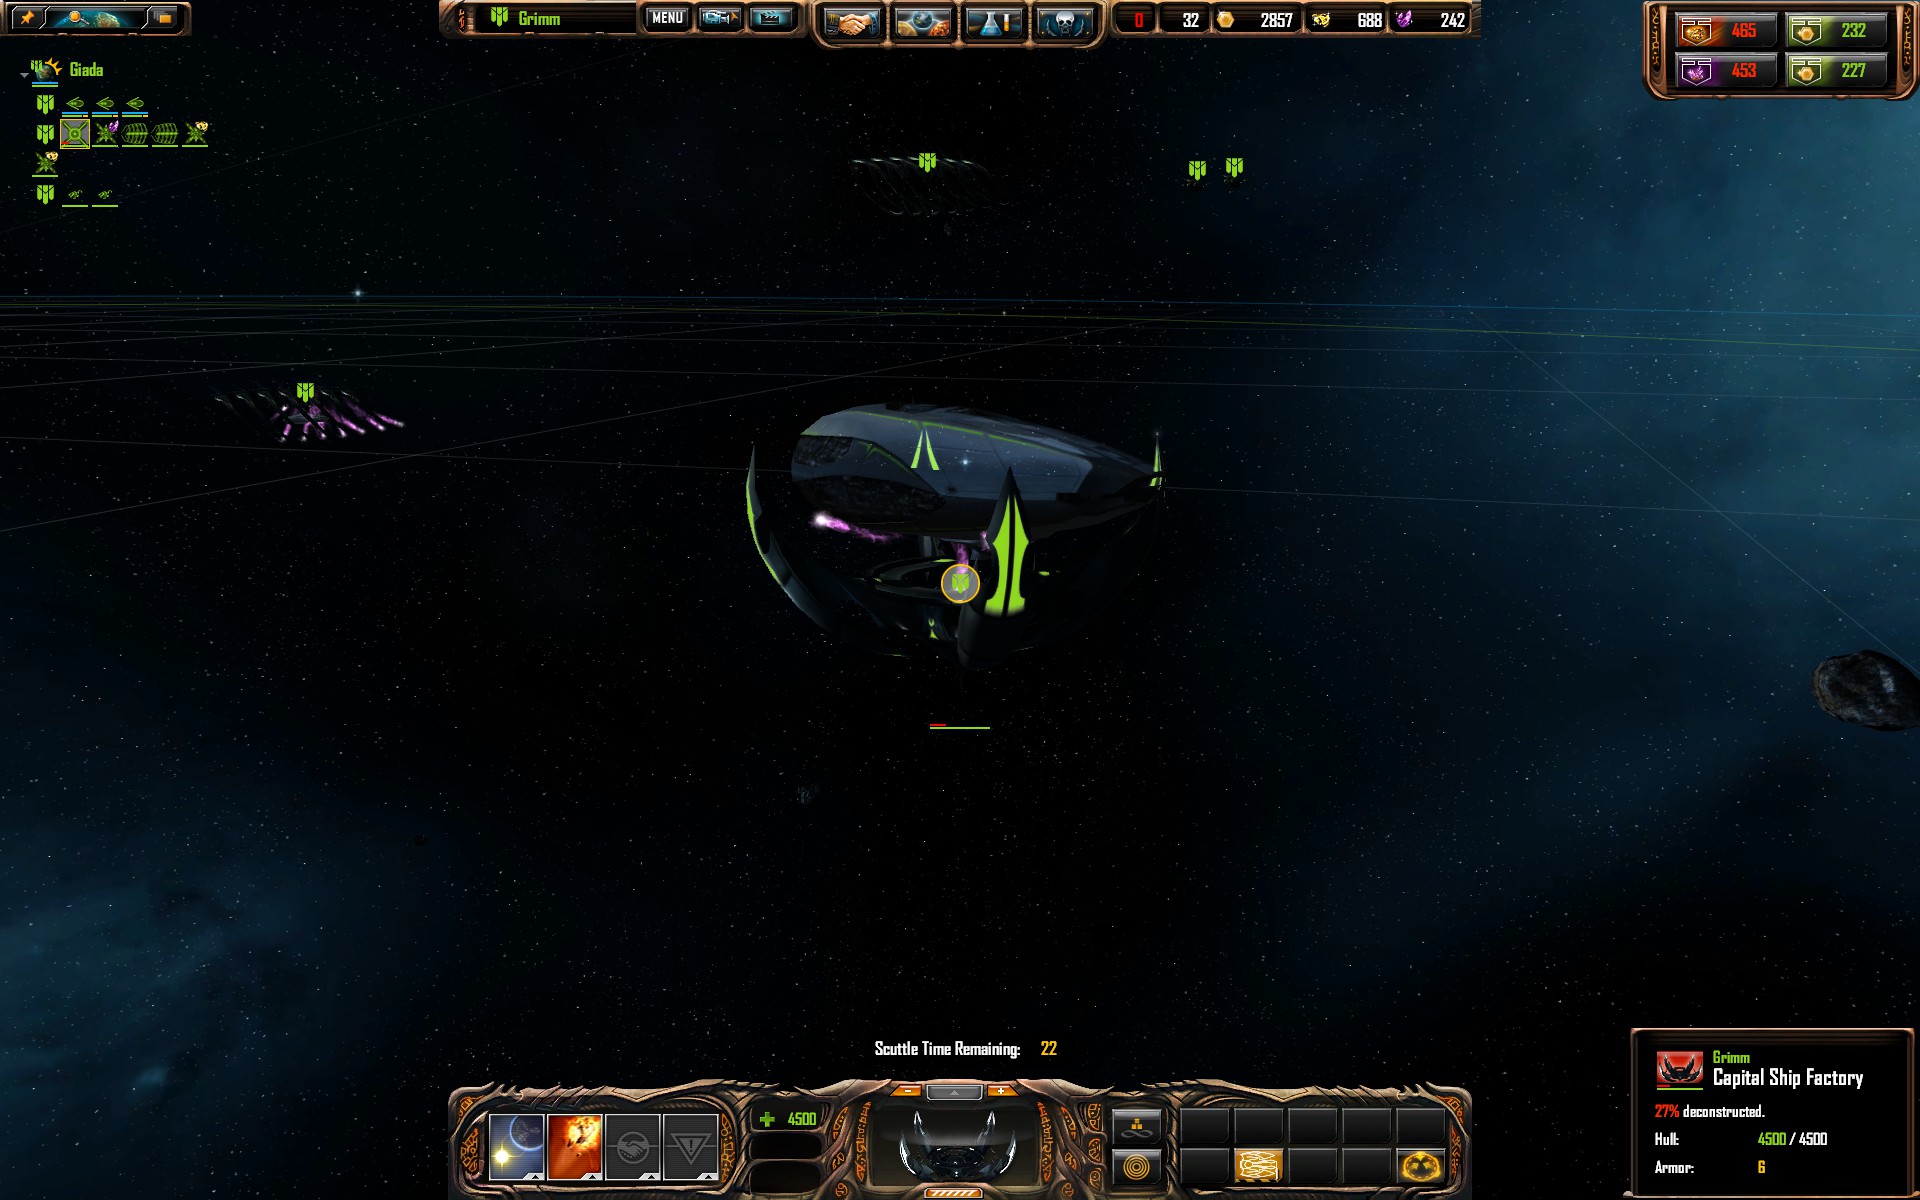
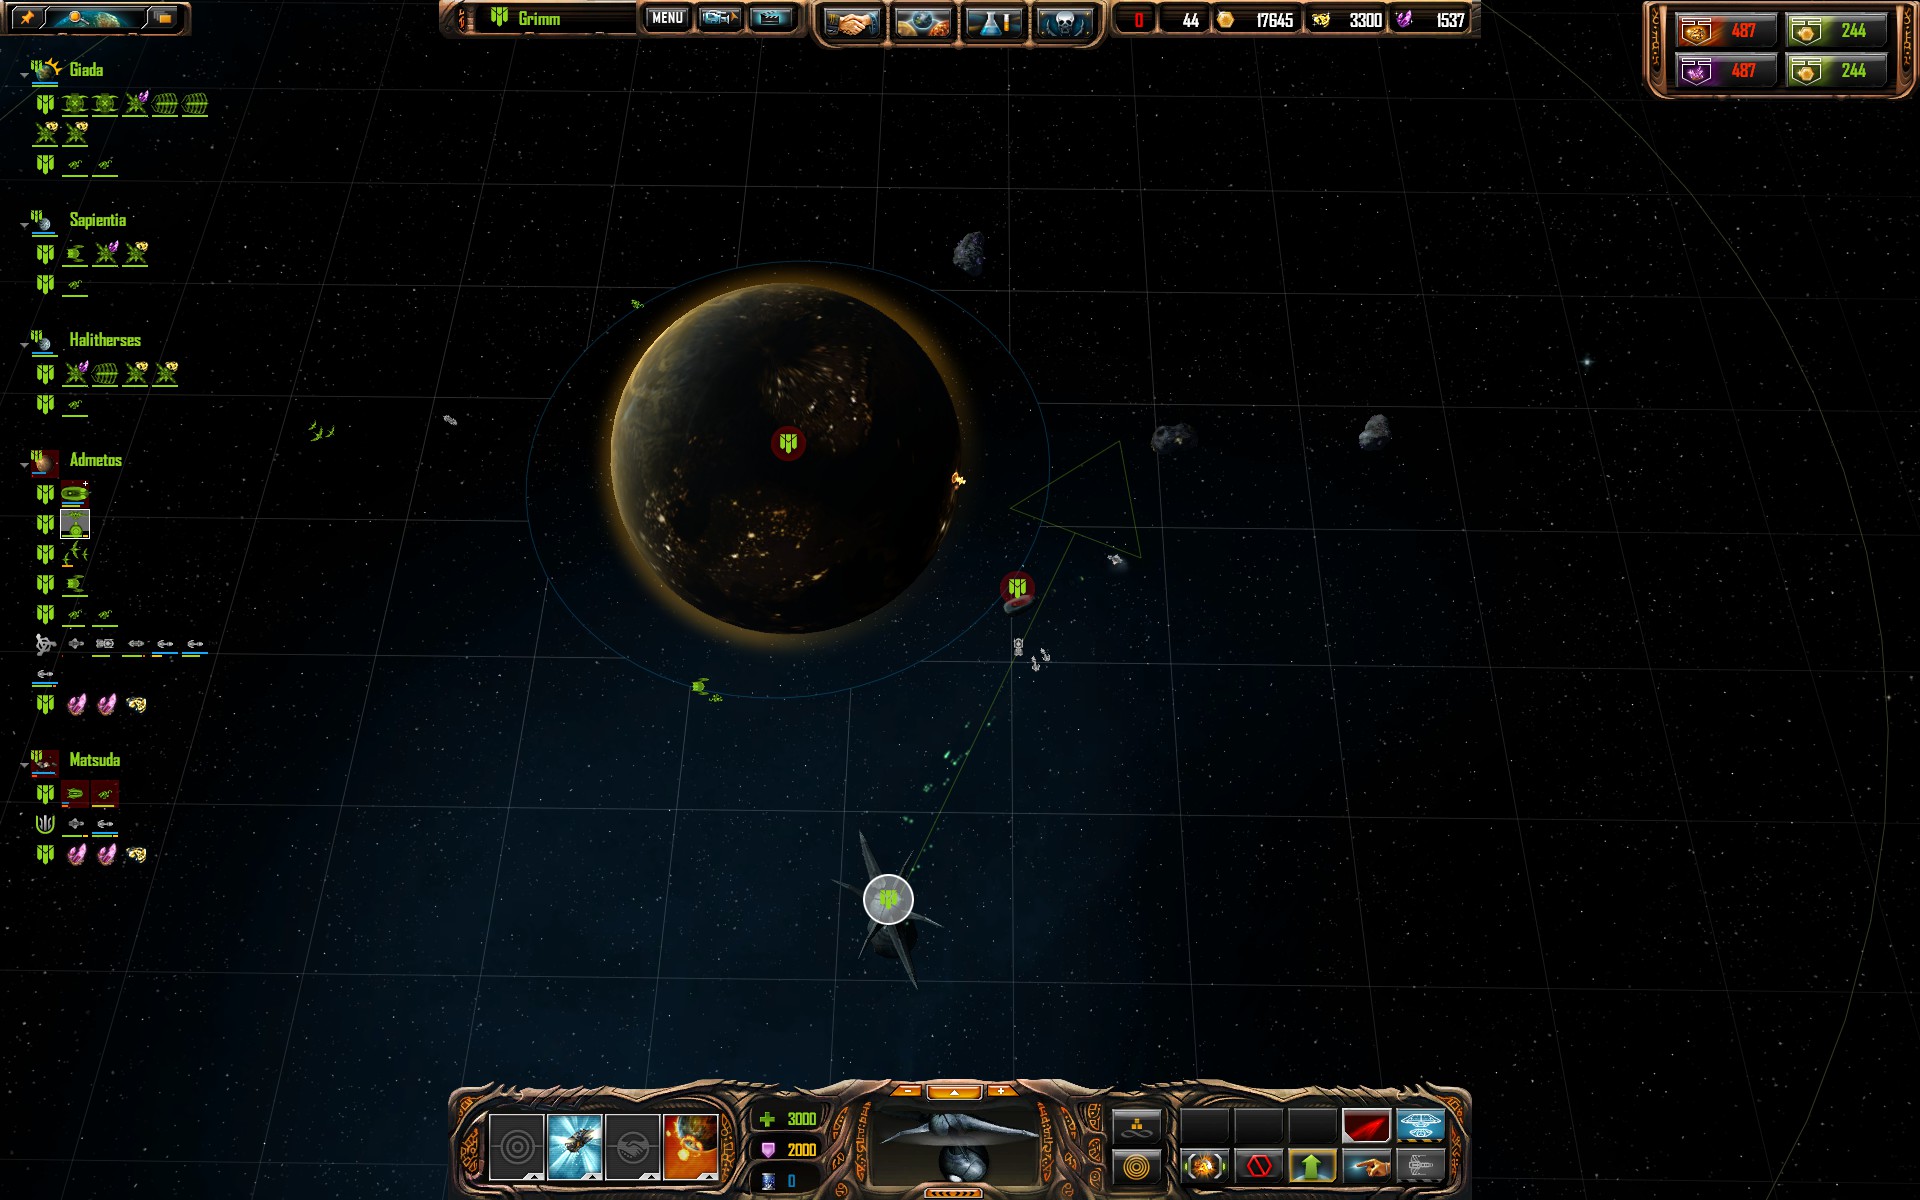
I'll now share a good agro Vasari build with you. As vasari, you always start with 'the egg'. That's the nickname the online community gave to Vasari's mothership. It's incredibly powerful, with a damage over time ability that absolutely destroys enemy cap ships and starbases. It also has an AOE disable, which you can use together with phase jump inhibitors to trap enemy ships in your well. As your egg is halfway done, you have to scuttle the capital ship factory (this can be done using the thin yellow/black button in the center bottom of the screen, you can see it lighting up white on the first screenshot). This gives your resources and space to build labs. As vasari, you always build 2 atack labs in agro position. If somebody doesn't build 2 agro labs he's likely a noob. See the following screenshots of these to see how the beginning might look.
In the above screenshot, notice the red bar on the capital ship factory indicating it is being scuttled.
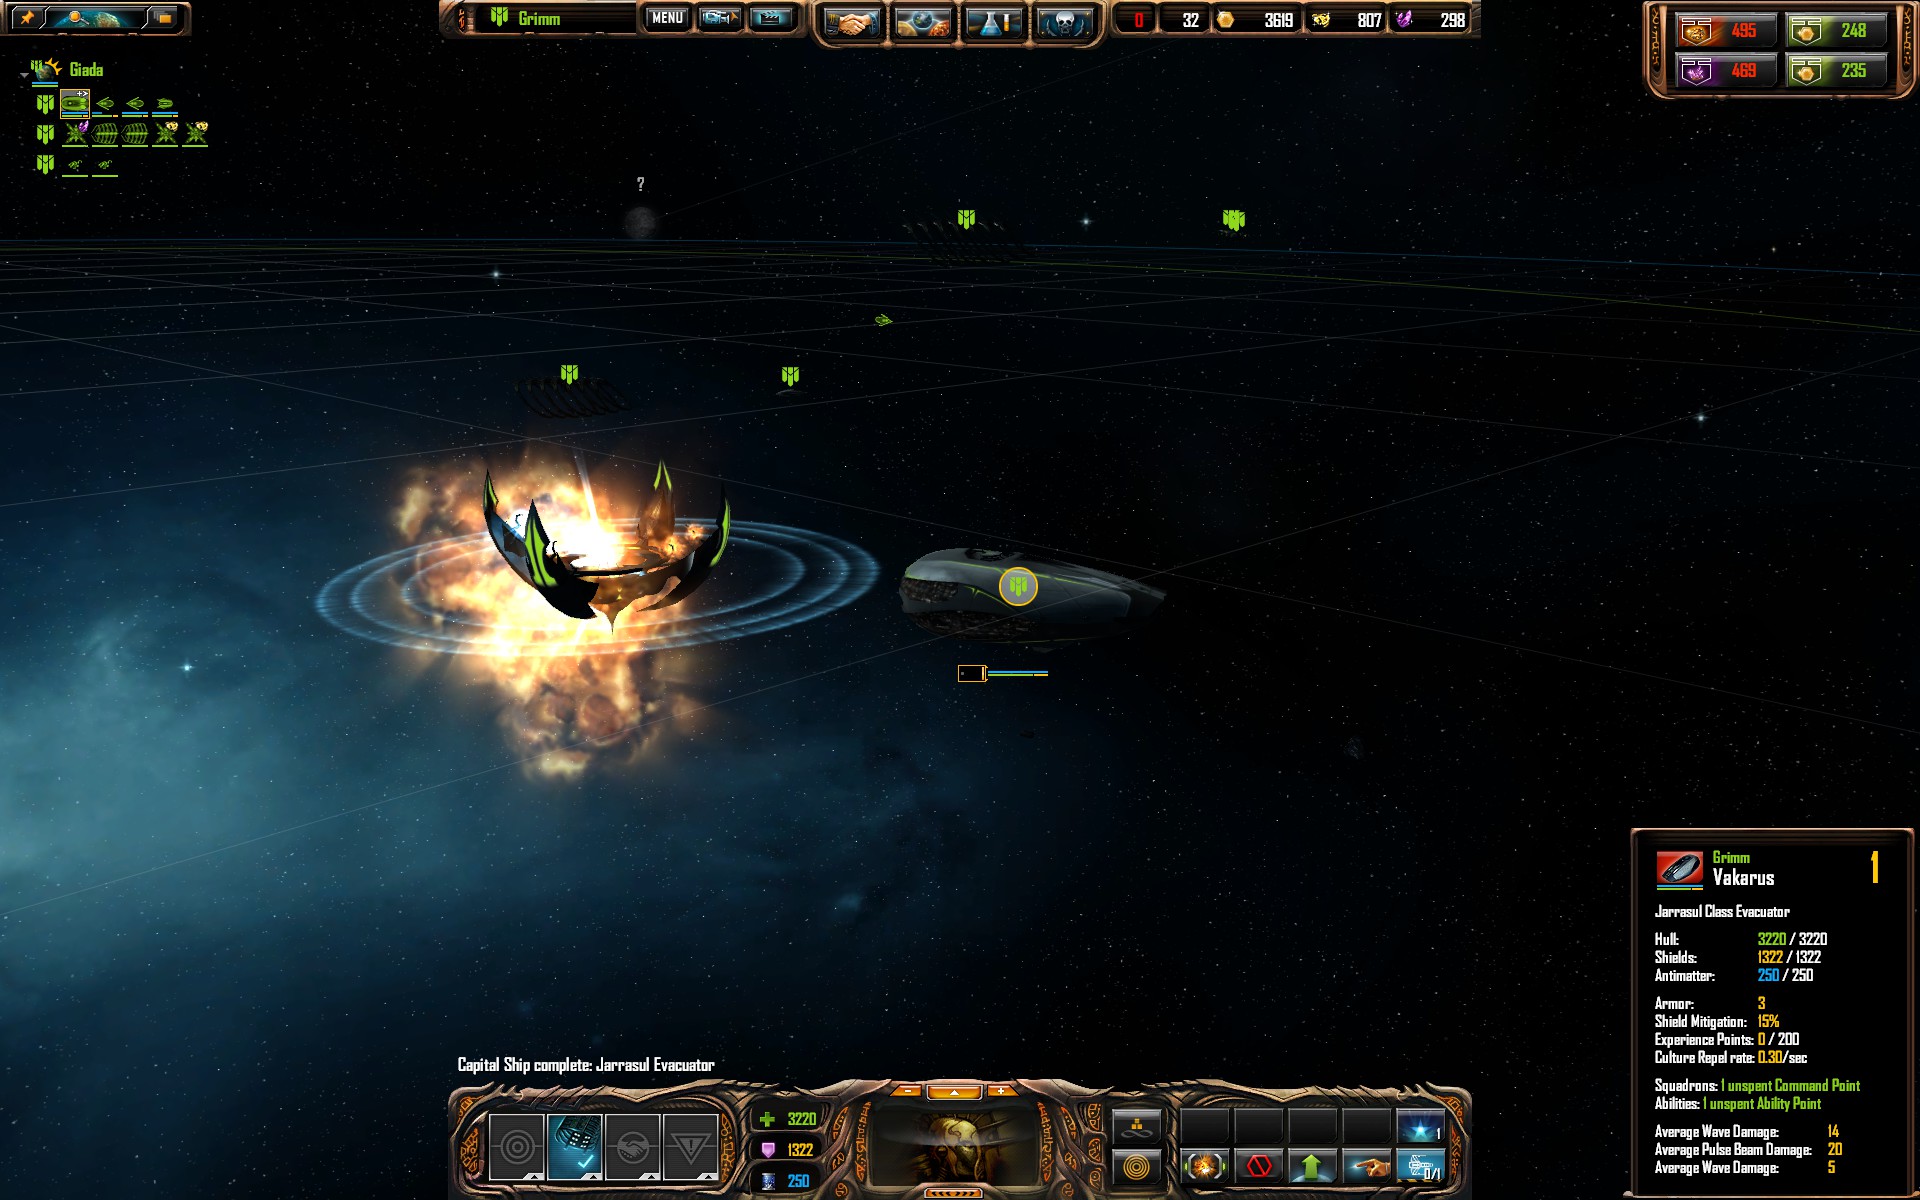
The capital ship factory has been scuttled! Remember to time it so that it scuttles AFTER your cap ship builds.
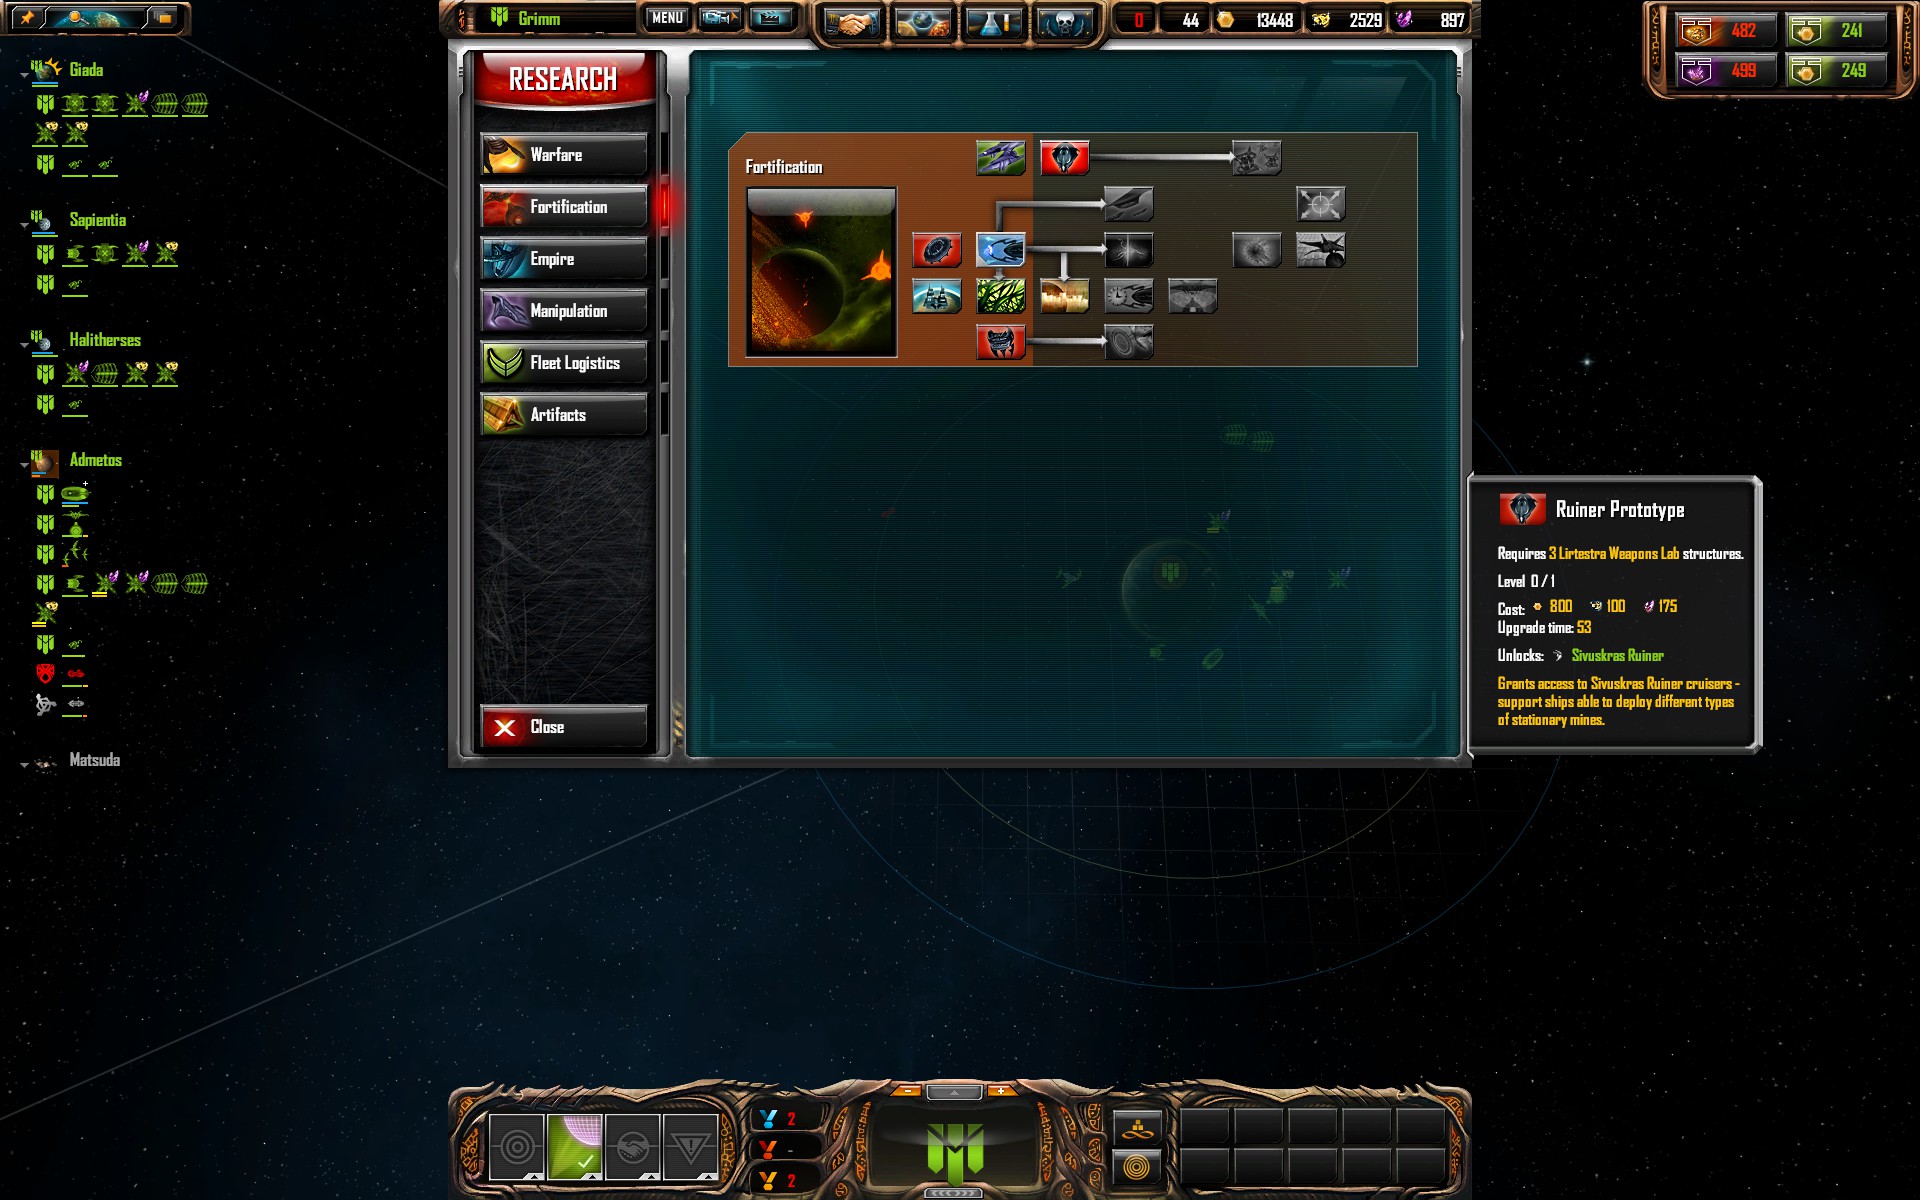
Two atack labs allow you to research the starbase ability.
The starbase ability in the research screen.
It is very important to realize that you do not use colonization technique 1 in agro position as vasari. You send your migrator with your cap ship, instead of to a different roid. You send your cap ship into the direction of the enemy, even if there's a lava in the way. If you encounter any roids on your way to the enemy, you capture them with your cap and build a cannon, because you can't afford to waste time killing ships. See the next screenshot:
While all of this is going on, you've gotta keep an eye on your scouts. Vasari have a massive advantage with scouts, namely the fact that they can capture neutral astroids. If you didn't know yet, neutral astroids are a BIG deal, having them can make or break the game. So while you are moving towards your enemy, keep an eye on your scouts to capture neutrals. The following two screenshots show a Vasari scout capturing neutrals:
As soon as you find a suitable choke, you have to instantly build your starbase when you get there. What's a good chokepoint? Astroids, Moons, Deserts and Terrans are the best chokes, because you can easily capture them. Planets like Ice or Lava planets or mediocre, because you need research to capture those, leaving you vurnerable to the enemy just bypassing the choke and atacking you. Only game experience can learn you what good chokes are for Vasari.
In my case, I found a desert planet with a huge neutral fleet that made for an ideal choke.
I start making my starbase as soon as my migrator arrives, at the exact position it jumps in, so I don't waste time.
I capture the planet, even though there are 3 siege frigates which I probably can't kill in time, because my starbase builds faster in friendly wells and starbase build speed is extremely important for Vasari Players.
I move my starbase through the enemy fleet, so all banks fire. Starbases can dodge too, and a moving target takes less damage, so always have your starbase on the move!
Now that I have captured the desert choke, I get to be agressive. There's other paths to choose too, like getting eco, or rushing a titan. But I choose to do an atack using corvettes, starbase and a minelayer.
In this picture, you can see me starting to research the minelayer ship. It's a tier 3 ship.
Here you can see my two factories aligned towards the enemy planet, ready to pump corvettes at a moment's notice.
Here's all my ships jumping at the same time. The element of surprise is important. A minelayer atack is less effective if the enemy sees it coming.
As soon as I arrive, I instantly start building my starbase and surround it with mines. The strength of this atack is the fact that the enemy HAS to deal with the mines to deal with the starbase, while you have it easy.
I bomb the planet because my cap is not in danger. If enemy ships were to atack it I'd instantly retreat it to the mines. I start sending corvettes. Vasari corvettes are very strong, and counter bombers. They can hunt down caps and assist the starbase were possible.
Here's an example of a way to use mines: to allow your starbase, titan or cap ship to retreat to safety.
My opponent is not paying attention, and chases my cap to the mines.
The mines start detonating, doing massive AOE damage.
My cap levels up.
Death Spot
Deathspot is the most frustrating position in the game. How you deal with it, depends mainly on your race: Vasari shine in the deathspot, while TEC have it bad and advent have it worse. How you deal with deathspot depends on your race.
Vasari:
As vasari, death spot is just like any other position, except you start off by rushing a starbase on your homeworld: make 2 tech labs, research starbase, make a migrator, make a starbas. What you do from there is situational: you can either choose to remain in the area and make more starbases, fighting tooth and nail for your territory, or you can send your cap ship far away to colonize a distant planet in friendly territory, while defending your territory with starbases and frigates.
Advent and TEC:
Advent and TEC have thougher choices to face. Advent and TEC can not just make a starbase, because their starbase does not move. This is no big deal against other TEC and Advent players, but if you're next to an enemy vasari, you're done for if you start starbase: he'll just make a starbase in your homeworld, and vasari starbases own structures and other starbases, so you'll be mincemeat as soon as it finishes. So, your approach depends on wether or not one of the two players next to you is a vasari. If there's only TEC and Advent surrounding you, starting with a starbase is the best way. If there's one or two vasari's surrounding you, you have to spam light frigates. You need at least 20 light frigates to make sure a starbase building on your territory doesn't get up. When you get those 20 light frigates, then might be a good choice to get your own starbase on your homeworld: probably imposssible without feed. If defending your homeworld is impossible, you can choose to take your entire fleet and flee, and colonize a planet in friendly territory. Defending your homeworld, however, is usually a better solution. The optimal solution is sending your cap away and colonizing distant planets while defending your hw, but without your cap ship, defending your homeworld is very hard.
Conclusion
What you do and how you act in the death spot is extremely situational and it is hard to give a predetermined advice about how to play it, but generally you want to get a starbase up as fast as possible and sneak your cap ship out to colonize far away planets.
Scouting
Scouting is what makes the difference between a mediocre player and a good player. You should always try to have full vision of all your enemies' planets. The obvious way to do this, is to make scouts and move them to a safe spot on the planet. Scouts however, can be picked off. Here's where Advent and especially TEC have an advantage: they have low-tier abilities that enable them to get planet vision for up to 10 minutes! For TEC, it's called 'remote sensors', and it's a tier 1 ability. For advent, it's called 'lingering presence'. Getting these abilities is not a priority, but something that is definily useful for midgame and essential for lategame.
Vasari have no such luck, however. They have to continually keep scouting to be up to date to what's going on. In general, no more than 90 seconds should go by since last scouting a planet. You can see when you last scouted by hovering over an enemy or neutral planet. If it's longer than 90, you've gotta scout again. Just send a scout there, and shift+right click on your own world, so it instantly comes back. This way, your scout survived, and you managed to get intel for free!
Starbases
Starbases are vital strategic components of sins of a solar empire. A starbase on a choke can make or break the game. This section will contain some pointers and info to help you deal with them.
Starbases are usually seen from the middle game up to the late game and very late game, where you might see 5 starbases on a choke. For Vasari however, starbases are part of the game from the very beginning. One important thing you have to know about starbases, is that their buildspeed and upgrade speed is dependant on well ownership. A starbase in a friendly well builds with a speed of 100%, in a neutral well that's 75%, and in an enemy well they build 50% as fast. This means that, especially as Vasari, it's important to continually fight for the ownership of the well, because usually, especially in Vasari versus Vasari situations, the one who owned the well the longest wins.
Vasari starbases
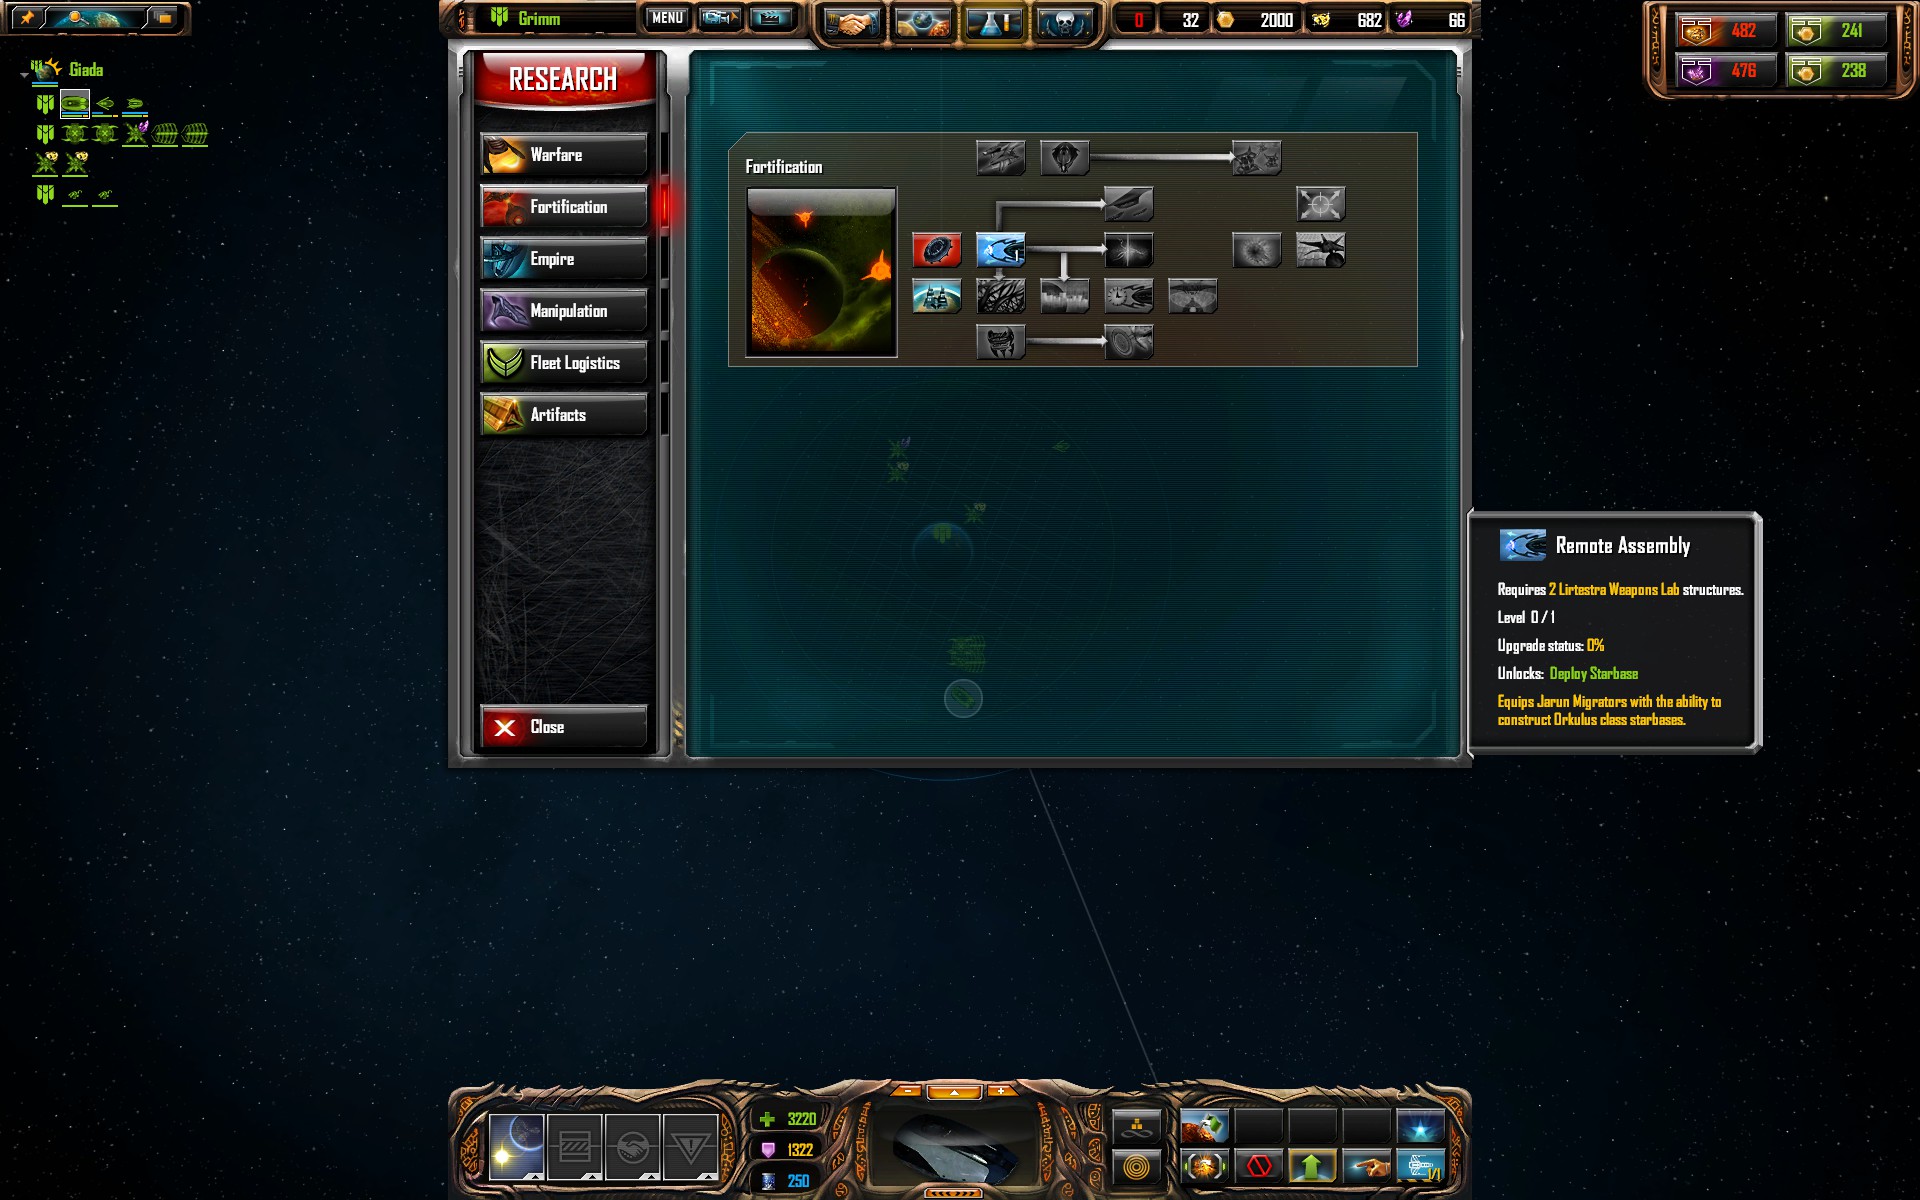
The reason for their early appearance is because Vasari starbases are easy to research, being only tier 2, and they can move. The fact that they can move enables them to do massive damage, because starbases have weapon banks on all sides. Normally, ships atack a starbase from one direction, so the starbase only uses 1 or 2 banks at the same time. Vasari starbases can move through a fleet, enabling all 4 banks to fire, basically doubling their damage. In addition to that, their first weapon upgrade gives them anti-structure damage, allowing them to deal massive damage against other starbases and gravity well structures. The third weapon upgrade gives them insane range, allowing them to pick of structures while being out of range of enemy starbases. They have 4 hp upgrades, and can become incredebly beefy. Their only weak point, in comparison to other starbases, is the fact that they don't do AOE damage. Their HP regen upgrade and their frontal shield upgrade, which halves damage taken from front, more than compensates for this though. Vasari starbases are incredibly hard to deal with and the bane of the early game. It is only very late game that their usefulness falls short, due to the lack of AOE.
TEC starbases
Tec starbases are incredibly dangerous, which is mainly due to their red button ability. Red button is an AOE ability that sacrifices the starbase to kill all the frigates, cruisers and low heath caps surrounding it. It has incredibly range and damage, which increase with the second level of the ability. TEC starbases can quickly turn the game stale because people are afraid of red button, which can change the tide of the game in an instant. Next to red button, TEC starbases also have two trade upgrades, which is one of the reasons TEC are the best eco race. You can easily spot noobs this way: he'll have a bunch of tec starbases, but no eco on them. TEC starbases have a heal ability that restores antimatter as well, which I don't nearly see often enough. Last but not least, tec starbases have remote assembly ability, which allows them to act as factories. So that's what TEC starbases are: a factory, a tradeport, and a mine at the same time. Arguably the strongest starbase lategame.
Advent starbases
Advent starbases are the most micro intensive starbases. Like TEC starbases, they can't move, and they don't deal out a lot of damage, like vasari starbases. Unlike Both vasari and TEC starbases, however, they have two AOE abilities: meteorites and confusion. Meteorites are extremely powerful and do massive AOE damage, and make sure anything but an all-cap ship fleet or mass bombers can kill the starbase. In addition to that, meteorites can bomb planets, causing the starbase to act as a the equivalent of 5 siege frigates. Confusion is an amazing ability that is incredibly good against cap ships and titans: it causes ships to be unable to target anything, making them spin and keeping them in place for a long time. Surprise confusion atacks can change the pace of the game. In addition to those hostile abilities, Advent starbases can also get culture: in select situations, for example when you are able to get a starbase up on the planet of the enemy in death spot, you can use this culture to kill him. Advent loyalists can make incredible use of the culture abilities on their starbases, blocking out planets to capture or driving enemies away. Clever culture usage is not seen nearly often enough, in my opinion.
Dealing With Starbases
This section will show you what you can do if your enemy is spamming starbases.
General
In general, when the enemy goes extremely defensive with starbases, there are a number of things you can do:
Bypass
Bruteforce
Eco
Bypass
Seemlingy obvious, but not seen nearly often enough: bypassing the enemy starbase. If the enemy has made a starbase on the choke, instead of atacking it or saying: "damn, can't do anything now", you can bypass the starbase. Just take your fleet, go around it, and do maximum damage! You want to target enemy orbital structures, ships, bomb planets, etc. If your micro is good enough you can sometimes kill your enemy using this strategy. A good plan is often times to eco up while doing this.
Bruteforce
Bruteforce, is, as the name implies, just that: make a massive amount of ships and destroy the starbase. In some cases, this is a legitimate strategy. In others, it's an invitation to losing the game. Bruteforcing works best if the enemy does not see it coming. For example, you're against a TEC player, and he made a starbase on the only choke. Confident that he is safe, he starts to eco. You, being the smart player you are, have scouted all his planets and noticed this. You scouted a total of 3 hostile tech labs, meaning he doens't have red button, for which he needs 5. You hide your army, and tech to ogrovs. You make 8 ogrovs, atack him while he is still ecoing, and roll over him. Bruteforcing is a strategy that is dependent on your knowledge of the other player's skill and what he can or can't do. To bruteforce effectively, you've gotta scout everything.
Eco
If the enemy spends money on starbases, you can spend that same money on eco. As long as you keep scouting to see wether he fleets or not, you'll get ahead. By making a starbase, he's basically said to you: I'm not gonna be agressive. You can get about 4 trade ports for the price of his first starbase. This method works wonderfully if you keep scouting and make sure your fleet is always equal or nearly equal to his.
In the next section, I'll talk about how to bruteforce each race's starbase.
Countering Vasari starbases
How to deal with a vasari starbase is hugely dependent on which game phase you are in. In the early game, strikecraft are viable, as well as mass light frigates. In the lategame, strikecraft only work if they surprise the enemy, and a mass heavy cruisers or a titan + cap ship fleet might be a better approach. Of course, when you are Vasari, making your own starbase works well too, if you own the gravity well.
Early game
The cheapest, easiest way to deal with Vasari starbases is to kill them with light frigates while they are still building. Vasari starbases take a while to build. On friendly territory, you need about 15 light frigates and a cap to kill while it finishes, in neutral territory you need about 25 light frigates, and on enemy territory you need at least 35 and a cap. As advent, you want to get shield restore on your cap ship, because the vasari starbase will deal damage to about 10 ships at the same time, and you can continually shield restore to save them. As TEC, a marza can single-handedly kill a vasari starbase, even if it is already built when you start atacking it. If the vasari got a starbase up on the choke, it is very important to make sure he doesn't own the choke. Bomb it with your cap. As long as you can keep the choke neutral, hope is not lost. If he manages to capture the choke and get repairs up, bruteforcing is out of the picture, and you need to bypass or eco. So, if there's still hope, there's two routes you can go: spamming light frigates, or spamming carriers. If you decide to spam carriers, it is important to realize that carriers take a while to build bombers. So you want to hide your first few carriers on a neighbouring planet while they build strikecraft, so you can surprise the Vasari player. If he sees the carriers coming, they are usually not effective, because he can counter them with his own carriers, by getting fighters on his starbase, or with corvettes. If you make light frigates, keep in mind that you need about 60 light frigates to kill an unupgraded vasari starbase without repair bays, assuming that the Vasari starts upgrading the starbase as soon as he sees you jump in the well.
Late game
Late game, vasari starbases are less of a big deal, as long as there is no fleet protecting them. A titan with a bunch of caps and 30+ heavy cruisers obliterate Vasari starbases. 100 bombers or so will also kill the starbase in a matter of minutes, despite any hangar defences the vasari might have. Against Vasari starbases, I do not recommend ogrovs, because the Vasari starbase will slaughter them faster than they can slaughter the starbase. Of course, 150 light frigates will also rip through starbases, should you still have them.
Countering TEC starbases
TEC starbases are very annoying. If you're uncertain wether or not the enemy has red button, you always have to assume the worst. Unless you're absolutely certain the enemy does not have red button, TEC starbases are a pain in the ass to deal with. If the TEC has repair bays and repair cruisers, the starbase can regen 60 hp/s, the equivalent of about 40 LF firing at the starbase at once. So, the repair bays, coupled with red button, make bruteforcing a difficult affair.
A really good approach however, is a suprise carrier atack. If the enemy does not have carriers, hangar bays, or mass flak, you can sneakily make carriers on a hidden planet. Make sure he does not scout you. To threaten a TEC starbase surrounded by defences and a fleet, you need roughly 50 bomber squadrons. Keep in mind though, that strikecraft are worth xp. If he red buttons your squadrons, he can make a lvl 1 cap ship lvl 6.
Alternatively, you can make a bunch of ogrovs to sacrifice on the starbase, since red button outranges ogrovs. You need 8 ogrovs for a unupgraded starbase, and 4 more for each hp upgrade it has. Ogrovs are usually a bit choice, because they are easily killed and not cheap. If you are vasari, you can enter the well, make your own starbase, and use that to kill all the structures surrounding the TEC starbase. That way you can pick it of with more ease. Another approach that works in dealing with TEC starbases is just sending your titan in, to farm xp on the surrounding ships and structures.
Last, but not least, very late game, you can get certain cap ships that negate red button. The TEC akkan cruiser has armistice, which negates red button. The TEC loyalist titan has group shield, which protects against red button (this might have been patched out). It also has disruption matrix, which disables red button for a short duration. TEC have the dunov cruiser, which can temporarily disable red button. Advent have the Radiance, which can temporarily disable red button. Vasari don't have any useful caps in that regard.
Watch this youtube video by Paravox to get a better idea about the ins and outs of red button:
Countering Advent starbases
Advent starbases are generally the easiest to deal with, since advent's damaging AOE ability isn't seen until very late game, because it is very expensive. As long as you see that the starbase doesn't have any antimatter, you can safely atack it. Beware though, that the advent might be setting a trap for you because he can upgrade the starbase while you atack it, and surprise you in a nasty way. Confusion can trap a titan for a full minute, and meteorites can destroy all your light frigates in 3 atacks. To deal with a fully upgraded starbase, you either need a massive amount of bombers, or a cap ship fleet, to drain antimatter. Heavily entrenched advent starbases can be hard to deal with, because the starbase itself can have up to 20 fighter squadrons.
Ship Counters
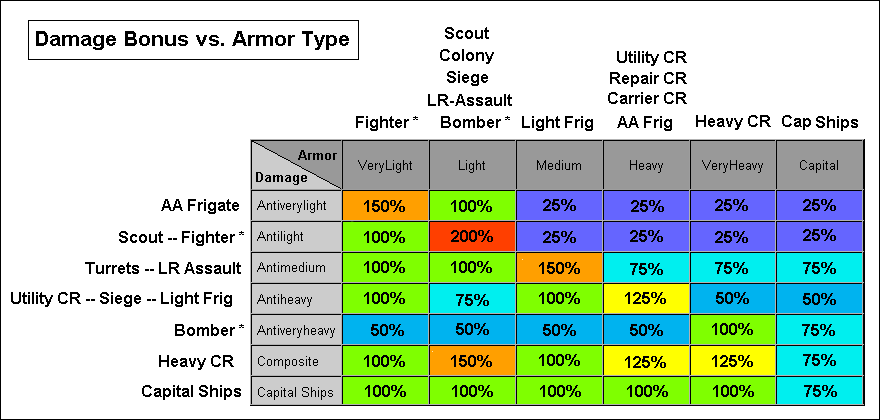
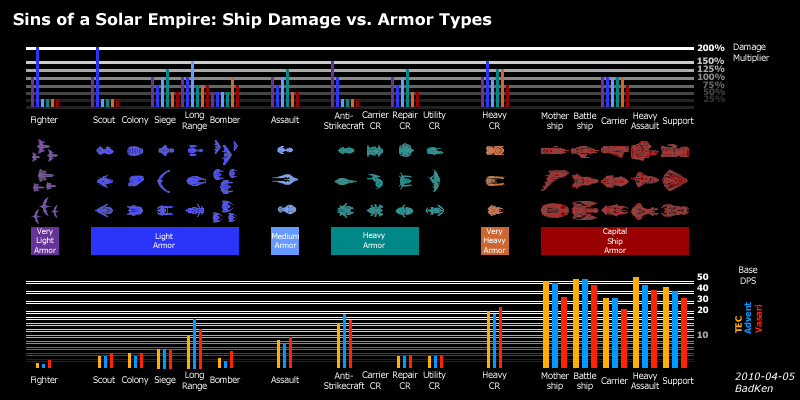
Sins has a damage system which depends on damage types and armor types. Each ships has a damage type and an armor type, making them strong against certain other ships and weak versus certain damage types. These two images I grabbed from the sins wiki explain it pretty well:
You can use these charts as a guideline in case you are wondering which ships to build. Generally though, anything can beat anything with the person microing the fleet. In time, you'll know these charts by heart and make decisions based on personal experience.
Conclusion
I hope you have been able to make some use of my guide. I've tried to make rules and give formulas to apply to a diverse amount of situations you might encounter. Keep in mind, however, that no rule is set in stone, and that what might be seen as a mistake in this guide can actually be a valid playstyle in certain situations. There's a saying about that which goes something like this: "You gotta learn the rules like a professional to break them like an artist."
I'm still adding things on to the guide on a daily basis, so if you spot any errors, have any recommendations or anything else, feel free to leave a comment, or contact me on Steam.
Peace out!
Terminology
Captain: The best or second best player in the lobby, he picks his team.
Corvette: An extremely fast, cheap ship, that's very strong versus siege frigates, LRF, titans and cap ships.
Fatkid The player that gets picked last. Generally the least skilled player in the lobby.
Flak: Flak Frigate, very strong against corvettes and fighters, strong versus LRF, mediocre versus bombers, bad versus anything else.
LF: Light Frigate, strong against corvettes, light frigates, flak frigates and buildings.
LRF: Long Range Frigate, strong against Light Frigates, good against cap ships, titans and buildings.
Mothership: The colonizer cap ship of each race.
Neutral: a capturable extractor. Can be found in astroid belts, plasma storms, or junk fields. Capturing neutrals is very important. Can be captured with colony frigate or scouts (Vasari).
Pug: the pugging process is the process in which numbers are sent to determine which captain gets the firstpick.
TAR Truce Amongst Rogues, a TEC rebel research that makes it so neutral fleets don't atack you anymore, allowing rapid expansion. You can't level your titan on the pirates anymore, though.
Tech: Technology, a researchable thing in the research tree.
Tier #: when a tech is tier 5, it requires 5 research buildings of the same type to be researched.
Source: https://steamcommunity.com/sharedfiles/filedetails/?id=161168470
More Sins of a Solar Empire: Rebellion guilds
- All Guilds
- Installing Mods
- Getting Started with Sins of a Solar Empire: Rebellion
- Rush v1.92.81 ()
- Sins of a Solar Empire Beginners Tutorial - Top 50 Tips, Tricks and Intel
- 100% Achievement Guide
- Sins of a Solar Empire: Rebellion
- Zombie's List of Sin's Mods good enough to EAT!!
- Ultimate TEC Guide (& Tricks)
- Star Trek: Sacrifice of Angels 2