
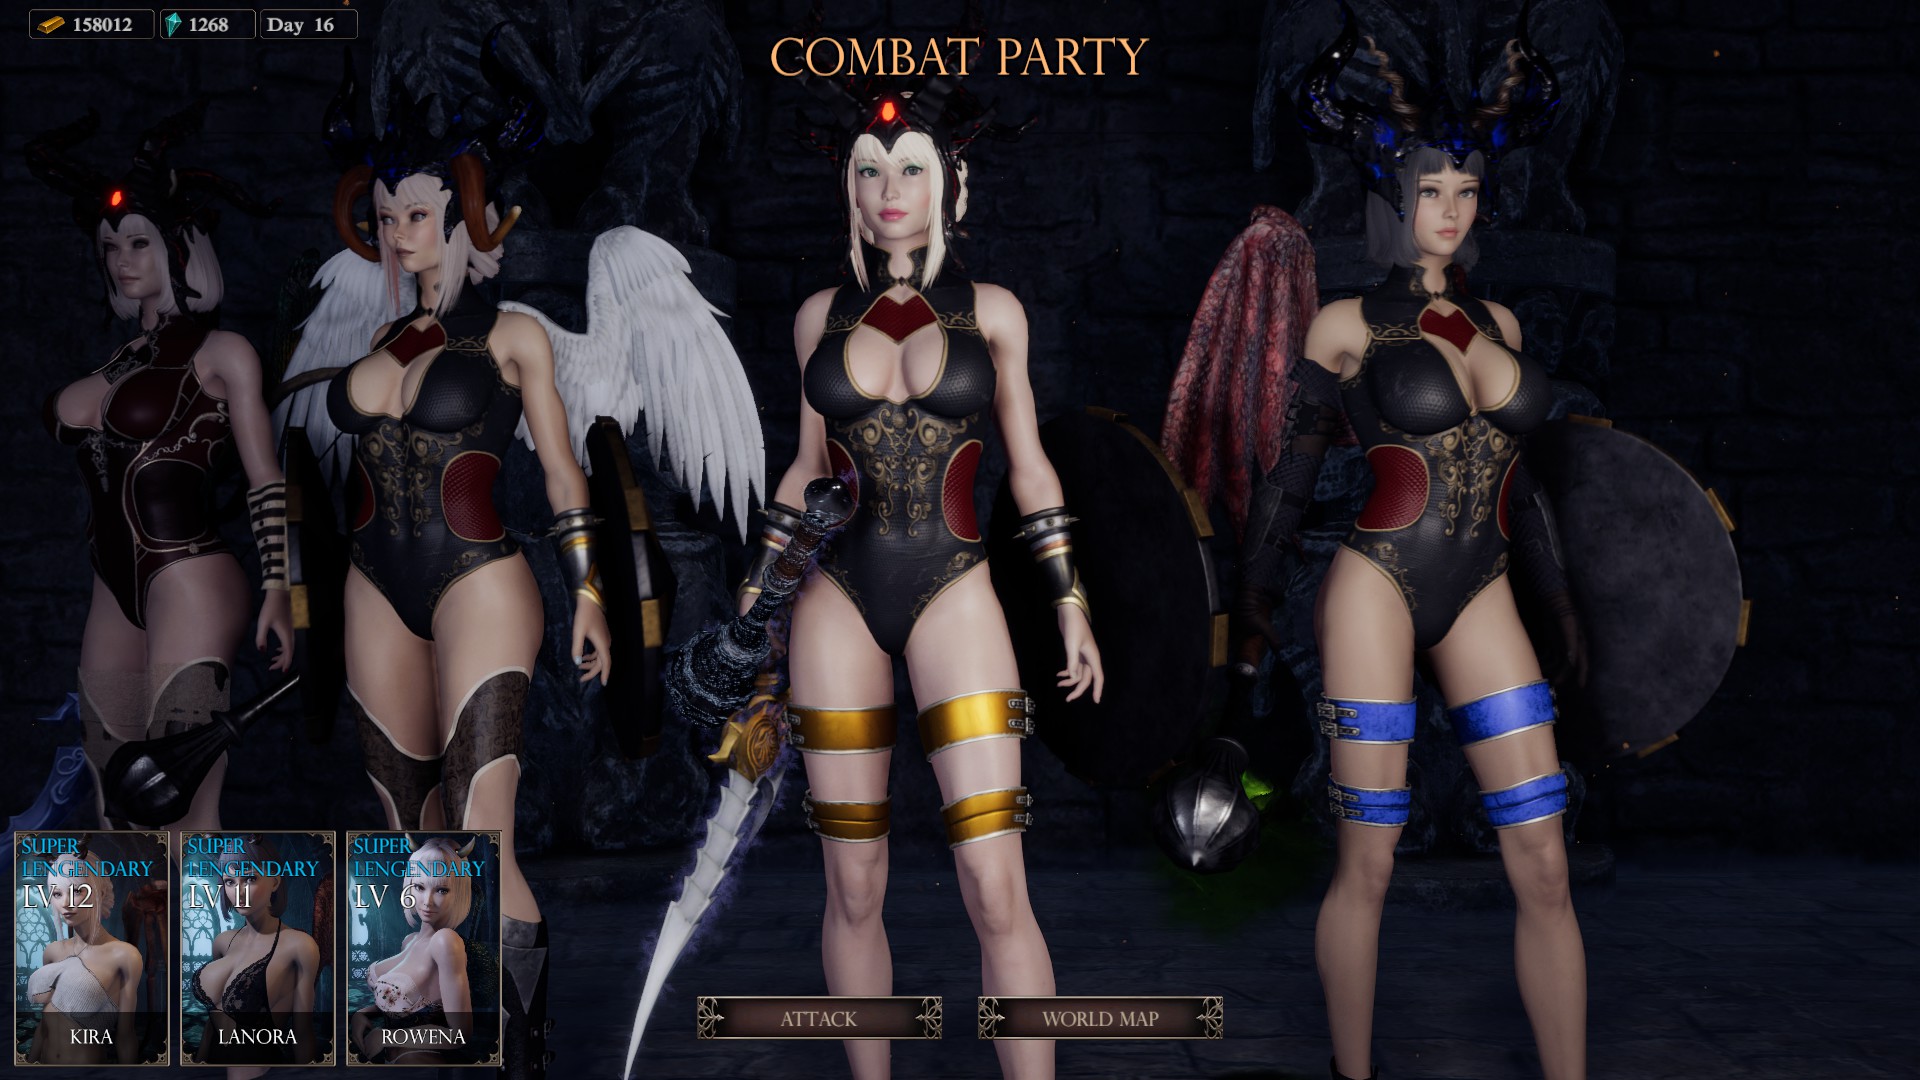
Available Companions
Companion Locations
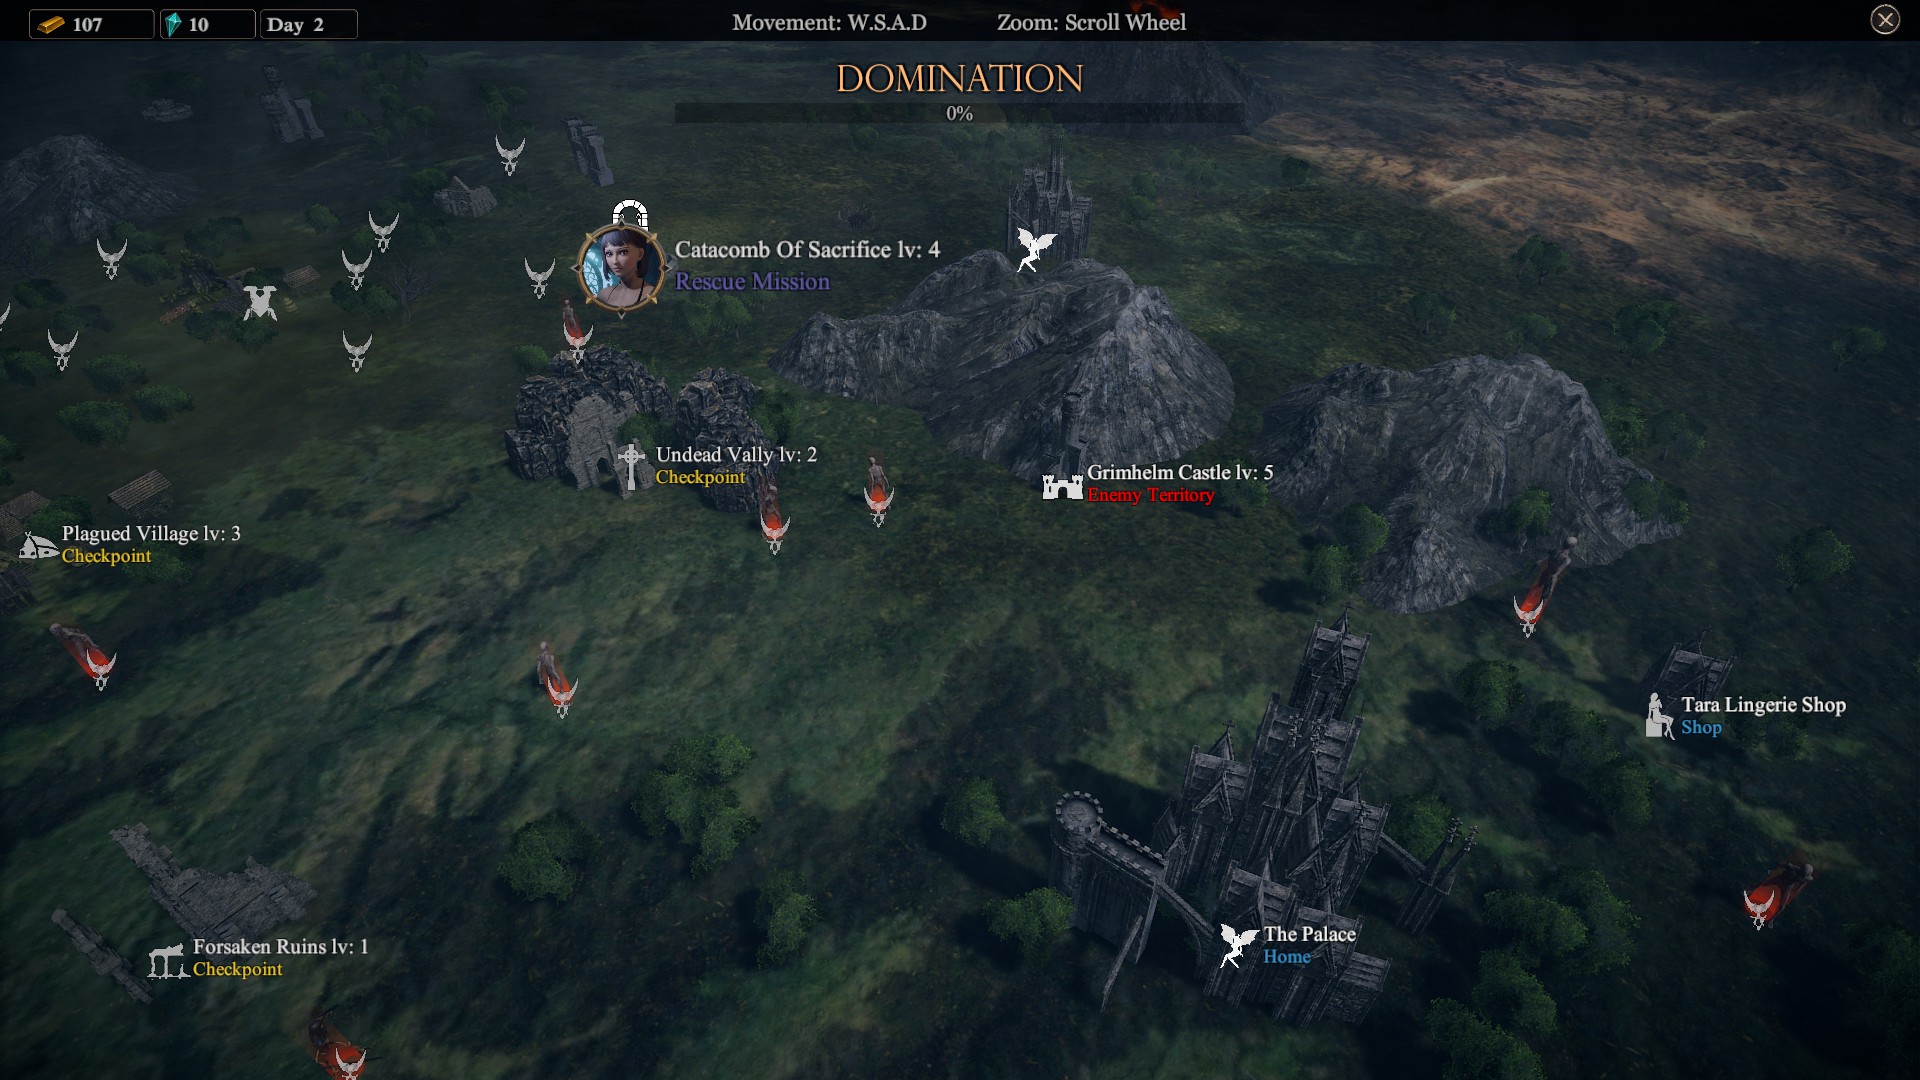
Currently, apart from Kira whom you get at the start of the game, you will need to rescue your companions from one of two locations, the Catacomb of Sacrifice or the Catacomb of Ancient.
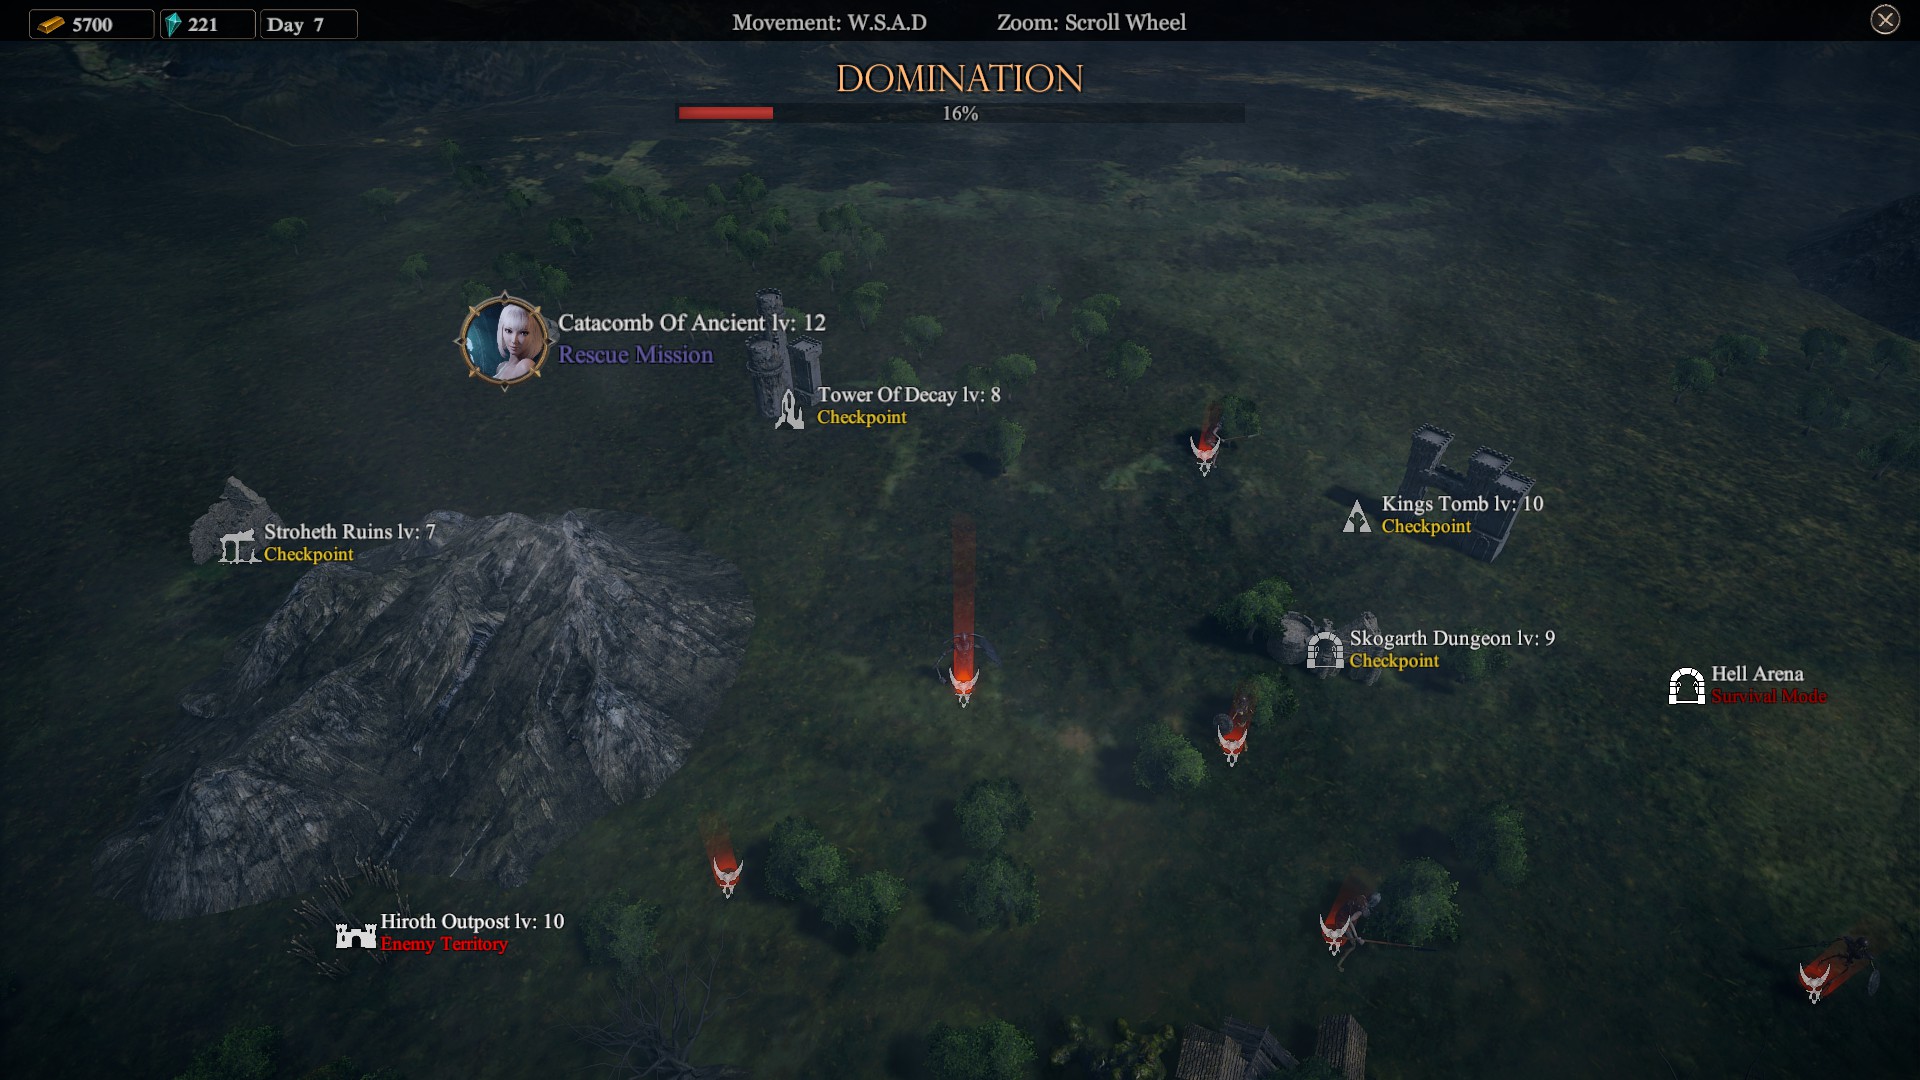
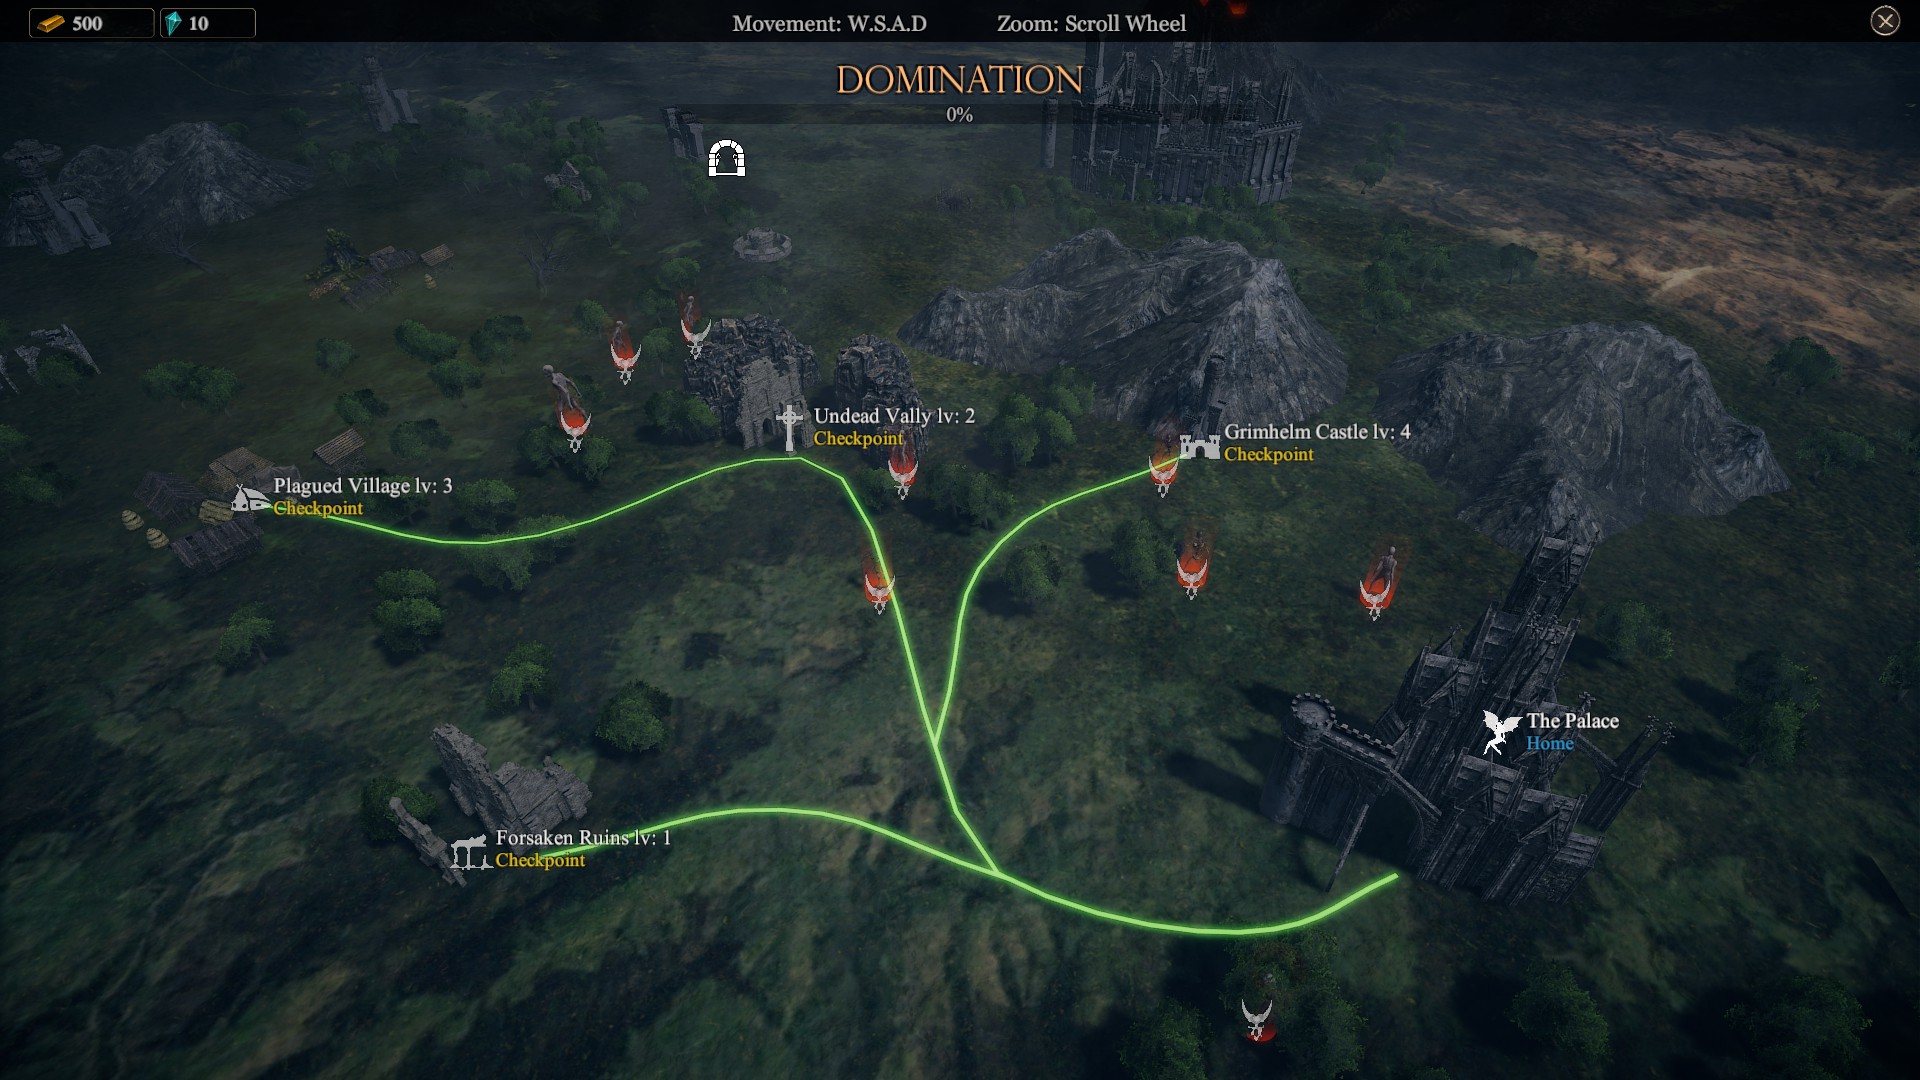
The Catacomb of Sacrifice is located to the northwest of The Palace, in the circular keep above the Undead Valley. The Catacomb of Ancient is located to the far northwest of The Palace, in the circular keep near the Tower of Decay.
Companions will become available at random times and possibly in random order. When a companion is available at a catacomb, hovering your cursor over the catacomb will bring up their picture and the level of the enemies in that catacomb.
Enemy level and the level of your rescued companion will be dependant on your level at the time that it spawns the rescue mission.
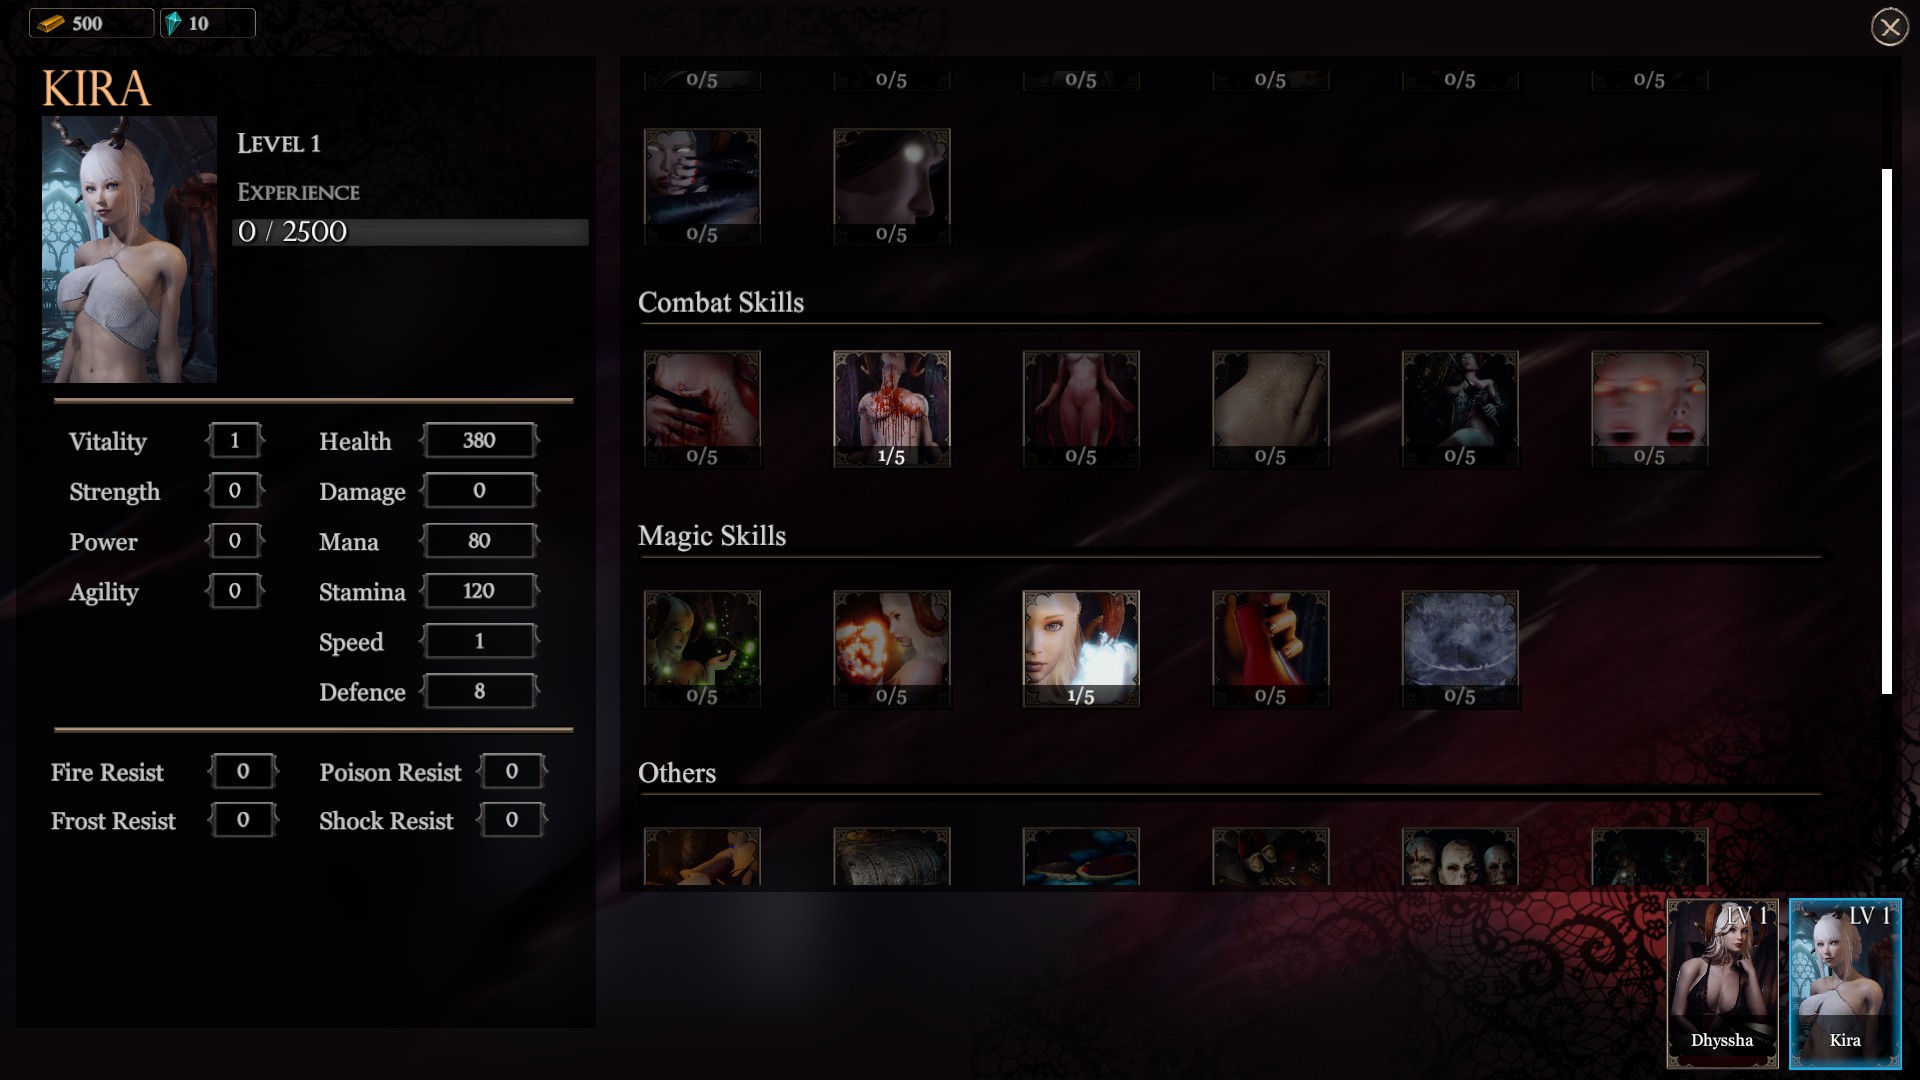
Kira
She is available to you from the beginning. You will have access to her once you have completed customising your character. Do not assign any of her points until you've read the levelling section.
Companions to be rescued
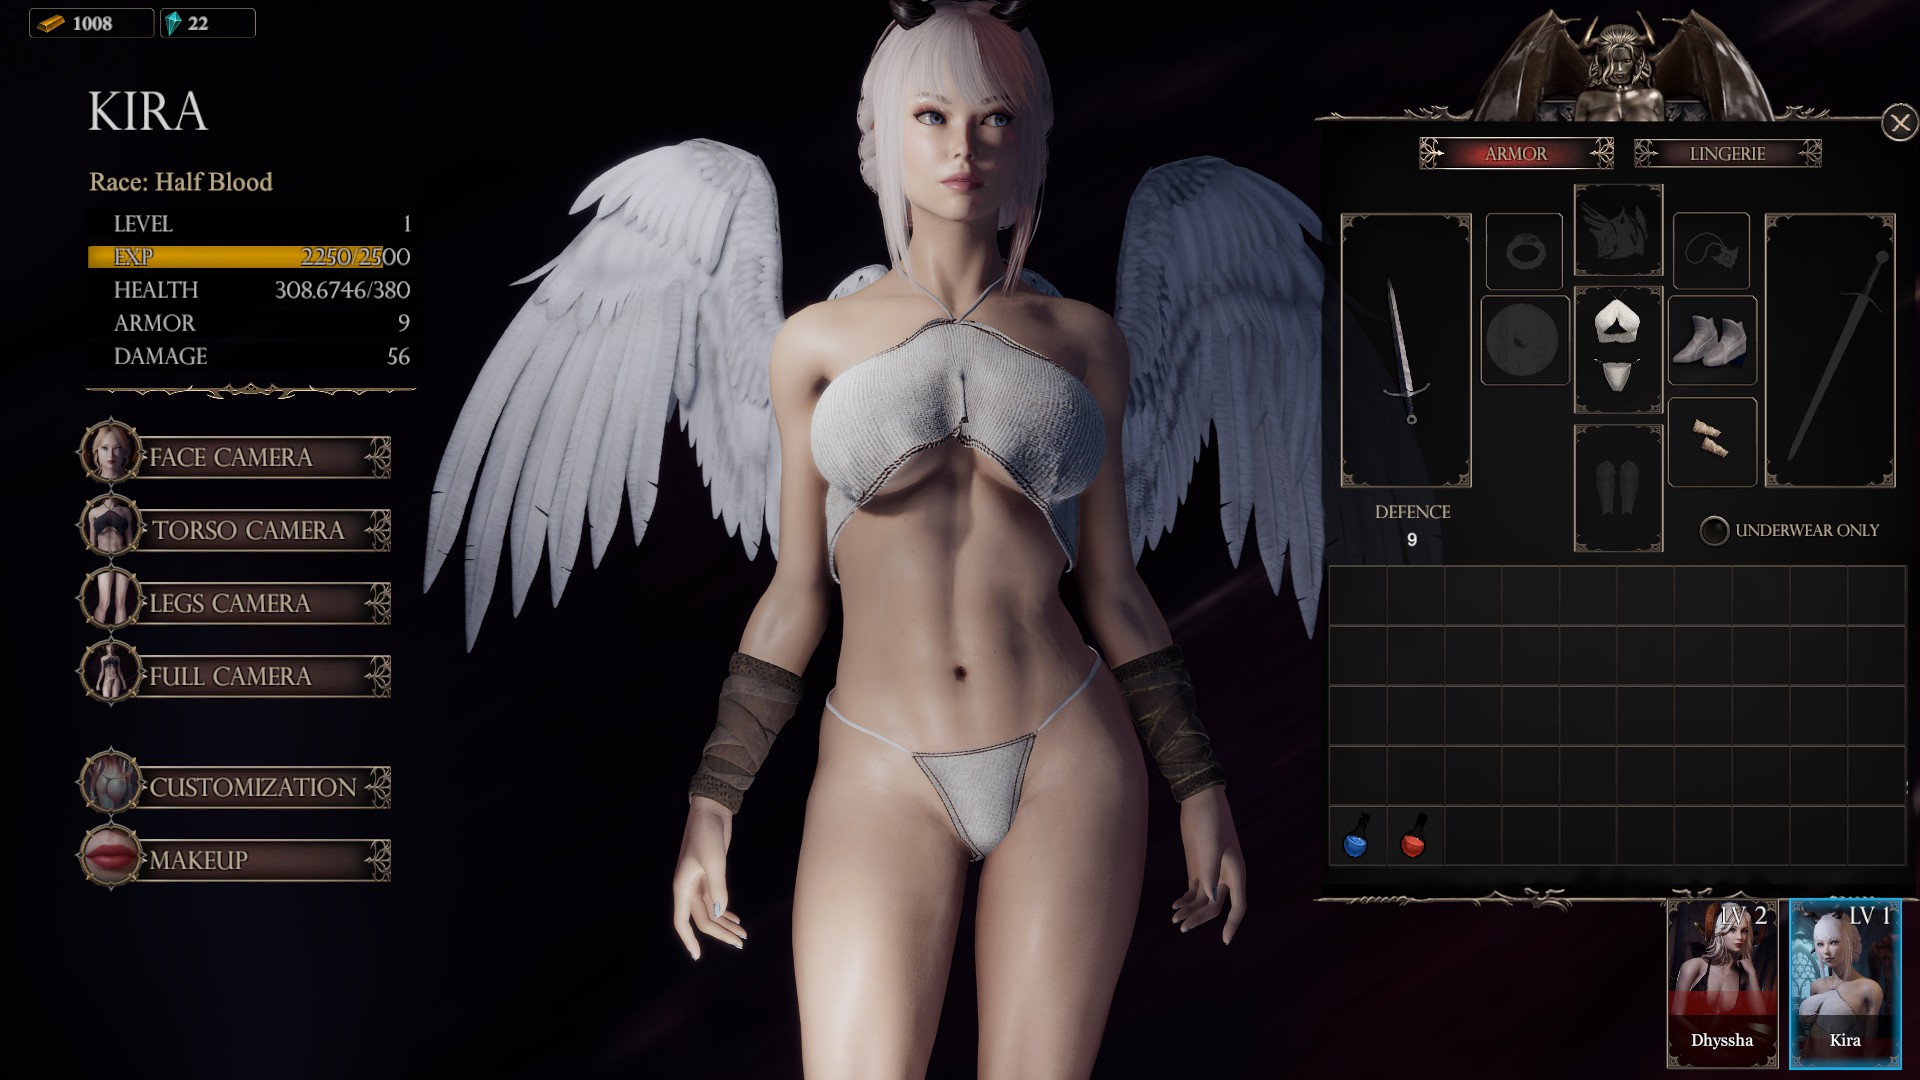
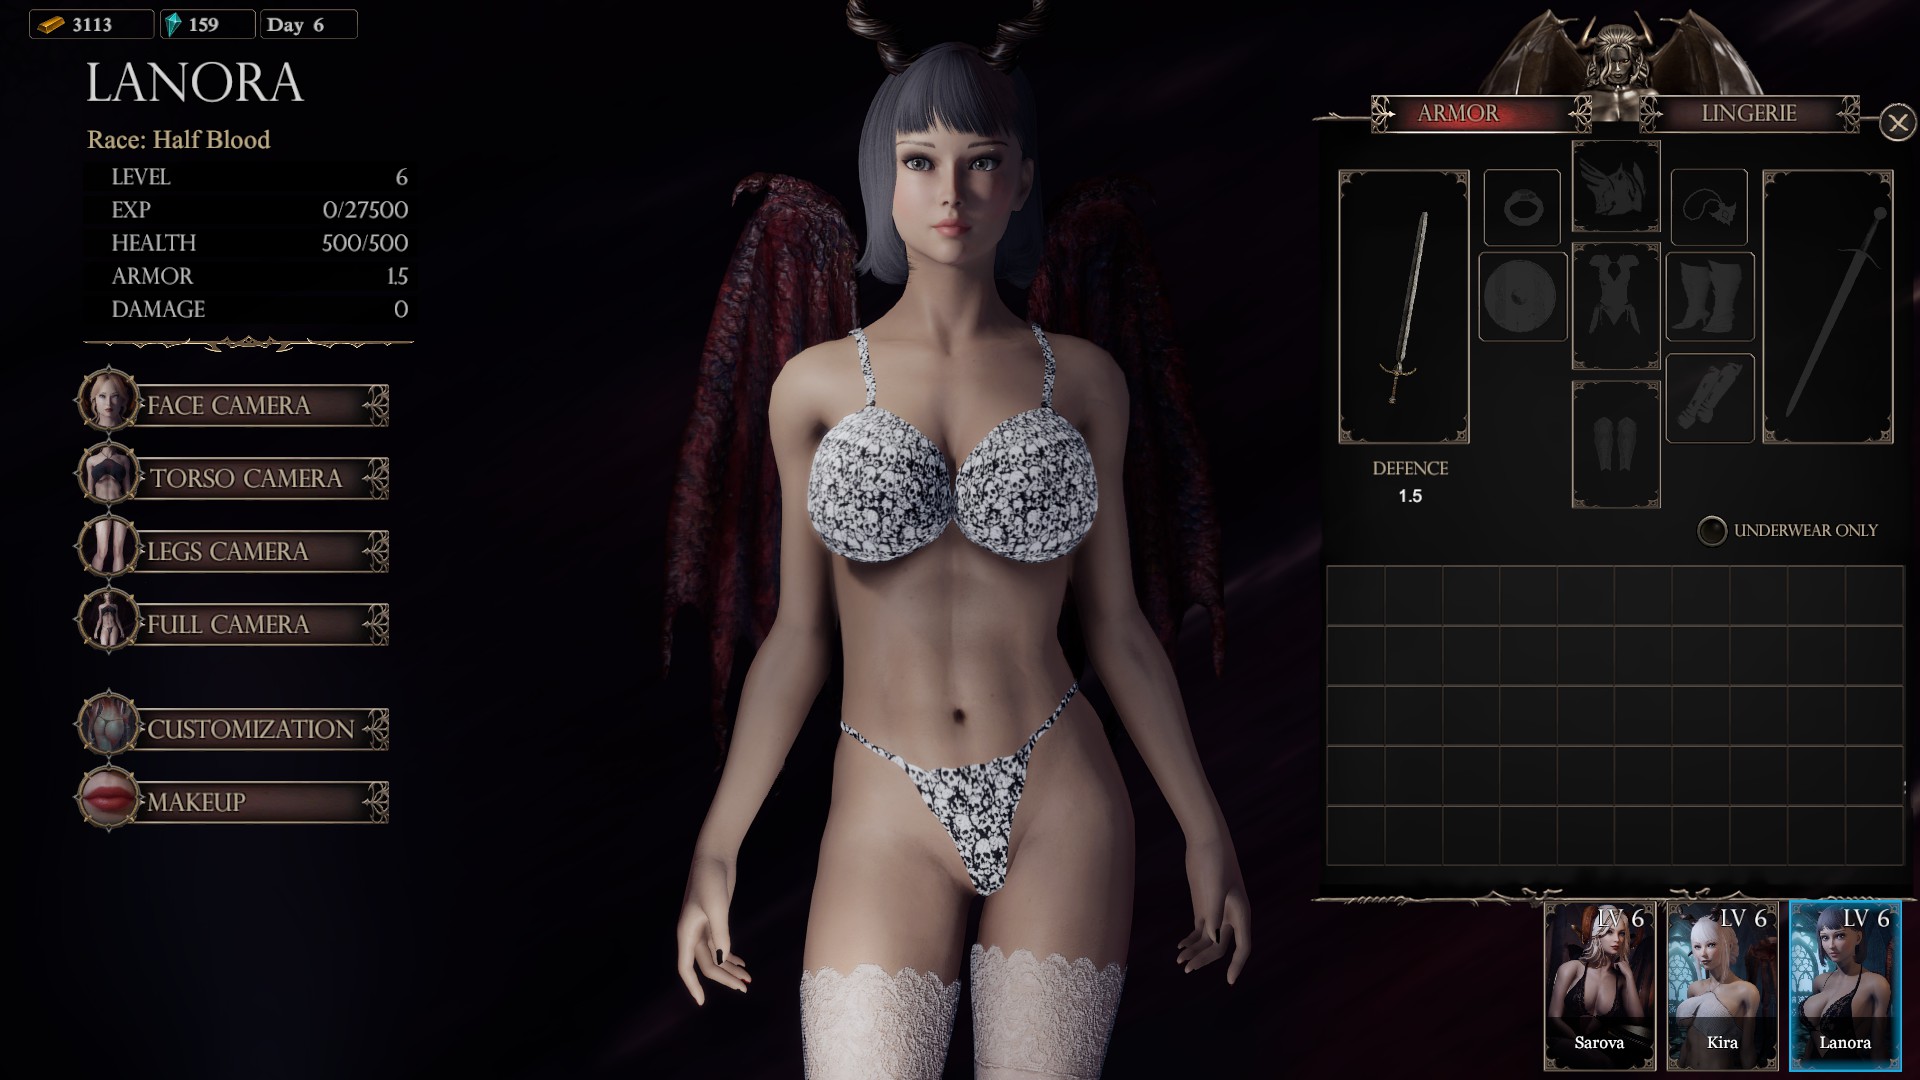
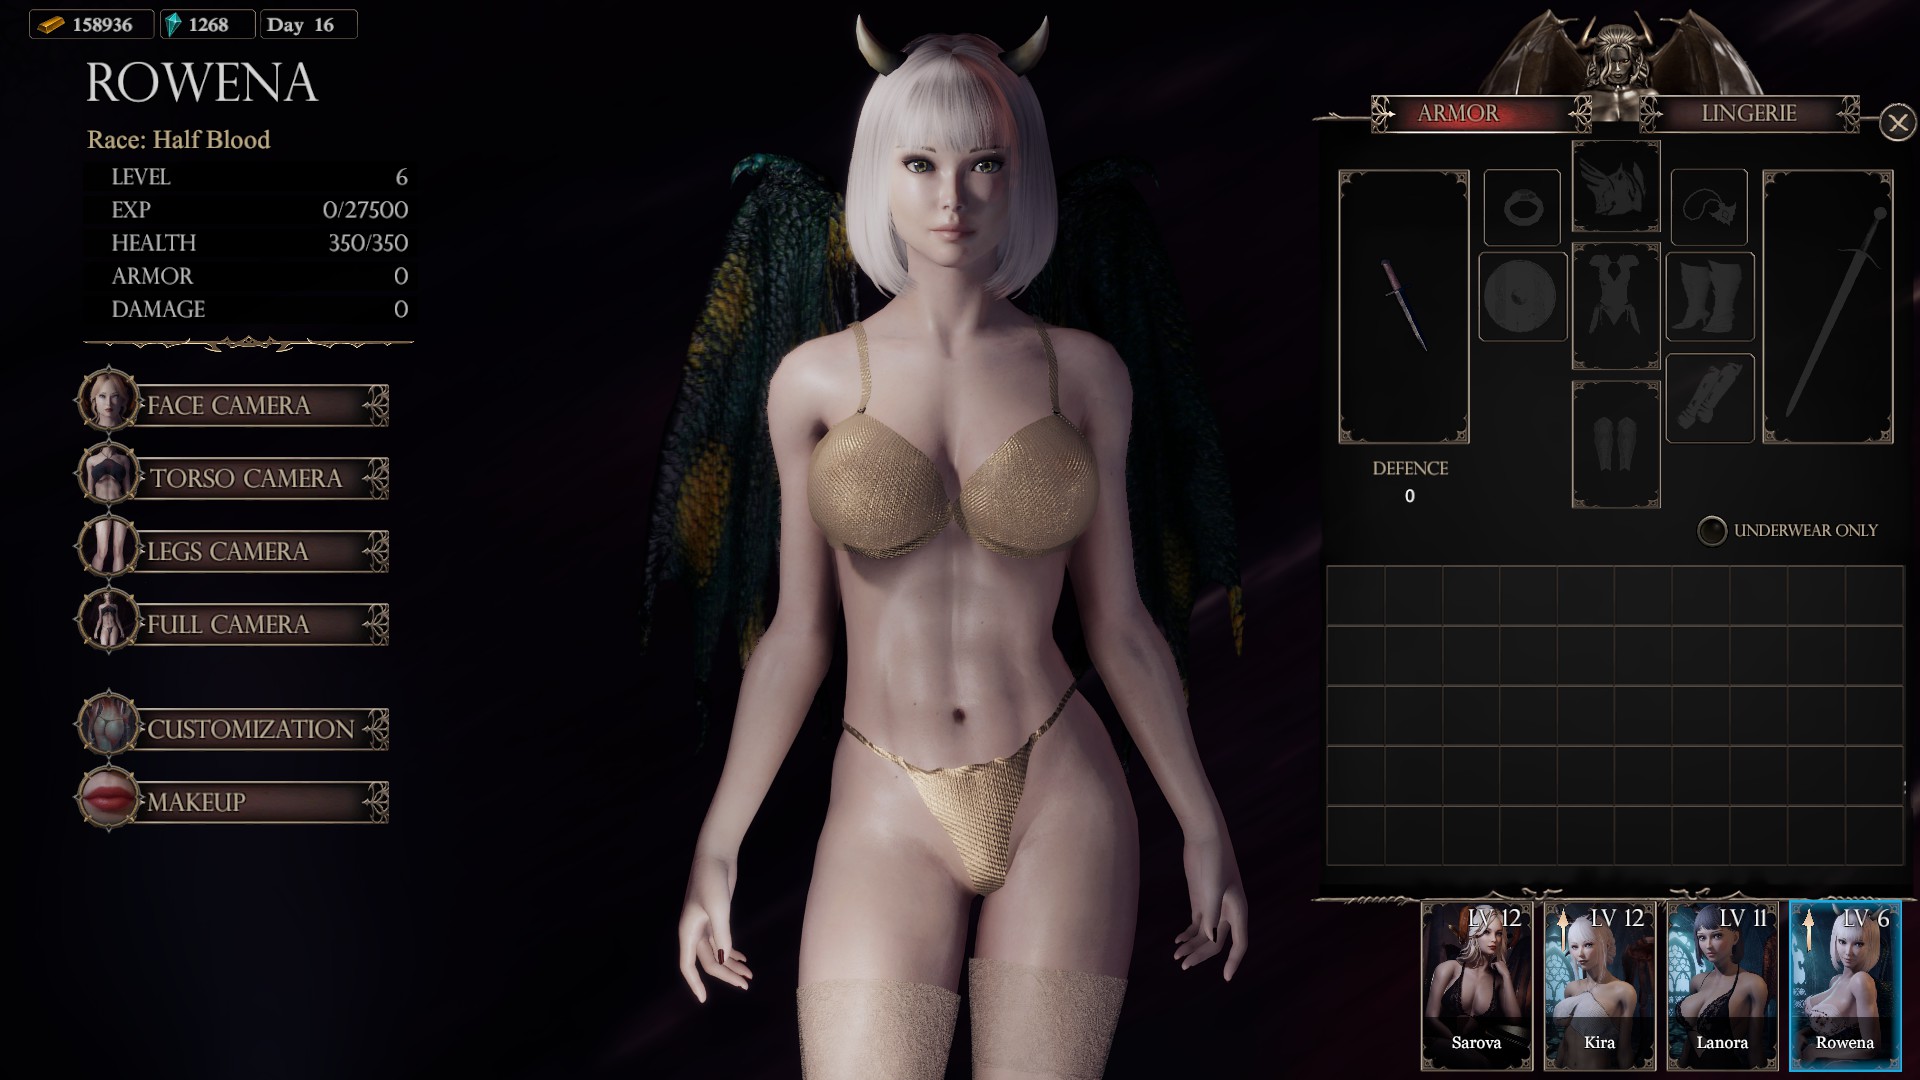
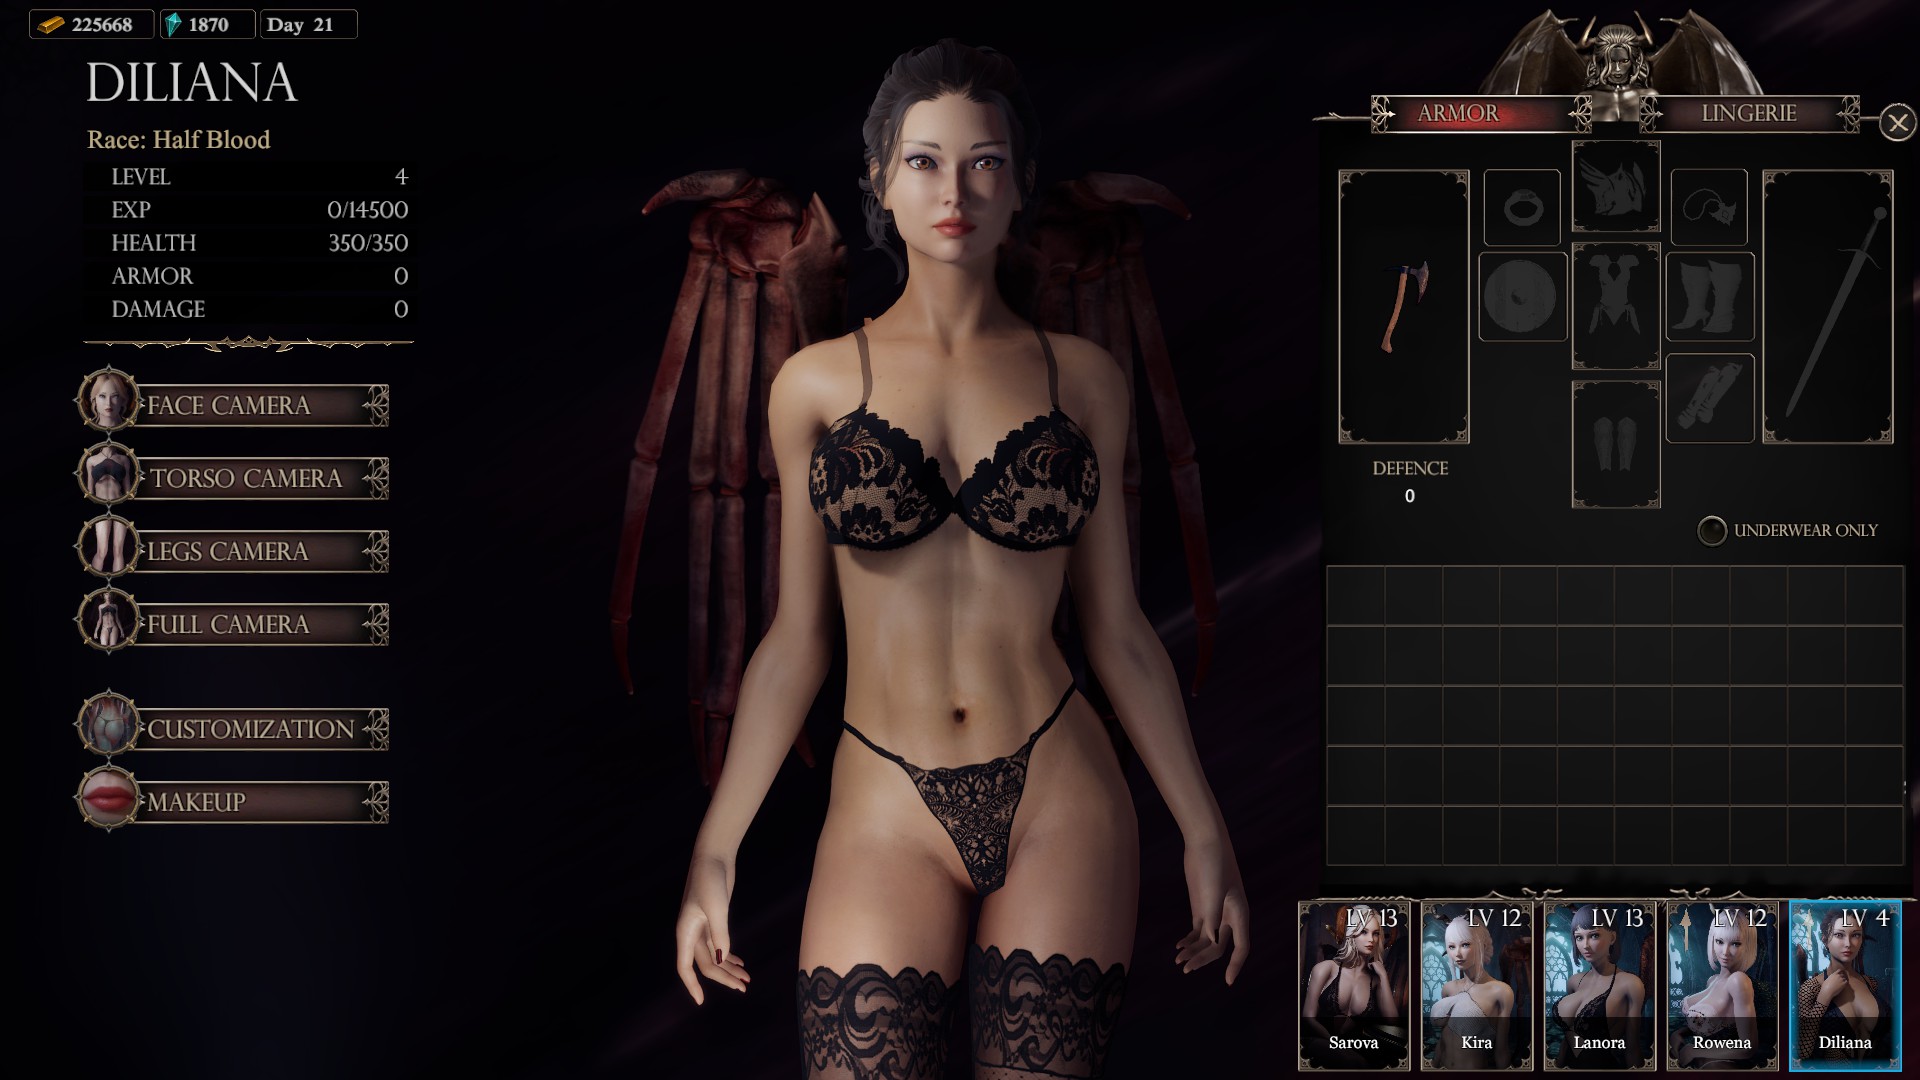
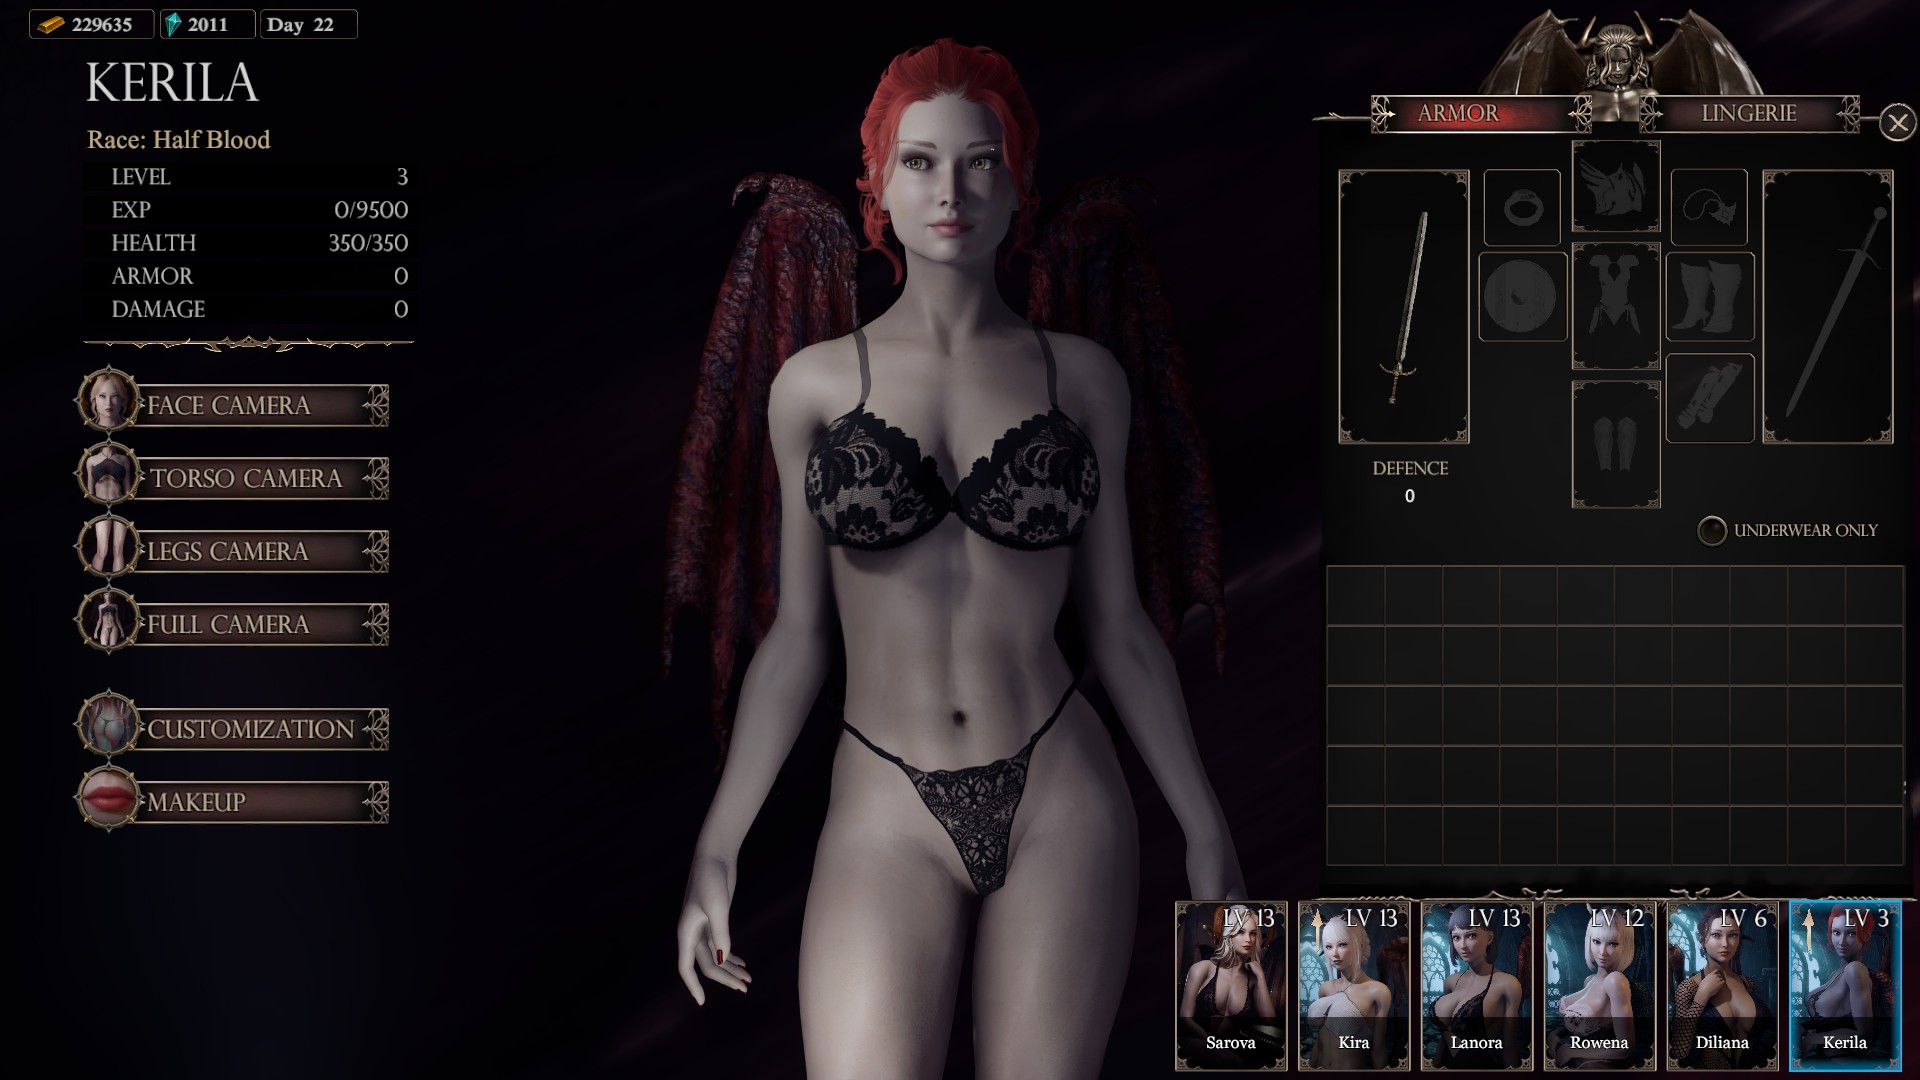
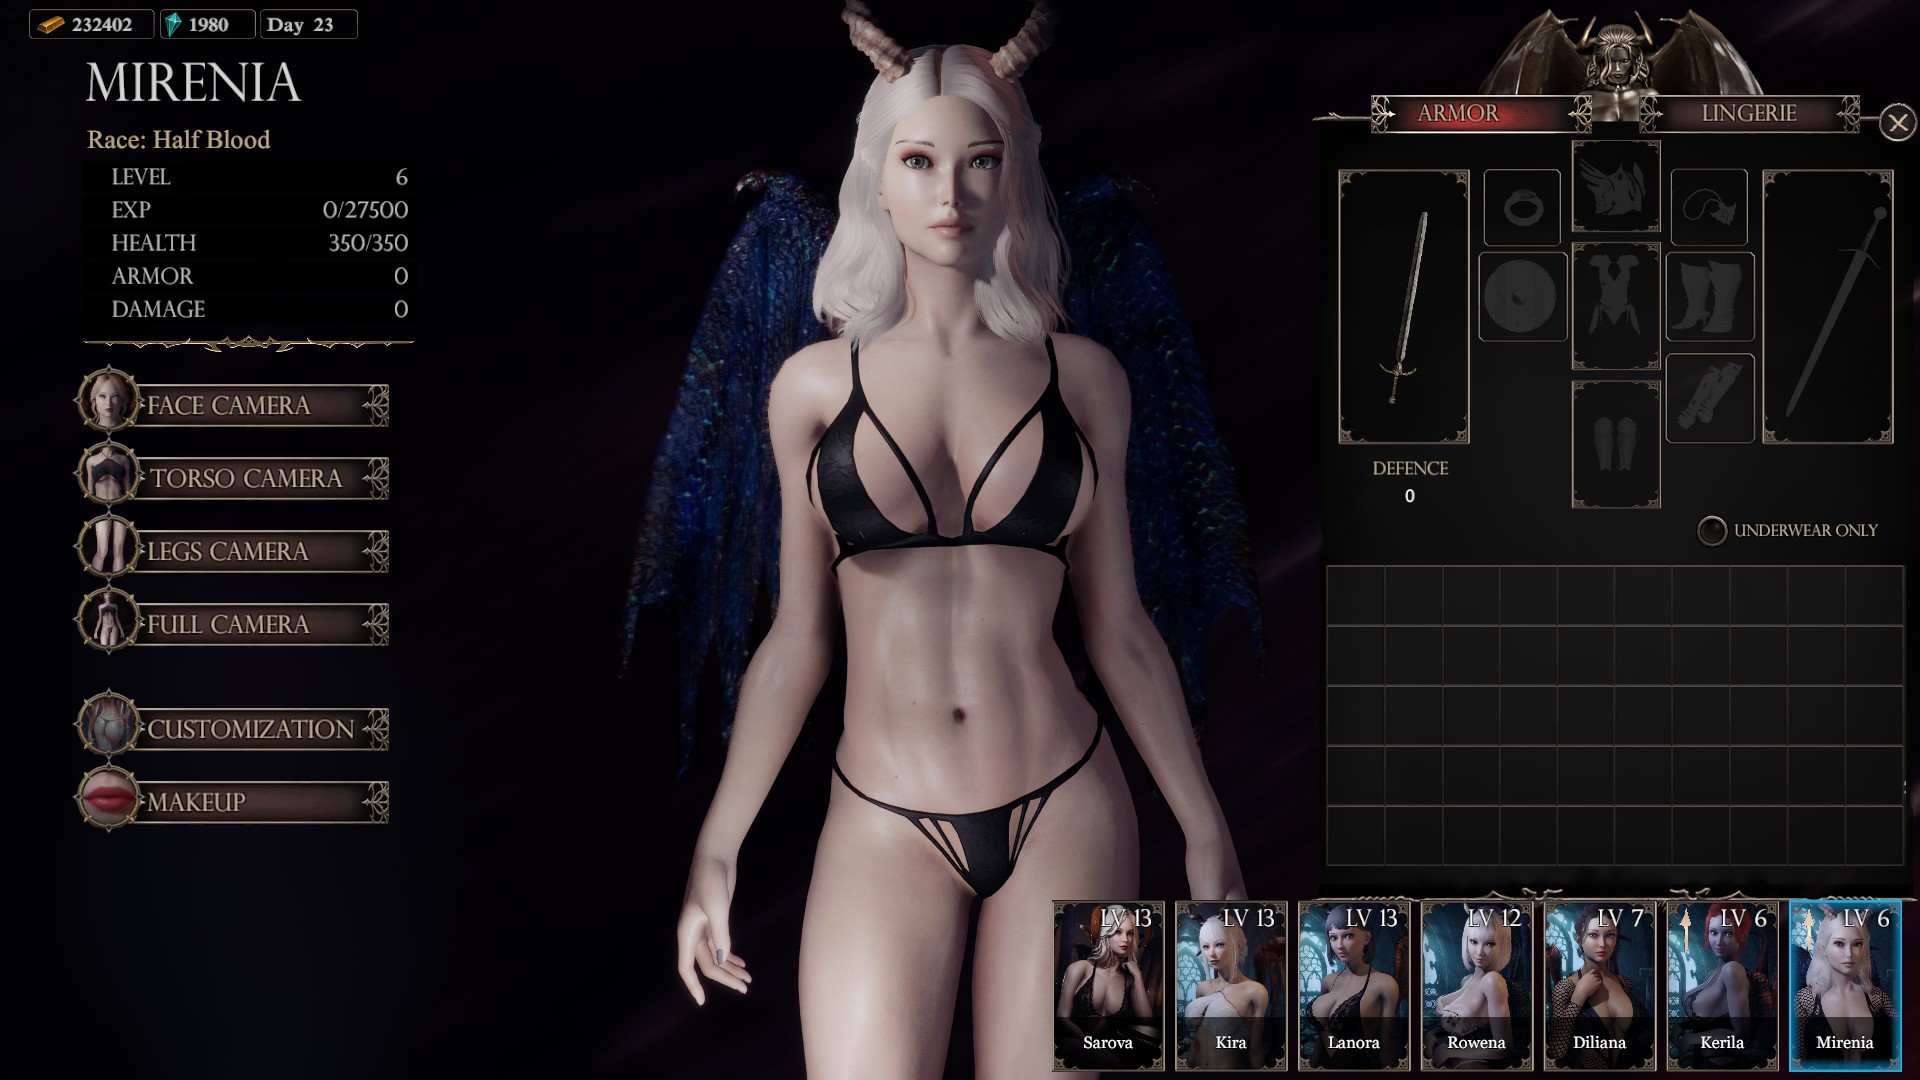
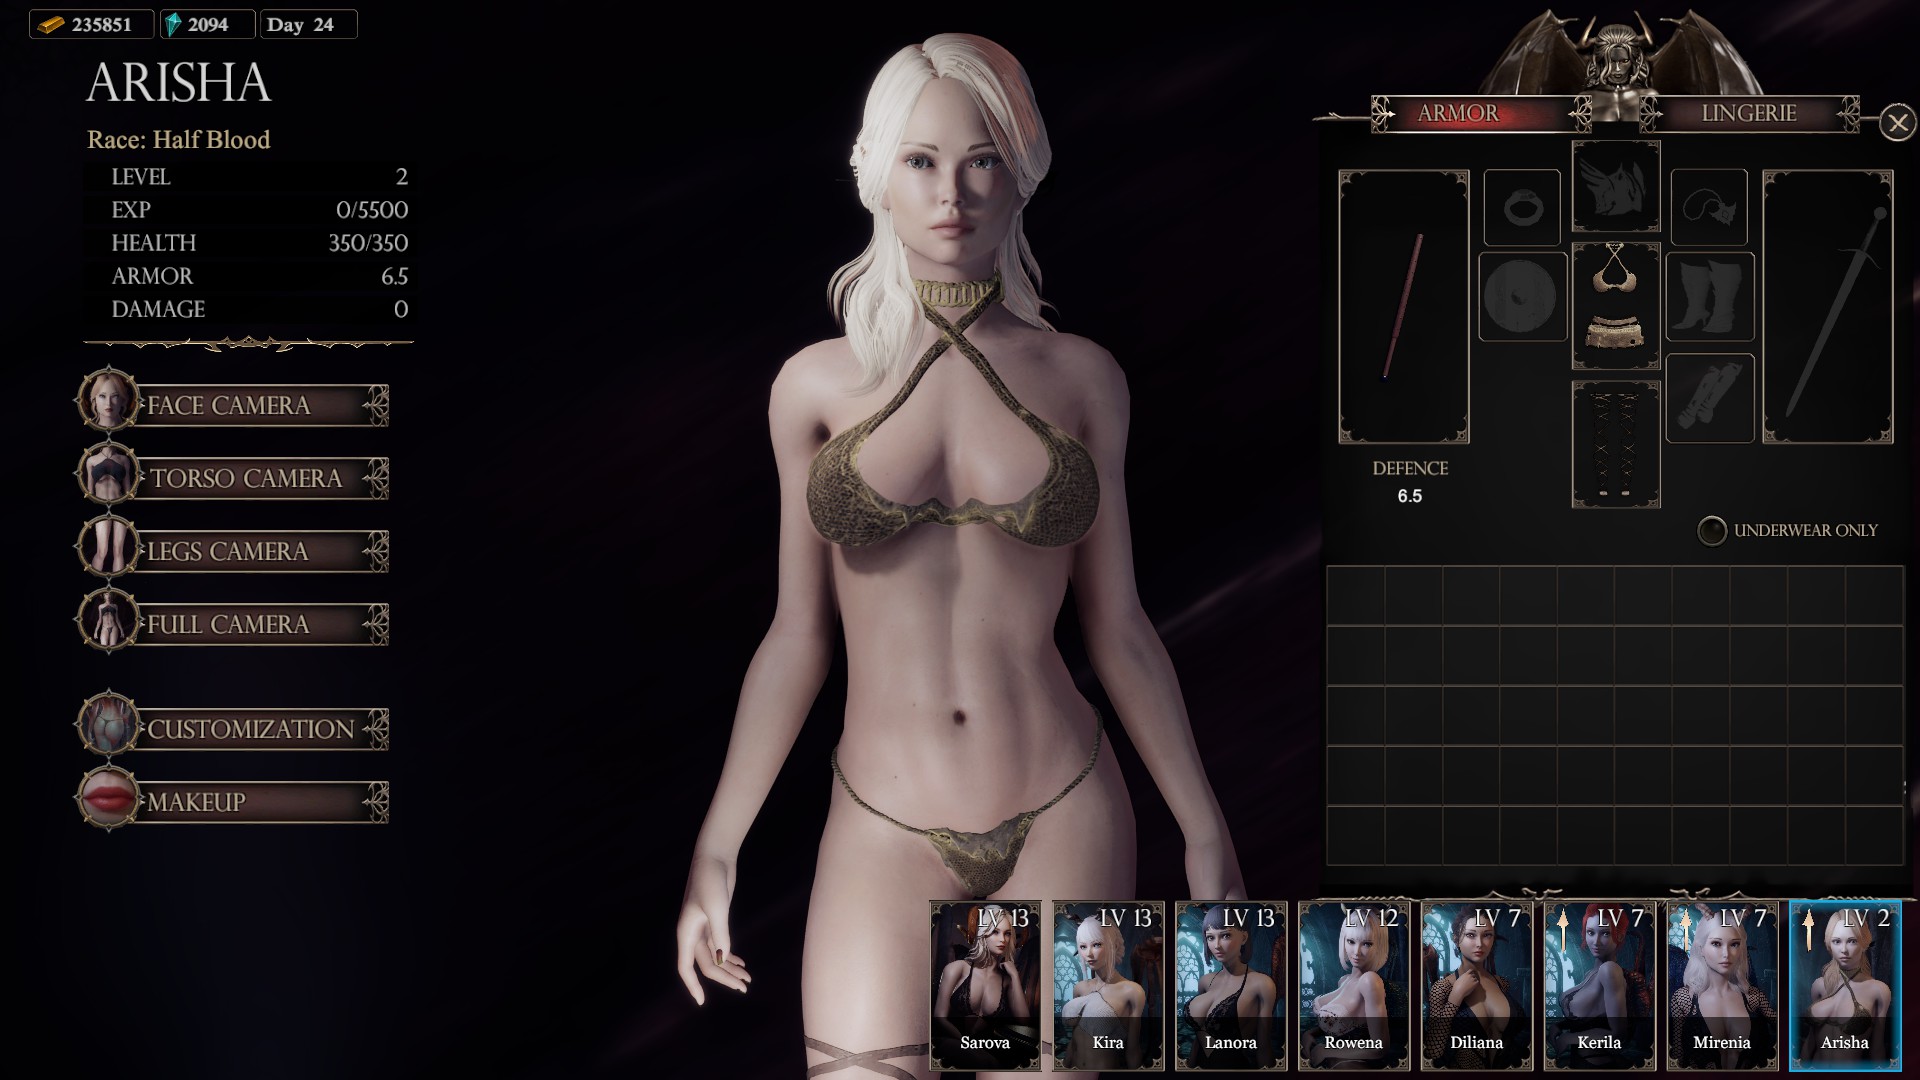
Rescued companions come with a basic weapon and little to no armour.
It is currently possible to go straight to the Catacomb of Sacrifice to rescue your second companion without fighting any other mob or dungeon. You can then progress through the dungeons from easiest to hardest until such time as the next companion becomes available. In this manner I was able to have all companions rescued by the time I was level 10.
Combat
In She Will Punish Them there are two types of combat. Static, if you have to walk near the enemy in order for them to spawn and/or attack you, as well as dynamic where they will spawn in waves and automatically approach the closest member of your Combat Party.
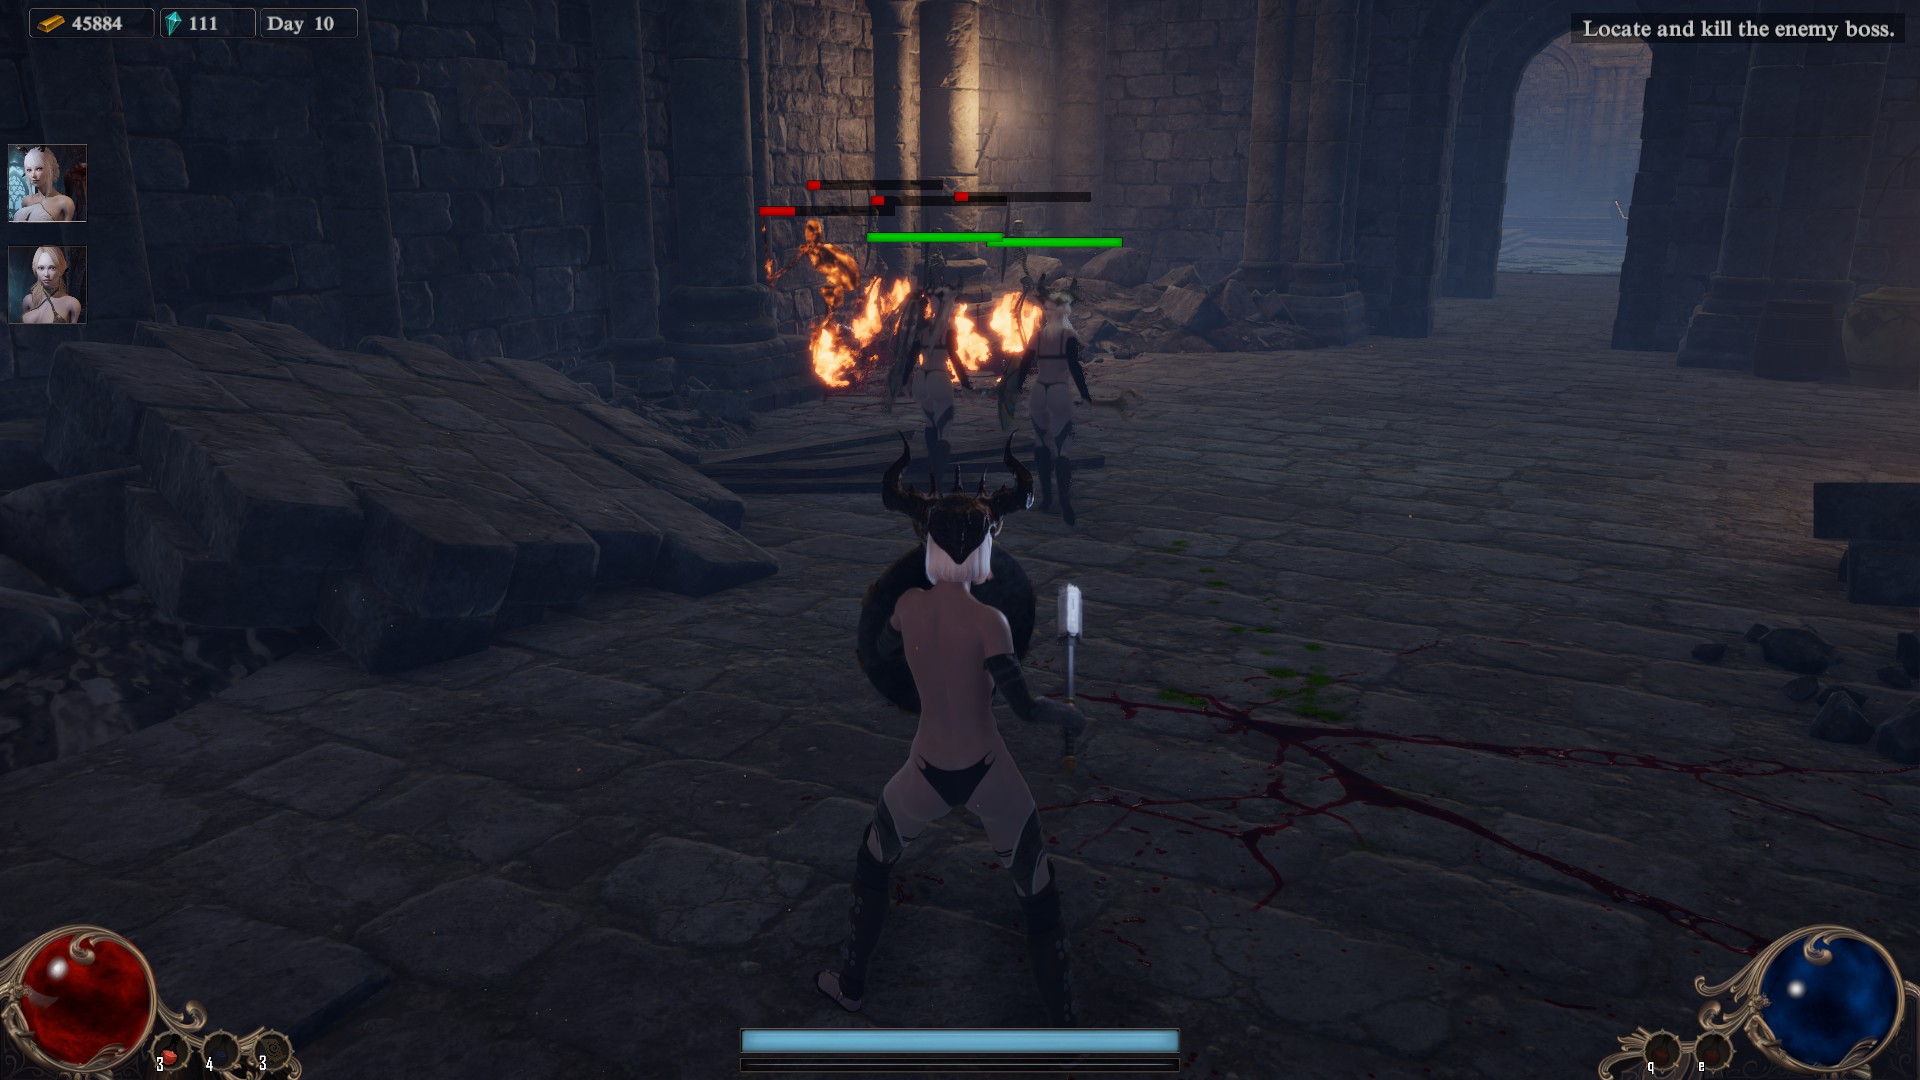
Static Combat (Checkpoints/Attacking Fortresses)
When combating static enemies, you or your companions will move into an area which will spawn the enemy forces. Moving within range of groups of enemies causes them to attack you. At times moving into a specific area will trigger gates behind and/or around you to shut, causing your companions to respawn next to you and locking you within an area until you kill all the enemies in that area. This can be useful if your companions get a little lost/stuck.
You will be given the option to exit the dungeon once the main Boss is dead. Encountering a boss without decent equipment is not good. You may need to kite* bosses at the beginning to give your companion(s) time to heal.
Checkpoints generally drop a number of items of armour, weapons, and potions in addition to gold.
You can go Forsaken Ruins, Undead Valley, Plagued Village to Catacomb of Sacrifice without fighting any encounters, but you need to be careful and I was lucky enough to get useful loot drops along the way.
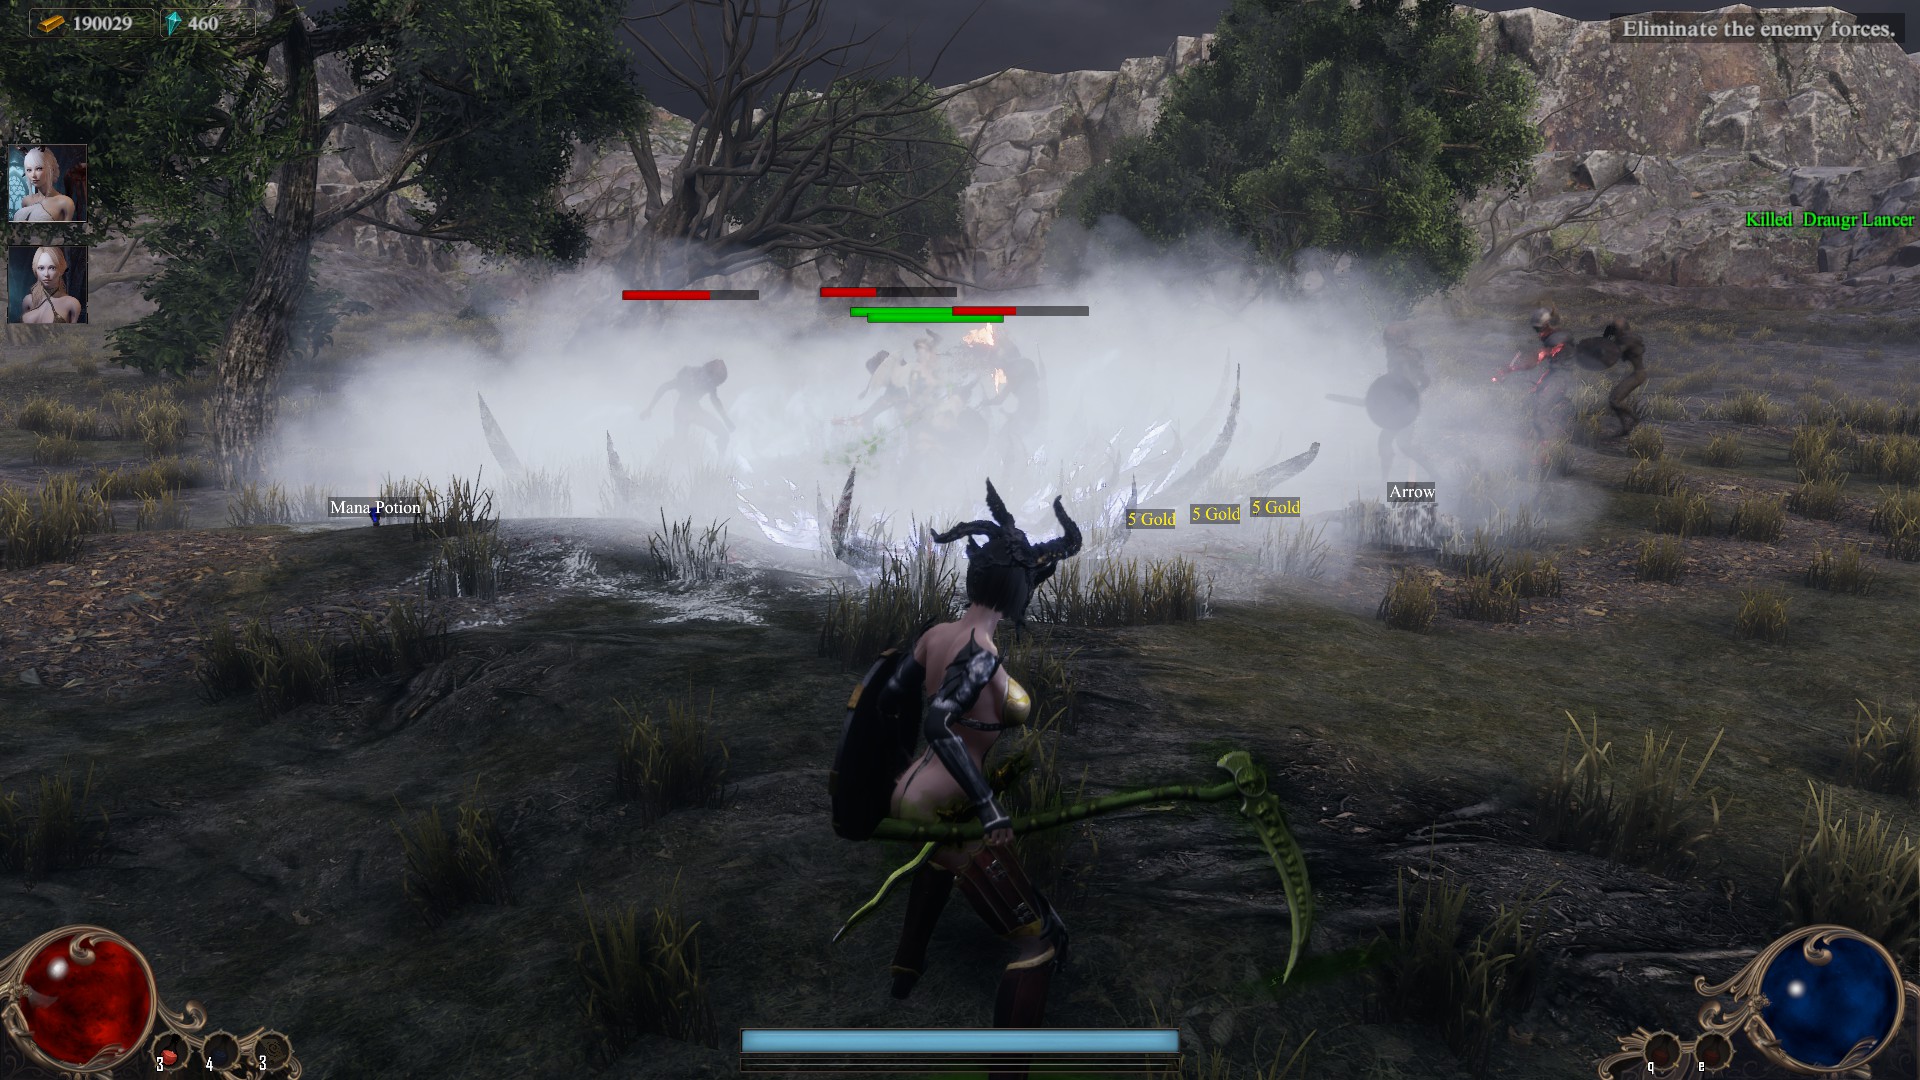
Dynamic Combat (Hordes, Armies and Defending Fortresses)
Groups of enemies will spawn periodically in waves and shortly thereafter they will begin moving towards the closest member of your party. Ranged enemies will stop within ranged distance and begin attacking. Hordes/Armies, of the same level or lower than your Combat Party, are a recommended start point for the first few battles as you will not encounter too difficult a boss, and you just have to manage the waves of enemies.
Loot is generally not as good or as plentiful as you would get from a checkpoint.
Using your companions
Basically your companions are going to tank** for you. You are going to run around kiting* the enemy so that your companions don't get over run by too many enemies at once and removing the ranged enemies such as archers as well as picking up the loot as quickly as possible.
One interesting thing to note is that it appears that it is only the character that lands the killing blow on an enemy that gets the xp when that enemy dies. So this means you can hack their health down, let your companion(s) finish them off, and the companion that strikes the killing blow will get all the xp for it.
* Kiting - drawing the enemies attention away from your companions.
** Tanking - be the muscle that gets up close to the enemy and hits them with maces or axes.
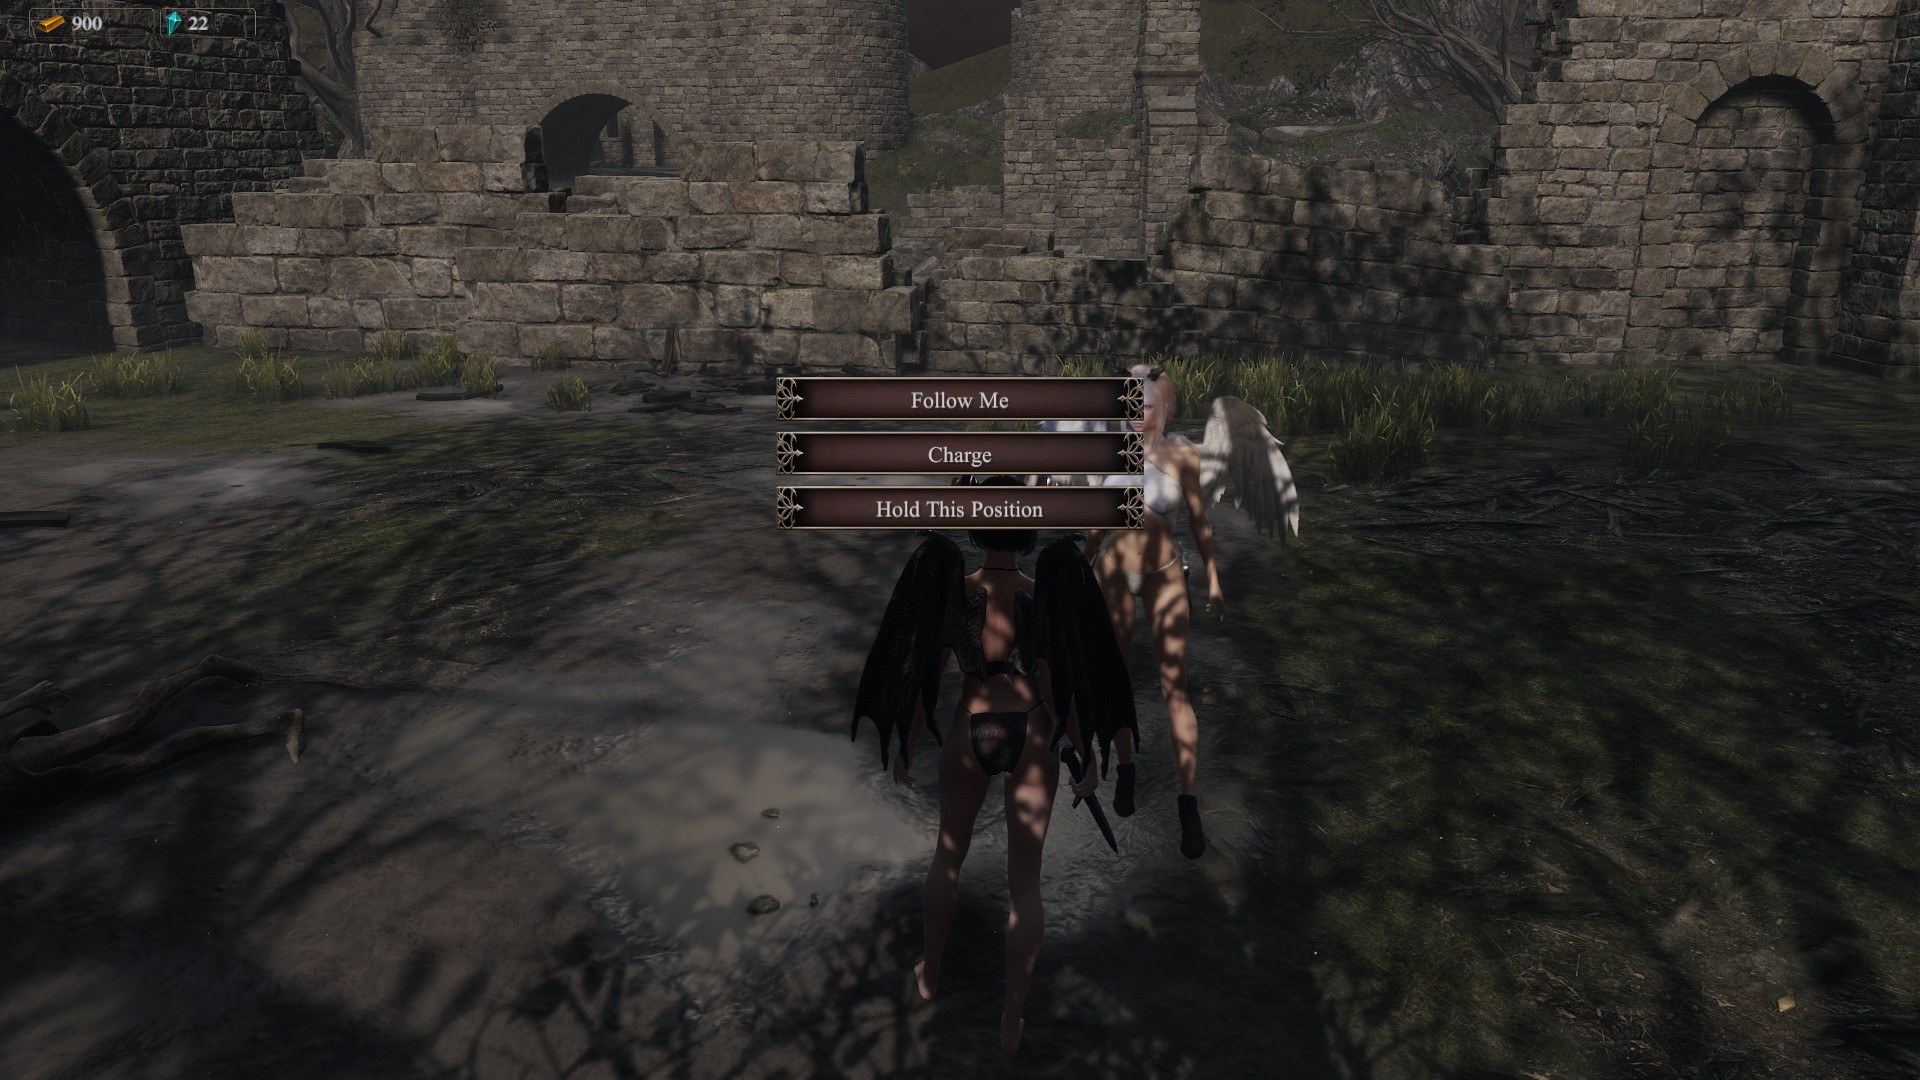
Companion Commands
Accessed via your Commanding key. ''R' by default on PC.
Follow Me - they will stay reasonably close to you unless the enemy attacks. This can be reasonably good for getting them to disengage from a fight, but not always, and for getting them unstuck on occasion.
Whilst assaulting Hiroth Outpost make sure to have your companions follow you (unless they're level 15 or so and well equipped, as mine split up and just wandered all over the map slaughtering everything whilst I ran around killing archers).
Charge - Charge at any enemy they see. Most commonly used once they have levelled up and are well equipped.
Hold Ground - currently seems to have no effect. Could be useful for setting up ambushes in the future.
Weapons And Equipment
Daggers - your companions do not seem to do any of the martial arts that you as a player can do with a dagger. See levelling guide for a dagger based agility build.
Swords - are not as effective as axes or maces. Don't bother.
Axes and Maces - the weapon of choice for your tanks. Most things that don't look like an ordinary sword or mace are axes. This includes staves.
Bows - are not effective. Don't bother. I get one of my companions to carry a bow and 1 stack of arrows in case I need to use them to clear an enemy we can't physically reach. You can also use the bow to lure a single enemy away from a group.
Shields - get one as soon as you can, they do seem to use them.
Armour - they are going to wear the brunt of the battle, give them the best armour you have and can afford. Upgrade your armour with their cast offs.
As you level up, keep some of your best armour that does not have a minimum level for the companions you rescue (unless you plan to just use scrolls and books to level them).
Potions - at the beginning give your companion a couple of healing potions. However they will mostly go through mana potions once they have a few levels under their lingerie so to speak (not seeing any belts so far). Fireball and Frostbite are very effective Area of Effect (AoE) spells that they will use often.
That is unless they shoot the fireball into the back of another companion. Luckily Friendly Fire is turned off.
Levelling Guide For Companions
Straight out, I expect a number of arguments from other players on this, but this has worked for me.
As at the time of writing I am using both companions in exactly the same way so they get the exact same skills.
Books and scrolls can be dropped into a companion's spare inventory slot, you then right click on the book or scroll to get your companion to read it. Experience points are not rolled over into the next level so be careful with which one you use. i.e. Don't use a book that gives 2000 xp when you only need 500 xp, use a 500 xp scroll and save the bigger book for later.
With Fast Learning maxed out your scrolls and books are worth twice as much xp as they were originally.
Level 1
Vitality, Regeneration and Frostbite. You're going to need health and an AoE spell to help keep your companion alive.
Level 2
Vitality, Regeneration and Fast Learning
Level 3
Vitality and Fast Learning x2
Level 4
Vitality, Fireball and Fast Learning.
Level 5
Agility, Fast Learning and Hardened Skin
Level 6
Vitality and Hardened Skin x2
Level 7
Agility and Hardened Skin x2
Level 8
Power, Alchemist, Frostbite
Level 9
Power, Fireball, Blocking (or Phantom Slashes)
Crowd control using Frostbite on the left. Burst damage using fireball on the right. They won't always use spells to the best of their advantage but they can be very effective.
Ninja Alternative - Agility build
Arm your companions with daggers and go for an agility build. I've also dropped Fireball from it because it is only useful in open areas. Companions currently can't determine if they have a clear line of sight to a target when casting Fireball.
Put all your attribute points in Agility.
Put your skills points into:
1 - Regen, Frostbite
2 - Regen, Fast Learning
3 - Fast Learning x2
4 - Fast Learning x2
5 - Hardened Skin, Phantom Slashes
6 - Hardened Skin, Ignore Pain
7 - Hardened Skin, Athletic
8 - Hardened Skin, Phantom Slashes
9 - Hardened Skin, Phantom Slashes
10- Phantom Slashes x2
Source: https://steamcommunity.com/sharedfiles/filedetails/?id=2541760667
More She Will Punish Them guilds
- All Guilds
- [CHEAT] Console Commands
- She Will Punish Them Guide 320
- Developer Mode/ - .
- One click backup of save files
- [NOT A GUIDE] The 3Dx artwork of Scarlet
- [NOT A GUIDE] The 3Dx artwork of Jacky
- Second preset by NeeRaY [ENG/RU]
- She Will Punish Them Guide 277
- [NOT A GUIDE] The 3Dx artwork of Ciri
- [NOT A GUIDE] The 3Dx artwork of Jill