
1. A Smell Of Petroleum Prevails
1.1 Ammo


From the start follow the shoreline to the pipes and a pile of trash tucked away in a corner.
*Bonus (doesn't count as secret): jump the pipes and go forward to find an interactable doll.
**Bonus: following the correct path you'll stumble upon more pipes, nearby you can find a seagull (that flies away if you get too close) - kill it to spawn some more trouble.
1.2 Small Surprise

After picking up the shotgun, instead of following the path uphill, walk to the end of the beach and get inside the shipping container. Picking up health pop spawns gnaar in front and behind you .
1.3 Armor

Up the hill, on the second old pier - some armor.
1.4 A Secret Rocket Launcher!!! Wow...


Not far from the armor pier, to the right of a roadside lodge, a hole in the ground covered by wood. Break the wood and jump down.
1.5 C4


Near the first oil rig road splits, follow the right path to a blue shack, deal with foes and continue to the right to end of the canyon.
NOTE: KEEP AT LEAST ONE C4 BRICK TILL THE END OF THE LEVEL
1.* Dmitry's Audio Log

At the end of the secondary mission right by the skill point box.
1.6 Armor

From rig 1 follow the secondary objective path to rig 2. You can finish the objective first or collect secrets and return to it after. Next secret is to the left of the rig 2 (facing it from rig 1). On the left side you'll find another cliffside group of huts with another pier with another armor piece. Beware the werebull that spawns behind you on armor pickup. Easily avoidable by kiting it to one side and then dodging to the other .
1.7 Classic Trap


From the pier, go left, to a lonely tree under which you will find yet another health pop. Guess what picking it up does. Your reward is 2 major biomechs . What a classic.
1.8 Rockets


Facing the tree from the direction you came from, go right, in between edge of the map minefield and oil rig, to another lone hut. Behind it a pack of rockets.
*Bonus: in the oil rig's 2 "moat" on top of a burned car is a medium medkit.
1.9 L.I.F.E.

A bit later in the level a group of gnaars will jump out of a ventilation shaft. Another secret is inside of it. Follow the path until catwalks from which you'll have to jump into the hole. It will probably take you a few tries as this hole seems to be made so you can't stand in there, you need to jump in in a way so you slide in and not out. This secret probably needs a SEISURE WARNING lol. By the end of it you'll be rewarded with your first L.I.F.E.
1.10 L.I.F.E.


Another L.I.F.E. after the "fire corridor". Clear out the yard and walk up the square thing first reptiloid spawned on, go up the stairs, into the building, across the corridor, into the nook.
1.* Dmitry's Audio Log


In the room with the objective button.
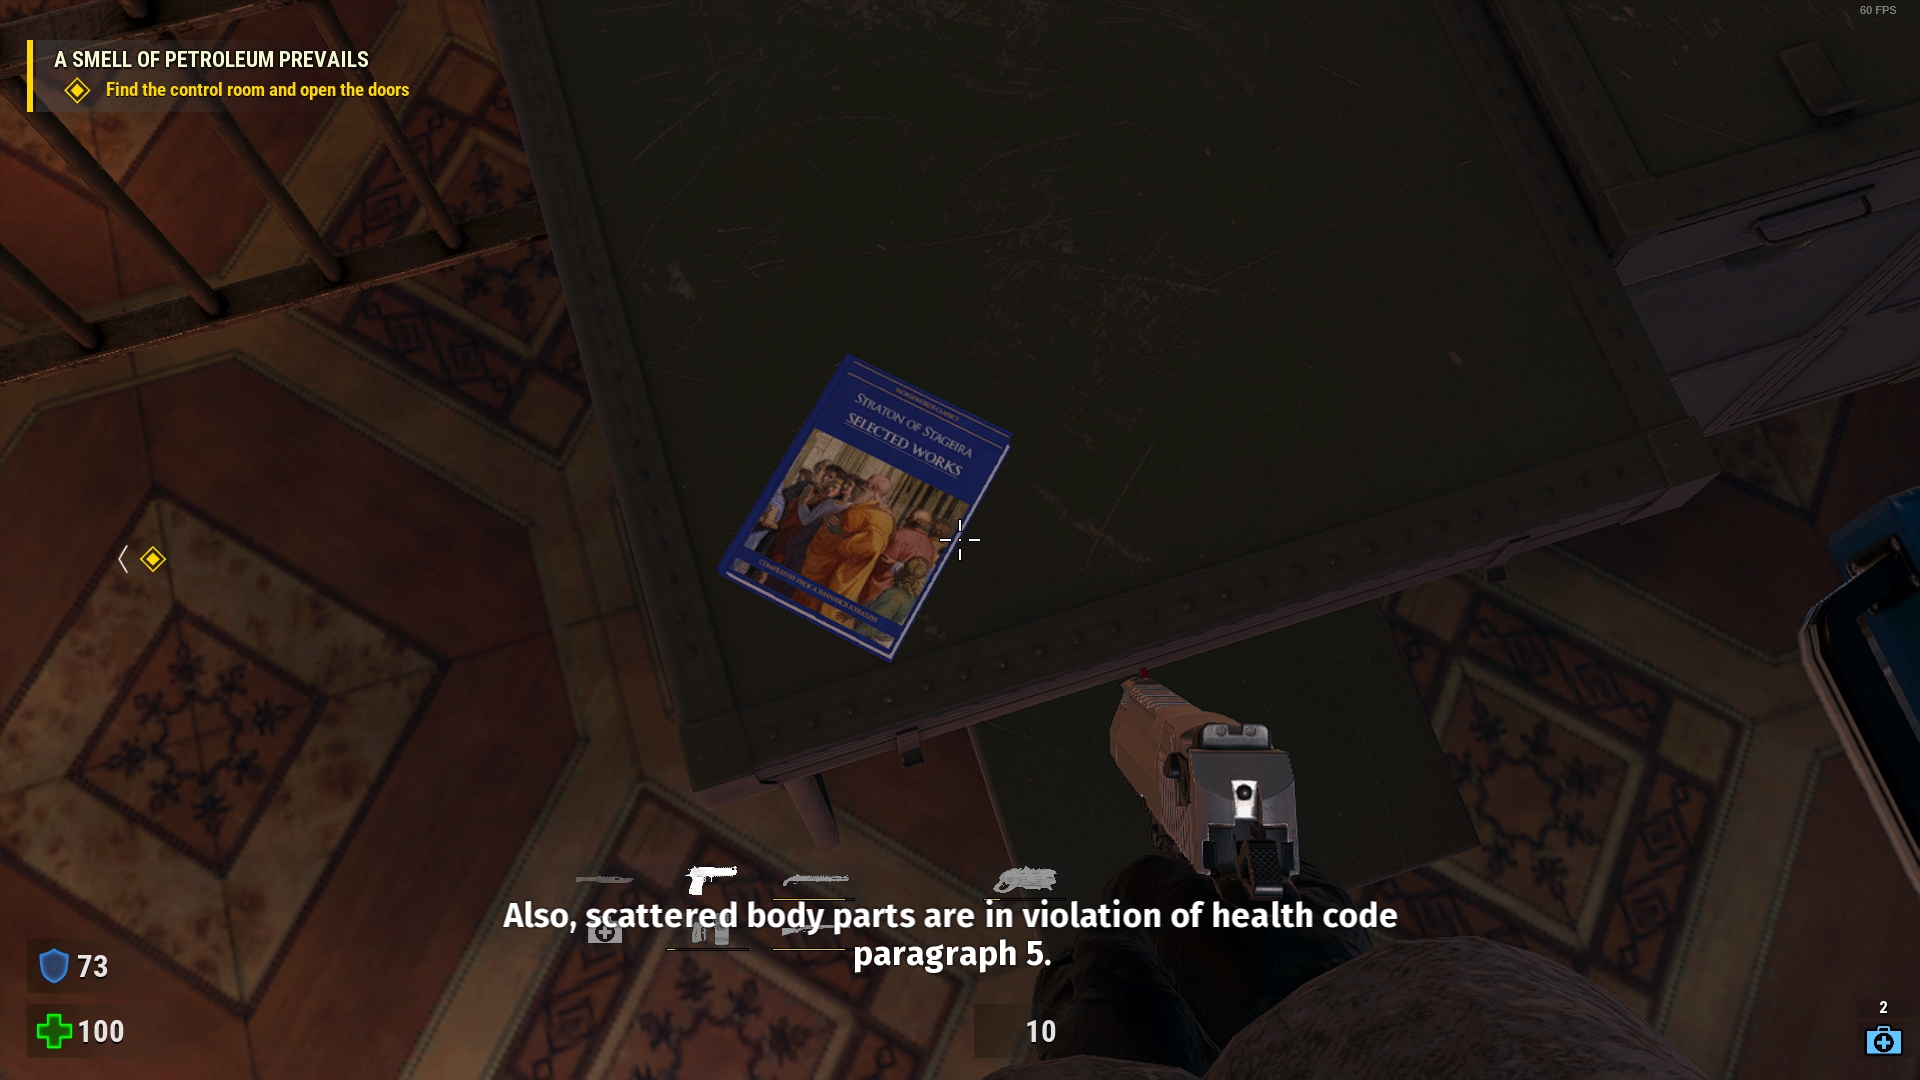
*Bonus: there are some weirdly specific and out of place books scattered around the game. Here's first one I found.
**Bonus: the attention to detail in the environments is pretty good in this one. Some posters and super detailed postings around the place.
First is the funniest one: "Attention. Smoking and swearing in only allowed in specifically designated areas."
Next one is "Storm Bringer company policies in the field of labor protection and work safety. General points. As part of ensuring labor safety at work employees and managers should fully familiarize themselves with the following documents:" which is a followed by a whole list of boring sounding legal documents with a few funny bits like "Guidelines for complying with rules and regulations during alien invasion" and "acts on the lack of monetary compensation to employees affected by the bureaucratic machine" or "Guidelines for weekly checkup of kitties living on the territory of the facility" and "Procedure for issuing bonuses to employees that managed to readtill this point" (yay!) and "Procedure for issuing bonuses to the poor sob that was writing all of this" and finally - the punchline - "and other paper waste". Lovely.
And the fourth one is "Recommendations and Rules for Company Employees in Case of Alien Invasion" which is a lot of funny and questionably funny points. Way too much to translate. Maybe later.
1.11 Rockets


Right outside the elevator there's a train in front of you, on the other side of it is a pack of rockets.
1.12 Cache Of Supplies


In the same trains area. Past the exit by the right hand side there's a concrete block you can squeeze by.
*Bonus: under the elevator you'll have to take a bit later there's a small armor piece and on the top floor some shotgun shells above the elevator door.
**Bonus: speaking of elevators - the sign inside of the elevator.
Some info on the elevator, then "Date of commissioning: 2046. Lifespan - 50 years. Date of next maintenance checkup: 2106" yeap, that's russia alright. Mildly amusing user manual "1. To call the elevator, press the elevator call button. 2. Wait till the elevator doors are open. 3. Make sure that elevator is in front of you". 4. After entering the elevator press up or down button. 5. Wait for the elevator doors to close. 6. Wait until elevator stops moving. 7. In case of elevator malfunction
1.13 C4


After the AK pickup, under the pipes/catwalks, follow pipes on the ground into the red hole where you will find another C4 brick.
1.14 C4

After fighting snipers and scrapjacks, behind the white storage room with jump pads.
1.15 - Armor

After the jump-pads room, right after exiting, jump on the box on your left and on the little roof above the door.
1.16 ???


From the jump-room exit, to the left is exit from the level, don't go there yet, instead follow the path to the right, in the end some boxes by the wall, break the boxes. Behind - a spot for C4. Self-explanatory.
====================
2. The Song Of The Stormbringer
2.1 L.I.F.E.


From the start go right to the dead end with some pipes, do some of that iconic SS parkour and be rewarded with yet another L.I.F.E.
2.2 Armor


After crossing railway paths to the other side, drop down the second path and follow the rails to a shipping container with a big armor pickup inside.
2.3 C4


At the far end of the secondary objective yard, behind some tanks and crates.
NOTE: KEEP 2 BRICKS OF C4 TILL THE END OF THE LEVEL
2.4 C4


Following the progression of the secondary objective, in the second yard you can get into storage 02. Behind the shelves.
2.5 "Health"


Continue on the secondary objective path, follow the road until you can make a left turn around the rocks, follow the rocks line until it ends and take another left into the woods to some shack with a cute looking snowman. The secret is on its head. Obviously when you pick up the health snowman explodes dealing quite some damage. Not sure if can be avoided . Was two of these not enough?
*Bonus: just in case you'll miss it - if instead of taking first left you take right, behind the container/shack you'll find rockets and some armor.
2.6 Skill Point


Follow the objective and turn on the power. After getting out of the pit, go behind the power station and into the now unlocked excessively long basement, which is like that just so devs can be @-holes again. Prepare your super shotgun asit one shots werebulls if you are dead on and very very close. Which you will be in this confined space .
2.7 Armor

Back to the main path. Get to the "Extremely Uncool". On that arena, behind a concrete barrier, some armor.
2.8 Hacked Drone


Some helicopter and scrapjacks later you'll come upon an open gate by some shipping containers by the right side. Prize is behind those containers.
*Bonus: on the other side of the channel some armor behind concrete blocks.
2.9 ...???

Right out of the last secret, look down the edge right across from the hole you crawled out of. Jump down and then once more down the middle of the platform. Be ready for a fight. Those...things take 2 SS shots (on hard) and don't do AoE, so it's not exactly challenging, just strafe and spam SS .
2.10 C4

After your "factory equipment" runs out of juice. Tucked away in a corner behind some shipping containers, a brick of C4. This one comes with small arachno-party .
2.11 ???

This one is not even that hidden but requires 2 bricks of C4. Near the previous arena exit/this area entrance.
Inside if you are not familiar with classic secrets, in the second room take left in the dark corridor and in the weird letters room you have to spell the name of the big bad by jumping on letters - M-E-N-T-A-L (jump from T to A is pretty tight) .
====================
3. Siberiade
This took a while.
3.1 Skill Point
I'm not sure how exactly this one is a secret, as no parts of it are exactly hidden, but by collecting 3 key cards in the first part of the level you can get a skill point in the hut between parts 1 and 2.
This covers the entire first area, or rather - entire first area is exists just for those key cards cause if you don't collect keys and secrets you can just b-line to the exit. I'll split this one into parts and put them in appropriate "sequential" order.
*Bonus: solved puzzles if someone needs it.
1.
2.
3.
3.2 Secret Oil Field Encounter


In the field of pumps closer to the beginning, you might notice that 3 pumps are not working. Press the button on the side of each one and enjoy this games new twist on an old enemy.
3.1 Skill Point - 1/4


To find first key just follow the yellow gas pipe you've been riding along since you got snowmobile. Big outpost has a secret behind the other building.
3.3 Rockets


In the aforementioned big outpost with a keycard, go behind the building on the right and jump into a group of cube barrels.
3.1 Skill Point - 2/4


For the next key ride through the outpost till the crossroads and take left. Small outpost is by the right hand side after a yellow pipe arch.
3.4 Time Warp


In the "Hide and Seek" side quest area. Pretty much unmissable. When you reach an ominous looking formation of rocks on the left side is a clearly visible blinking pink gadget. Take hard left around this rock and hug it until you come upon a totem-marked cliff-rock. Climb it to reach the gadget.
*Bonus: at the side quest objective there's a hole in the ice, down which you can find a hateful friend from the past electro-fish . Not sure if there's anything else because just to even see the thing I had to spam L.I.F.E.s and even that doesn't give much time in the icy water.
3.1 Skill Point - 3/4


Backtrack to the crossroads (maybe do the "Hide and Seek" first) and take the last, sawmill, path. Right after crossroads there's a secret on the left and you'll pass by sawmill that has another secret. Ride until you make a hard right turn. By the left there's another secret and by the right is last outpost with a key. Following the same road will lead you back to oil pumps and the area exit with your prize.
3.5 Rage Serum + Russian Joke That No One Will Get


Near the aforementioned crossroads in between key card outpost and "Hide and Seek" entrance. Follow the Sawmill road till you see a yellow pipe arch. Into that arch and to the old cart with a hole in the ground nearby. Secret is in the hole. Who is this Dmitry and how is he still alive?
3.6 C4

Finally, some good f***ing food secret that was fun to find. Following the sawmill road you'll discover the...sawmill, who could've thought. Jump on the tractor by the sawmill building, then on the roof, from the roof jump on the tank connected by the pipe to the silo thing, follow the pipe, climb the ladder and get your C4.
3.7 T.A.C.T.

Follow the same road until a right turn. After the turn, to the left you can find an alien pump thing. Under it are remnants of a brave resistance member who clearly put up some fight before going down. He left us a SS and a T.A.C.T. gadget.
3.8 Hoverboard


Back to the pumps field. Closer to far end you can find a big rock formation. It has path to the top of it. There you'll find a hoverboard gadget.
*Bonus: across the road from this secret you can find a path in the snow leading to a cliff edge where octanian soldier is just enjoying the moment .
3.1 Skill Point - 4/4


The reward for this key hunt awaits you in the checkpoint you have to go through at the end of the area. Exit the building, go left and back into the building through side door.
*Bonus: as you enter the village, turn around the first house on the left and check the open window.
3.9 Monty Python Reference

After emerging on the other side of the church, go down the steps, follow the road but don't take right turn, go a bit forward and check out the big angel-in-an-arch statue on the left.
3.10 Shrine

On the approach to the village make a left turn by the electrical box into the woods. There you will find a shrine in memory of Cortana Netricsa who I didn't know is dead? Or not "born" yet? Or never existed because she was part of a dream? Yes...it's a bit complicated.
3.11 Armor

After exiting the village through another gas pipe arch you'll come upon a fork. Take right, there's a barn with a tractor in it, check the little shack on the left.
3.12 Medkit In The Middle Of An Empty Field


Back to the fork, a bit towards the objective by the right side you can find an empty field with a giant medkit. And of course it's another trap.
3.13 Serious Snow(man)


In the woods to the left of the destroyed church.
3.14 L.I.F.E.

Upon making it to the alien bridge check under it.
3.15 ???


Follow the bridge moat towards the objective. At the end of it is a sewer pipe. Navigate right, left, right and behind the machinery in front of you is a button. You probably already noticed the door it opens in the previous corridor.
And again, if you are not familiar withclassic secrets: 1.For funzies you can try jumping over the guardrails of the slide for a joke secret (not an actual secret) and 2. The wall opposite to the one that gets broken by the bull is breakable too and contains some cannon balls (again - not an actual secret) .
3.16 T.A.C.T.

To the side of the objective barn there's a formation of rocks. Through the entrance behind trees, T.A.C.T. awaits.
3.17 Cannonballs

Behind the objective barn, a wooden shack, behind the shack - some BFG ammo.
3.18 Skill Point 1/4

Another multi-parter that starts in the area after alien bridge. 3 out of 4 parts are unmissable, 1 is just slightly out of the way.
First tower is right down the road from the bridge. Destroy it to get the key.
3.19 Cache Of Supplies

From the first tentacle tower (one straight down the road from the bridge) there's a silo/tower in the middle of the field. Impossible to miss. Atop - some supplies and an easter egg.
3.18 Skill Point - 2/4

Second tower is to the right from the alien gate. Somewhat heavily guarded.
3.20 Hoverboard

On your way from or to tower 2 there's a wooden hut, in a corner behind it and a stone fence, a hoverboard.
3.21 Hacked Drone


Progressing through level, after the alien gate out of the 2 tentacle towers area, you'll come upon a group of houses with a row of silos. To the left of it is an alien outpost. With a locked gate. Penetrate the defences from behind. One of metal rooms contains the secret gadget. Also inside - a cuteTalos Principle easter egg.
*Bonus: in this aforementioned group of houses you can swap your ATV for a tractor.
3.22 HOLY SH!T


Following the road you come upon a windmill, follow the winding path down and at the bottom take hard right to the river. And who could've expected that one - there's a secret behind a waterfall. Be ready for a fight.
3.18 Skill Point - 3/4

Last tower is, again, impossible to miss. In the valley of windmills.
3.23 Cache Of Supplies


Following the objective through the big open area, to the right of the 3rd tentacle tower is a path to a shack and some broken pier/dam/bridge something. Under that are some supplies.
3.24 Cannon


Past the last tower and the nearby rock you can see a windmill by the river. Get inside of it and look up. Big balls time.
3.25 Cannonballs


On the beach by the objective bridge you can find remnants of a hut. Inside - some cannon ammo.
3.26 Japanese Adventure Game Reference

Under the objective bridge. Prepare to die.
3.27 Secret Railroad Employee

On the objective bridge there are train carts. Last cart before the concrete barriers has an open door.
3.18 Skill Point - 4/4

You will not miss it. Case is by the level exit.
====================
4. Roadside Picnic
4.1 Hoverboard

Right under the starting bridge.
4.2 A Piece Of Russian Folklore


Following the objective marker, just about as open fields starts, in the rock formation on the left there's a fairly obvious opening. This thing regenerates. You have to dump as much damage on it as fast as you can. Spamming 5 rockets, cannon. Or just TACT it. That works.
*Bonus: in the remnants of a village right before this secret :D
4.3 T.A.C.T.

On top of the tank shack.
4.4 Cannonballs


After the fun ride is over pass through the alien gates and go around the first shack, behind the house is a wood covered hole in the ground.
4.5 Autoshotgun


In the side objective area. In the bunker, after you pass a red light corridor full of processed, turn into a small storage room on the right, destroy the boxes and dive into the hole.
As for the puzzle, I can't give a solution but I can give this somewhat helpful chart.
4.6 Secret Elevator Party

Following the side objective you'll arrive at an open pipe to the right. Instead of diving in, keep going forward to the end of the corridor. Press the elevator button.
4.*Bonus "Kleer Alley 2" Cheese
Bonus: Just like for the old (in)famous moment in the SS series, new iteration of it seems to have a way to deal with it easier. Except unlike "just jump the spikes" this one is a straight up cheese.
For some reason kleers can not pass through one of the doors you pass through just before the tunnel. So, if you are having troubles, just fallback behind the door. Most of the kleers will get stuck in a corner behind next door and you can portion them by going in and out of the in-between doors room.
4.7 Cannonballs

Right after the "half-life on steroids" elevator ride. Go through the "refill" corridor and in the second room use the light to jump over the fence.
4.8 Guitar

Following the main objective, after the cutscene you'll find yourself standing near a guitar. Interact with it a...few time. You'll know when it's enough.
The face that appears in the sky is the Croteam's composer Damjan Mravunac btw.
4.9 Armor

After you get a new toy and hear an awful joke, in the same yard where the toy is behind a hut in on the corners.
4.10 Electricity Ammo

After you make it through a hole in the red wall. Take hard right around brick wall and follow the train carts to cache of ammo covered with boxes.
4.11 Hoverboard

On the other side of the train you can find a one story building. Secret is on top of it. Make a jump from stairs on the next building, gadget is behind boxes.
4.12 Hacked Drone

After a fight with processed in a yard. Pass between building an moat, turn right and jump through the gap between truck and cargo container. Drone is, again, behind boxes.
4.13 ???


Two secrets in the big open yard with trains. Both are around the same building on the other end from the entrance. First one is on the closer side. Inspect the wall near the corner to find a C4 breach spot.
4.14 Hacked Drone

On the other side of the same building.
4.15 Armor

After picking up grenade launcher exit the building, immediately turn left and jump over the wall of boxes.
4.16 Autoshotgun Ammo

In the last arena where you have to protect the train. Behind the building on the opposite end of the yard.
====================
5. Crime And Punishment
5.1 L.I.F.E.


After you cross the rail tracks and make it to the "УСТИНОВ" building on both left and right are secrets.
On the right - L.I.F.E., electricity and an ambush.
5.2 Rockets

On the left - 20 rockets. And an ambush. An ambush that takes 15 rockets to exercise. So, basically, it was only 5 rockets.
5.3 Cannonballs

Enter the train station and check the open bathroom around the left corner.
5.4 Hoverboard

Exit the building and (after dealing with the hoard of enemies) turn left and left again around the corner. See a convenient arrangement of platforms. Platform your way up to the balcony.
Tip: third jump seems to be super annoying. While trying to climb that small ledge from the short side facing you it feels like the geometry is resisting and pushing back. But I easily made it by "airstrafing" and jump on the long side of this ledge.
5.5 Secret Chicken-Walker


Make your way to the nice and cozy post-soviet neighborhood, clear it out of creeps and check the rightmost building. It has an interactable door.
*Bonus: inside of the secret is untranslatable (come on, devs!) announcement on the wall that goes something like:
"Dear residents. Stay vigilant and careful, look up and around, something yet to be understood is happening, but so far no one understands what exactly. Chairman of the HOA."
**Bonus: graffities on the middle building ARE translatable.
5.6 Ammo Cache


Follow the objective until you find yourself in between a gas station and a park entrance. Both have secrets.
Park first. Just enter and follow the right wall to the ammo, that you probably saw earlier through the locked gate.
"But isn't this way too easy?" Sam thought to himself as hoard of kleers started spawning behind him.
5.7 Hoverboard


Back to the gas station. On the side of it is a tank that you can climb and jump on the roof from.
*Bonus: cool graffiti
5.8 L.I.F.E. + Ammo + AAAAAAAAAAAAAAAAAAAAAAAAAAAA

At the end of this arena/corridor. Instead of taking the alien bridge continue heading forward. Some supplies under the concrete wall separating you from the start of this arena.
AAAAAAAAAAAAAAAAAAAAAAAAAAAAAAAAAAAAAAAAAAAAAAAAAAAAAAAAAAAAA
5.9 Time Warp

Under the destroyed joke bridge.
5.10 T.A.C.T.

After chicken-walker breaks the ice (literally not figuratively) go up the hill and across the bridge. Device is in a corner between building and truck.
*Bonus: on your way back don't miss the graffiti exchange on the concrete wall segment. It's a reference to the russian official localization of SS games where the name was changed to "Cool Sam" ("Крутой Сэм") as "Serious" ("серьезный") doesn't roll of the russian tongue as well and doesn't really have the same connotation as in english.
5.11 Another Funny Trap


On the other side of the destroyed bridge make your way into the opening and turn left. In the far right corner between fence and building there's a tiny tiny 1hp pop. Before picking it up pre-load rocket launcher with 5 rockets.
*Bonus: a bit further down the path, a "wife bad" joke on a wall. Reference to the flying-crap-throwing Witch-Bride enemy.
5.12 Hoverboard


After you make your way around the building and exit the yard some enemies will descend to you on an elevator platform. Take right, left onto the ice and then another right, on the little hill, walk to the edge and look down. Two harpies are inspecting? guarding? a hoverboard. Harpies are kinda absent from this game, no? Well, if you missed them - this is a secret for you.
5.13 "The Evil Plan"

Follow the objective till the locked gate. Turn right, notice rusty pipe, follow it.
Be ready for a fight. Those bastards are tougher than normal ones, frost more and faster balls.
5.14 Rage Serum


Pass through the gate. For the next secret you need to make your way all the way around this rock formation on the right.
5.15 ???


The final secret of the is found after the massive showdown. Procced on the objective path. When you hit a fork take right, then left, into the spiral of these 1 story buildings. Last secret awaits in the middle of the spiral, there is an open door. And inside wooden boards are hiding the way.
Beyond the portal you are almost instantly thrown into a fight. Destroy the barrel behind the well-looking-structure for some armor.
Source: https://steamcommunity.com/sharedfiles/filedetails/?id=2732501747
More Serious Sam: Siberian Mayhem guilds
- All Guilds
- Serious Sam: Siberian Mayhem - All Secrets
- How to find the Abyss Watchers Boss
- Possible fix for Crashing at launch for Potato PCs
- Achievements, Secrets, Easter Eggs - Video Guides
- [ACHIEVEMENT] / Serious Archaeologist
- [SM] How to play in split-screen
- Hints for "Breaking News" achievement
- /Achievements [43/43]
- Secret Cannon on Level 3