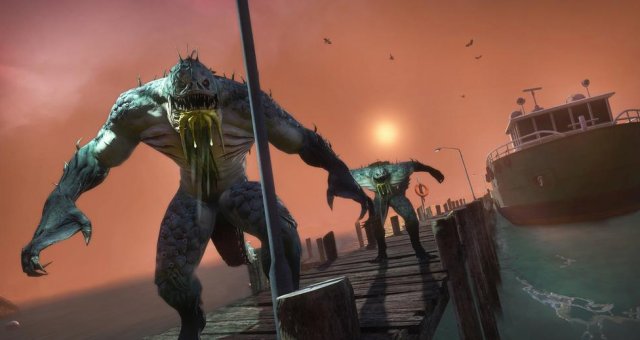
This is a walkthrough of the most elaborate and time-consuming sabatage mission in the game! Most people hate this mission because of how long it takes and the fact that there are 5 or 6 complex puzzles in it where most missions have 1 to 3. It takes most people about two hours to complete. But if you want to bag them all you need this one too!
The Big Map
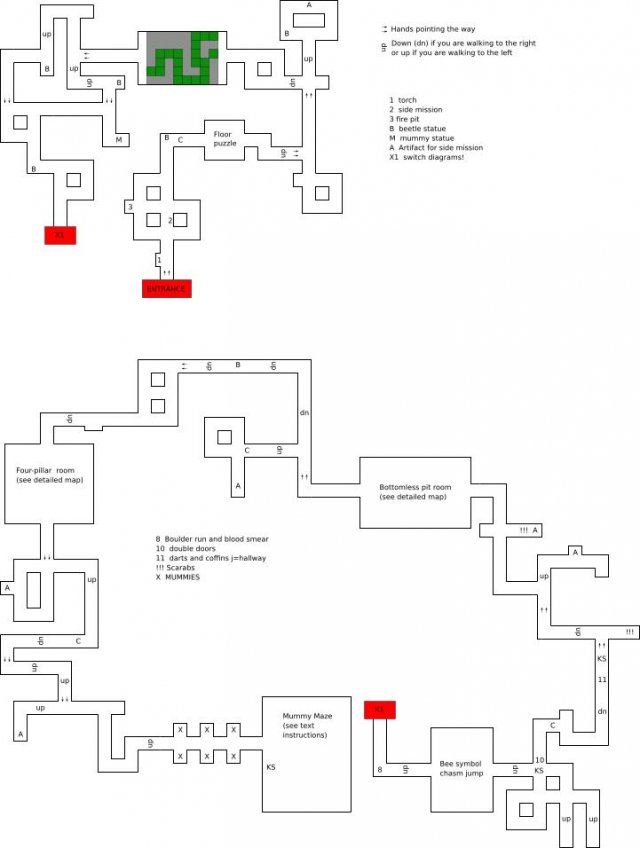
We'll start on the walkthrough shortly, but here is the overall map in case you want to know what you are getting into.
Walkthrough Part 1 (Up To Invisible Tiles Room)
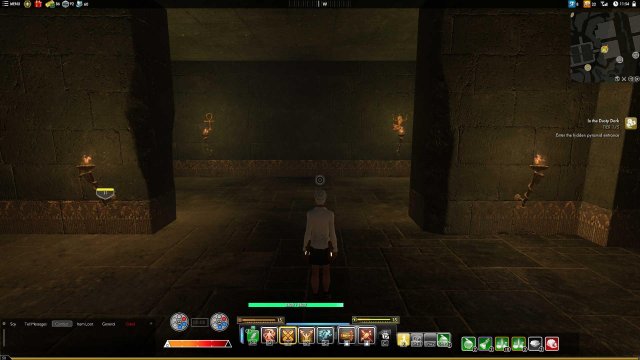
In the Dusty Dark!
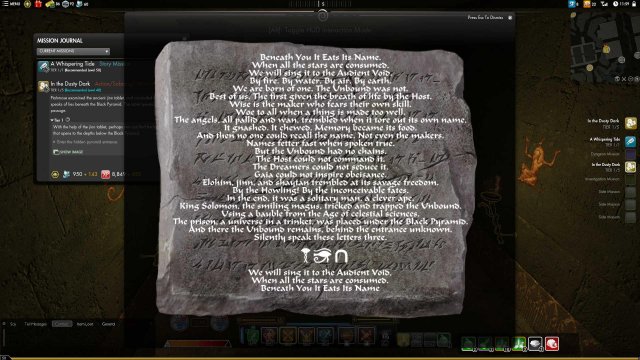
This is the most painfully complex and beautiful sabotage mission in SWL (and TSW)! Since there are only video guides, I figured we needed a plain old forum version with diagrams. This is the run through for SWL, but could also be used for the TSW version since they seem to be identical.
You get the mission from either Ptahmost near the entrance to City of the Sun God, or from the Moutemouai statue. In SWL this was incorporated into the Angry Earth story arc, so the camera will be shaking once in a while as you run it. I think there is a setting to turn off camera shake if it bothers you too much.
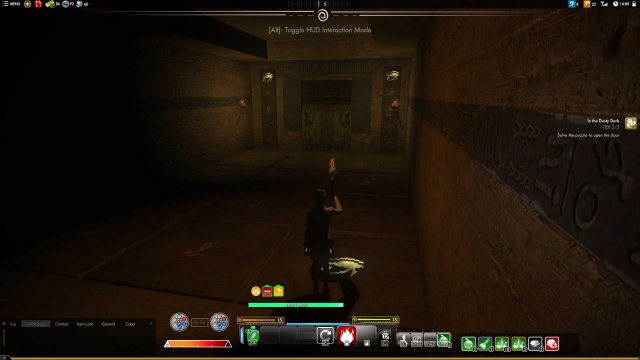
The entrance is located on the hallway that runs underneath all the tough guys in the circled area of your map. Click the 3 torches in order of which symbols are above them and then a wall on one side will slide into the floor. Walk into and down to the set of doors. This is an instanced mission so it will ask you if you want to enter "Beneath the Dark Pyramid". You do!

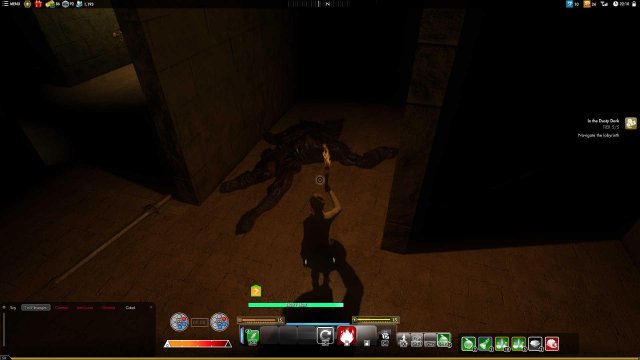
Once inside it's too dark! But alas, you run down a hallway a few yards and there's a discarded torch on the ground. You pick it up then press Q near another fire source. Luckily most of the respawn points are either right near a torch or close enough for you to spin around until you see one. Grab a torch, light it, and continue down the hallway. There is a side mission for collecting 6 artifacts, and they require a bit of messing around down side tunnels and killing some nasty bugs. If you are a completist you'll need to do this mission while In the Dusty Dark is in progress since there's no other way to get to it.
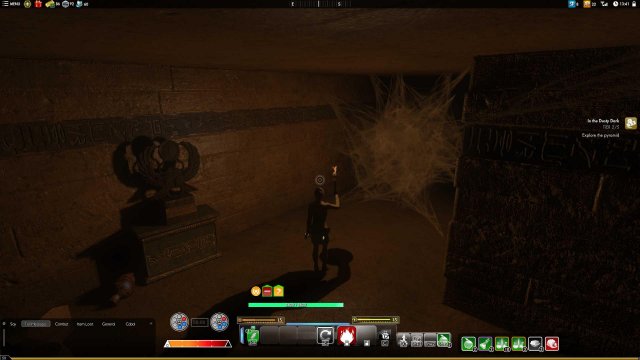
Straight down the hallway you'll see this. No problem! Use your torch to burn it (left mouse button).
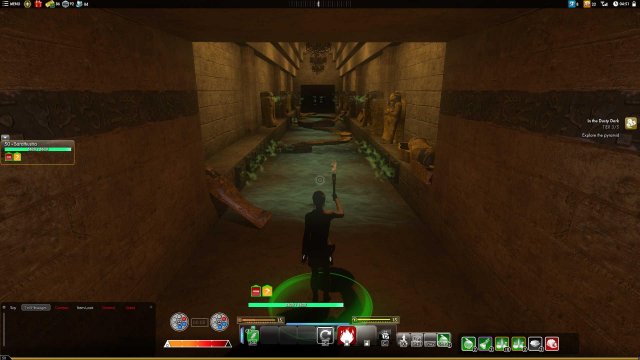
Continue on down and you get to the first floor puzzle. The answer is on the wall in front of you. Just do the tiles in the sequence shown or else! Start on the right, two tiles forward, one left then straight to the door.
Continue down. You'll notice these hands on the wall in lots of spots throughout. They don't tell you which way to turn, as in the example of where this picture was taken, but they DO tell you when you have circled back and are heading the wrong way. Overall passages sloping down are usually the right way to go, but some of the artifacts are hidden in side passages that slope upward.
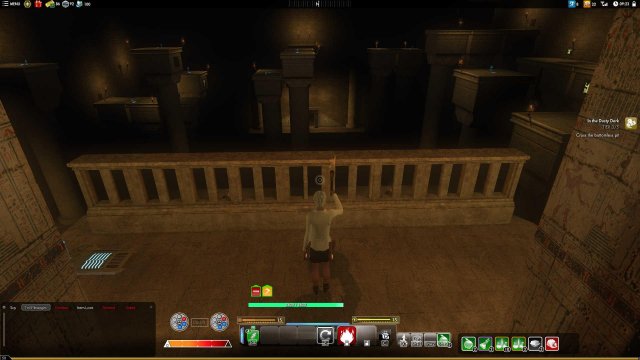
Quick side note: If you get attacked by scarabs you will drop the torch and have to fight in the dark (but there are lots of HUD and targetting clues so you will be fine). Don't move too far while fighting because you need to pick the torch up again. If you actually die you'll be respawned near a handy torch and source of fire.
From the first set of hands take a left (the passage to the right is an empty loop). If you are artifact hunting then at the next intersection (and the next set of helping hands) go straight. That's also a loop but it has a side mission artifact at the back. If not doing artifacts take a left. So when coming back from grabbing the artifact is a right.
There's a loop which doesn't matter which way you go. Jog around it either way and you'll come to the second puzzle which I like to call the invisible floor room. It's simple enough that I just colored the safe spots into the big map diagram. I've had good luck just hopping diagonally from the front, but if you really want the achievement you will not want to risk this. The room is a 6x8 set of floor tiles, and there is no way to tell which are solid and which fall through. If you do fall through you won't die, but you'll be penalized by a long tedious path back to the start of the invisible tile chasm. There's a dead guy down there clutching a map that really made no sense to me. Plus look how well it worked for him. Just use the diagram I made. Green tiles are safe to stand on. There may be others that are solid but the ones shown are all you need to get through.
Use the symbols on the wall to know which part of the 6x8 part you are on and how far to go. They're big so you do have a little wiggle room. Just try to line up on the symbols to make straight lines, then turn sideways to check how far you've gone (refer to the big map).
Walkthrough Part 2 (Bee Chasm Room, Darts-n-coffins Hallway)
Check the big map to get from the end of the invisible floors to the bee chasm. Note that the diagram overlapped (presumably becuase you are descending farther and farther), so I used X1 on the upper map to tell you where to continue on the lower map.
Pay careful attention to where the 8 is on the map as soon as you switch to the lower map. You'll see light down the hallway but a blood stain. That's a warning. Don't stop or hestitate while going down this hallway. You'll get a warning to avoid the boulder. Keep moving down and dogde left or right into the room at the bottom. This is what I call the "bee chasm" room.
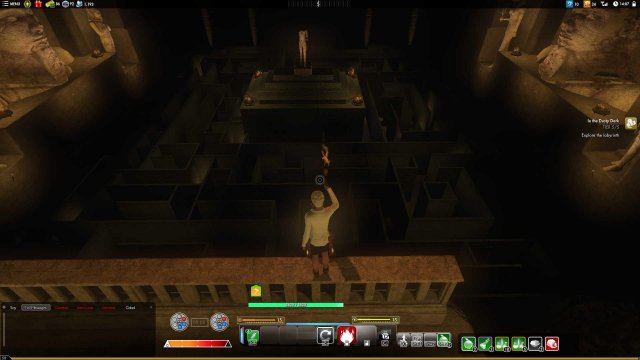
Go to the right and hit the "bee" switch so the jump panel will turn on, then use it to jump over. But once you're over the chasm keep running! Mummies will spawn here and you'll get hit with darts if you slow down. jump over and keep running then stop on the kill switch which looks like a big tile with a ghost on it. WAIT THERE for the flames to stop. You'll see those (mummy zapper?) switches later and they are the only way to avoid being killed by the mummies.
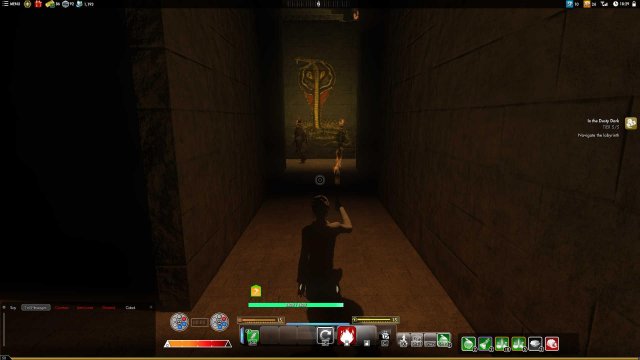
From the kill switch there is a set of double doors and some other passages that are empty dead ends. Head through the double doors ("10" on the map). The "11" on the map is the darts-n-coffins hallway.

For the first 3rd of this hallway ride the raised berm on the left above the low darts. For the next 3rd walk on top of the coffins, and don't fall off because the water is poison. The last 3rd seems to be impassible, but the dart vents start and stop, and these little green puffs tell you when they are about to start up again. For the last 3rd ride the berm on the right side, and you can see why because the next raft of coffins starts on the right. At the end of the hall is a kill switch to stop the darts so you can go back and get the lore. Just don't step in the water because it remains toxic.
Walkthrough Part 3 (Bottomless Pit Room)
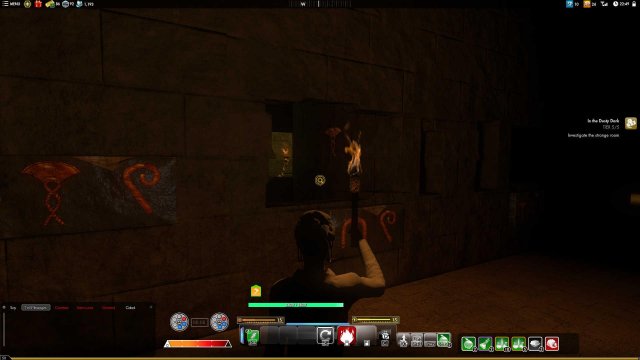
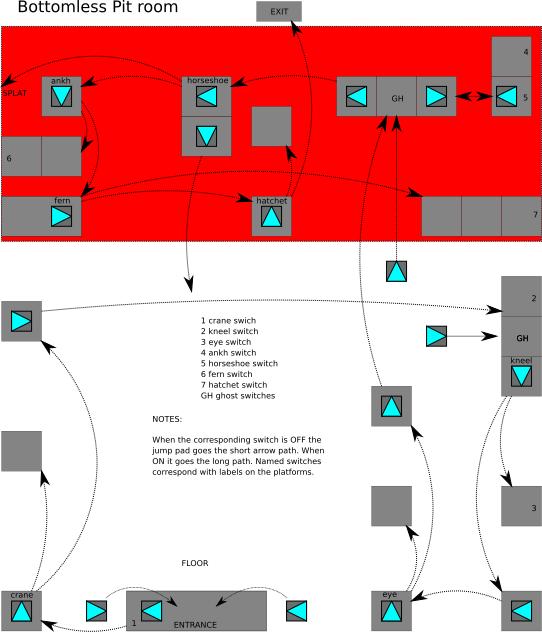
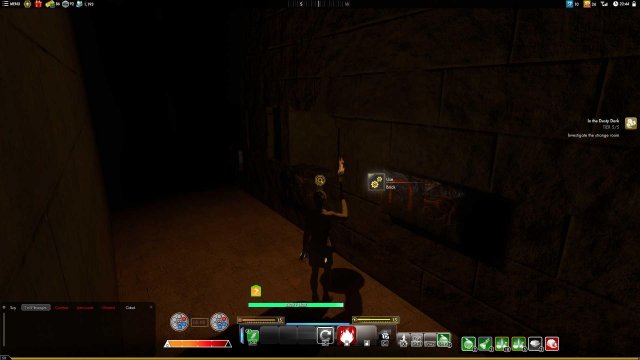
Between the darts-n-coffin hallway and the bottomless pit room there are 2 artifacts so check the map to pick those up. Once you get to the bottomless pit room you will probably want to refer to the diagram while following the written directions. This one is a real head twister even if you are following written direction.

And now we bounce! The switches around this room set the corresponding jump pads to either the short (when not lit) path or the long (when lit) path. There are symbols above the switches and on the podums, but I've simplified all that in the diagram using my own names for the symbols. In many cases a single step onto a platform will bounce you 2 or 3 times. One jump will land you exactly on another pad and you'll immediately jump again. The confusing bit here is your character turns in the direction of the jump instantaneously so it's tricky to know what just happened. Look down as you are about to land to see where the platform is about to launch you next.
From the entrance platform immediately turn on the "crane" switch (lit means ON), then take the left jump pad from the entrance. This will jump you 3 times ending up near the "kneel" switch on a ghost pad. The ghost pads (tehe are 2) simply turn on a jump pad on the floor so you can get back to that ghost pad. You'll need them both.
The you are on here takes you back toward the entrance, either 1 podium away when it's off and 2 when it's on. You Don't want to turn it on yet because the short hop gets you to the "eye" switch, and you need to jump there and turn it on, then just jump down to the floor and use the pad below to get back up to that ghost switch. Now turn on the kneel switch and take the pad. This time you'll hop 4 times ending up across the chasm. It's tempting but don't try to just jump from there until the exit. There are invisible barriers there that prevent such a shortcut.
From the ghost tile podium above the chasm you can go left or right. Go right to get to a platform with an "ankh" switch and a "horseshoe" switch. Immediately turn off the horseshoe switch or you'll SPLAT on the far left wall (see diagram). You also want to turn off the ankh switch for now because there's an intermediate step you need to do. Take the jump pad back to the ghost tile, continue straight on to the horshoe platform (west on the diagram), then continue by taking the pad pointed at the ankh platform (also left on the diagram). Now that the horseshoe is off you will not SPLAT. You'll bounce a few times and end up on a 3-square platform with the "fern" switch. Turn that on then take the only pad out of there. This will put you back on the floor, but there is a new pad corresponding to that second ghost switch. It's hiding behind the second fire pit along the chasm cliff.
Take that back to the ghost tile platform, go back up to the ankh and horseshoe switch platform to the right, turn the ankh back on, and come back down to the ghost tile platform. Take the pad toward the unlit horseshoe platform (west on the diagram), then its pad to the now lit ankh platform (west on the diagram). This will hop you 3 times and you'll end up on another 3-square near the ankh and horsehoe switch platform. Look back across the chasm and you'll see where the hatchet platform is. It's pretty clear from here that you want the hatchet platform on, so light that switch now.
Here's where it gets a little confusing (if it hasn't already). You had the fern switch on so you could get to the hatchet switch. Now that this is on you have to turn the fern switch off again. To do that set the ankh switch OFF, go back over to the fern switch and turn that off too, then take the pad back to the floor and then the floor pad back to the ghost tile. Now go right and turn the ankh switch ON again then proceed back to the ghost tile platform, continue westward on the horsheshoe platform taking the pad toward the ankh. This time you'll take 4 hops and arrive above the exit. Hop down and continue on.
Walkthrough Part 4 (Four-pillar Room)
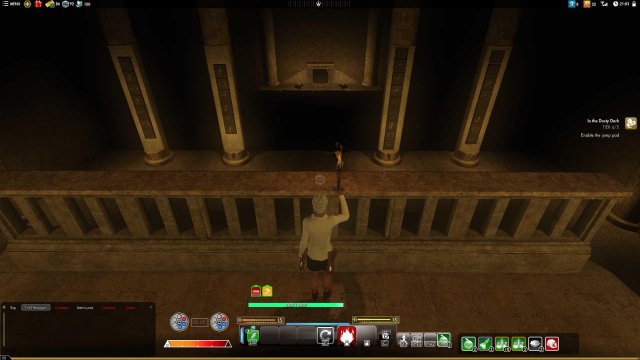
There are four columns...
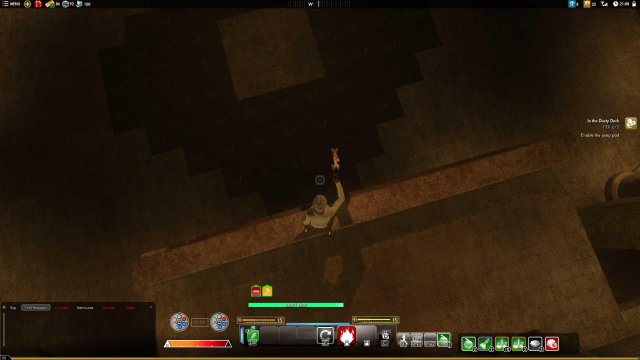
...and a ton of tiles on the floor.
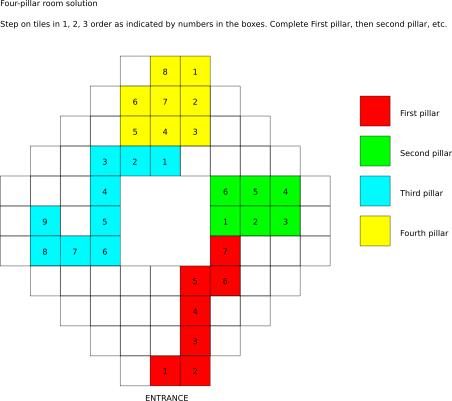
You have to walk on them in such a way as to light up the columns from left to right. Once each column is done it will stay lit, but if you figure out you need to do a pervious pattern differently in order to get a future one to be possible, there is a reset switch right in the middle. Stepping on any tile out of sequence starts the current pillar over again. See the diagram for pillars 1, 2, 3 and 4 which correspond to lighting up all pillars. Once they are all lit the jump pad will take you across the chasm. Walking on a set that has been completed will not hurt anything. Once all 4 are completed the entire floor of tiles becomes permanently lit.
Walkthrough Part 5 (The Mummy Maze)
MUMMIES! I hope you are reading this BEFORE you get to the spot on the map with all the X hallways. Run through this hallway into the large room on the far side, jump down to the right to and step on the kill switch. If you decided to take the pad back up you can see the dead mummies but there's no real reason unless you want a good look at the maze. You are in the mummy maze and here is the view from the top...
.. although it really won't help because all the walls move when you hit certain switches. You have to just follow the text (more or less).
Start by entering the maze then taking the right passage, which u-turns to the left into your first moveable wall. click that and continue on. The first path to your right is a featureless dead end so continue straight. This turns right and comes to a tee. The left is a featureless dead end so go right. it jogs left then you come to another button and a track on the floor for moving walls. Skip the first button and press the next one then continue on around the u-turn. You'll jog left again then make a right, right, left and right all 1 maze-square in length, then you'll see your first tormentor's hideout with an eye symbol on the wall.
There is a passage to the right just in front of him, and it makes a loop, and the eye button is on the upper-right corner. hit that and then wait there until you see the mummy's red eyes coming for you. walk in the opposite direction, back out to his coffin and onto the kill switch (large ghost symbol tile).
Then it's l,l,l,r (no forks or anything, just twisty). You see a broken wall with the fern symbol on the other side, and a button with a hatchet and horshoe. Go toward the fern wall and hit the fern button first, then go back and run down the only other passage that's open and you'll find the hatchet wall, and then another passage to the right which is a featureless dead end. Click the hatchet and horseshoe button, run into the passage formerly blocked by the hatchet wall, and at the end after a left turn press the horseshoe button. This puts the hatchet and horshoe on the same side so the double button will let you all the way through the passage initially blocked by the horseshoe wall. Go back and hit the double button again and proceed down the newly opened passage. It should be all open in front of your view from the button. You make a few twists and come to the first set of darts in this maze. Wait for them to stop and run through. U-turn left and there is a long hall with several darts, so you have to be patient to get through. There is a killswitch to turn off the darts at the end then you continue right.
A few more twists and you hit the cobra hub.
This has passages leading in all 4 directions and a mummy who circles the hub clockwise. wait until he passes and gets clear of the hallway to the left. Go to the end of that and hit the horshoe which will open the passage opposite where you came in. Go back until you are again facing the cobra room, again wait for the mummy to pass well by and again take the passage left of where you approached. At then end of that path is the fern button to open the final wall of the cobra hub. proceed back out, sneak by again to your left and continue on. This guy is SLOW but you have to wait. A safe distance is where your torch light doesn't quite meet the hub lights on the floor. The final passage has a kill switch to put grandpa out of his eternal misery and open a passage to the right. You know what to do!
Then you'll see this.
The horseshoe tile simply opens the wall to the left of it, and the mummy will be on his feet chasing you by the time you step on it. This one takes bravado. Run up and step on the horshoe floor tile, then back up a couple steps, proceed left and carefully pass the darts until you get to a plain switch. Hit that, proceed back out to the right and step on the kill switch. Dead mummy!
You'll immediately see the next mummy coffin. You need to step on a floor button and a wall button to get to the 4 buttons and the mess of walls they control. Those parts are not puzzley at all, but then you get to this (and there is a slow mummy on your butt when you get here).
You want to skip the first button you come to and press the second, third and forth. WAIT FOR THEM TO FINISH or you'll have big trouble. Pay careful attention to your little "using" progress bar and don't move until each button is done being pressed. If you die you'll be in the dark, so just pivot around until you see the torches and go pick up the one on the floor, light it, and continue on. I had to die to get this shot, so I hope you appreciate my sacrifice!
If you missed a button you'll have to have this mummy chase you around the passage with darts in it as you try again and again. It's painful! It seems if you die those walls reset entirely, so remember to click 2, 3, and 4 then continue forward and u-turn right to see the lit hallway and the killswitch. Go back and gloat if you need to. If you had as much trouble with this the first time you'll want to.
Enter the room with blue light curtains and press the globe in the center. Done! Whew. WRONG, not done.
Walkthrough Part 6 (The Preachy Jinn)
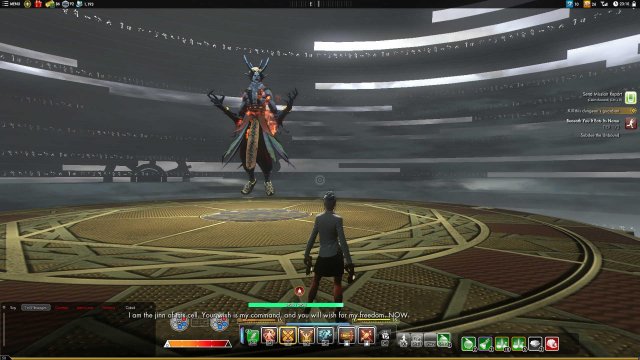
You'll meet this guy next, and he continues to bore you with speeches about how great he is.
You have to fight on a bunch of platforms. Flame wisps will chase you and you'll need to hide behind rocks when white wind starts blowing. When the platforms fills up quickly with floor AoEs then you know it's time to jump to the next platform. Keep kiting the Jinn and killing the wisps whenever they appear and keep avoiding crap on the floor. You'll eventually be sent back to the light curtain room.
Click the broken corner piece and you're done. Really this time. An exit of shimmering interdimensionality appears in one corner of the room.
Congratulations!
Source: https://gameplay.tips/guides/844-secret-world-legends.html
More Secret World Legends guilds
- All Guilds
- The Secret World [Revealed]
- The Secret World's Ultimate FPS Guide.
- Talisman mechanics guide
- A Twisted guide on basic builds
- Play TSW using only a controller (Successfully)
- [SWL] Guide: How to Heal
- [SWL] Guide: How to DPS
- Museum Reward Guide
- Secret World Legends - Halloween 2017
