Introduction
Hello friends! Welcome to my complete guide on cargo runs. Whether you're getting ready for the grind to level 50 or 75, just starting out with the game, or you want to fill some gaps in your knowledge this guide will have what you need.
The Trading Company
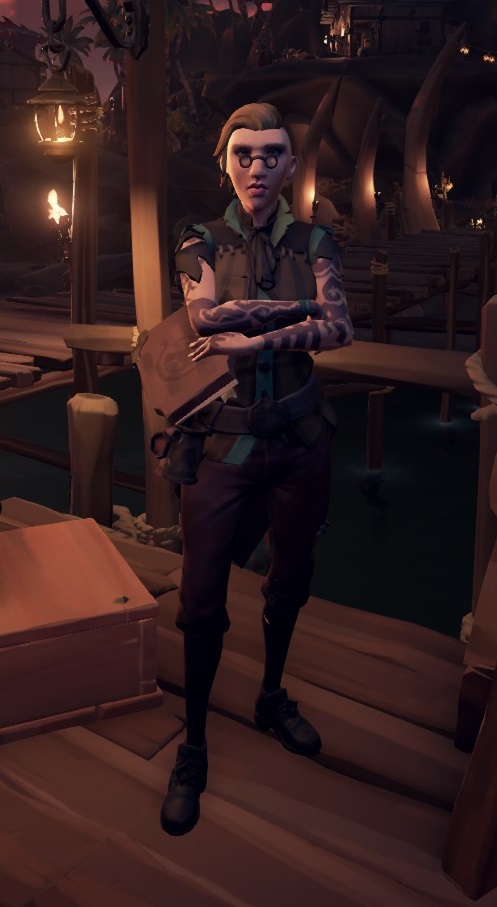
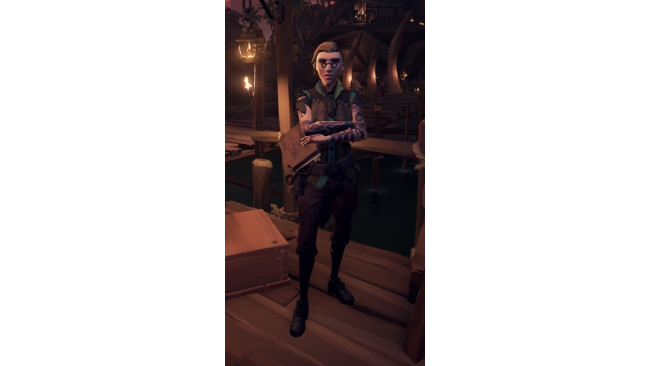
The Merchant Alliance trading company, like the other main two, are found at every outpost in the game. You'll find them on the dock, with their yellow and blue colours making them stand out. If you've played the game for a bit, you've probably handed in a crate of rare tea or exquisite spices to them.
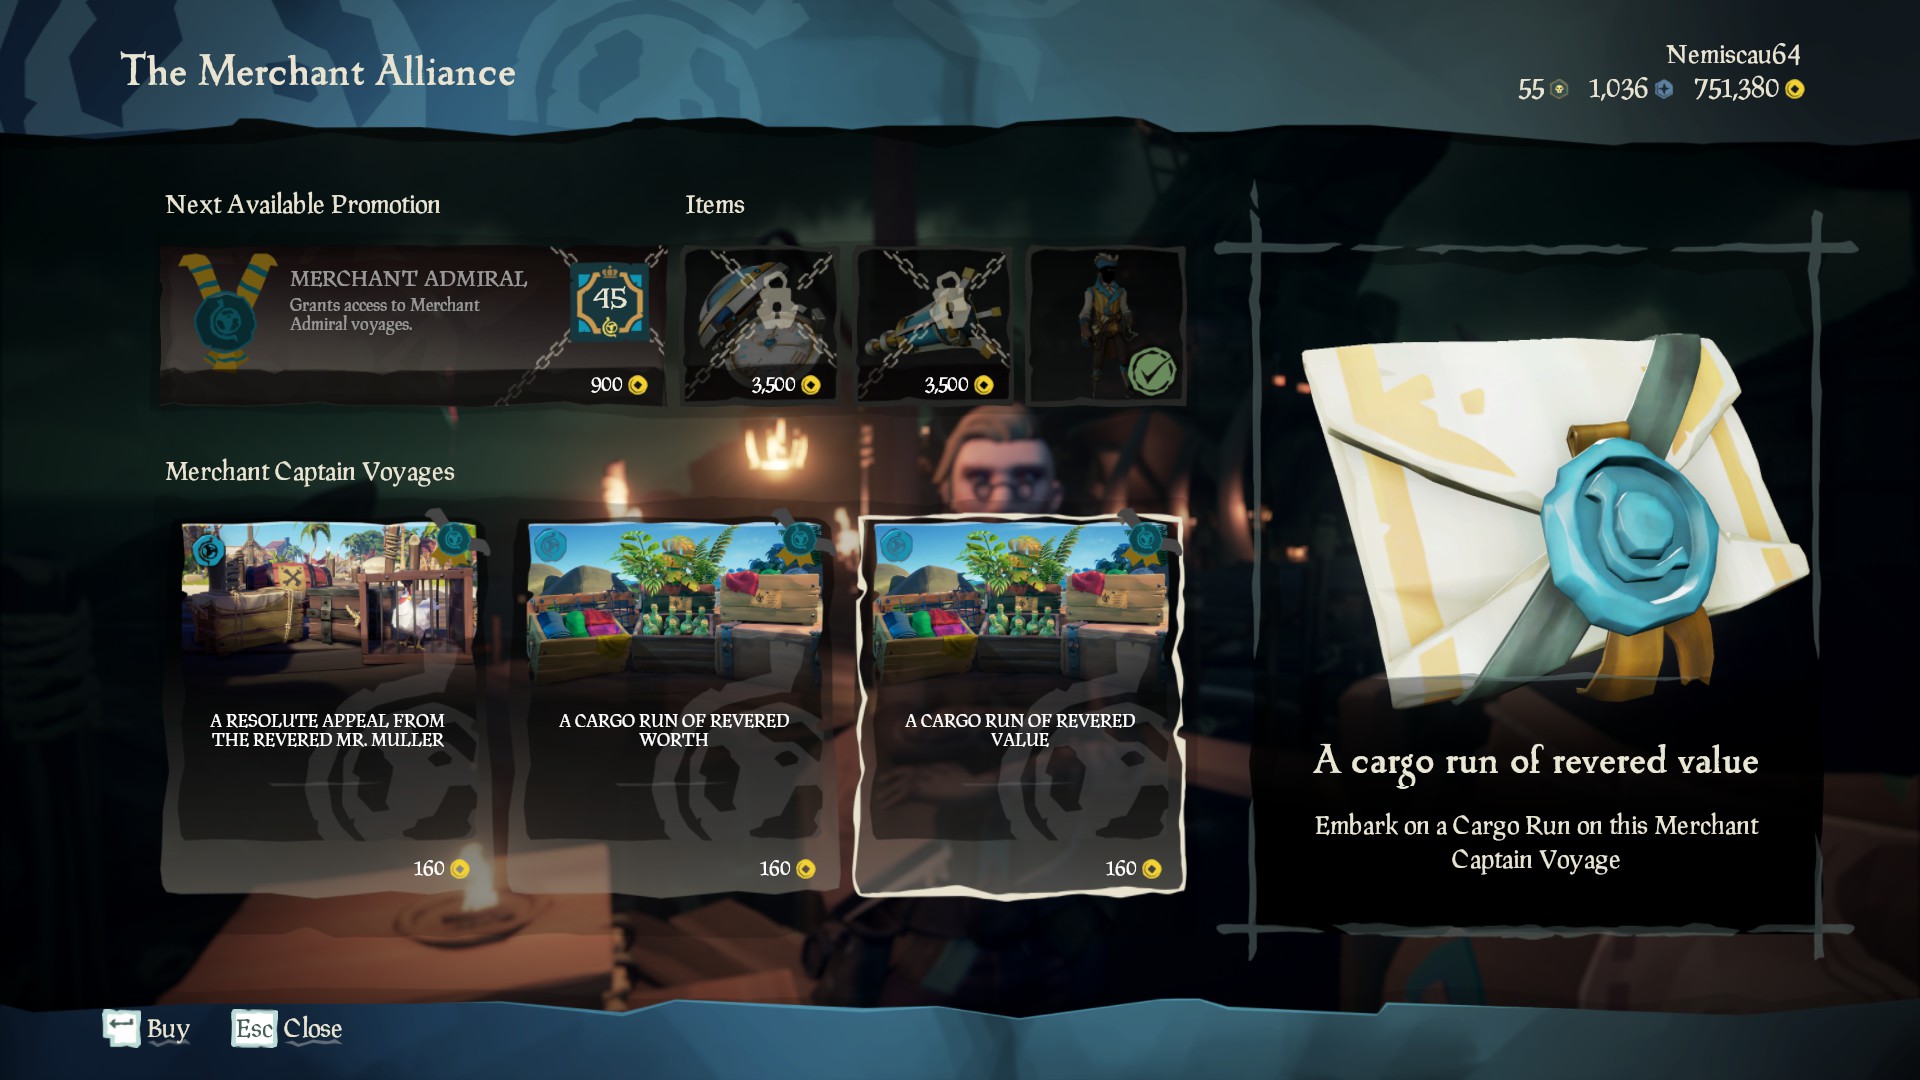
As with the other trading companies in the game, you can choose from 3 different voyages when talking to the representative. Every piece of cargo you hand into their recipient will net you reputation with the trading company, and every 5 ranks you climb will let you buy a promotion and a company themed item. The items from the Merchant Alliance are watches and spyglasses. Finally, at rank 15 you can buy the Merchant Alliance emissary flag.
The Voyages
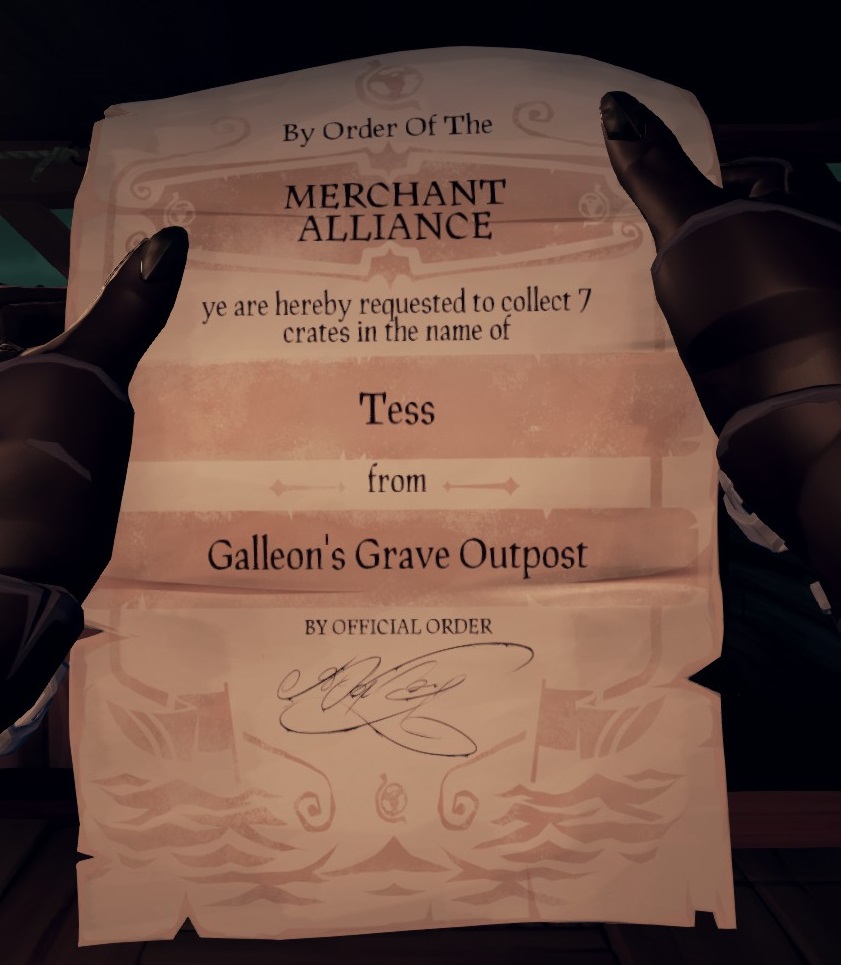

Once you've bought the voyage and voted for it, you'll get the quest in your inventory. It'll tell you from whom to grab the cargo and where they are. If they're from an outpost, you can get a hint on where to find them based on the first letter of their names
W for Weapons
T for Tools / Tavern
C for Clothes
S for ShipwrightOnce you've got the cargo on your ship, they'll say where they need to go. And don't worry, all the cargo from one order goes to the same person.
The Cargo
Now it's time to talk about the cargo itself. Outside of the Devil's Roar there are three types of cargo you'll come across: plants, bottles and cloth. Each crate of cargo is worth 700 gold, and depreciate in value at the same rate: 500 gold, 300 gold and 100 gold depending on how damaged the cargo becomes.
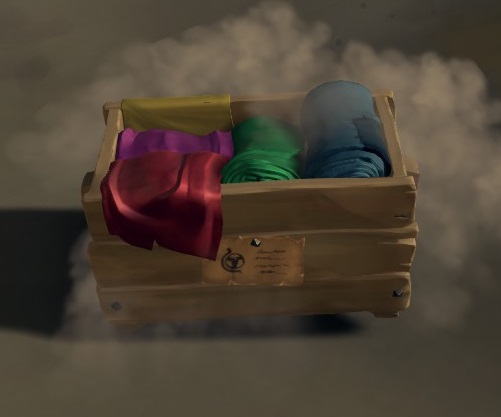
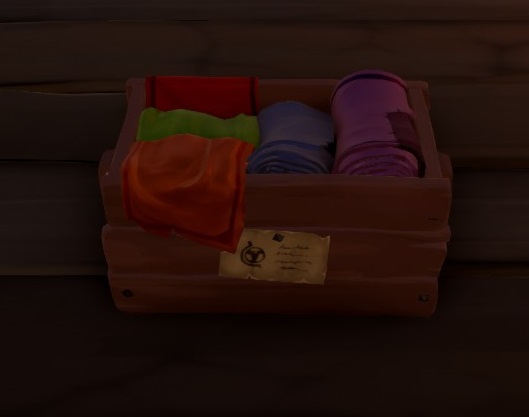
Crate Of Luxurious Cloth Cloth is probably the easiest cargo to keep intact, all you need to do is make sure it doesn't get wet. Make sure not to swim around with the cloth, accidentally throw water on it with a bucket, or let it stay outside while it is raining. To prevent the cloth from getting wet while you're taking on water, keep them on a barrel or on the stove.
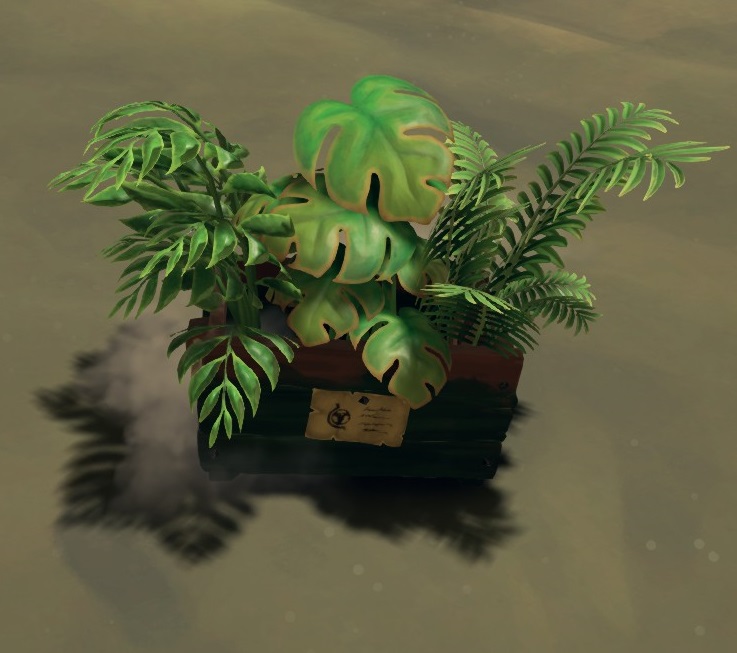
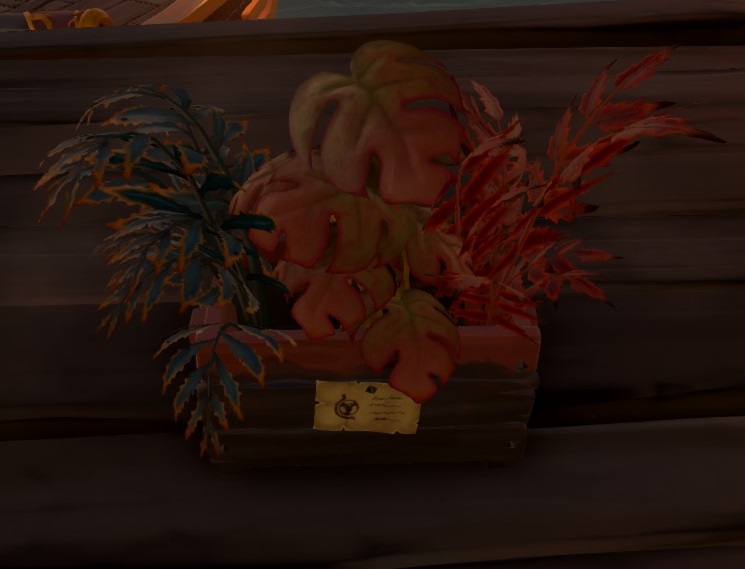
Crate Of Plants Plants are the highest maintenance cargo you'll have. To prevent them from wilting, you'll have to water them regularly or keep them immersed in water. It takes about 15 minutes for them to degrade by one stage. Another thing to keep in mind is that the plants block your view while you're holding them, so watch your step.
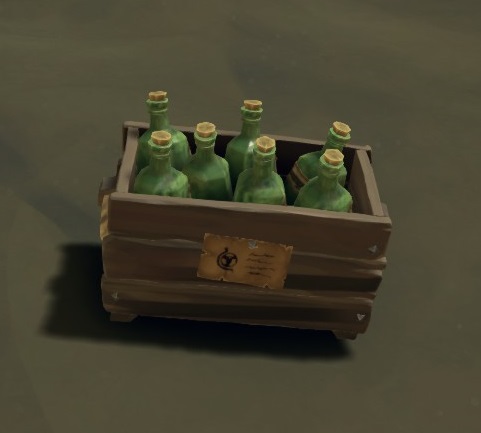
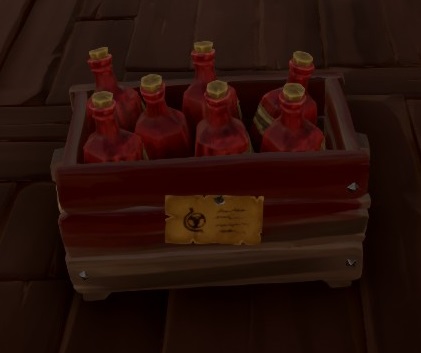
Crate Of Rum Bottles Bottles are pretty fragile, so make sure you're careful while carrying them. Don't jump or fall from high distances while carrying them, or they'll take damage. Even if you're careful, players and skeletons firing at your ships will damage the bottles, so avoid picking fights with them on board.
Devil's Roar Cargo
The cargo runs in Devil's Roar are much like the cargo runs in the rest of the Sea Of Thieves, except they have a higher risk and reward involved. The cargo from Devil's Roar is worth 1400 gold, and depreciates at a rate of 1000 gold, 600 gold and 200 gold. Devil's Roar cargo is obviously much more valuable than the standard cargo, but the dangers in the region make it much harder to get the full value out of them. Volcanoes and geysers can easily damage your cargo, so make sure to avoid them. All three types of cargo in this region degrade much faster and a lot more easily, so be careful when you've got them on board.
Afterword
So that's pretty much it. If there's any details I missed, let me know in the comments and I'll fix the guide. Also, if there's any updates that change things around, or maybe add more cargo, I'll update the guide and add a section that details the changes.
Thanks to Foura for proofreading this and inspiring me to write it.
Source: https://steamcommunity.com/sharedfiles/filedetails/?id=2249546092
More Sea of Thieves guilds
- All Guilds
- how to walk
- how to breathe so as not to die
- : Heart Pirates
- Sea of Thieves Guide 1303
- Lanetler (Curses)
- Glitterbeard | Dzienniki i Drzewo Brokatobrodego - Poradnik PL
- : 11 Sea of thieves!
- How to run?
- INFO | | Sea of Thieves
- 246 [UA]