
In this guide, I will show you how to make realistic layouts for both mainline and yard operations.
Things To Consider
Now before we start, it's obvious that not every layout is the same. You have to ask yourself a few questions:
- Where is this layout?
- What's the traffic like?
- What industries are near me?
- Am I a "Big Boy" rail company or just a small contracting one?
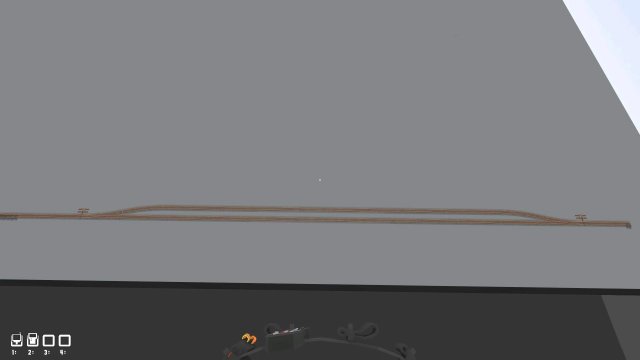
All these questions should directly affect how your layout looks. If you are a small railroad company, you probably won't have a 200 track yard. If you're in a middle-of-no-where town, then chances are your yard is going to be small and you won't have a double track mainline. If you're replicating Chicago, you probably won't have just one receiving and departure track, or if you're set in the middle of the prairies, chances are you won't have the biggest intermodal yard, and your industries are going to be spread far and thin.
Another thing to think about is that railroad companies are cheap; they hate spending money. A railroad company won't put down triple track with 20 switches unless they absolutely have too. So chances are you won't have double track leading to two industries, and you also won't have thousands of sidings spaced every two inches.
With this out of the way, I'll show you some tricks to have your operations run smoother, and look better at the same time. This isn't a guide on how to exactly build a layout; I'm not teaching you how to make a painting. I'm teaching you which paintbrushes to use and where. It's up to you to make the layout.

Main Line
Mainline is the track that connects everything together. It connects your industries to your yards, and it connects your yards to other yards. Therefore, it's a pretty busy place and should be kept as clear as possible. The most common mistake that people make is not understanding the importance of the mainline. NEVER should a train be on it unless it has to be. Transfers (otherwise known as local trains) should try their best to stay off it to allow trains to go by.
With that being said, there are ways of allowing trains to pass each other that are fairly simple. An example is as follows:
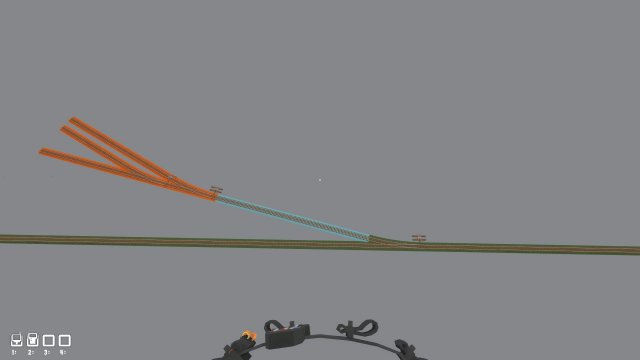
The first one is the siding. This is used on single track mainline. These are spread out across the mainline so two trains can head towards each other and one of them takes a siding waiting for the other instead of waiting at both ends of the main line which can read hundreds of miles in length. Your siding should be long enough that an entire train can fit within it. Doing this allows the other train to pass by.
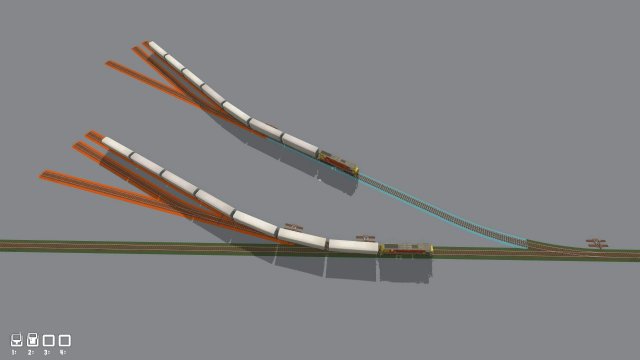
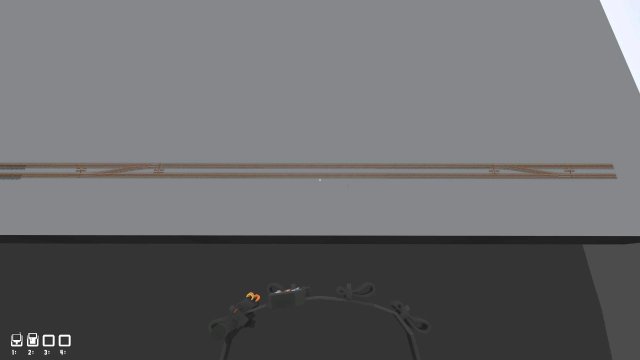
On double-track, it's a lot easier for trains to pass by as they just drive on different tracks; however, sometimes a train does need to crossover and hence the crossover exists.

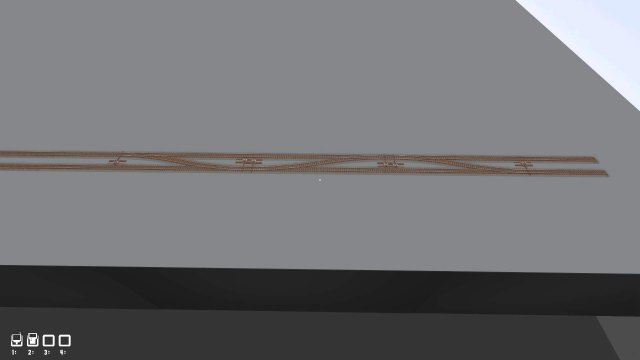
Every double-track has these, and they are very useful. However useful the crossovers are, you should always keep in mind the cost of the crossovers and use them sparingly.
Having as many crossovers as displayed in the image would cost the railway millions in servicing and maintenance per year, and you know they don't want that.
Another thing to consider before moving on is the question: "Should I use single or double track?" If you are connecting two incredibly busy yards together then go for the double. If you are only connecting to Genericsmalltown yard out in the middle of Nowhereland, then you won't be sending much traffic through there and should go for a single track. You don't need stupid amounts of track unless absolutely necessary. It would look dumb if you had this leading into a 4 track yard.
Industries
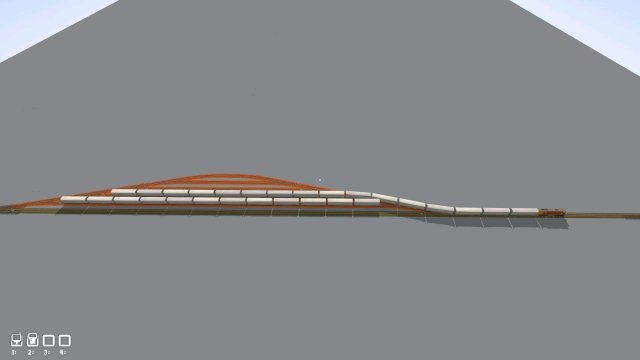
Industries are what keep railroads in business. Without them, the railroad would not exist. So it would make sense to have some in your layout, right?
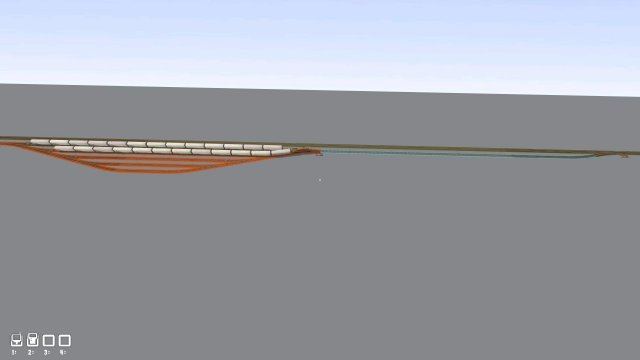
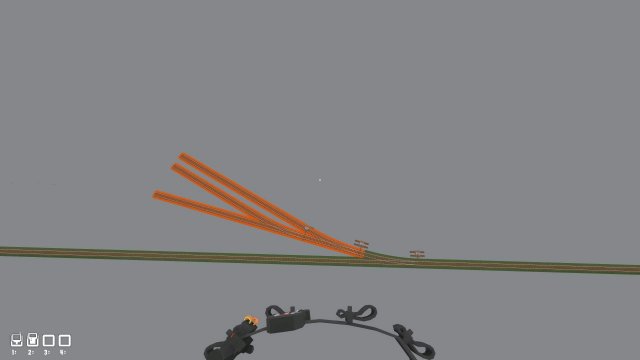
The first common mistake in layouts is people put an industry right off the mainline. While this itself isn't wrong, it's how they do it that is problematic. Going back a bit, the mainline should NEVER be blocked unless it absolutely has to.
This is what is generally set up in layouts (orange being the industry and green being the mainline). While the industry does have a nice layout, it isn't really functional. If a transfer had to go in there and spot those tracks, they would be foul of the main which is no good. An extremely easy way to fix this is to give the industry a lead (blue).
This lead should be long enough that a transfer could work inside it while allowing trains to pass it.
While some industries do reside directly off the main, most are located beside working leads (purple). These are long sections of tracks that are non-main track and only serve the purpose of connecting lots of industries together. Working leads generally have one switch leading off the main then a handful of industries connected to it.
In this picture, you can see a transfer with a decent amount of cars. He can cut them off in the siding and do all his work without fouling the main line.
Yards
Yards are much more complicated than mainline as. This is where you collect all your industries, assemble trains, and ship them out. A yard can be as big or as small as you'd like, but once again going back, a railroad isn't going to build a mega yard for a small town with 4 industries. Your yard should be able to comfortably accommodate your industries and any through traffic as well. At first, a yard can seem fairly complicated and daunting, but when broken down into its parts, it becomes fairly simple. You need a place to receive stuff (receiving tracks), a place to organize the received stuff (class tracks), and a place to put the organized stuff so it can leave (departure tracks). Now, a smaller yard won't have these distinctions and might only have 5 or 6 tracks running off one lead. There is nothing wrong with this, but as your yard gets larger and more traffic and tracks come in, you want to have distinction in where things go and what areas are what.
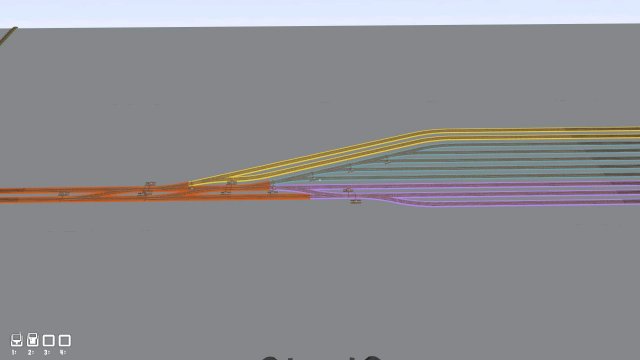
Here you can see a simple yard with receiving in purple, class tracks in blue, departure in yellow, and the "pull back" being orange.
The "pull back" is essentially a lead that leads to other leads. It connects the 3 parts together so a crew can work in that one location. Initially, the crossovers may look confusing, but each one should serve a specific purpose. Once again, the railroad doesn't want to waste money.
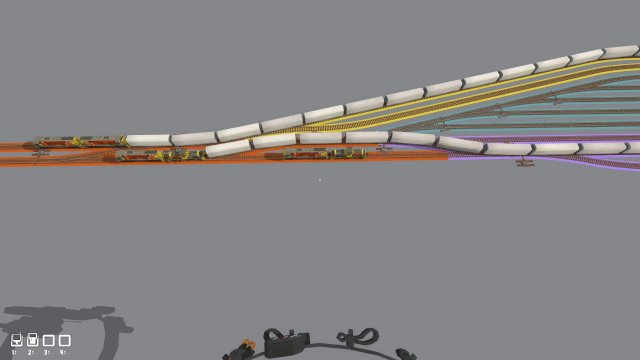
You can see using the switches efficiently allows a road crew to pull a departure track while the yard crew pulls a string out of receiving to go switching inside the class tracks all while the other switching crew is parked in a pocket while eating lunch.
Understanding crossovers and efficient yard layouts doesn't happen overnight; however, just laying out one for fun and actually switching in it helps visualize and understand what makes a yard more efficient and better.
A common mistake is made in the placement of yards when coming off the main. Yards always switch, and even if they don't a train doubling over requires lots of space. Once again going back, you NEVER use the main unless you have too. This yard has two little space, and if a train wants to double over or go from one track to another, it would need to occupy the main.
A very easy and simple way of fixing this is to give them a pull back so they have more room to play around in.
This instantly fixes the issue and allows much more room to switch and move around in.
How To Use This Info
With what you learned in this guide, you should have a better understanding of realistic operations. It's still up to you to mastermind the railroad, location, shapes, and sizes of everything, but with a little more thought and consideration than before. It's really simple when all it comes down to. The two main points to remember are: DONT OCCUPY THE MAIN and DONT WASTE MONEY. Everything else is really up to your imagination.
Source: https://gameplay.tips/guides/4591-rolling-line.html
