Proper Loadouts
Knowing what you need is essential
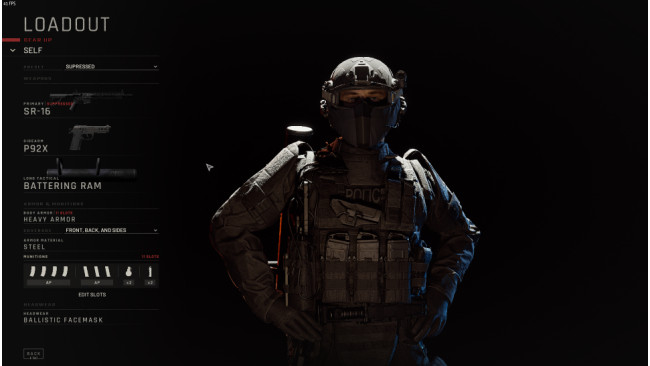
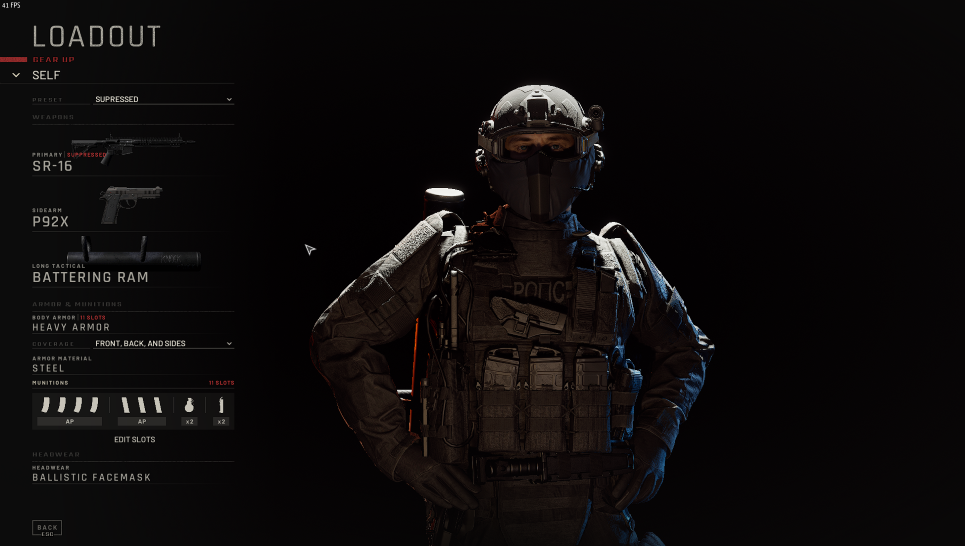
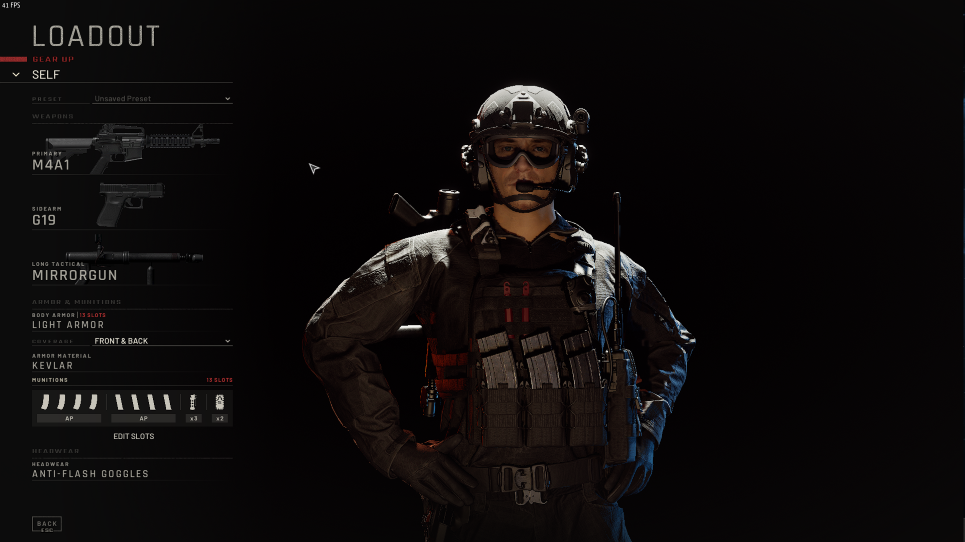
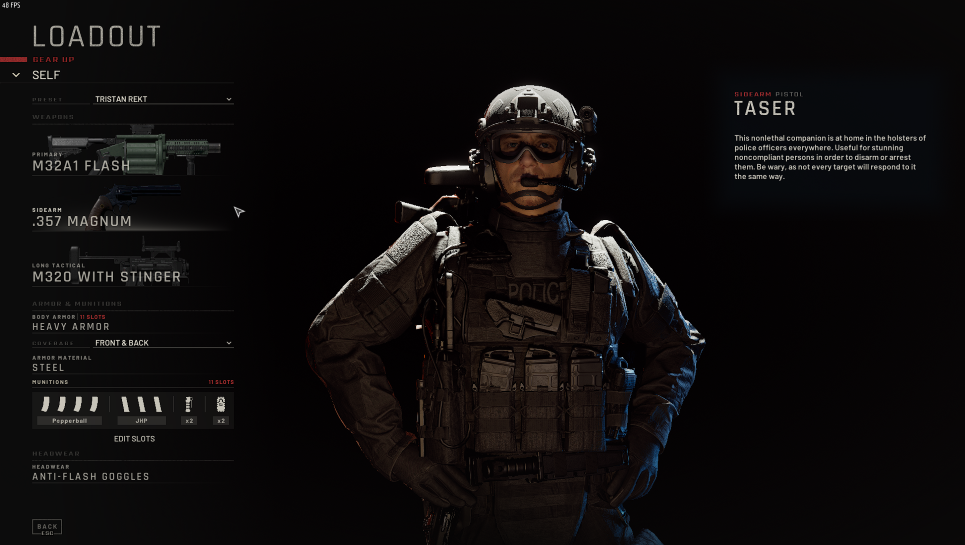
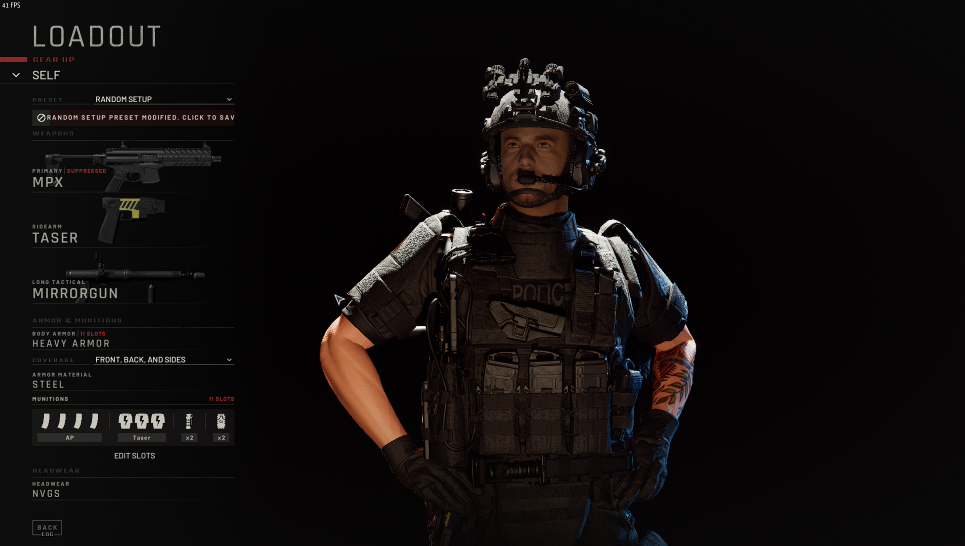
Going over the mission criteria before heading in will let you know what kind of enemies you're going to be dealing with. It will also give you some idea of what equipment you should bring.
Do you need NVG's? Or should you add more protection? Are you going into to a chemical attack, or is it a hostage threat? These clues will greatly help you determine what gear and weapons will help you in your mission. Bringing the wrong gear can and will negatively affect you.
If you have tons of entry ways and exits, you may want door wedges to block certain paths while you clear other areas first.
If you are going in for a specific purpose, make sure you're load out applies to that purpose. There's no need to bring things you wont use, especially if you could have replaced them with something helpful
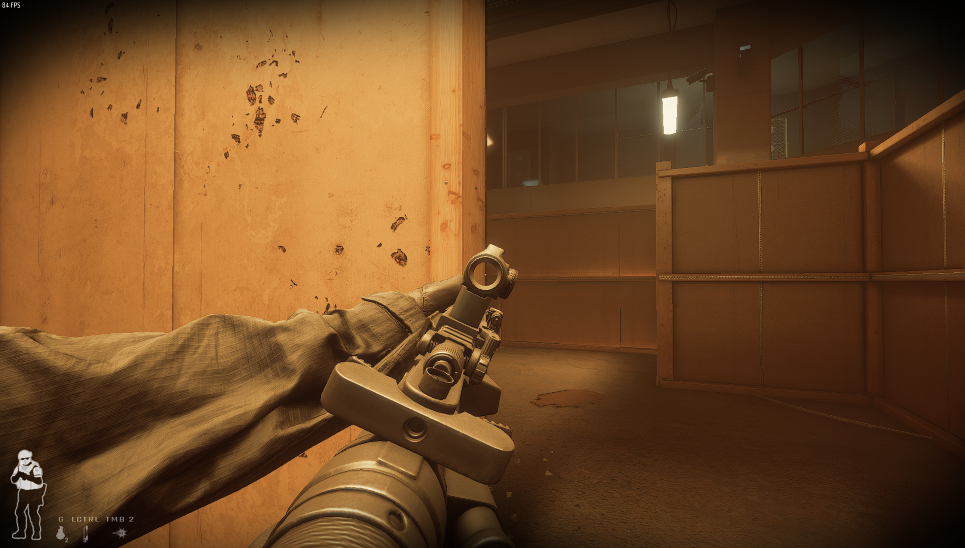
Aiming
Quick overview for those that don't want to read all that down there: Aim slightly above the head for accurate head shots
Adjust for angle when leaning or not aiming for head
Sometimes a head shot isn't the best option- you can always go back and tap the enemy again if you're not sure.
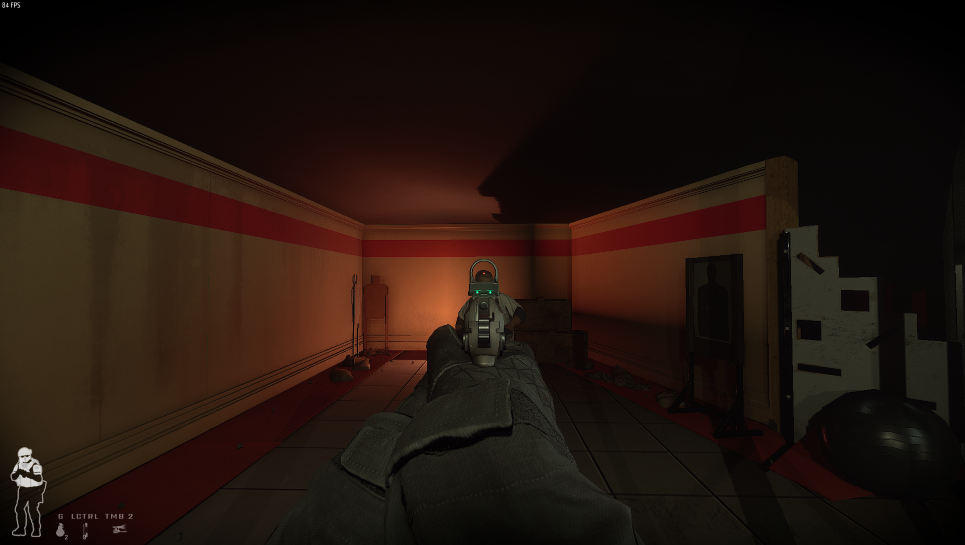
If you seem to have trouble getting those head shots, or even hitting arms and legs on enemies behind cover, this may help your chances of success. I personally have noticed (and practiced on the dummy in the downstairs lobby) that aiming right at the head or specific body part will not result in the shot going there. Instead, try aiming slightly above where you want to shoot. For example, if your standing up straight and trying to get a one tap on someone, aim above their head rather than right at it. If your at an angle you may have to adjust it but essentially the bullet is going to go slightly below where your actually aiming. This has helped me out a ton and until they fix the aiming or hit boxes, this is probably the best way of combating this.
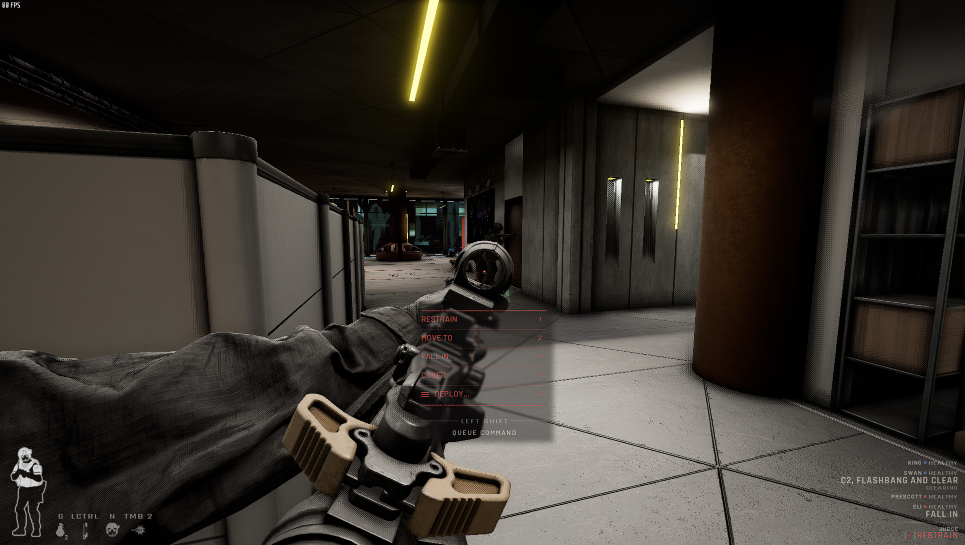
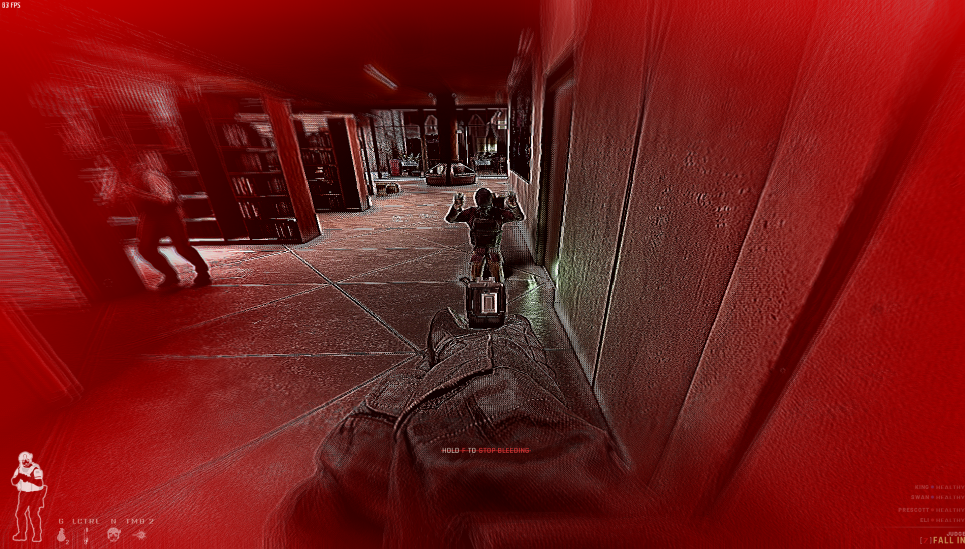
Carefully Detain Enemies
Have you ever snuck up on an enemy and told them to get down, and instead they squad wipe you in milliseconds? Then this one is for you.
I'll keep this one short and simple.
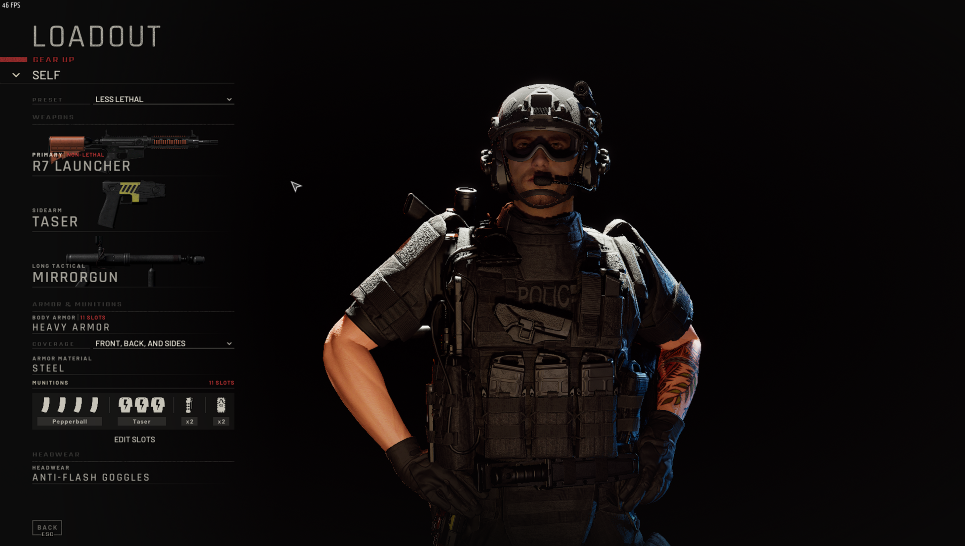
Try using stuns to lower their determination (or morale)
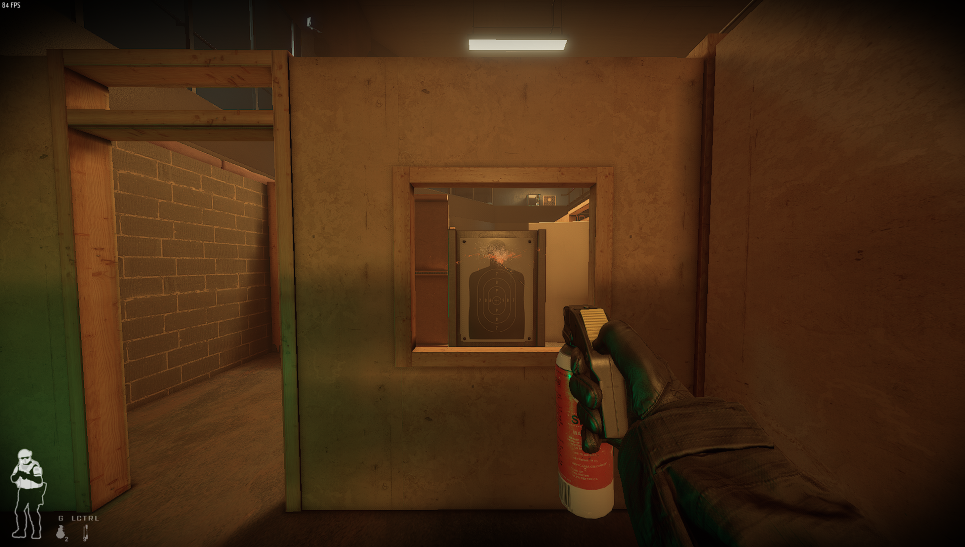
Tasers or pepper guns can work to help them be more submissive
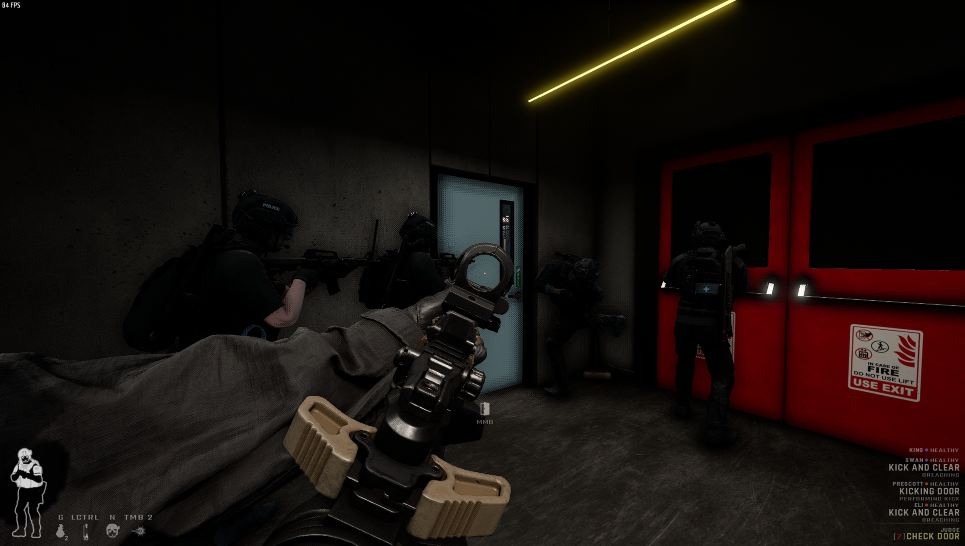
Having your AI teammates go first
If you've read those points and still unsure, I'll break them down here.
For the first one, you can never tell if they will listen to your commands, or just start shooting. So to prevent any unnecessary loss of life, try throwing a stun first to make them more likely to listen to you. This initial stun helps tremendously and I don't think I've seen it not work yet.
Secondly, tasers and pepper guns can work, but you have to be some what close to the enemy, and some of them will ignore it or still shoot off their weapon, hitting you in the process. They aren't as coordinated however it still can hit you if the angle is right.
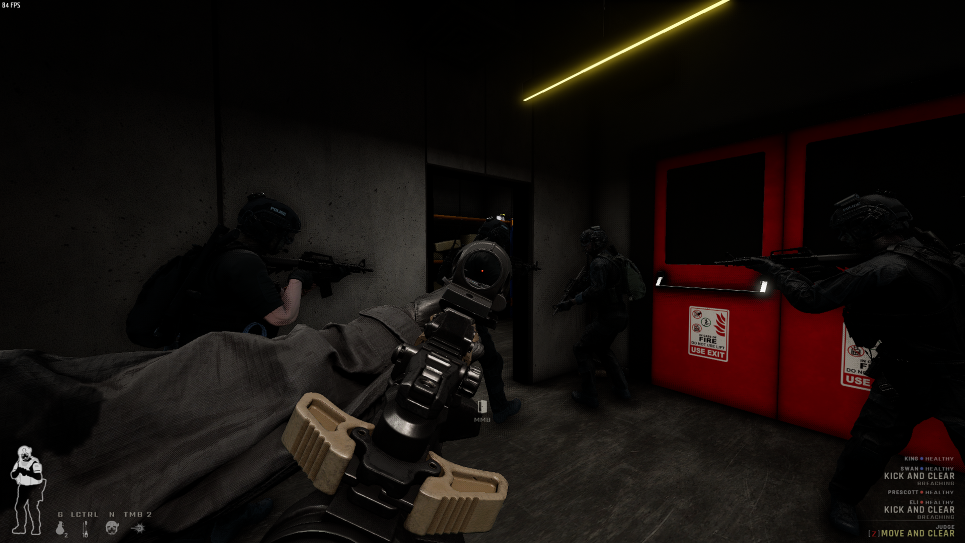
Lastly. Let your AI teammates go in first. They have the ability to know whether an enemy will listen or attack. They will typically go into a room and immediately shoot any suspects that wouldn't have listened to you to begin with. They also wont bring penalty to your score for excessive force, even if the suspect didn't threaten you or them.
Keep in mind that the AI teammates won't always spot enemies around a corner. They typically have to have a line of site to initiate anything. So just because you sen them down a hallway or into a room, doesn't mean its all clear. You should still double check just to be on the safe side!
Learning The Maps

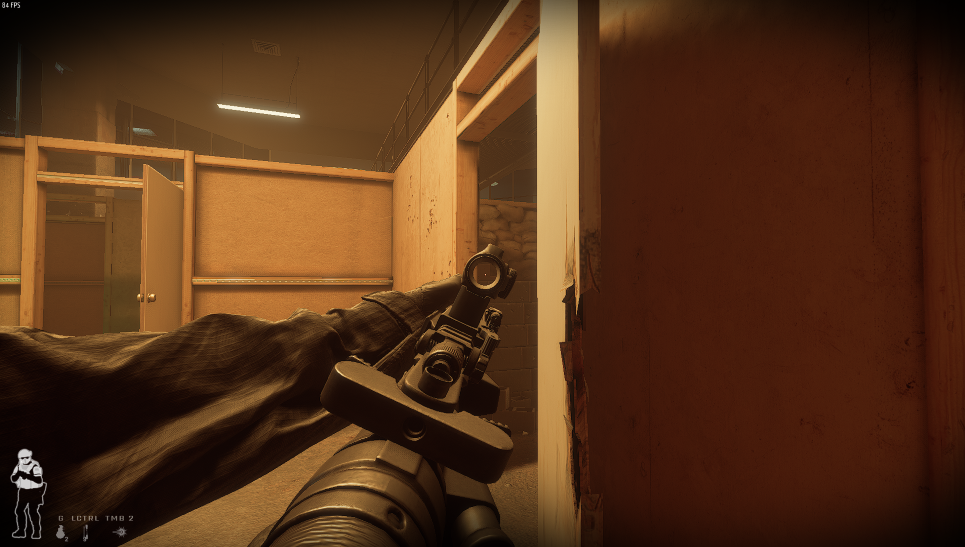
A big one is knowing where rooms and hallways are. Map situational awareness is extremely key in this game. Being able to hear someone and know where and what room they are in or coming from is huge.
Playing the same map over and over sounds tedious, but because enemies can spawn in different locations and the fact there are different modes, you can learn the layout without feeling bored after a couple playthroughs.
Multiplayer Help
Communication is key
Playing with AI
You can't directly speak with them of course, but you can still give them commands on what you wish for them to do. You have three separate command lines. The first (Yellow), will direct all AI teammates. The second (Blue), will direct two of your squad and the third (Red), will direct the other two in your squad. They are incredibly helpful at tying up suspects and securing evidence. And until it gets updated, anything they do doesn't affect your score or give you penalties. Use them and abuse them because they will help you successfully complete some of the harder missions
If your playing with others, communication is key. You can access the other players cameras to view where they are and also see what they see.
If your using discord, don't hesitate to communicate what you see, hear or feel what is happening. Its better to over communicate and be wrong than not mention a concern and lose the mission.
If you're playing on a public server and not using discord, you will have to use the in game voice chat. The same concept applies, but if you have push to talk on its one more thing you'll have to remember to do.
Source: https://steamcommunity.com/sharedfiles/filedetails/?id=2874963945
More Ready or Not guilds
- All Guilds
- How to check for traps
- How to stop resisting
- Nasl Tekme le Kap Alr
- The Logical Guide to Conquering Ready or Not
- How To Check For Explosive Traps
- JAK ZDOBY WSZYSTKIE OSIGNICIA
- Modding Guide: Ready Or Not
- How To 100% Achievements
- how to not get shot
- how to fire gun.