Why Clear Hallways?
Why should I know how to clear Hallways?
Being able to know how to clear hallways (I will refer to this as a linear danger zone or LDZ now) is extremely important to your squad's survival, as well as your own.
Even if you are not going into the LDZ directly, it is still important to know how to cover it while your squadmates pass the LDZ to avoid injury or death.
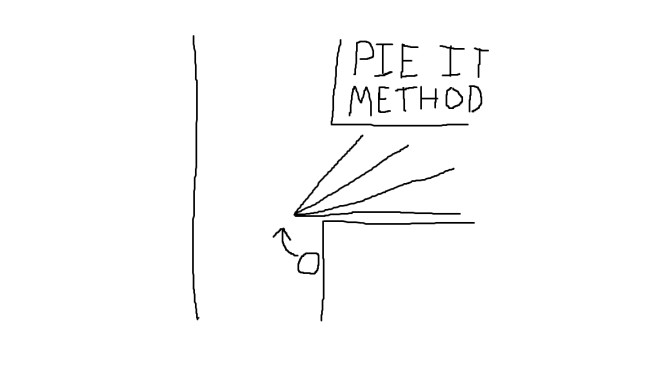
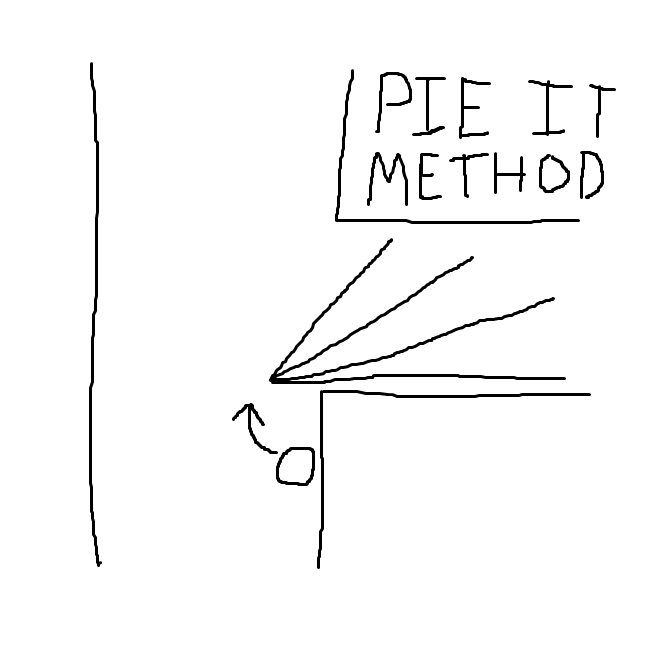
Method 1. Pieing It
Pieing it is probably something you may already be used to if you are experienced in tactical shooters.
Pieing it refers to the action of peeking around the corner while also using the corner for cover.
This is done alone by the first person in the formation to reach the LDZ, meaning make sure to be EXTRA careful while doing this. If you take things too fast, it may take a moment to get help from your squad-mates.
When you reach the corner before the LDZ, the person in front will put a little bit of distance between them and the wall in order to appear as a smaller target to the enemy. Slowly peek around the corner while leaning and taking things slow. Take down any suspects you may encounter if necessary.
You will HOLD this position until your squad-mates have safely passed the LDZ.
After they pass, you may catch up to your squad-mates.
Method 2. HighLow
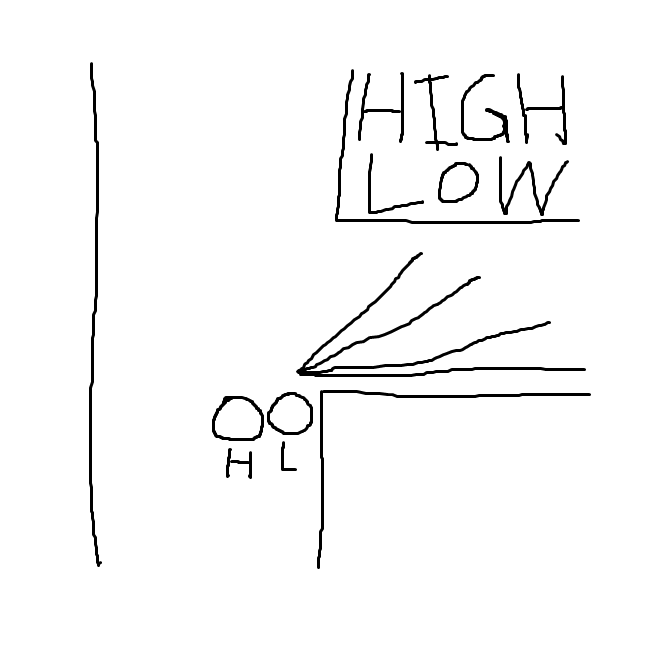

HighLow is essentially the same as Pieing it.
However, this maneuver can be preformed with 2 people, providing more safety and reducing risk of injury and death.
Copy the steps from the "Pieing It" method, except the first person in the formation will kneel on the ground while peeking and another will stand behind them while peeking.
This adds extra security by having 2 sets of eyes directed down the LDZ. Neutralizing suspects will be easier and safer with the second man there. Having two different levels of height while peeking around the corner also makes it more difficult for any suspects to injure or kill both squad-mates, forcing the suspects to pick one or the other.
When holding the angle, it is up to them to decide if only 1 of them will stay there while the rest of their squad passes by, or if both of them will stay while their squad passes. They will be able to rejoin the squad once their squad-mates pass safely.
Note: It is recommended to have both guarding the LDZ if there are many ways suspects can come into the LDZ in order to avoid being stuck and cut off from your squad and having to engage the enemies alone.
Hopefully this helps you avoid getting harmed while passing an LDZ in the future. Mishaps may still happen and you may still get injured or killed. If that does happen, remember not to lash out and blame squad-mates. Remember that Ready or Not is a GAME. Be safe and good luck!
If this guide was helpful to you, please be sure to like and favorite as it helps this guide get seen!
Source: https://steamcommunity.com/sharedfiles/filedetails/?id=2832150106
More Ready or Not guilds
- All Guilds
- How to check for traps
- How to stop resisting
- Nasl Tekme le Kap Alr
- The Logical Guide to Conquering Ready or Not
- How To Check For Explosive Traps
- JAK ZDOBY WSZYSTKIE OSIGNICIA
- Modding Guide: Ready Or Not
- How To 100% Achievements
- how to not get shot
- how to fire gun.