
Other Outward Guides:
- Equipment and Skills.
- Money Making Guide.
- Legacy Chest Locations.
- Health, Stamina and Mana.
- Skills and Trainer Locations.
- Chest Locations (Enmerkar).
- Labelled Map of Hallowed Marsh.
- Labelled Map of Enmerkar Forest.
- How to Get the Biggest Backpack in 5 Minutes.
Guide For The Guide
This is a quick guide to better help you navigate the actual guide. Difficulty is Easy, Medium, Hard, Very Hard, Difficult. The score is based off my feelings when I did the dungeon. At the end of the guide I will show my current gear setup when I completed each dungeon. I will also include all buffs I use.
Current Map
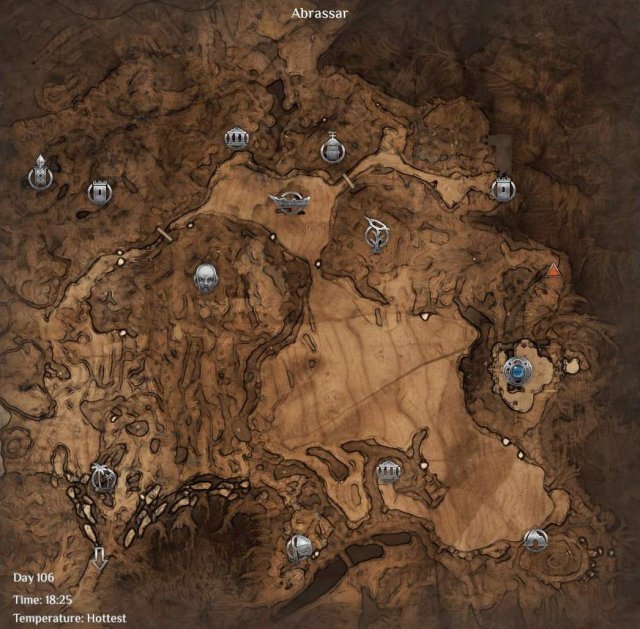
Included is a map with numbers that correlate to the name of the dungeon. If you are looking for a specific dungeon and know the name you can find where the dungeon is on the map. You can also do the reverse if you know the location but not the name.
Rivers End
- Description: Useless Miscellaneous dungeon, only good because of Mantis Shrimp would avoid.
- Layout: Simple bend to the right where a mantis shrimp sits. After killing it one path leads to a chest at the end.
- Difficulty: No Difficulty.
- Loot: Not worth it.
Layout: Simple bend to the right where a mantis shrimp sits. After killing it one path leads to a chest at the end. Difficulty: No Difficulty. Loot: Not worth it.

Electric Lab
Description: Large Puzzle Maze.

Layout: Strap in this is a dozy. In total there are 4 golems, 2 molten golems, 2 beasts, 2-3 Regular Sword golems, 3 special golems, 1 red ethereal ghost, 1 purple ethereal ghost and 3 mantis shrimp. This comes out to 16-17 total monsters.
A Key part of this dungeon is the elevator which I will explain first. There are three floors on the elevator, and three total lights one for each level. The top most will be orange but will only have a fence around it. The second floor will have an orange light but also have a roof and walls. The last floor will have a blue light.
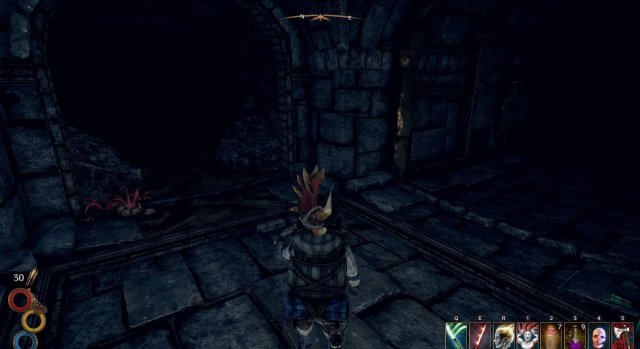
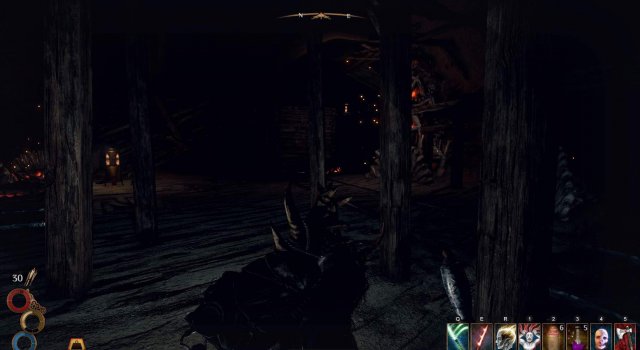
Once you enter the dungeon there will be a path in front and to your right. The one to the right will be blocked off for now. As you proceed down the front path you will turn right and come to the elevator. Simply step on and pull the lever. You should go down. Once stationary step off, and go forward into a large room. You will be greeted by 2 golems and a molten golem. There will also be a chest in this room on the west side. To the north east of the room there will be a hall opposite to the slope. at the end it will fork into two rooms. The North room will hold another 2 golems and a molten golem. The South room will hold a sword golem. Continue south behind a wall you will find another chest. Backtrack North and then East. Head down the slope and continue through the passage till you reach another fork where you are facing south. The west path is useless so go East. Continue down the hall untill you reach a slope. Below is two ethereal nights, one red and one purple. After killing them position yourself near the crossroads of four halls.See Image One.
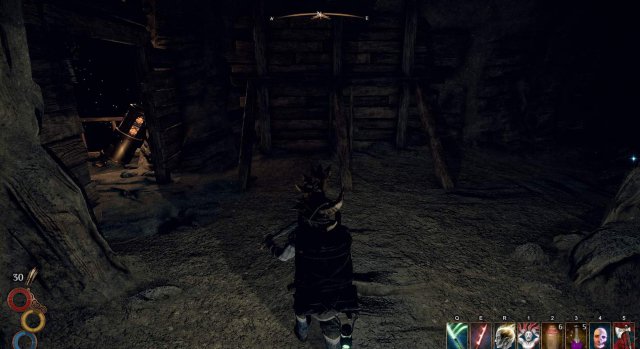
Going through the west hall down and up a set of stairs, we are greeted by two mantis shrimps in a room. Clear them out and go up the east stairs. You will be greeted by a gate with a sword golem on the other side. Prepare and then pull the lever to your west to open up the gate. After killing the golem progress inside the room. There should be a large black/red crystal in the center. In the south-west corner there will be a chest and a palladium ore vein. To the South-east you will be see a small stairway. Take note of this location we will be coming back here. Backtrack back to where Image one is at. Head East this time, at the end of the hall you will see a room with beds. Inside is a chest and 1x Power Coil. Once finished head back to Example one's location. Ahead you will see a elevator Make sure you are on the blue floor. If it is not there simply pull the lever to your left. Once on the elevator face north, buff up and hit the lever. As you go up you will eventually see a opening simply run of when you see it. There will be a Beast coming from the East as soon as you go to position yourself such as in example two. One killed position yourself such as shown in Example two.
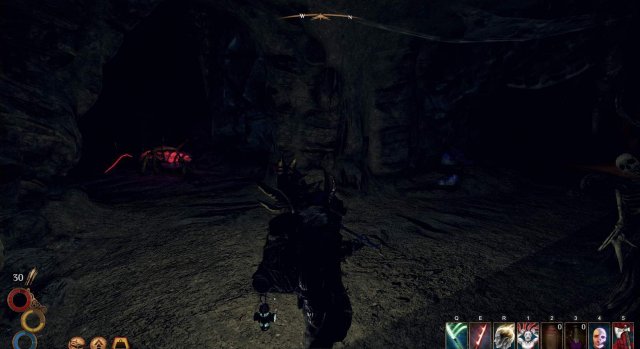
Head east through the tunnel until you enter a library. behind one of the book cases should be a lever, pull it. One of the southern shelf's will disappear. Head through the new tunnel and turn right. There should be a lever pull it. Once pulled the elevator will shift from one position to another. This unlocks the second half of the dungeon. Return back to Example two's position and head North. You will be forced to drop down, this is acceptable. Follow the path untill you come to two openings one heading north up some stairs and another heading east. Head east and follow the path and you will return to example one's position. Again take the west hall and back track to the black/red Crystal. This time there will be another Mantis Shrimp in the room so pay attention. Once in the crystal room, go to the south east side of the room and down the steps. There you should see the elevator again, if not call it down to you using the lever to your left. Get on the elevator and hit the lever. You will go up one floor and there will be a palladium Ore vein in front of you. Behind you will be a hallway that goes to North, this will bring you back to where we first fought the golems and Molten golem. Do not go this way. Simple step out and pull the lever to your right. You should now be looking at level two of the elevator. Step on and pull the lever. You will go up one floor, step off the elevator and pull the north lever. Just so you know the hall you are in will lead you back to the entrance of the dungeon, Where you were previously blocked off. Anyway you should now be on the top most level of the elevator. Again step on and pull the lever. Once you go up one level turn to the west and you will see a floating purple ball. Interact with it then head east. You will go outside. Buff up and get ready to fight. There are 3 special Golems in the area. You will immediately See one to your south west when you exit. After that head south and you will see two more, one will be in the west most part of the area and the other in the south west most part. You shouldn't need to fight them at the same time. After killing both head to Example three's position.
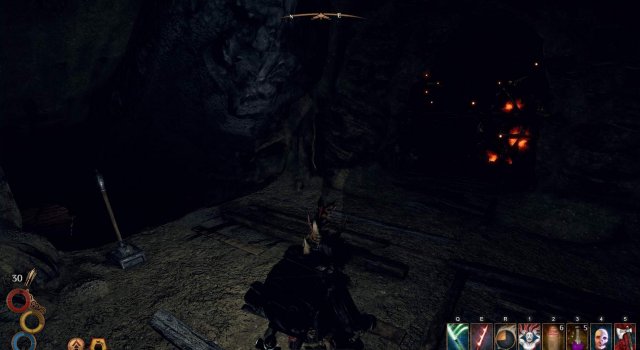
Since I have completed this area it is not in the picture but sticking out of the rubble will be the Werling spear. Grab it and head back inside. Talk to the purple orb, and again go back outside. You will see a platform has appear go up the platform pick up your tsar stone and any loot you receive from the chest. To exit the area simple head back inside pull the lever on the elevator and head east you will appear at the entrance.
- Difficulty: Hard. There are plenty of Sword Golems and a few special Golems to look out for.
- Loot: Werling Spear 3x palladium ore veins, Coil Lantern, Plenty of power coils.
Cabal Wind Tower
- Description: Another Useless Misc dungeon.
- Layout: Single room with chest, Shell Horror inside if you are decently geared you may not even have to buff up.
- Difficulty Low.
- Loot: Nothing amazing.
The Slide
- Description: Small Useless Misc dungeon.
- Layout: Walk in and three entrances all take you to river water. One dead body you can loot inside.
- Difficulty: Nothing.
- Loot: Not good skip.
Dock's Storage
- Description:Useless Misc Dungeon.
- Layout: One large room simply go down the stairs and back up the other one.
- Difficulty: No mobs.
- Loot: Nothing great.
Ruins Of Old Levant

Description: Ancient Ruins.

Layout: The Dungeon is broken into two General parts parts. An city within the walls with a number of bandits and Luke the Perescent and a few misc Dungeons. The wall is pretty straight forward there are a number of buildings. Luke the Pearlescent he will drop a prayer sword. It doesn't have the best damage but it is pretty nice looking.
There will be a cave entrance in the north- west part of the walled behind a small lake. There will be a hunter right when you walk in. Turn right and go down the stairs there will be two more bandits waiting there for you. After killing the bandits you will be in a main room. One locked door to your south a hall to your East and a Stairway with a lever to your west. Pull the lever Buff yourself and head down the stairs. Personal note this Shell Horror destroyed me I do not know what happened. After killing it the room where it was will have a lever on the East side of the stone column. Pull it then go to the south side of the room and pull the other lever. Return back to the first major room. The gate to the south is now opened. Inside is a legacy chest. The hall to the east will lead to a gated off area and down a small ramp will eventually lead to a chest. I will be coming back here and updating what is behind the gate as I do not currently have the old levant key.
Corsairs HeadQuarters is the other area inside the ruins. It is in the west most part of the ruins. Short and sweet there is a small chest a few brutal weapons and not much else. Maybe if I come back there will be more.
- Difficulty: Very Hard Really just the shell horror.
- Loot: Prayer Sword.
Hive Prison
- Description: small Misc Dungeon.
- Layout: Simple one room dungeon There is a man inside a cage.
- Difficulty: Easy.
- Loot: Nothing Substantial. There is also information in here that may be a spoiler. I will let you find out the rest.
Colossal Hive
Description: Large Dungeon
Layout: total monsters: Breakdown
When you enter the dungeon before you a r will be fighting 3 Fire Beetles and a Walking Nest. Going to the right will take you above and over the mobs while the path to the right will slope down and take you to the action. I suggest you go up right and go up the path. Eventually the path along the wall will turn towards the middle on a little island. BEFORE you approach this be aware there is a Rock Mantis here so buff up/get ready to fight it. After killing it check the stump for loot and head back down the other side of the slope. When you get to the bottom of the slope there should be an Walking Nest kill it and turn to your right there will be a Pallinium ore vien. To your left or West, you will see a open area do not worry there are no mobs here, instead go West and you will see an arch made of roots. Going down you will see 2 Walking Nest and 1 Fire Beetle. Quickly kill them, to your north there will be a corpse you can loot and a tunnel. Go down the tunnel and you will find another corpse to loot and a ledge, jump off the ledge. Go a little west and Position yourself as in example position one.
We will take the North path first. You will come into a large room, head down the pathway to our left and buff/get ready for a fight. There will be two Walking Nest either on the ramp to the floor area or in the floor area. Hiding in the shadows will be a hive lord. Kill him and in the south west corner of the area will be a chest loot it. On the east side of the map area will be another tunnel head down there to fight a Rock Mantis. Honestly This is a dead end and unless you need the things that a Rock Mantis typically drops I would avoid it all together. Head back to position ONE
We will now take the West path, I would STRONGLY suggest having bandages ready as there are a number of Assassin Bugs that inflict extreme bleeding. Anyway as we go up the west path we will come to a slope on the west side of the path is place to fill water skins with RIVER water if needed. Continue further and you will come to a junction, one path headed West and another South. Position yourself such as shown in example position two.
Heading West there will be about 3 Assassin Bugs in here generally I can curb stomp one at a time but their rendition of a group of Lickitung's lick move proved nearly fatal to me. So be careful. inside the area is a small slop on the west side of the wall that leads up to a stump with loot inside. Honestly you can also skip this part if you don't really need any loot the bugs give. When finished head back to example Position two.
This time we will take the south Route, and appear back in the entrance room. Here most of the mobs should be weak or dead so pick off any of the reaming stragglers if you haven't killed them. Congrats you have now cleared the hive.Well not exactly, in the east most side of this area is a hole you can drop down where another Rock Mantis will be. this area is right above where the other Rock Mantis I told you could be avoided so be careful otherwise you may have to fight Rock Mantis back to back.
- Difficulty:Medium, Honestly the assassin bugs were the hardest part.
- Loot: If you really need insect husks, and occult bones this is a really good spot otherwise you can pass.
Sandy Rose Cave
Description: Major Dungeon
Layout: Total Mobs
When you first walk in you will be greeted with 1 bandit and 1 bandit lieutenant. There will also be Bandit archer that can shoot you from above. You will see a set of train tracks, If the tunnel t your right is open go behind a wall and find the lever. Pull the lever and then run to the right North tunnel. If there is a train cart in the way pull the lever once to move its position and then follow the previous instructions. As you progress through he northern tunnel there will be a ramp on the west side. Proceed up and go through the south path. You should see the archer to on your left side. To your right there is a lever. Before pulling the lever position yourself such that you can quickly jump onto the train cart. Pull the lever and jump on the train cart. Kill the Bandit Archer and progress through the southern tunnel. It will do a U-turn and you will be back in the main room with a new lever. Pull the lever and attempt to run across the moving train charts to get to the other side. There will be another Bandit Archer. Near the archer going north will be another tunnel go through and look for another tunnel from the west. Make sure to pull the lever. If not it will be a ledge that you can not get back up from. Continue down the path untill you are in example position one.
The East path will have a Bandit and a Ice Mage. Kill both and continue south up the stairs. On the west of the area will be a chest, inside will be a Dragon Shield and some other random items. Make your way back to example position one. Pull the lever and head North. Inside will be 2 Assassins Bugs. There will also be a Adventurers body on the south-west of the area. Once you kill the mobs. Pull the lever on the west side of the area next to the train cart. There is a ramp on the north side of the area. Drop your pack and position yourself such as in example position two.
You are going to hit the lever and sprint up the ramp, and get on top of the train cart. From here ride it untill you get to the end and walk onto the platform to your East. Then go pull the lever on the elevated area, drop down and pick up your backpack and again hit the lever bringing the train back to the original position. This time go up the path onto the train cart through a door and onto another area. From here on the south side will be a small ramp go up the ramp and careful go across the broken scaffolding. There will be a Brass Wolf Backpack at the end.
If you go back to turn around and go back from the broken scaffolding. Going down the ramp directly from the scaffolding you should see a door directly in front of you/ in the east direction. This will take a very round about way of leading you back to an area near the start. Go back to the main area and go to the West side of the area the train cart that was there should be gone, progress down untill the is a tunnel going down a path to your South. You will see a Lever, before progressing buff up and continue down the path. Inside will be a Shell Horror and a Assassin Bug. After killing both of them on the east side of the area should be a train cart and a lever, pull the lever and wait for the train cart to move. Follow the train cart and on the north side of the tunnel a Assassin bug and a chest will be waiting for you. Kill them and head back to the previous area. This time go to the south most part of the area and through the tunnel. It should bring you directly back to the entrance of the dungeon, giving you a quick exit. If for some reason there is a train chart in the way return to where we picked up the Brass Wolf Backpack and there will be an exit near there.
- Difficulty: Easy/Medium Hardest part is the Shell Horror.
- Loot: Dragon Shield, Brass Wolf Backpack
Stone Giant Caves
Description: Major Dungeon
Layout: There are a few entrances to this dungeon I will be explaining from the dungeon entrance closes to the map marker. But I will point out where other entrances start.
Upon entering the dungeon take a U-turn down a slope. There should be 1 Desert Lieutenant. Position yourself such as in example position one. We will take the West Path But remember the way you came. Go West and walk up the large stone sword. At the top will be a tunnel entrance and a Cave Captain. Kill them and the tunnel will split one going up a ramp north and another going to the west. Head west and you will see a wooden wall with an opening. Buff up, there is an obsidian elemental through the opening. Once killed proceed down the ramp and into the room below. In the south most part of this new area there will be a chest near some cages. Once finished proceed back to the fork split as mentioned above and go up the ramp to the north. After you go up the first ramp you will see another, behind this ramp is a chest. You will also find on the ramp a Ice mage and a Desert Lieutenant. The path will split again One going south-east and another north. The south-east path simply has a random loot ruble and the north leads to another entrance. Return back to example position one.
We will now go down the east path. Do not go down the hole right away, if you walk around the right side there will be a Pallinium ore vien located behind the wall. Mine that first and then drop down in the hole. Take it nice and easy no reason to lose health. Continue along the only available path. You will fight 1 Desert Lieutenant, Desert Archer, Desert Bandit, and Ice Mage. One finished you should be in a room with a purple stone. Go south past the purple stone and next to the giant stone head. Here you will notice platforms you can drop down on. Once at the bottom There will be a knights corpse directly north of you and a Desert Captain to your North East. After Killing the captain follow the tunnel behind him and eventually you will reach a large open area emitting purple light, on a pedistel in front is the () axe and to the left is a chest in a corner. After collecting your loot return to the knights corpse from before and head west this time. You will see a tunnel on the west side that will take you exit.
- Difficulty: Easy
- Loot: Axe.
Source: https://gameplay.tips/guides/4046-outward.html
More Outward guilds
- All Guilds
- Outward - Equipment and Skills
- Outward - Strange Apparitions / Where Are the Ghosts?
- Outward - Chest Locations (Enmerkar)
- Outward - Labelled Map of Hallowed Marsh
- Outward - Game Basics
- Outward - Where to Find and How to Kill a Manticore
- Outward - Money Making Guide
- Outward - Labelled Map of Enmerkar Forest
- Outward - Dev Menu (Cheats)
