
This guide teaches you how to go to the lab, clear it, get rare weaposn and loads of money!
Other Next Day: Survival Guides:- Gameplay Tips for New Players.
- Factions, How Do They Work?
- Survival Map.
- Money Glitch.
- The Ultimate Bunker Guide (Enemy and Loot Maps).
Introduction
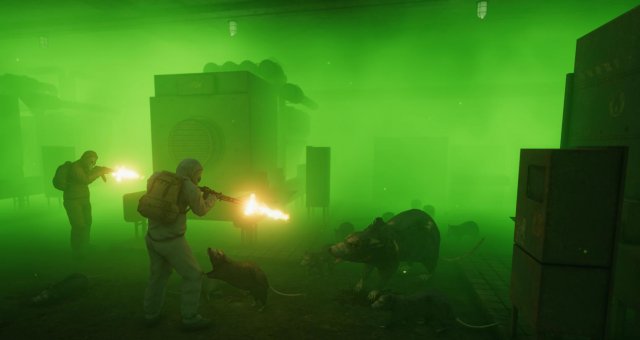
The lab is the new location added in the latest patch, it is the perfect grinding place, better than the bunker, not only will you get a lot of money, but also some rare weapons! So this guide was made to help you with it.
Getting To The Lab And Suggested Equipment
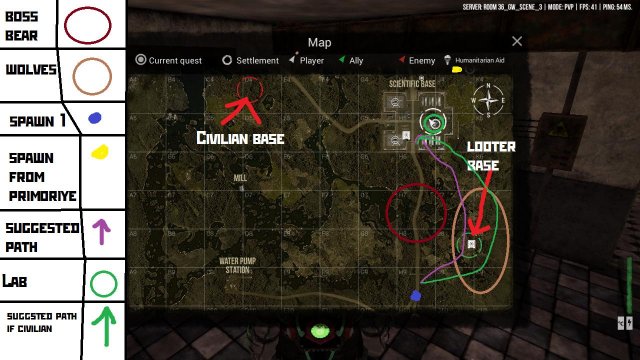
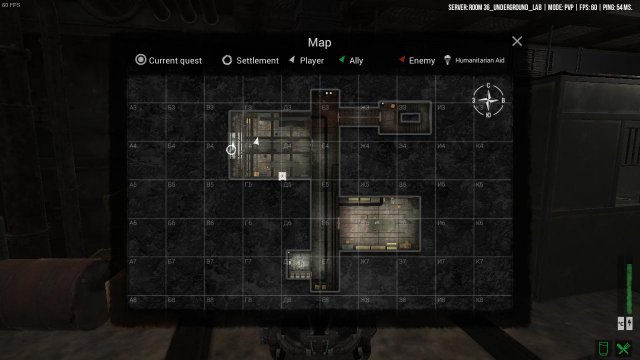
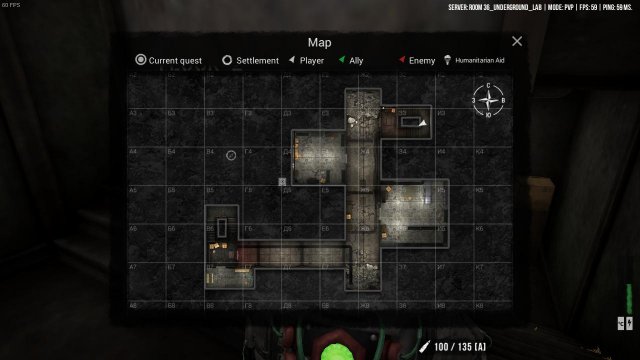
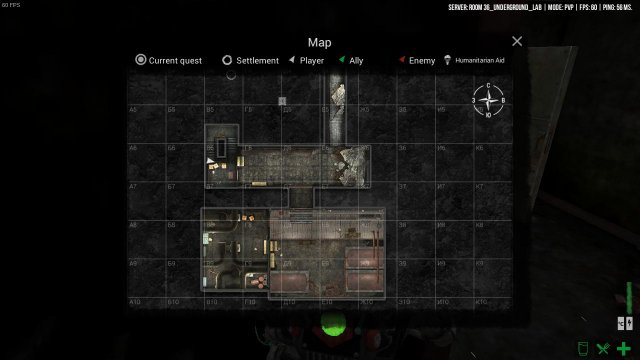
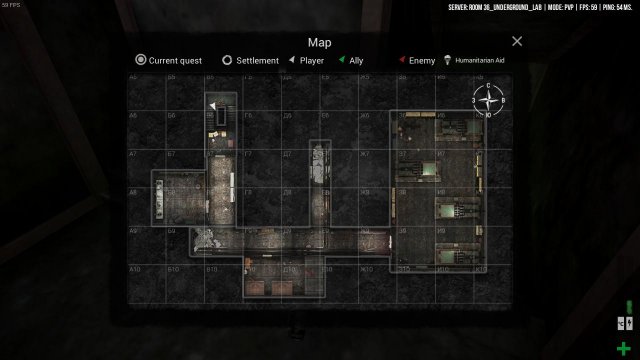
The lab is located in the swamp, meaning you need toxin protection, but we will discuss that after this tottaly amazing map.
As you see by the map, you need to avoid the boss bear (beacuse they are litteraly invincible). There is also another enterance to the lab which i will discuss later.
Make sure to take items before you head out to the swamp, beacuse items at the trader in other locations wont be shared with the trader in swamp and the lab!
Equipment suggested:
- RPD (best weapon for this) or RPK (rpd is straight upgrade since it has 25 extra bullets in mag).
- Prototype AK.
- Siaga 12 or USAS 12.
- Full exo (if you dont have exo, use protective suit and gasmask).
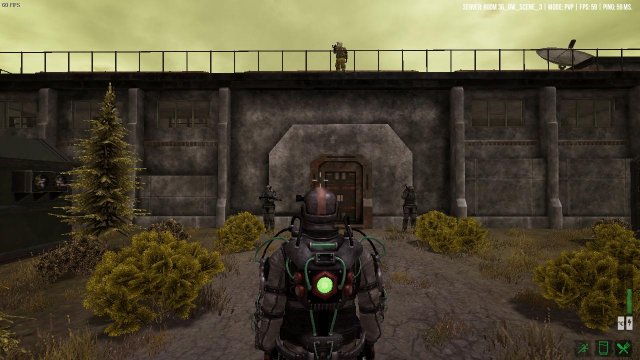
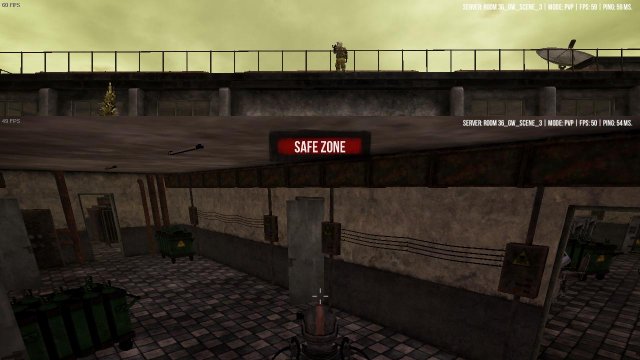
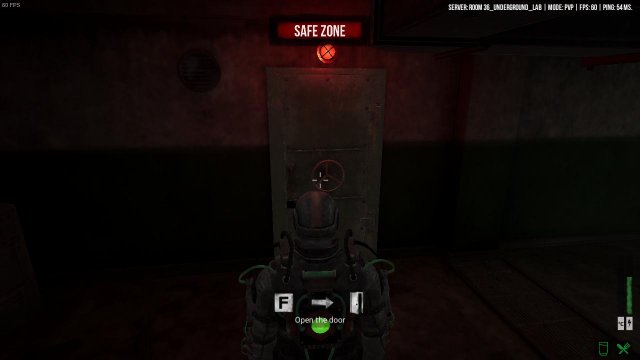
What to do when you reach safezone:
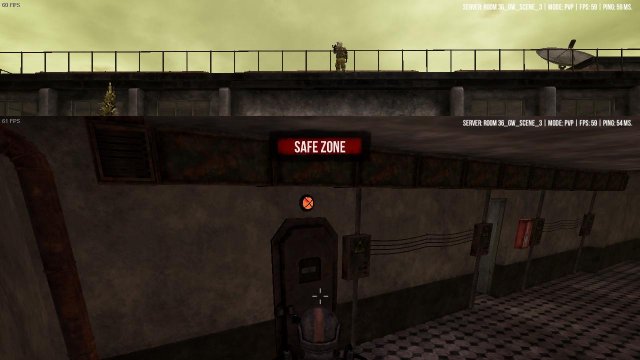
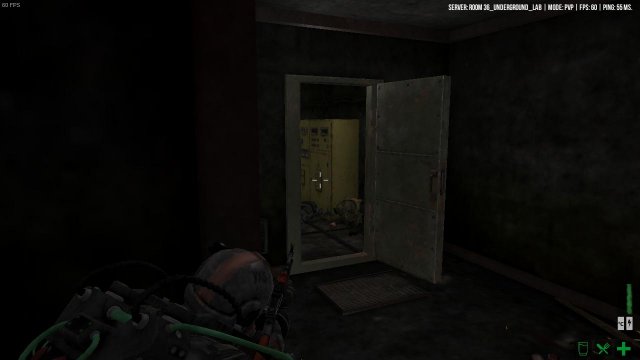
- Enter this building.
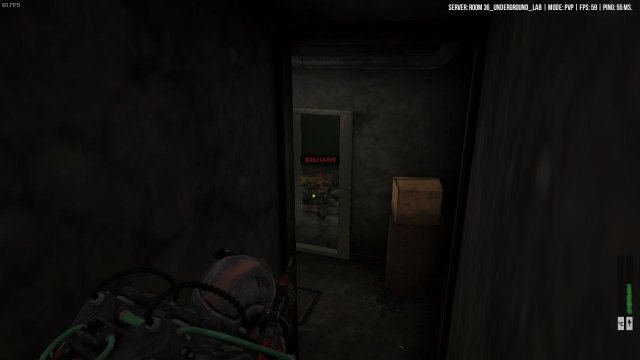
- Then take the second door to the right.
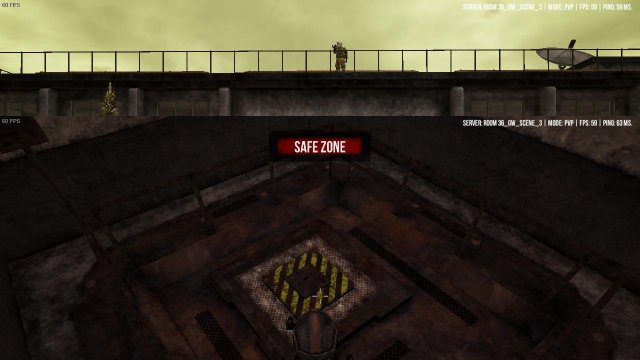
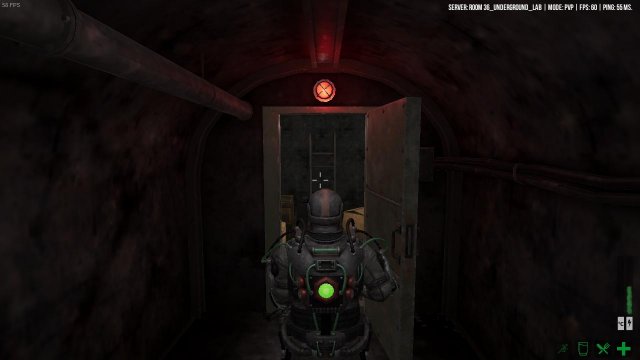
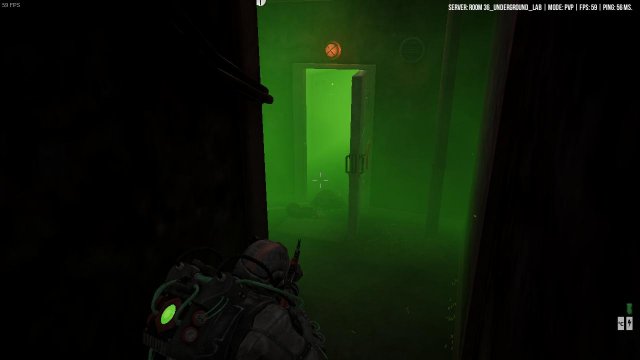
- Then find this door (there are 2 doors, one on each side).
- And now just enter the hatch, congratulations, you are inside the lab.
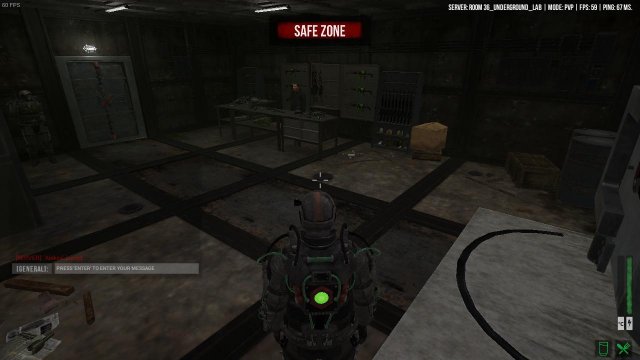
Basic Info About The Lab
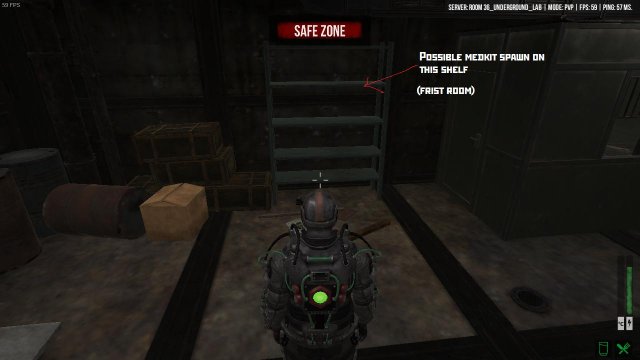
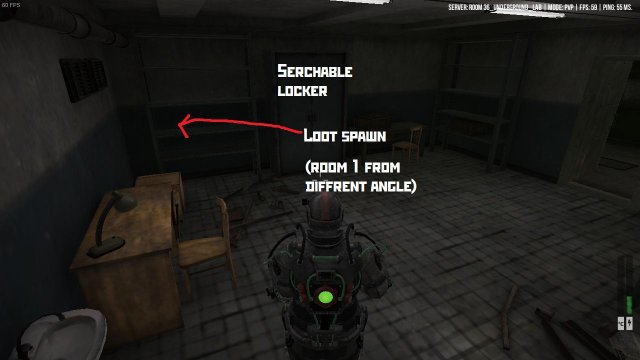
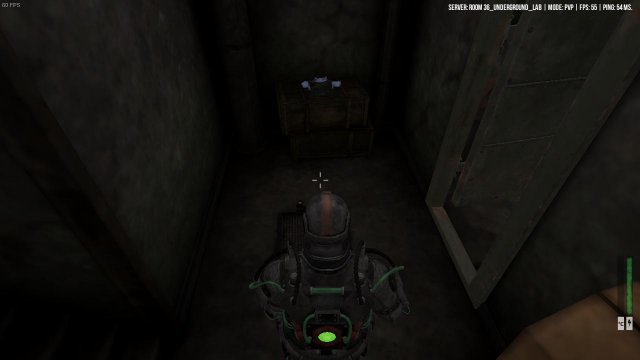
This is what your frist room should look like.
Trader is in front, the exit to the right.
The lab has 4 floors (map will only show the floor you are on), frist floor is safezone with small loot, like medkits and food.
The second floor has 5-6 military men, with 1 of them always being a defender boss.
Third floor has 7-10 military men with 1 of them always being a defender boss.
Fourth floor has no military men, but is extremly toxic, has around 15 rats and 1 boss rat that always spawn.
Note: curnettly you can get the "Genocide" avchiment by clearing 2nd or 3rd floor, might be fixed as it is a possible bug.
Floor #1
Things to do:
- 1) The before mentionted trader, he will come in handy.
- 2) The exit.
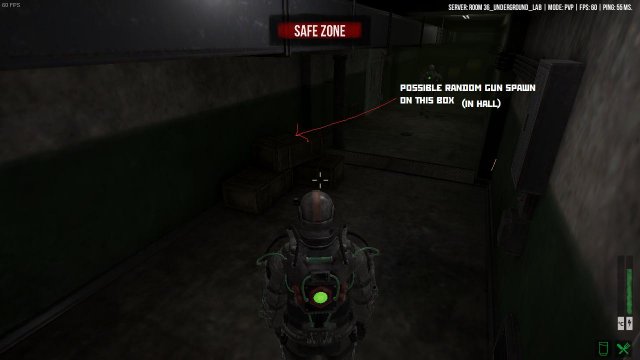
Loot:

To get to floor 2 you need to follor the staircase that is all the way left in the hall.

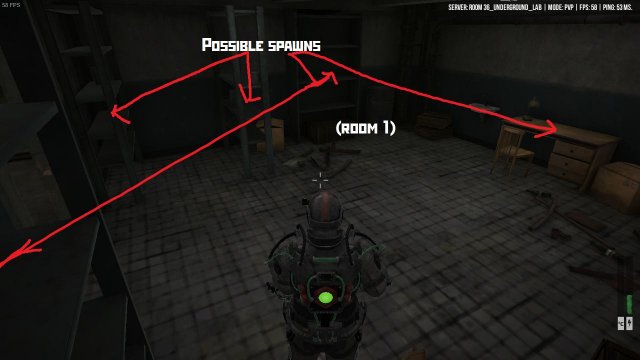
Floor #2

How to clear it: in order to clear it, crouch, open the door and then agro the military men, then run back to this spot and camp them out (note: in this picture i alerdy killed the enemies).
If you are low on ammo, dont be shy to run back up and buy some, the enemies will only deagro when you go to floor 1. Make sure to agro them again if you do.
The defenders on both floors are a bit weird since they will run from left of the door to the right, only occasionaly stopping to shoot you, thats your time to kill them, be warned as only a couple of thier shots can overheat your exo.
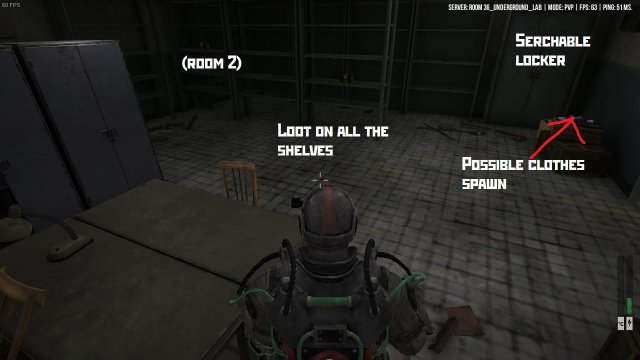
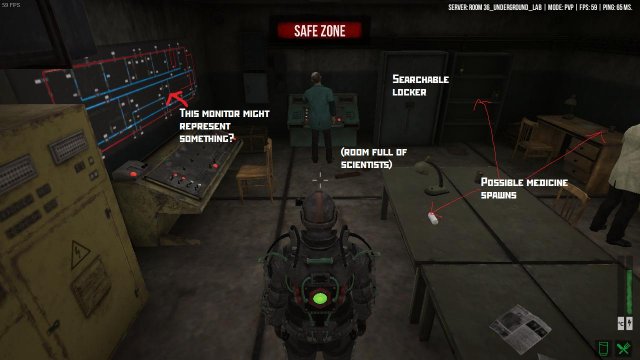
Loot from enemies:
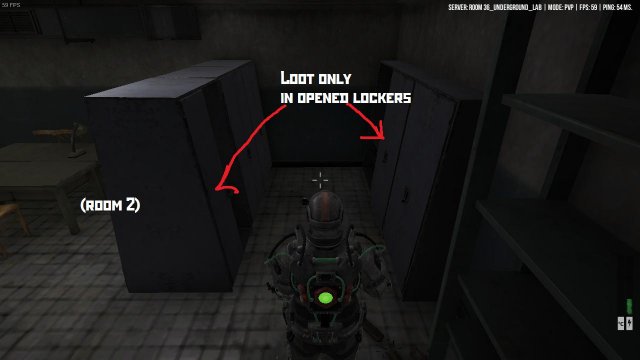
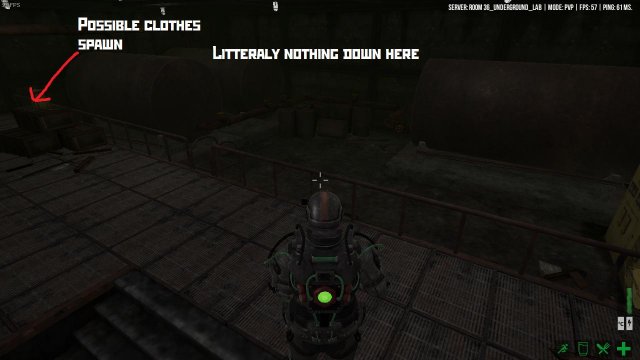
Loot from rooms: Room 2 has possible rare item spawns (un helmet and respirator).
Floor #3
Remember that the staircase from floor 2 will take you to floor 3 and 4.
Floor 3 strategy! Floor 3 is kinda the same as floor 2, just diffrent spot (enemies alerdy killed again)Make sure to peek a bit, they wont always come.
Loot from bodies is same, just in higher amount since there is more enemies. Remember that exit i was talking about? This is it, i have no idea where it acctuly leads.
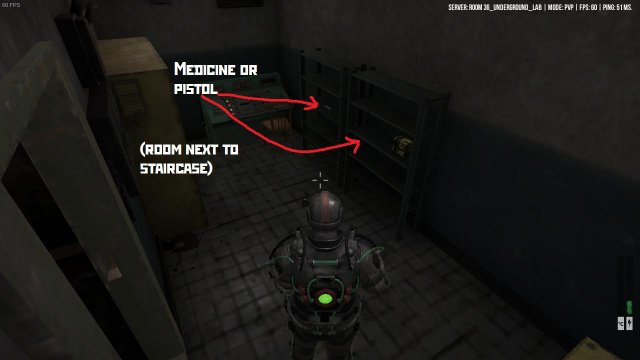
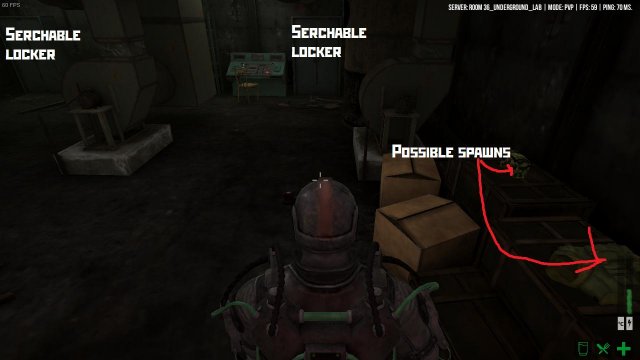
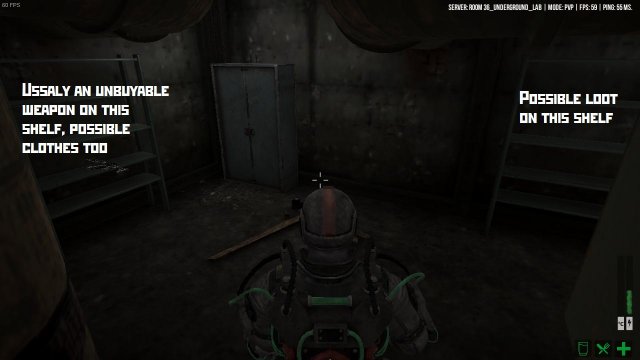
Loot from rooms:
Floor #4
Strategy: ok so if you dont have exo, i suggest you dont even bother with this floor, the rat boss can shred you extremly quickly, and on this floor (unlike others) you are guaranteed to get hit by him at least once.
Anyways camp like this (enemies dead once again).
The stairs are your safe space, once you hit the floor, all the enemies will immideatly come rushing for you, the small rats die in 1-2 shots from the gun, but the real challange is the boss, he does not have much health, but he does a lot of damage. you have to get him to come after you, then after he starts getitng extremly close rush to the stairs (he can still sometimes hit you even on stairs, but he will not follow you on them), repeat this until he is dead, the small rats arent a challange whatsoever.
Loot from bodies: The small rats are animals so you cant get loot from them, they can be flayed for meat tho, the big rat howeverhe containts typical boss loot, sometimes steel keys and what not.
Loot from rooms:
Important: You better loot all of this quickly unless you want to waste ammo, since rats respawn quickly (not including boss rat, so you are safe).
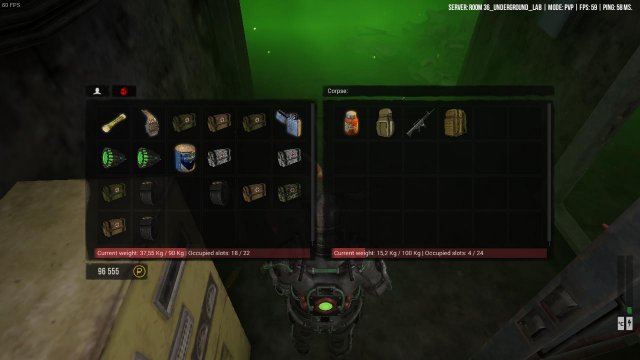
Final Loot

Here is loot i had after a couple of runs. Also some reactor batterys i sold.
Source: https://gameplay.tips/guides/2869-next-day-survival.html
More Next Day Survival guilds
- All Guilds
- [RU / ENG] / / Maps / Loot map / / Bunker
- Loot / Spawn Map
- Next Day Survival Guide 7
- Next Day : Survival I (new),
- Next Day: Survival - Factions, How Do They Work?
- Next Day: Survival - The Ultimate Bunker Guide (Enemy and Loot Maps)
- Next Day: Survival - Gameplay Tips for New Players
- Next Day: Survival - Money Glitch
- Next Day: Survival - Survival Map