
This is a full guide / walkthrough to Life is Strange: Before the Storm (Currently Episode One). Quick TL;DR sections for those who want a fast run through. Minimal spoilers!
Other Life Is Strange Guides:- Grafitti Guide - Epsode 1: Awake (100% Achievements).
- Perfect BackTalks Walkthrough (Epsode 1).
- Easter Eggs.
Episode One: Awake
This guide will cover all of the actions required to progress, but does not cover most of the non-essential choices and interactions which make this game exceptional; explore as much as you possibly can to get more character development as you go!
 Old Mill - Exterior
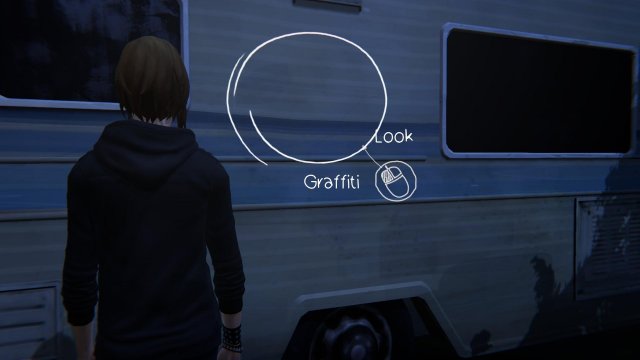
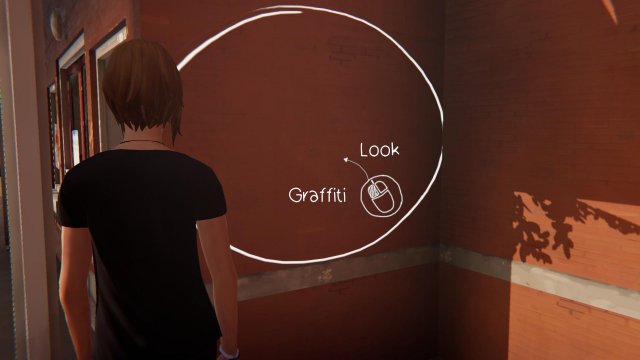
Go forwards toward the music at the Mill and jump over the fence. Head to explore the area. I recommend examining everything. Optional Graffiti #1 can be found around the back of Frank’s RV.
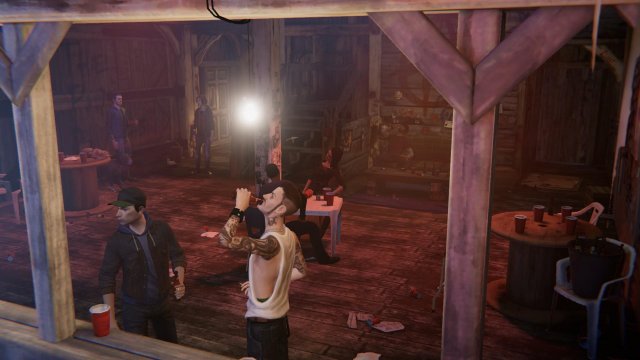
Speak to the bouncer at the door. Examine the bikes to the left of the bouncer when you get the chance. Sass your way past him with the latest information you’ve gleaned by examining the flowers on his motorcycle.

Using the Backtalk mode enables you to fight your way past certain situations. In this case, getting past the bouncer. You need to choose your options quickly before the timer runs down, or the opponent will gain ground against you. Look for hints in the conversation to progress more effectively.
Play through the Backtalk scenario and head into the Mill.
 Old Mill - Interior
Plenty to see in here. There are options to talk to Frank, and to "obtain” a new Firewalk shirt. These things are great for story related progression, but not required to progress. Head around to the entrance to the mosh pit; just around the corner from Optional Graffiti #2 on the Saw Blade on the wall past the skeevy guys at the bar.
Play through the encounter whatever way you’d like. Then go ahead and go up the stairs to the area above. Rejoice in listening to FIREWALK!! Again, play through the encounter whichever way you see fit, and exit with your new friend.
 Price House - Upstairs
Press Space when you're ready to get up. Look at your Journal to kick things off. Head towards the dresser to change your clothes; pick whatever you like. The Firewalk shirt, if you stole it, gives some additional dialogue in places if you’d like. Other than that, they don’t make a difference.
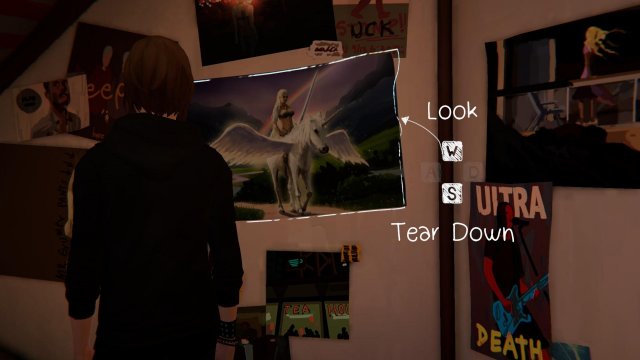
Once you’re changed, examine anything in the room you’d like a closer look at. Optional Photo #3 can be found behind the Unicorn poster on the wall.
When you're done, head out onto the landing. From there, head to Joyce’s room to the left, and pick up her phone on the bedside table. You can also have a poke around in here to find some extras too.

Once you ring Chloe’s phone, head to the bathroom. Follow the sound to the pile of clothes by the toilet. Head back to Joyce’s room to grab her purse beside the desk, and then grab her cellphone once the dialogue plays through. Head down the stairs to meet her.
Price House - Downstairs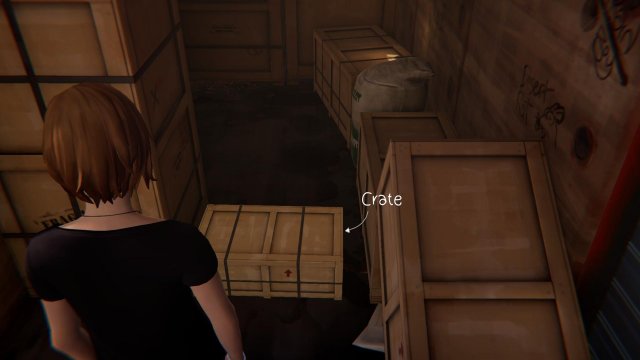
Downstairs, go ahead and put the purse on the table. Have an explore if you’d like – there are a lot of nuggets of lore around here. Once you’re ready to move on, Speak to Joyce. Play through the scenario and make your choices where you can. Head to the patio doors and grab the car keys from the Ashtray on the side table.
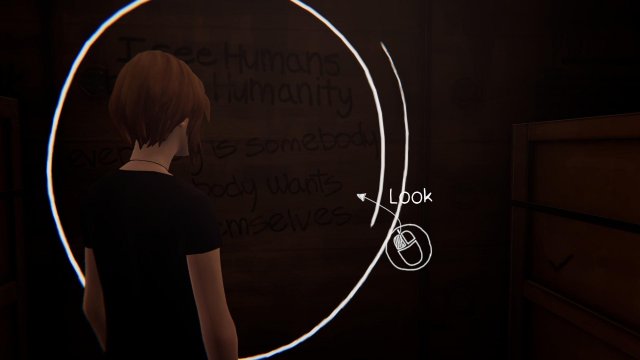
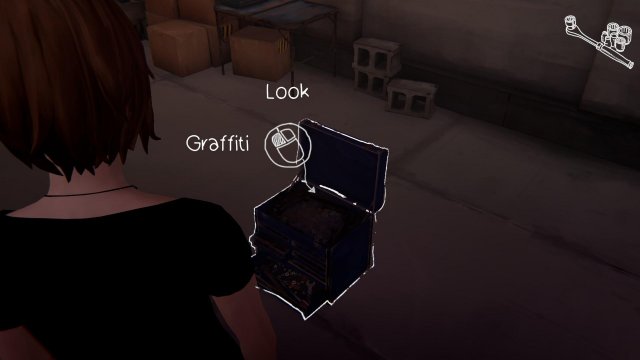
Head outside at this point to meet David at the car. Speak with him. Head into the garage towards the tool box and open it. Grab the socket wrench box. If you like, Optional Graffiti #4 can be accessed here in the tool box once you've grabbed the smaller socket wrench box. Go back to David and play through the options.
The Dream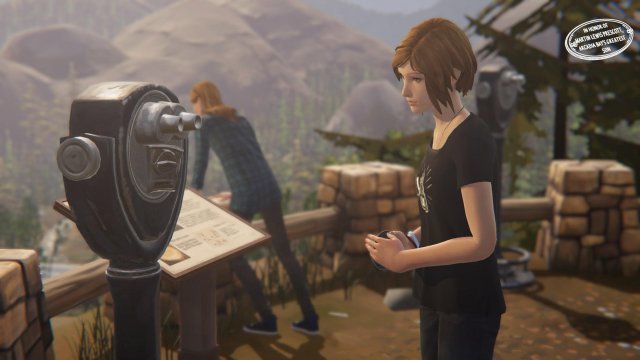
Progress here simply by speaking to William.
 Blackwell Campus
Play through the encounter with Eliot, and head towards Steph and Mikey over at the picnic table to the far right. Bear in mind there are lots of additional things here for you to explore; including helpful dialogue from Skip the security officer. The Optional Graffiti #5 is on the wall of the Swimming Pool just to the right of the doors.
Once you've finished speaking with Steph, head into the school for Chemistry class when you’re ready to move on. Play through the scenario with Nathan and Drew whichever way you see fit. Head up the steps towards the doors of the building and enter.
Drama Classroom
Go ahead and choose your stance on true love. Head to the back of the class to search Rachel’s bag. Optional commentary can be found on the back of the flat board to the left of the backpack too. Head to the dressing room to give Rachel the belt. Optional Graffiti #6 is the Tempest Poster directly in front of the door. Walk towards Rachel behind the dressing partition. Either toss the belt, or go back and give it to her. Make your choices with the dialogue and leave the school.
The TrainFirst, move the crate to the left of the door out of the way. From there you can move behind it to access the Optional Graffiti #7 on the wall. When you’re ready sit down next to Rachel on the crate.
Play through all the dialogue – it’s your choice whether you want to lie, tell the truth, or cheat through the game with her.
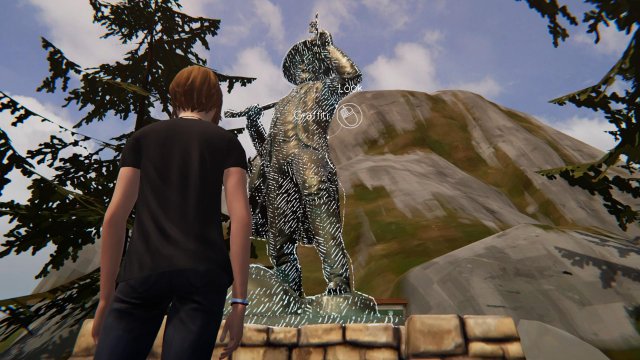
Overlook ParkAfter playing through the dialogue, Investigate the Viewfinder. From there, ask Rachel if she has anything that could help. Use the nail file to unscrew the memorial plaque on the benches to the right hand side of the statue. Explore the area if you’d like – there’s extra dialogue available from the couple by the picnic benches, as well as another Optional Graffiti from the Statue behind Rachel.
Use the plaque on the Viewfinder to pry it open, and retrieve the quarter. Head back to Rachel to continue with the story. Keep going with the dialogue and play the scene out. Scroll around with the camera to find individuals to spy on.
Afterwards, head with Rachel to the picnic tables. Move to Swipe the wine. From here, you need to initiate Backtalk to be successful with Rachel. Work your way through the scene. Make your choices as usual.
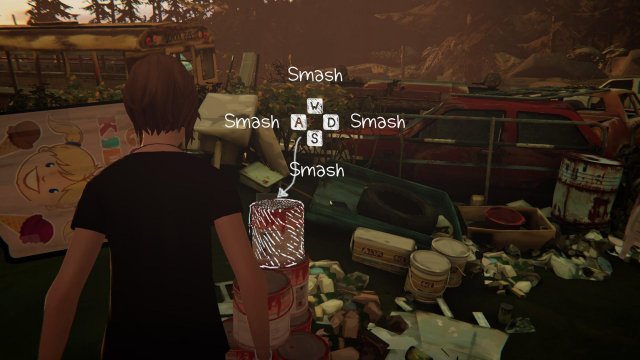
American Rust JunkyardHere, follow through with the dialogue in any way you choose. Then… Smash.
Make sure to smash through the mannequin, tool box and the bucket of junk. If you want the Optional Graffiti here you’ll need to hit down the sign, and then knock over the tins of paint beside. Then create the graffiti.
Move on from here when you’ve finished smashing everything.
The Second DreamIn this dream sequence, you can move on by looking at the Mannequin head; however, if you want the last Optional Graffiti you’ll need to move the poster of The Tempest first; examine for graffiti, then grab the marker from the wine bottle before actually drawing. Again, the scene plays out after examining the Mannequin head.
RachelAfter heading to meet Rachel, play out all the dialogue in the scene any way you'd like. Finish the episode there.
Thanks for using this walkthrough! Any questions, comments or concerns feel free to comment below. Stay tuned for the next episode!
Episode One: Awake - TL;DR Version
- 1. Jump the fence.
- 2. Speak to the bouncer.
- 3. Speak to him a second time and initiate Backtalk.
- 4. Head past the bar towards the entrance to the pit.
- 5. Play through the dialogue.
- 6. Head up the stairs beside the sofa Frank is sitting on.
- 7. Press Space, or wait it out.
- 8. Play through the dialogue.
- 9. Press Space to wake up.
- 10. Get dressed at the dresser by the window.
- 11. Exit the room.
- 12. Use Joyce's phone on the bedside table in her room (the one to the leftmost side upstairs).
- 13. Follow the sound to the pile of clothes by the toilet.
- 14. Grab Joyce's purse by the desk in the bedroom.
- 15. grab her phone again.
- 16. Head downstairs (left click).
- 17. Put the purse on the dining table.
- 18. Talk to Joyce in the kitchen.
- 19. Play through all the dialogue.
- 20. Head to the ashtray on the side table by the window to grab the keys.
- 21. Head outside to David.
- 22. Play through the dialogue.
- 23. Head to the tool box on the floor in the garage.
- 24. Open the box and grab the Socket Wrench set.
- 25. Take the wrenches back to David.
- 26. Play through the dialogue.
- 27. Talk to William.
- 28. Head through campus playing through dialogue.
- 29. Go to Steph by the picnic tables at the far right hand side of the campus (towards the dormitories).
- 30. Hea dot the front doors of Blackwell.
- 31. Play through the scenario.
- 32. Head through the front doors.
- 33. Play through dialogue.
- 34. Grab the belt from the bag at the back of the classroom.
- 35. Go to the dressing room and give the belt to Rachel.
- 36. Play through dialogue.
- 37. Grab the crate and sit down next to Rachel.
- 38. Dialogue to play through.
- 39. Play through more dialogue.
- 40. Investigate the viewfinder.
- 41. Speak to Rachel.
- 42. Use the nailfile to unscrew the plaque on the park bench down the pathway to the right.
- 43. Use the plaque on the viewfinder.
- 44. Obtain the quarter and impress Rachel.
- 45. Scroll around and select people to imitate around the park.
- 46. Dialogue.
- 47. Swipe the wine.
- 48. continue making choices.
- 49. Smash. Smash it all. Everything.
- 50. Make sure you have smashed the Mannequin, junk Bucket and Tool Box in order to progress.
- 51. Move on from here by looking at the mannequin head.
- 52. Play through the rest of the dialogue.
- 53. Make your choices, and hold on tight for the next episode!
Source: https://gameplay.tips/guides/1028-life-is-strange-before-the-storm.html
More Life is Strange Before the Storm guilds
- All Guilds
- Life is Strange: Before the Storm - Perfect BackTalks Walkthrough (Episode #1)
- Life is Strange: Before the Storm - Easter Eggs (Episode #1)
- Life is Strange: Before the Storm - All Graffiti Locations Episode #1
- Life is Strange: Before the Storm - All Graffiti Locations Episode #3
- Life is Strange: Before the Storm - Shakespeare Play Choices
- Life is Strange: Before the Storm - All Graffiti Locations Episode #2
- Life is Strange: Before the Storm - How to Play the Dress Up Chloe Minigame
- Life is Strange: Before the Storm - Episode Farewell Easter Egg
- Life is Strange: Before the Storm - Secret Ending
