
This guide lists and shows screenshots of collectible glowing skulls found in the Monster Masquerade map - Monster Ball, which unlock the achievement "Spooky Scary Skeletons". This guide has been written in a walkthrough style with a specific route, but you can also skim through it and pick the collectibles off as you play!
Other KF2 Guides:- Zed Landing: Collectibles.
- Farmhouse: Collectibles.
- Black Forest: Collectibles.
- Prison: Collectibles.
- Nightmare: Collectibles.
- Infernal Realm: Collectibles.
- Krampus Lair: Collectibles.
- Power Core: Collectibles.
- DieSector: Collectibles (It's aD.A.R.able).
Collectibles
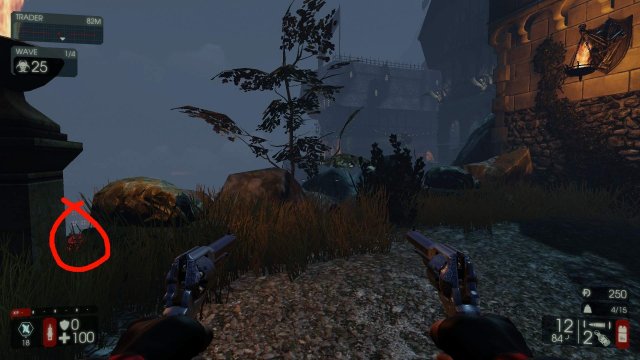
- When you start the game, just turn left and look by the giant light.
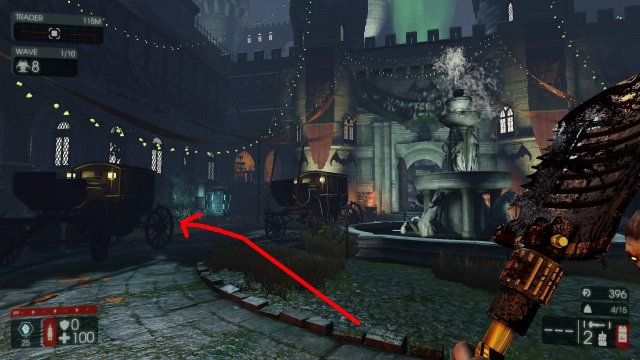
- After entering the courtyard, face the fountain, turn to the right and shoot the collectible by the furnace. You might need to crouch to see it.
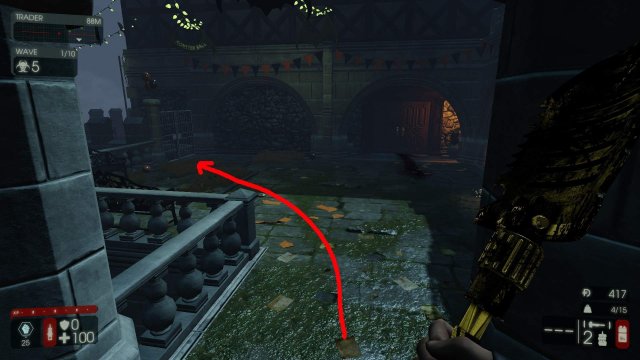
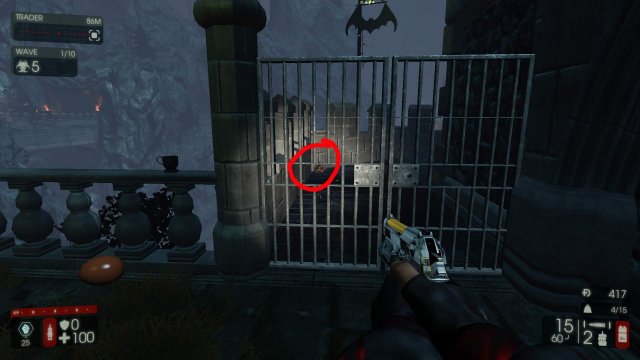
- Now walk to the left of the fountain. The skull will be behind metal fence doors in the next area.

- Turn around and walk under the bridge. Look up at the balcony.
- Now walk further towards the dinner tables - the collectible is behind one of them! You will have to jump up to see it from that particular spot.
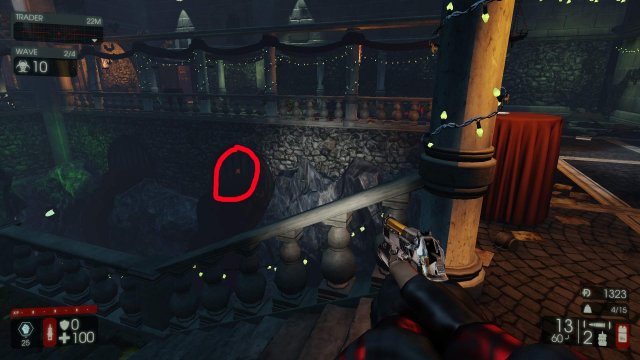
- Walk towards the stairs next to you and look at the sewer grate.
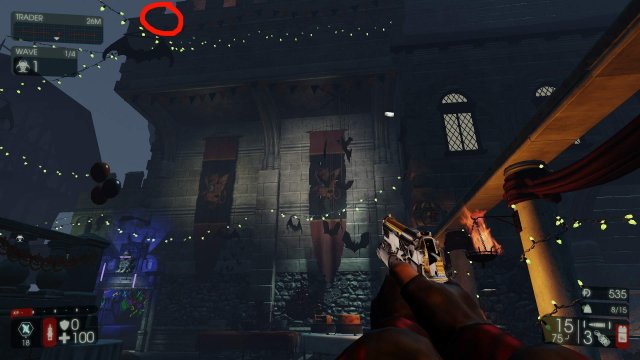
- If you look all the way up, you should be able to see a skull high on the wall.
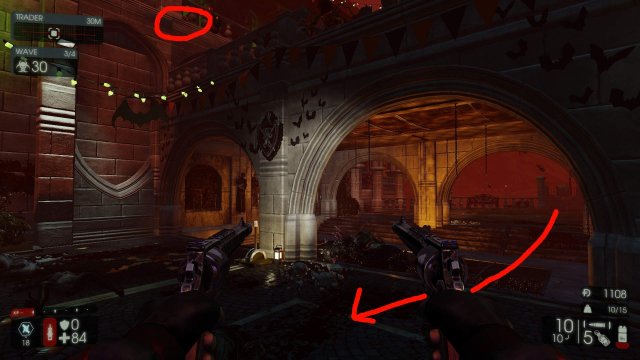
- Now walk down the L-shaped path, opposite the dining tables.
- You must continue down that path towards the rubble at the very end. The next item is behind it. Remember this place, because we will take the left path later on in the guide!
- Now you must enter the building using the door on your right (when facing the rubble, assuming you move back a few steps). Turn left when you approach the statue.
- Now take the next turn down the large corridor (going straight forward if you just entered the mansion). You can look out the last window to shoot the next skull.
- Now walk back and turn left again (turning right if you just entered the mansion).
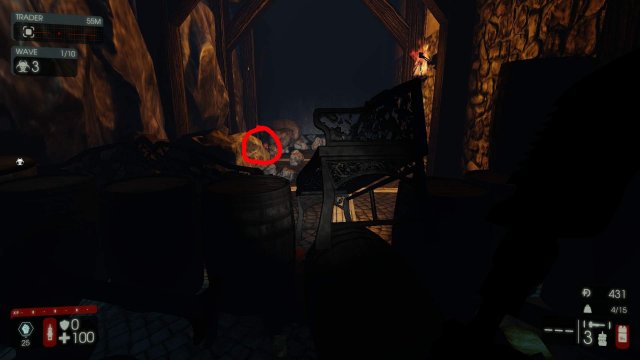
- Turn around to enter a room with a chimney decorated by a giant dinosaur head. The skull is resting among some wood logs next to it.
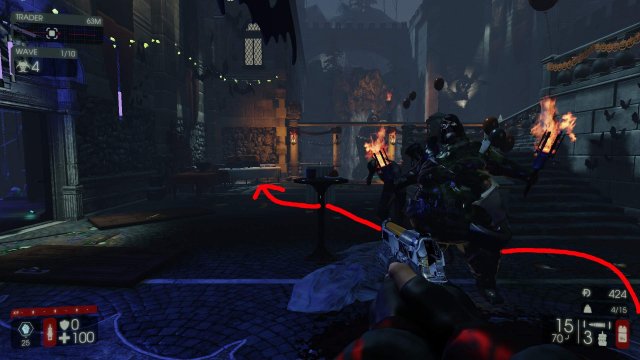
- Now what you'll want to do is run up the stairs and keep walking forward (don't cross the bridge right now, stick to the left). The next collectible is on a table in front of a 'skull wall'.
- Now you can cross the bridge and get a skull hidden next to the couch on the other side!
- Do you remember the collectible #9, the one behind the rubble before you entered the mansion? You must go back to that area and go left instead. Look at the railing to your left to find the next item.
- Follow that path until you reach the dining area. Look up.
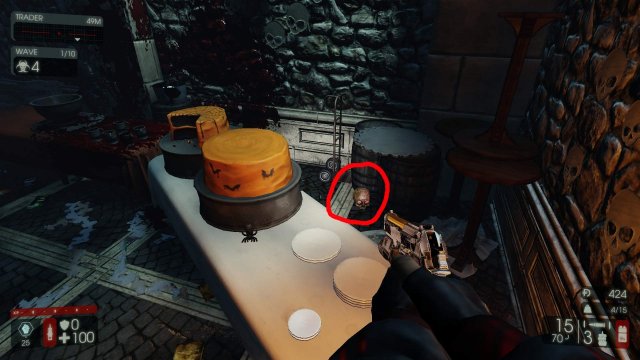
- Now walk downstairs.. (and get this skull on your way there):
- ...towards the prison cells and aim at the toilet of the one on the right.
- Walk back up to where we came from and then walk up the small set of stairs and look in the corner on the left.
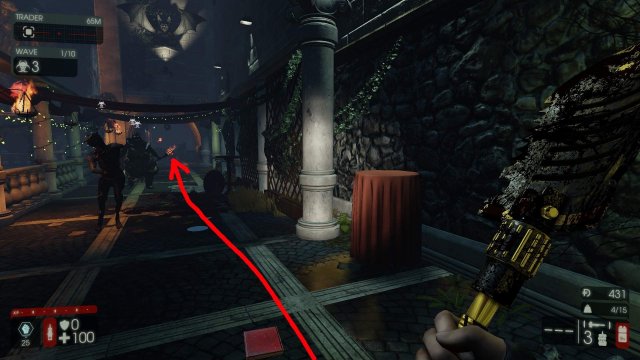
- Now just walk a little forward towards DJ Hans - the skull is his companion!
- Turning around and walking down the small flight of steps will take you to a skull hidden in a corner.
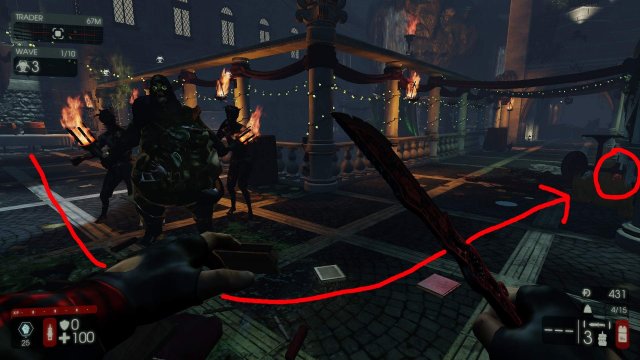
- Now head right (or left if you are facing where Hans is) and walk all the way towards the hole in the ground.
Source: https://gameplay.tips/guides/2963-killing-floor-2.html
More Killing Floor 2 guilds
- All Guilds
- Killing Floor 2 - Outpost: Collectibles
- Killing Floor 2 - Free Vault Crates Guide
- Killing Floor 2 - Complete SWAT Guide
- Killing Floor 2 - Survivalist Guide 2019
- Killing Floor 2 - Advanced Berzerker Guide
- Killing Floor 2 - Spillway Collectibles (Money Down the Drain Achievement)
- Killing Floor 2 - Hellmark Station Collectibles
- Killing Floor 2 - Biolapse: Seasonal Objective Guide (Blender and Trap Door)
- Killing Floor 2 - Guide to Biolapse Collectibles Locations