
Introduction
Welcome to my Beginner's Guide for JoJo's Bizarre Adventure: All Star Battle R
This will cover most mechanics and systems throughout the game, and also teach you the standard notation used so you'll be able to read combos for your characters wherever you find them.
A little bit about myself, my name is Sophie and I've been playing fighting games for a long time.
I was a prominent Chun-Li streamer in Street Fighter V, entered and ran multiple fighting game tournaments here in Ireland, including Tekken, Guilty Gear, Street Fighter and more.
I'm a huge JoJo's fan, (I even have my own Joestar birthmark to prove it) and really enjoy this game. I've been researching and delving deep into the mechanics and gameplay so I thought I would share my knowledge with you all.
This guide is a work in progress, so if there are any inaccuracies in this guide, please let me know and I will update it.
I've created 2 character specific guides which I'm still updating over time so far which you can find linked below. If anyone would like to collaborate on some more character guides, please let me know.
https://steamcommunity.com/sharedfiles/filedetails/?id=2859481055
https://steamcommunity.com/sharedfiles/filedetails/?id=2860226130
What Is JoJo's??
JoJo's Bizarre Adventure or ジョジョの奇妙な冒険 (often abbreviated as JJBA) is one of the longest running Manga series. Created by Hirohiko Araki (respect on his name), it's been in publication since 1987 and continues even to this day.
JoJo's is broken into multiple parts, spanning generations of a cursed bloodline over hundreds of years.
Part 1: Phantom Blood
Part 2: Battle Tendency
Part 3: Stardust Crusaders
Part 4: Diamond Is Unbreakable
Part 5: Golden Wind
Part 6: Stone Ocean
Part 7: Steel Ball Run
Part 8: JoJolion
The storylines range from:
A boy with a dream to reject humanity and become a Vampire while his step-brother uses Hamon (Ripple energy) in order to stop him.
Ancient Vampires are back and this time... it's personal. Have you ever tried to become the ultimate being and some guy shoots some balls at you? This happens to take place during WW2, don't worry about it.
A world spanning quest to beat up that same Vampire but this time with Stands (ghost-like manifestations of a character's fighting spirit) and friendship.
A murder mystery in Morioh-Cho - a small Japanese town (also with friendship)
A quest to clean up the streets and become a GANG☆STAR in Italy.
Getting thrown in Prison in Florida and making friends with plankton and uncover a larger plot, very interesting.
A race across America to find certain body parts and using Spin energy.
Trying to discover who you really are... amnesia and stuff.
...I realised while trying to write these synopsis's that there's no way I can explain the whole story, so if any of this sounds interesting to you, you should check out some JoJo's.
JJBA contains a lot of musical and fashion references throughout it's entire run.
In English localisation these names are commonly changed for reasons.
For example, Narancia's original Stand name is Aerosmith, but has been changed to Lil Bomber.
Other examples include Crazy Diamond -> Shining Diamond, Sticky Fingers -> Zipperman.
All Star Battle has a large cast of characters from all currently released parts (as of writing this guide).
Notation And Button Guide

Numpad numbers represent the in game directions.
4 is left, 6 is right, 2 is down, 8 is up and 5 is neutral.
If you've played Street Fighter or other non-anime fighting games, this notation may feel a bit alien to you, but once you get used to it, it's very intuitive. For example, a quarter circle forward input would be written as 236L and a DP input would be written as 623L.
Moves L - Light Attack
M - Medium Attack
H - Heavy Attack
S - Stand on/off
A - Assist
HHA - Heart Heat Attack
GHA - Great Heat AttackMovement/Mechanics
HH Gauge - The Heart Heat Gauge (or HH Gauge) is the meter system. Characters can have up to 3 bars at a time, and different actions will use a percentage of this gauge such as HHA and GHA requiring 1 and 2 bars respectfully.
OTG - On the ground
j - indicates that an attack is during jumping, so jM means jumping medium attack.
dl - Indicates a delay so instead of L.M.H pressed in sequence you would delay the last hit slightly in L.M.dlH
Game Mechanics

BlockingHold away from your opponent in order to block their attacks.
Attacks have different properties depending on whether they are High, Middle or Low.
Low - Can only be blocked while crouching (holding down and away from your opponent)
Middle - Can only be blocked while standing, the name is slightly misleading, but this is an overhead attack and will hit you while crouch blocking.
High - Can be blocked either standing or crouching.
DodgingBy pressing the D button, you can dodge either forward or backward in 3D space. Holding 8 or 2 (down or up), will determine which direction you move. This can be used to avoid attacks, however they are not invisible and you can still be caught by wide attacks or grabbed by throws.
Stylish DodgeIf you manage to press the block button perfectly in time with your opponents attack, your character will strike a stylish pose and will automatically dodge to the side of an attack.
Stylish GuardBy inputting 2L+Dodge you'll activate a special, glowing guard. While this is active, you will evade any incoming attacks by dodging to the side. You can also cancel a normal attack on the ground and perform a Stylish Guard.
ThrowsThrows cannot be blocked, however if your opponent presses throw at the same time as you, they will negate your throw (this is called a throw tech).
You can throw forward (6S+M or 6M+H) or backwards (4S+M or 4M+H)
KnockdownWhen you are knocked down onto the ground from an opponent's attack you will enter 1 of the following states:
Soft Knockdown - You can Quick Rise by pressing the Dodge Button (D) as you hit the ground.
Hard Knockdown - You cannot Quick Rise in this state. Most Throws have a Hard Knockdown.
Health BarPretty straightforward, the large green bars are the top of the screen represent the remaining life of both you and your opponent. When one of these reaches 0 that person loses.
Certain moves deal damage to yourself, in these instances there will be a grey portion of the health bar which can recover over time as long as you do not get hit.
Guard BreakThis is the blue gauge located underneath the health bar. While you're blocking, this will slowly deplete as you get hit. Getting thrown also depletes this gauge.
AssistsWhen selecting your character, you can also select another character to assist you matches.
When pressing the A button, the assist character will jump into the fight and will attack on your behalf. You cannot directly control them, and they will leave shortly after their attack is finished.
There a multiple kinds of assist characters, ranging from close range, long range, anti-air, trap etc...
Assists can either be called to attack offensively, or defensively to interrupt an opponents combo. These are represented by pink circles for offense and blue diamonds for defense, different characters have different amounts of each. You can see these in the screenshot above in the Health Bar section.
You can use certain assists to extend your combos, try experimenting with these to find an assist that works for you.
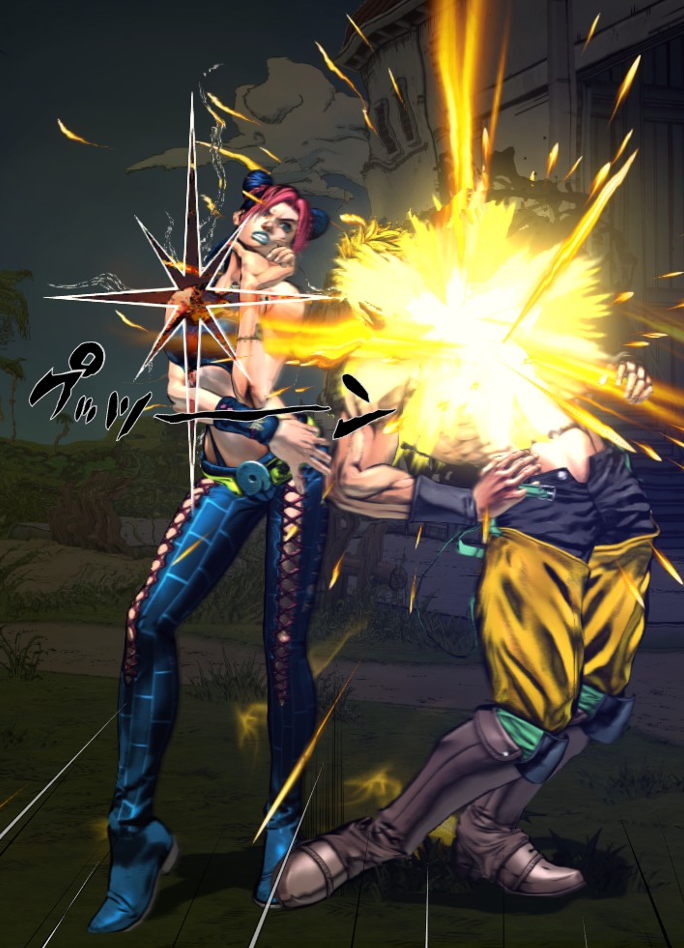
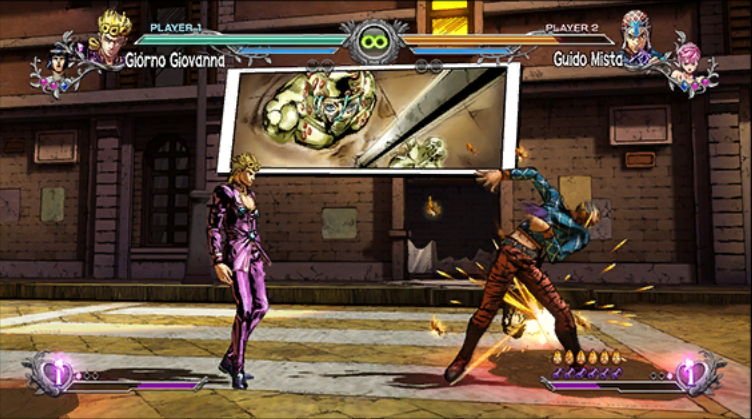
Puttsun CancelPuttsun Cancel (PC) or Flash Cancel (FC) lets you cancel an attack to extend a combo. This is similar to Roman Cancels in Guilty Gear.
Press all 3 attack buttons at once during a move.
Jolyne will strike a pose and プッツ―ン will appear next to her.
You'll now be able to move or attack again. This costs 1 bar of Heat.
https://steamcommunity.com/sharedfiles/filedetails/?id=2859481055
My Jolyne Guide has an example of using a Puttsun Cancel in the middle of a combo in order to extend it.
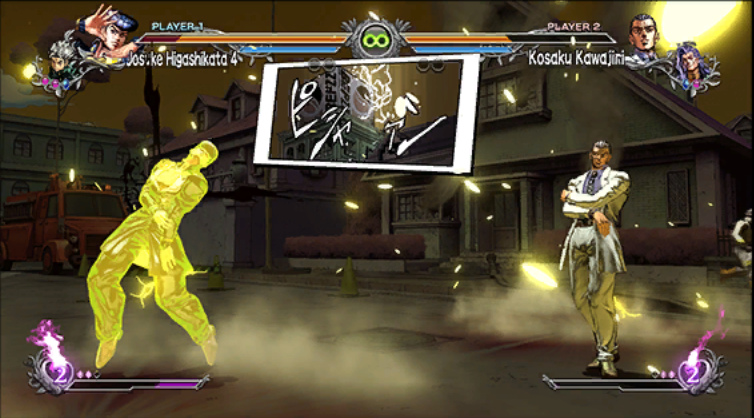
RumbleWhen certain character's health reaches a low threshold, the life bar will turn red. Attack power is increased, HH gauge will fill faster and the Guard Gauge will deplete slower. Damage taken is also reduced in this state.
ResolveSimilarly to Rumble, when specific character's health drops below a threshold, Resolve Mode will activate and the health bar will glow yellow. Characters in this state will gain super amour when attacking, increased HH gauge speed and a reduction of damage taken.
TauntThis is what you've been waiting for. You can do you very own JoJo poses whenever you want!
Taunting in this game isn't just for style points, it does serve an important function.
If your opponent has been knocked down, the screen will zoom into your character as they pose and it will decrease your opponent's HH gauge in the process.
You can unlock and equip different taunts for your characters from the Gallery Menu.
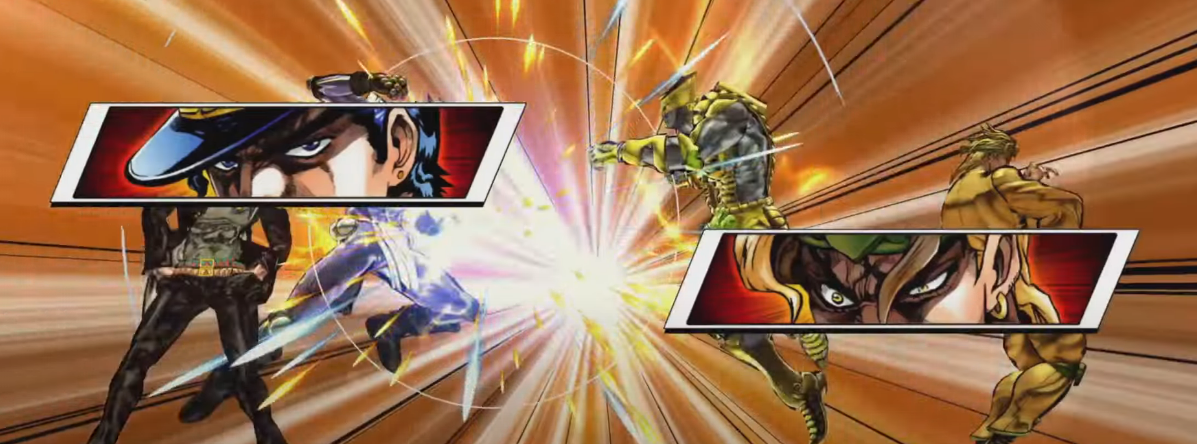
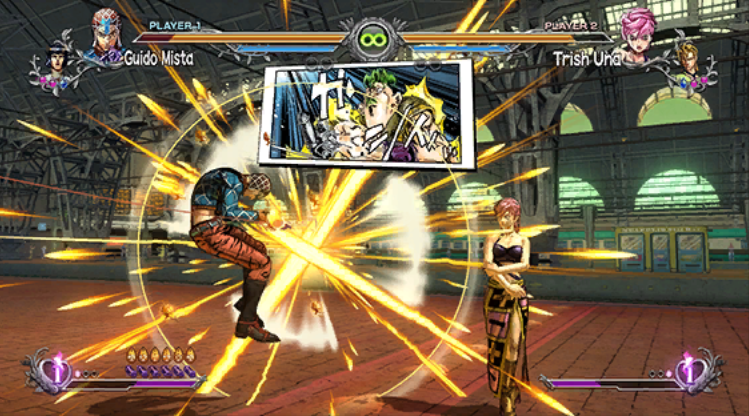
Rush ModeIn certain situations when 2 characters attack each other with Rush Type attacks at the same time (think ORA ORA or MUDA MUDA) a Rush Battle may trigger. Whoever can mash the on-screen button fastest will win this clash.
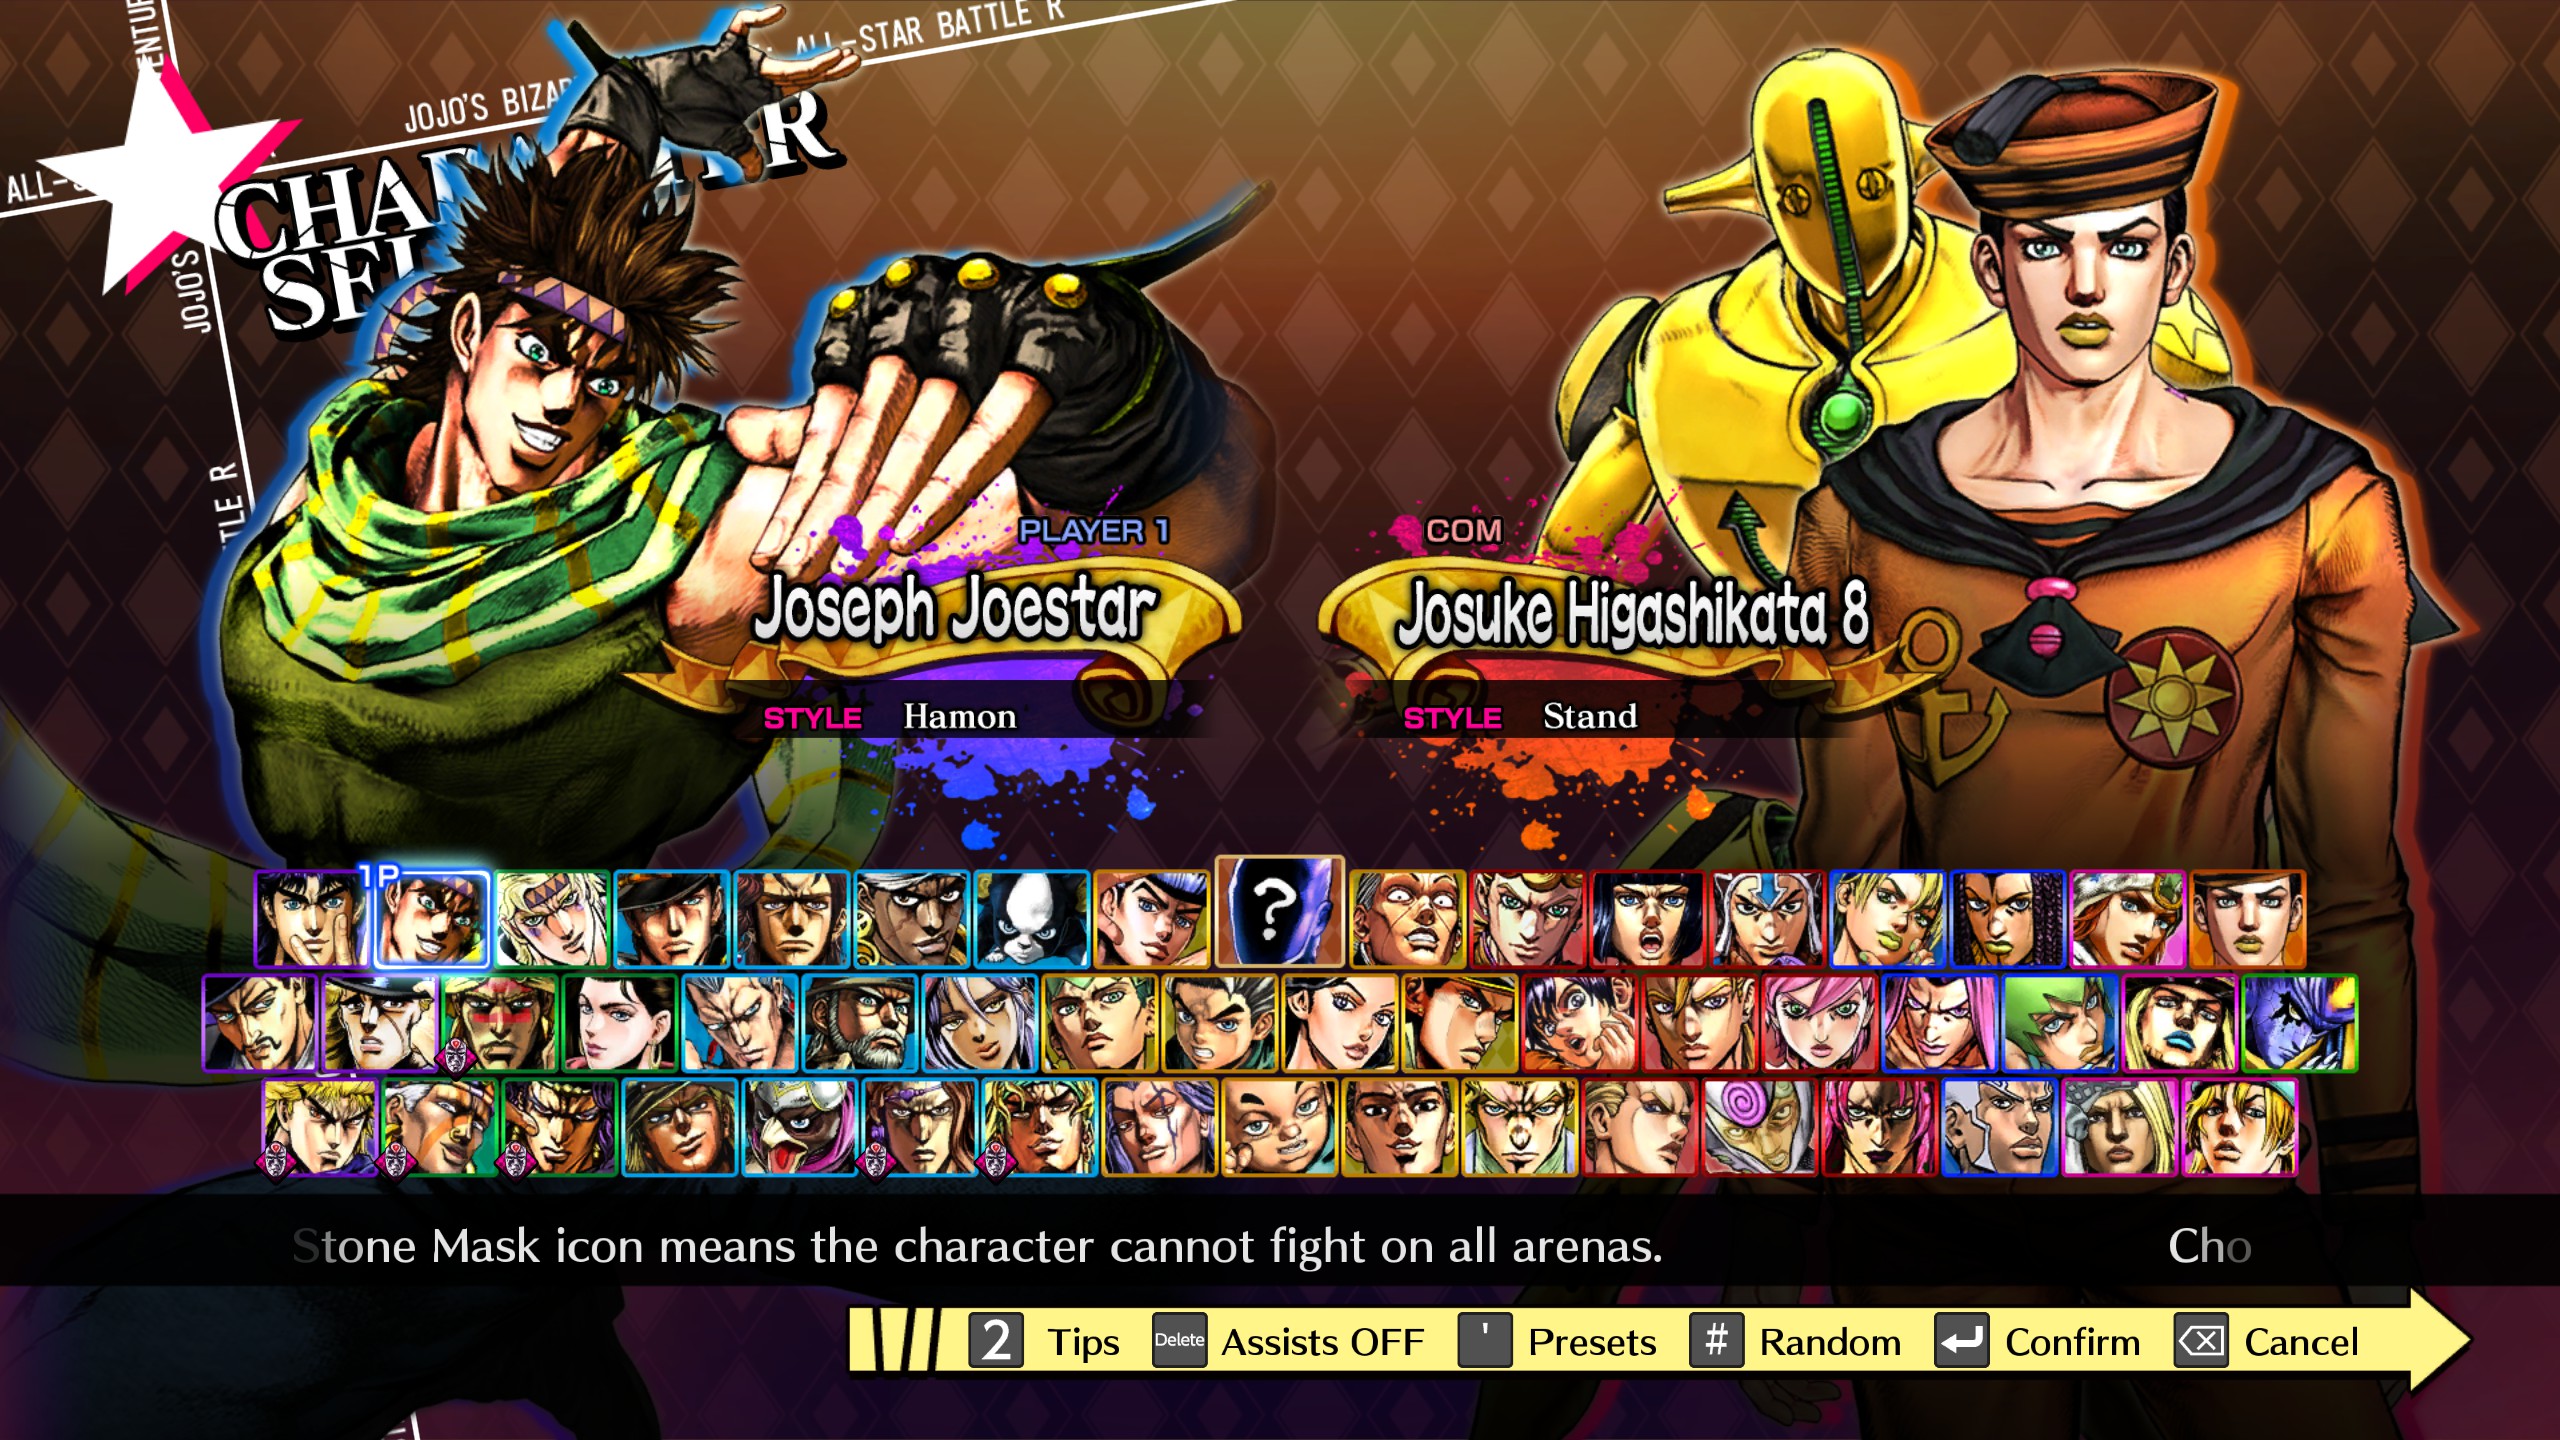
Styles
The Style button (abbreviated as S), serves different functions depending on the character.
The main 3 Styles are Hamon, Stand and Mounted. There are also additional character specific styles such as Vampirism, Mode, Ogre Street and Baoh Armed Phenomenon. Here's an overview of each other styles:
HamonHamon, or Ripple energy is the style used by various characters in Part 1 and 2, including Jonathan and Joseph Joestar.
You can also press the Style button while performing a special move in order to strengthen your attack with Hamon energy.
You can hold down the Style button on a Hamon user to charge your Heat gauge while doing a sick pose.
StandStands are the main style for characters in Part 3, 4, 5, 6 and 8.
Stands are the embodiment of a character's fighting spirit, they all have unique abilities which differentiate them from each other. I won't go into character specifics here, but there is a lot of variety between all stands. (But also, a lot of them punch real fast)
Stand ON/OFF By pressing the S button, you can swap between having your stand ON or OFF. You character's moveset will change depending on which state you are in. If you are hard knocked down while stand is active, if will deactivate until you manually turn it on again.
You can also activate your stand in the middle of a combo by pressing the S button. This will use 1 bar of Heat gauge but will allow you to extend your combos in ways otherwise not possible. Also, certain stands can be deactivated in the middle of combos by pressing the S button, allowing your character to move freely while your stand is still attacking, this also opens up some fun combo potential.
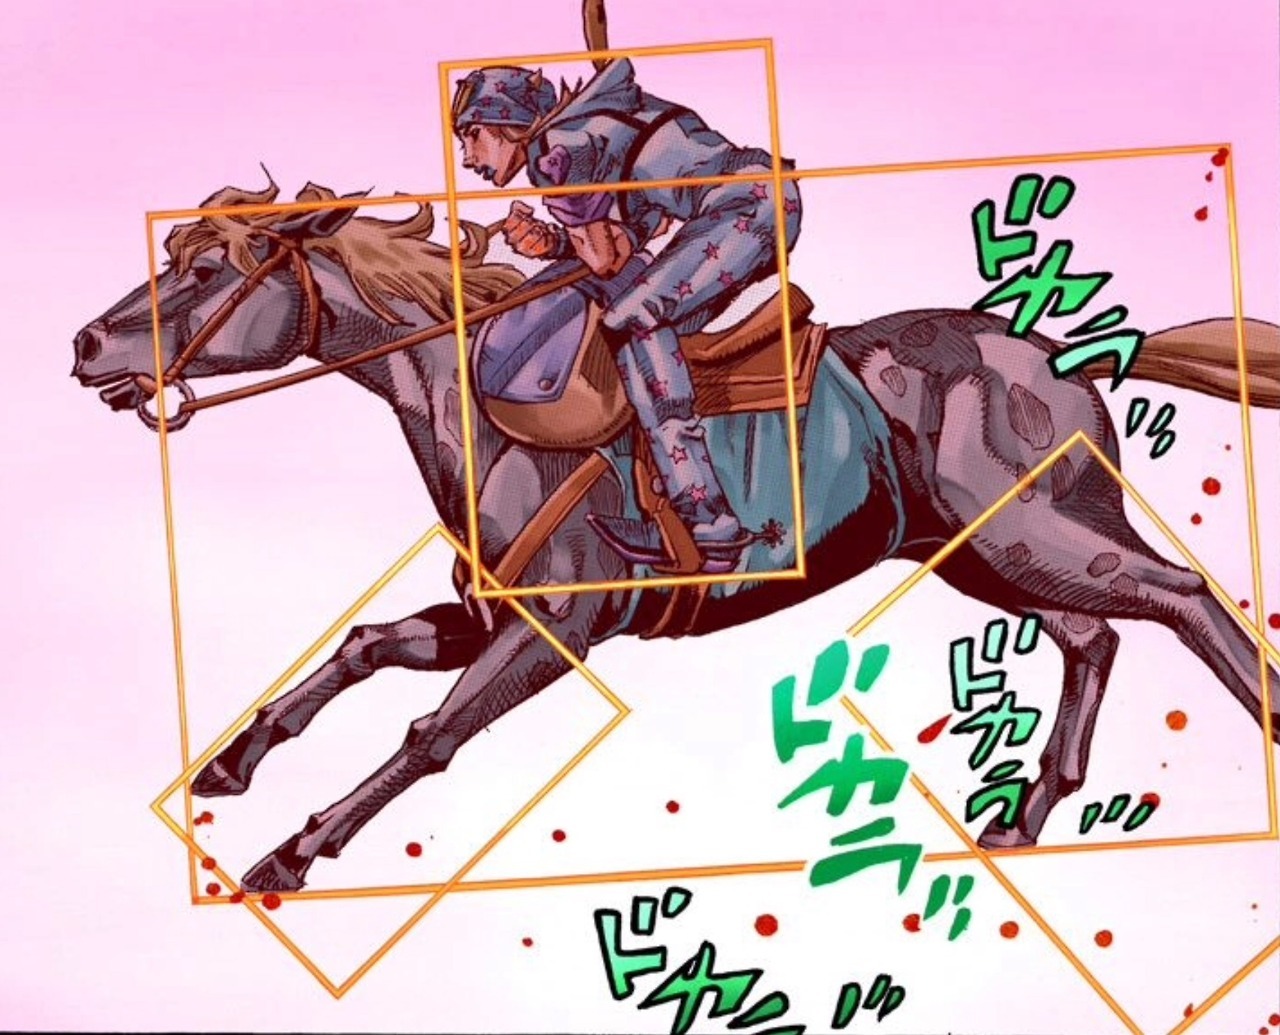
MountedMost Part 7 characters will start matches on a horse.
Your character will have different moves depend on whether they are mounted or not (and in Johnny Joestar's case, he can't even walk without a horse).
Getting hard knocked down will knock you off your horse until you summon it again with the S button.
VampirismVampire characters such as Part 1 Dio can use the Style button to drain blood from their opponent; stealing either their Life gauge or Heat gauge.
ModeThis style is exclusive to the Pillar Men from Part 2. They're ancient vampires with their own unique modes.
Mode 1 ON - By pressing S you will activate a Pillar Man's unique mode which gives your attacks unique properties.
Mode 2 ON - By pressing 22S you will activate a more powerful version which costs 1 bar of Heat gauge.
Ogre StreetThis is a Robert E. O. Speedwagon specific style.
By tapping the S button, you can swap between Speedwagon's associates "The Asian" and "Tattoo"
Depending on which character is currently active, Speedwagon's specials will change accordingly to match their style
Baoh Armed PhenomenonThis style is exclusive to the guest character Ikuro Hashizawa from Baoh: The Visitor.
This technique adds Super Armour to the next skill you use at the cost of 25% of 1 bar of your Heat gauge
Combos
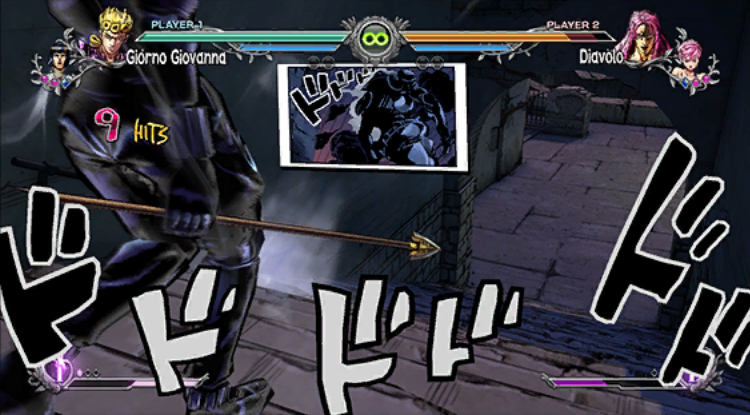
What is a combo?If you've never played a fighting game before, you still might be familiar with the concept of a Combo.
However, just in case I will explain quickly here:
A combo is a string of attacks which, when timed properly, all connect together. Your opponent cannot block again until the combo is finished. Combos can range from short and simple. To long and complex.
Easy ComboThe easy combo system in ASBR allows you to easily pull of a combo by just pressing 1 button repeatedly. The draw back is that the easy combo version does less damage than if you were to do the inputs normally.
You can input the easy combo by spamming L like this:
L > L > L > L > LIf you have 1 bar of Heat Gauge, it will automatically add the HHA to the end for you also.
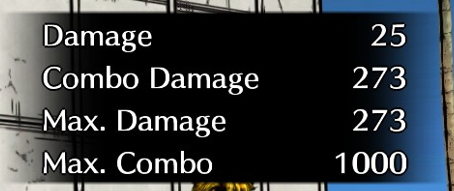
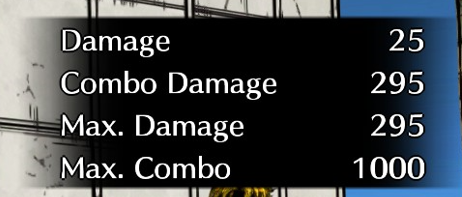
Each character has an easy combo and a manual way to do it also. The Easy Combo automatically uses the 236L into HHA, by manually inputting the combo, you can instead use the heavy version and get yourself some extra damage.
In this example I'm playing Jolyne to show the difference.
5L > 5M > 5H > 236H > HHAThe combo damage difference can be seen here:
...This might not look like much, but that extra damage can be the difference between losing and winning.
If you're looking for more character specific combos there is an ASBR discord[discord.gg] which you can join with a lot of fellow players.
Stage Gimmicks & Dramatic Finishes

Each stage has a unique gimmick that will activate once a player has been Hard-Knockdowned in the glowing red area.. This will then trigger a warning on-screen to warn both players. Most of these are hazards will either deal damage or incapacitate a player, however there are exceptions.
These gimmicks vary from DIO in the backseat of a car running you over, to Weather Report causing poisonous frogs to rain from the sky.
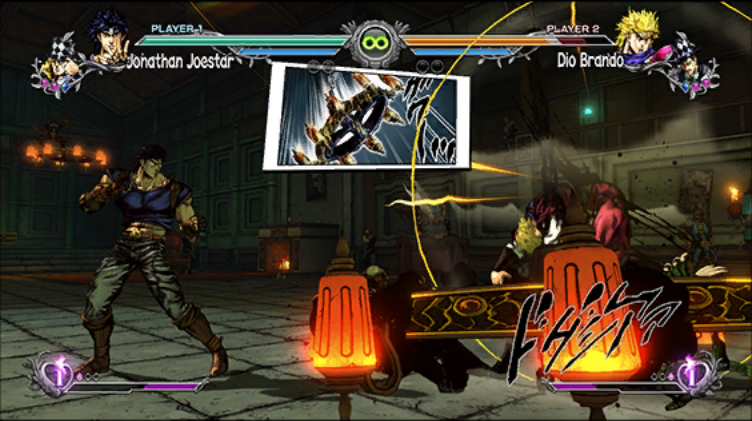
List of Stage GimmicksDio's Castle
The chandelier falls from the ceiling, damaging whoever's underneath it.
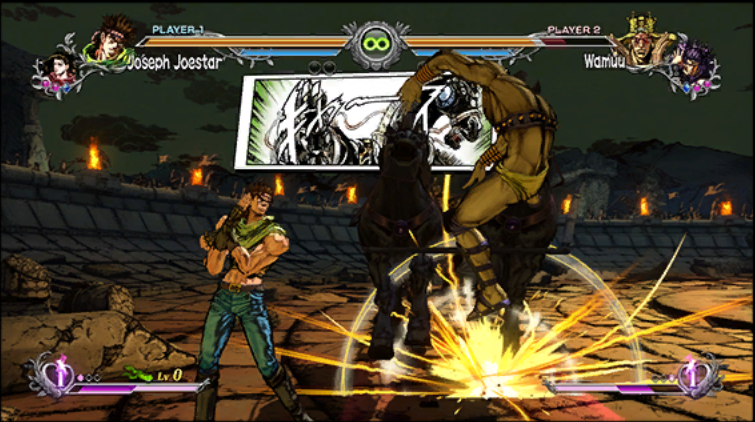
The Battlefield
The Vampire Chariot will circle the arena over and over, running over any player caught in the red area.
DIO's Mansion
Nukesaku jumps down and attacks at random locations for the remainder of the match.
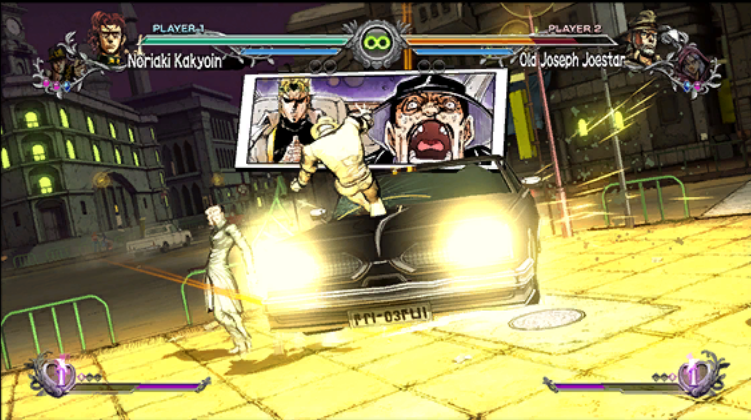
El Cairo Streets
Wilson Phillips drives through the sidewalk and run over whoever is in the red area with DIO in the backseat looking very smug. (Will not trigger if DIO is one of the players)
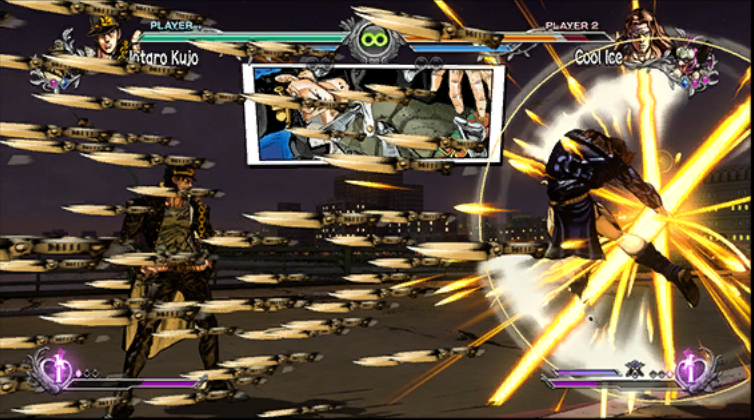
Cairo Bridge
DIO will throw knifes in a straight line and you'll get caught in the crossfire if you step into the red line area. (Will not trigger if DIO is one of the players)
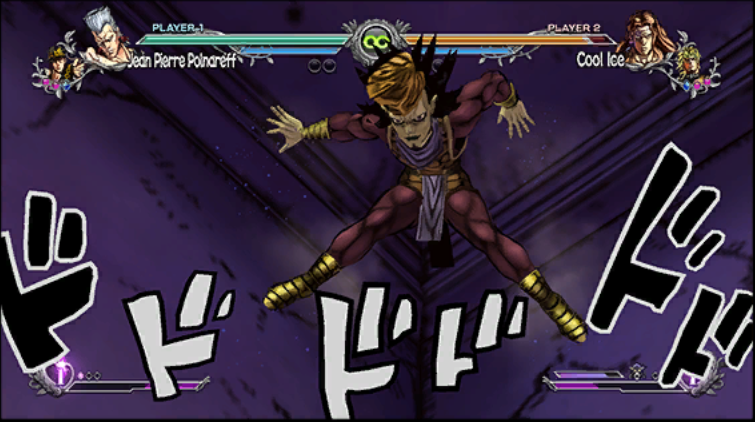
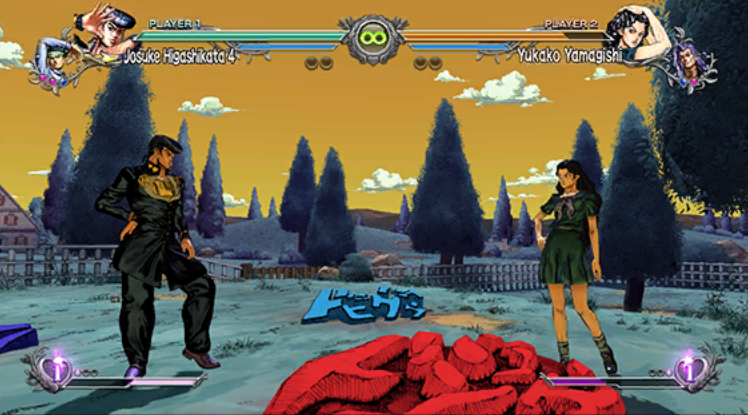
Cape Boingy Boing!
Echoes (AKA Reverb) Act 2 will write various words on the ground. Different words have different effects, so watch out!
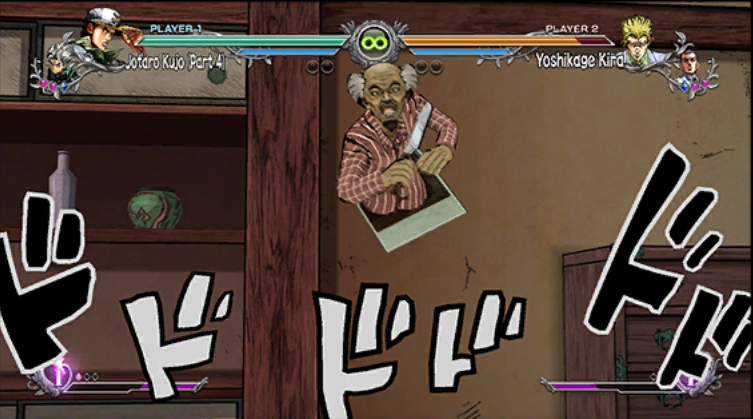
Kira Estate
Yoshihiro Kira will fly around a squiggly area with a knife, don't get cut!
Morioh-cho
Lightning strikes various areas in the stage. This will stun and deal damage to any player who get's caught. The only character who will not take damage or be stunned is Akira Otoishi.
Naples Station
Pesci's Beach Boy flies out of the train in a straight line, this will pull players off the ground and into the side of the train.
Rome Streets
Oasis dives into the ground and liquefies it causing damage to players who step in the mud.
Colosseum
Chariot Requiem will manifest. The screen will go black as both characters faint. After waking up, attacks will deal more damage.
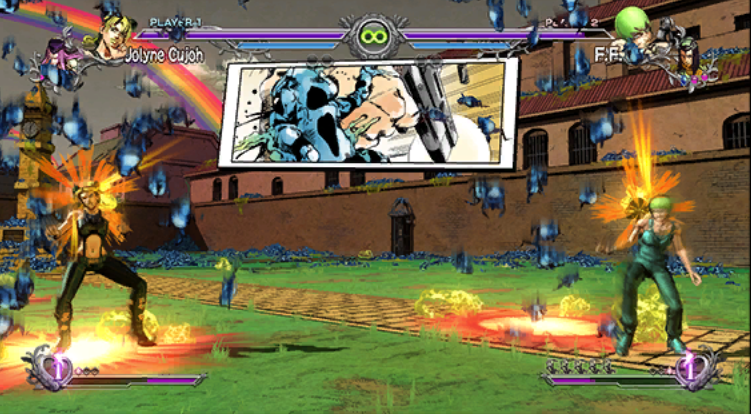
Green Dolphin Street Prison
Weather Report summons poinsonous frogs to rain from the sky. If hit, you will be poisoned and gradually lose health over time.
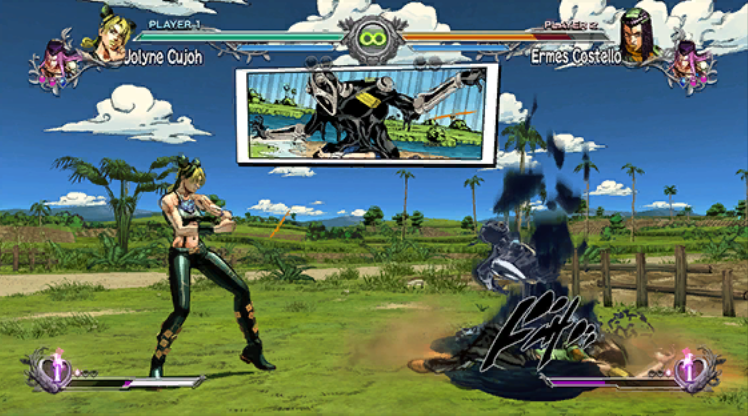
Everglades
F.F. (AKA Foo Fighters) will fall down from above. If a player is caught, they'll be stuck in a downed state, leaving them open to attack.
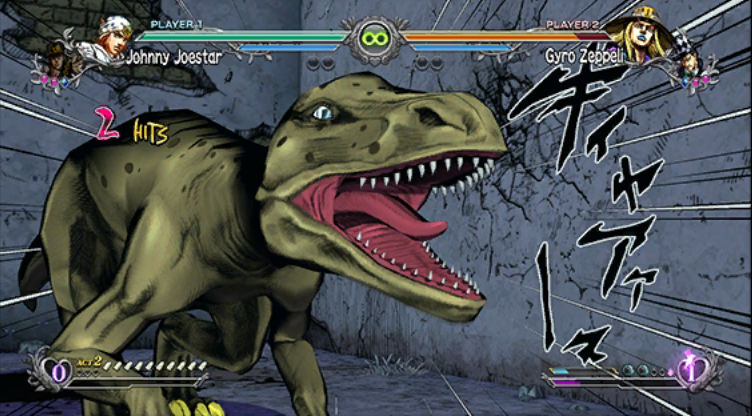
Rocky Mountain Village
A dinosaur will leap out and attack, draining HH gauge from whoever is caught.
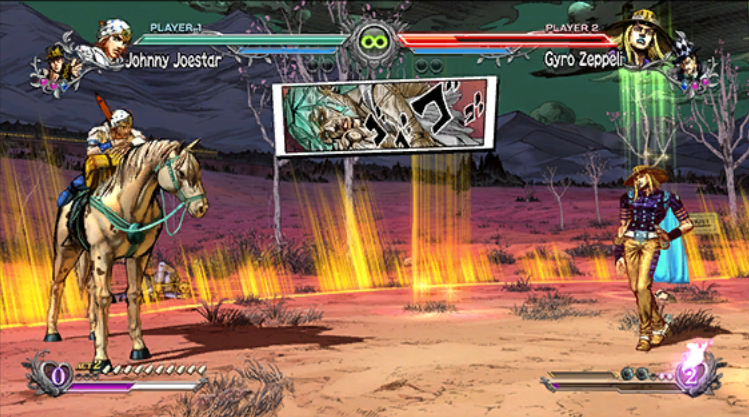
Philadelphia Coastline
A column of light will appear in the stage which grants HH Gauge to whoever touches it first.
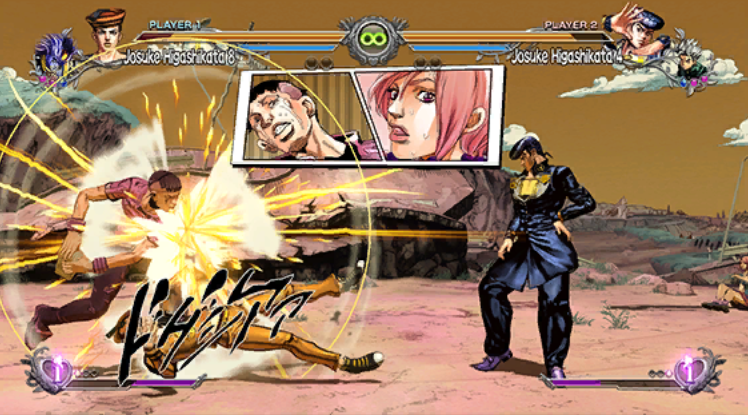
Wall Eyes
Joshu Higashikata runs towards Yasuho Hirose while swinging stones, hitting anyone who gets in his way.
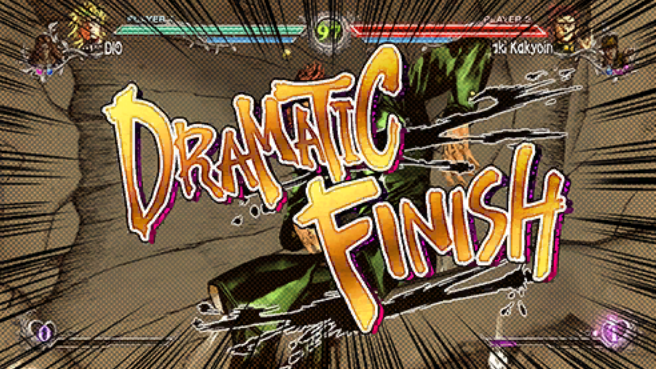
Dramatic FinishEach stage has a special area where if you finish the match with an HHA or GHA it will trigger a special cutscene reminiscent of moments seen in the manga and anime. Some characters on specifics stages will not trigger, for example: in the Green Dolphin Street Prison stage, if you finish a match with GHA the opponent will have a disc stolen from them by Pucci... but if Pucci is one of the players this just won't trigger at all.
Thanks
That's it for now!
I hope this guide was helpful. I'll be updating this over time, so check back from time to time if you want.
As always, if I've missed anything or I've missed a typo or something, please let me know.
Thanks for reading!
Source: https://steamcommunity.com/sharedfiles/filedetails/?id=2861058206
More JoJo's Bizarre Adventure: All-Star Battle R guilds
- All Guilds
- ASB Mode Costumes Unlock Guide
- ASBR (RUS)
- Arena gimmicks and dramatic finishes guide
- Prosciutto and Pesci Combo Guide [WIP]
- Jolyne Cujoh Combo Guide [WIP]
- All Secret Mission Requirements
- HOW TO ..................