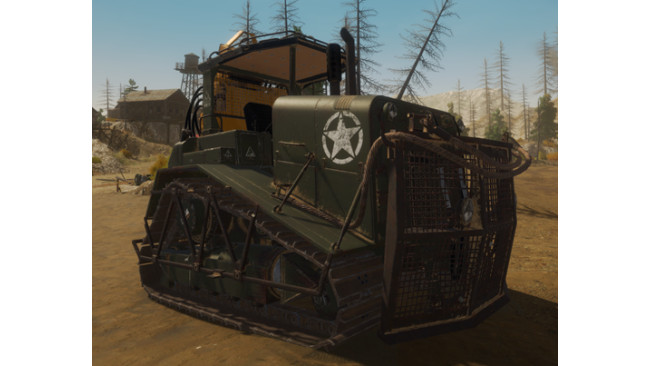
The Drill
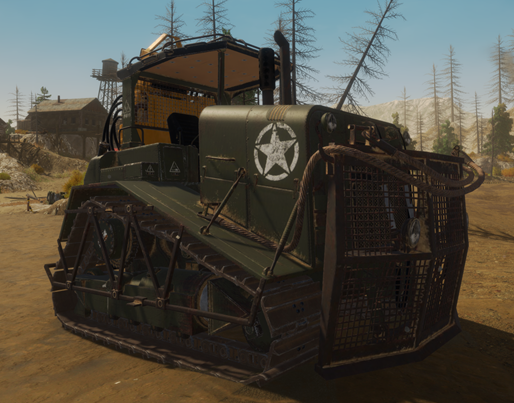
The drill is the new edition to the game in this patch and makes finding gold spots much easier than just trying to dig around the claim like we all have done in the past.
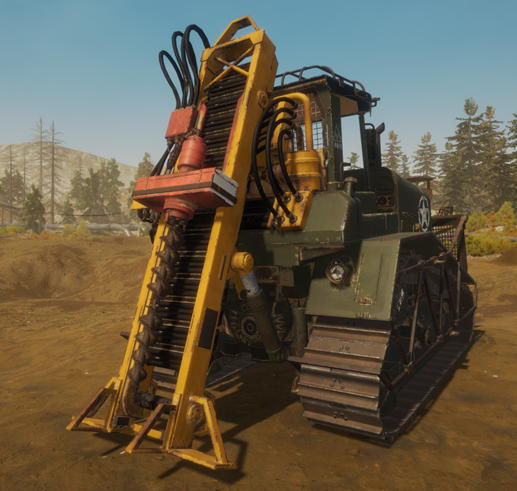
You use the drill on the back to drill down into the dirt and then you can view how good that spot is via the gold map.
The drill can be found in the machine shop for a price of $198500.
Drilling
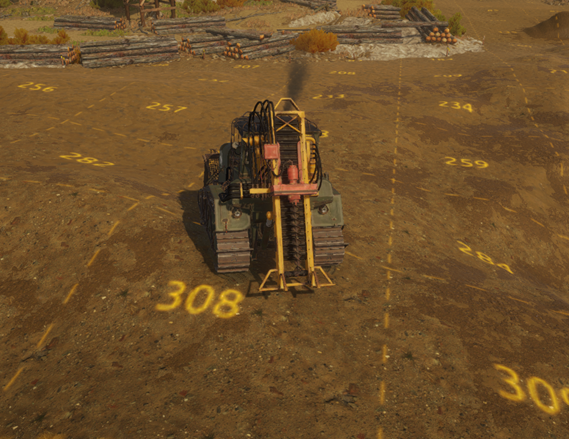


When using the drill you will notice that there is a grid on the claim with numbers, this grid is the same grid you see on the gold map.
To access the gold map simply press “M” and then click on “Gold Map” and you will quickly be able to work out where you are on the claim by finding the number you are on.
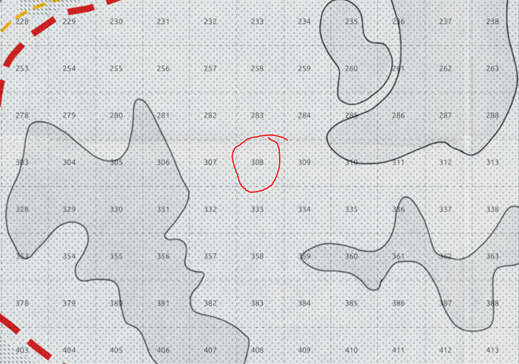
In the image above you can see that the dozer is sat on top of the number “308” so we will now locate this area on the gold map.
I have circled the square number above just to show you on the map where we are.
So to use the drill you need to have the parking brake applied, then you press down on the left thumb stick and the drill will start to move and eventually drill into the ground, once it has finished simply press up on the same thumb stick and wait till the drill is in the resting position.
To check the controls for your setup simply press “Z”.
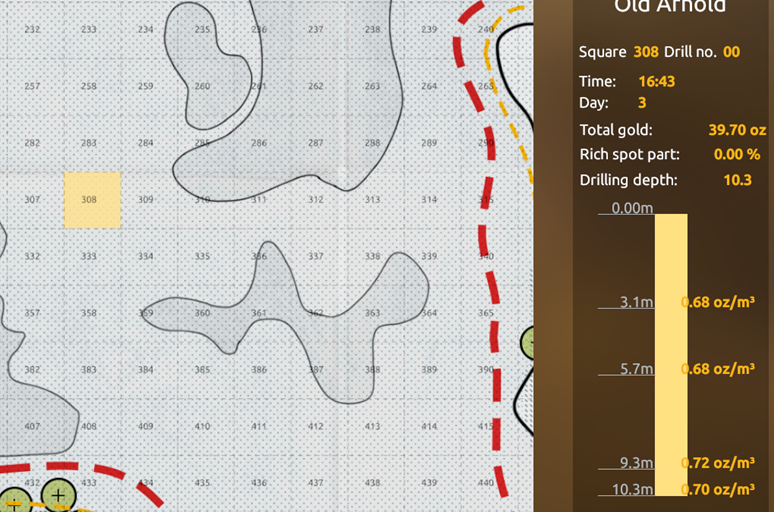
So now we have drilled the area we then go into the gold map and check the square that we are on and you will see that is has a colour on it.
On the right of the map you will see the “legend” where it will give you an indication as to what the colours mean on the map.
So from the colour of our square we can see that it falls in the middle of the chart.
When we click on our square we are given a little more information about the area we just drilled.
We can see that this square has a total gold of 39.70oz so digging this whole square out we could probably bag our self’s about 41oz.
We have a drill depth of 10.3m and if we look at the values going down we can see that the richer gold is located nearer to the bottom.
Sometimes the richer spots could be located near to the top or even in the middle so always have a check over this chart.
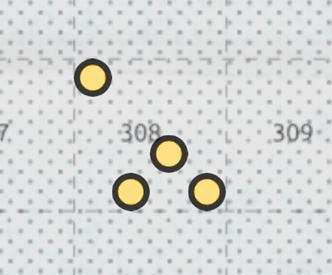
Although we have dug one hole we should not take that for a final result, instead we can dig 2 or 3 more holes in the same square but more spaced out.
To view these new holes in detail you will need to zoom in on the map
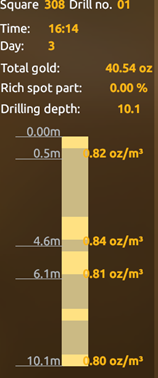
If you click on each hole you will see that the hole has a number and also some stats to go with it. Let’s have a look at the bottom 2 holes.
Outline The Dig Area


So now we have tested a few holes we will want to go ahead and start digging at a hole that is going to give us some good gold.
To highlight the area that we wish to dog we need to open the gold map and then click the square we want to dig then press “Toggle Square”, the button will remain highlighted.
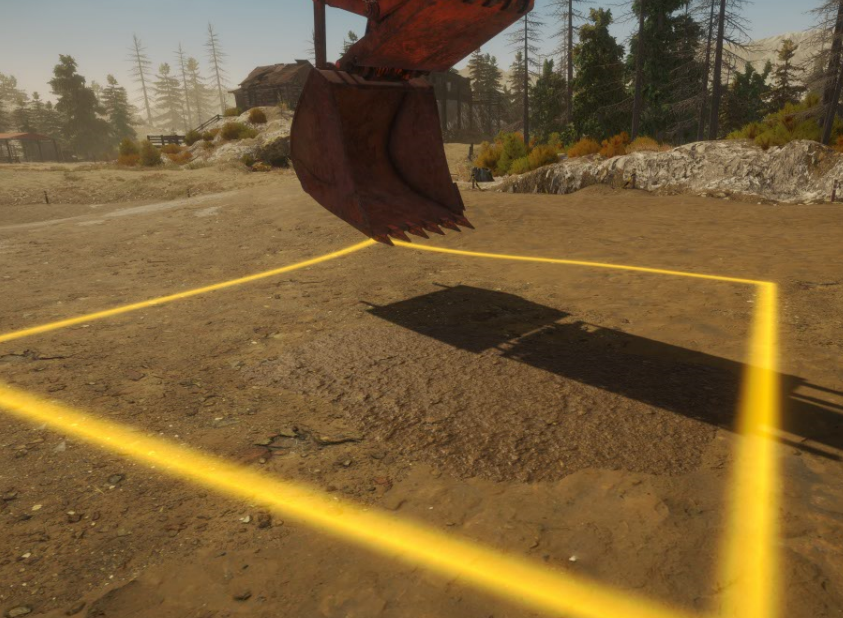
As you can see the square is now highlighted when in the digger
and also highlighted when on the ground.
Source: https://steamcommunity.com/sharedfiles/filedetails/?id=1239404525
More Gold Rush The Game guilds
- All Guilds
- GUIDE - How to join the open beta
- Official Game Guide
- The Gold Rush Manual
- Story Locations - SPOILER!
- Gold Rush: Hard mode / :
- Vehicles and Machines [outdated]
- Schne Graphik mit ReShade
- Gold Rush: The Game - How to Get a Lot of Gold
- Gold Rush: The Game - Shopping List