In Game Tutorial & Controls
Tutorial Controls(be Careful In Stores This Can Be An Action Key!)
To start off the game has a tutorial page in your inventory, I suggest you read it before complaining about things in the forums or on this guide.
Control Action WASD & Arrows Movement E & Left Click Action Right Click Back out from dialog / inventory Enter / Space Submit (in dialog) Space Jump Shift Sprint Escape Menu / exit dialog I Inventory H Page M Map
HUD & Inventory
HUD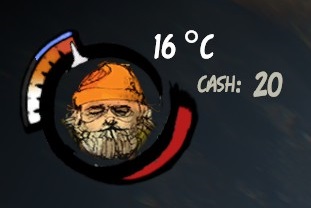 Inventory
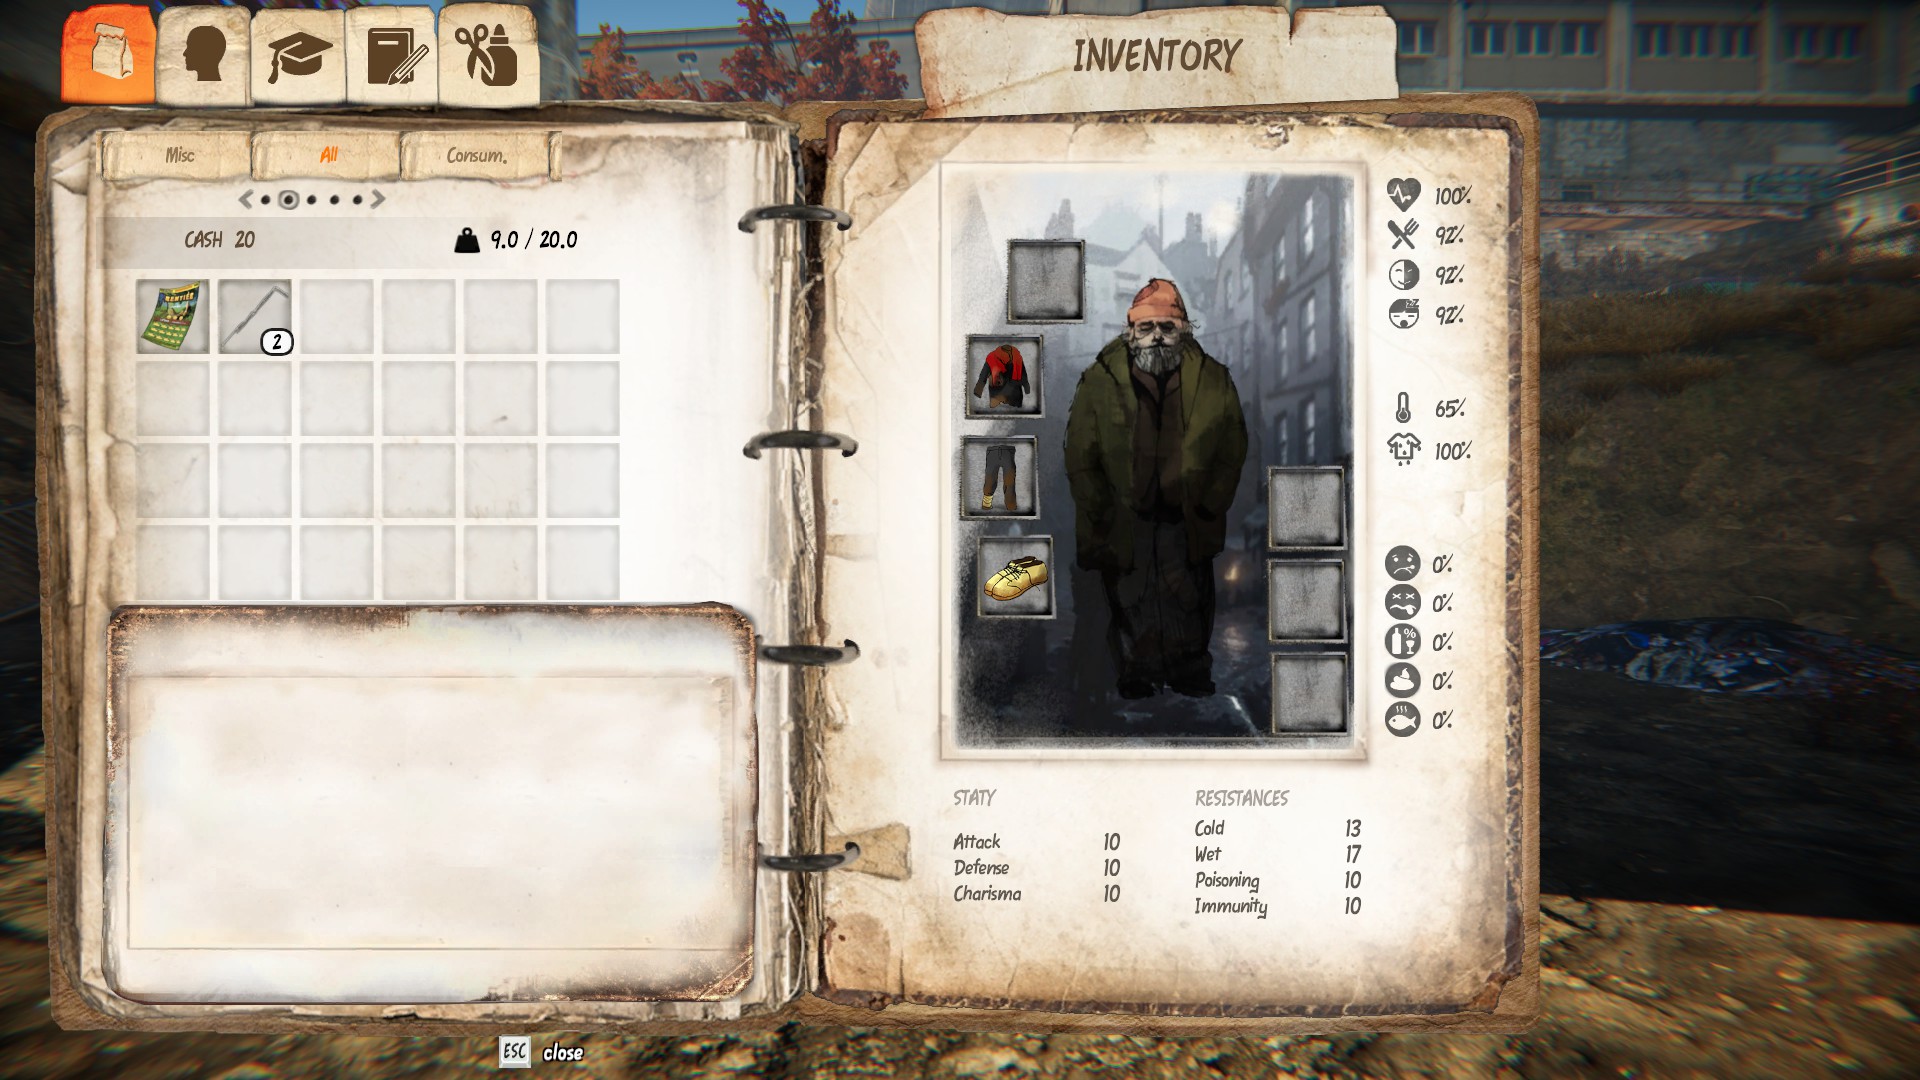
The seems to confuse a lot of people but it's actually quite simple.
Blue bar Is your wetness meter, the wetter you are the quicker your warmth bar drops. Orange and white bar Is your warmth (core body temp), keep it high. Temperature Current world temperature, it can be in Celsius or Fahrenheit. Cash How much money you have to spend. Red bar Is your health.
One other thing to note, when a stat is getting medium to critical an icon of that stat will show up on the left side of the screen. Orange is medium, red is critical.
On the left you have your storage, you can cycle through the type of item, can see your cash and your weight (weight currently does nothing).
On the right you can see your clothing slots & bag slots. On the far right you can see your stats in percentage. Down the bottom you have stats for staty & resistances.
Mini Game & Conversations
Mini Game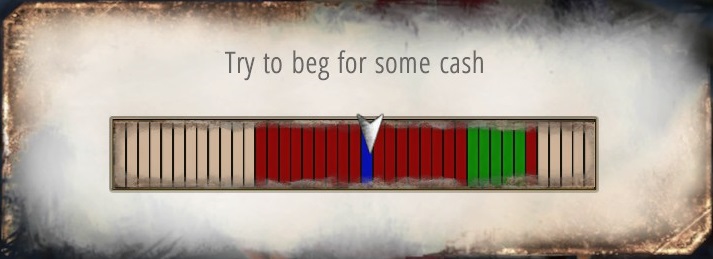 Conversations
 Specialty Options
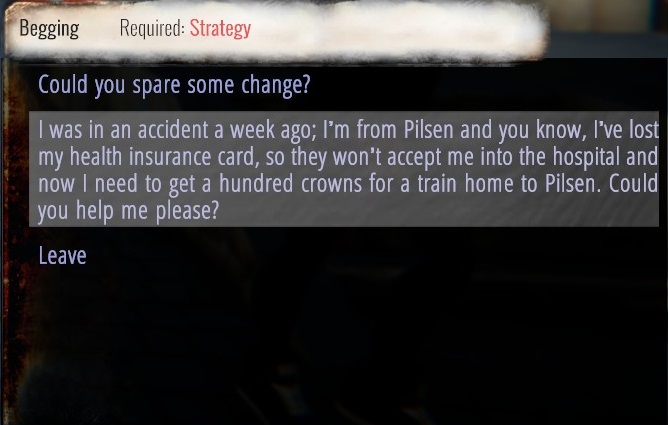
Everything in this section is covered in the in game tutorial.
Hobo Tough Life revolves around a mini game, this game is used for things like begging, stealing & crafting.
It's a very simple game once you understand what all of the coloured bars mean.
(As of the time of writing this there is some lag with the game for some people)
Colour Description Blue. Extraordinary Success Begging you'll get more money
Crafting you'll use the least amount of resources. Green. Success Used the standard amount of resources
Get the standard amount of money No colour. Failure , person loses #10 patience
Crafting, lose the standard amount of resources. Red. Fatal Failure , the person lost most or all patience with you.
Crafting, you lose the most amount of resources.
Stealing, you get locked out again.
Patience
The higher the patience someone has with you the more options you'll get, the longer the conversation will go even if you fail the mini game as long as it's not a fatal failure.
Higher patience is also require to steal, sell and use special skills like Strategy & Insolence.
Conversation Options
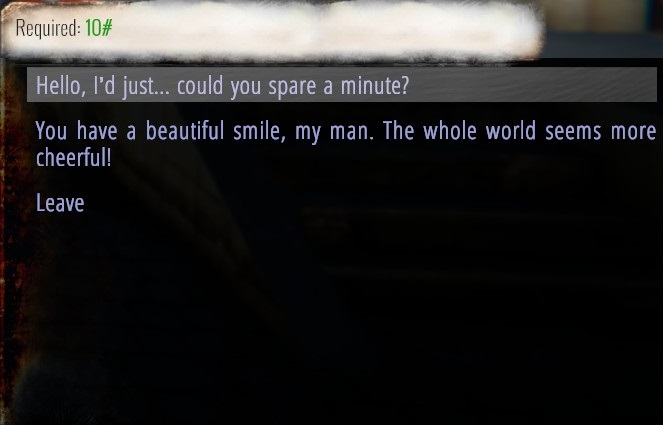
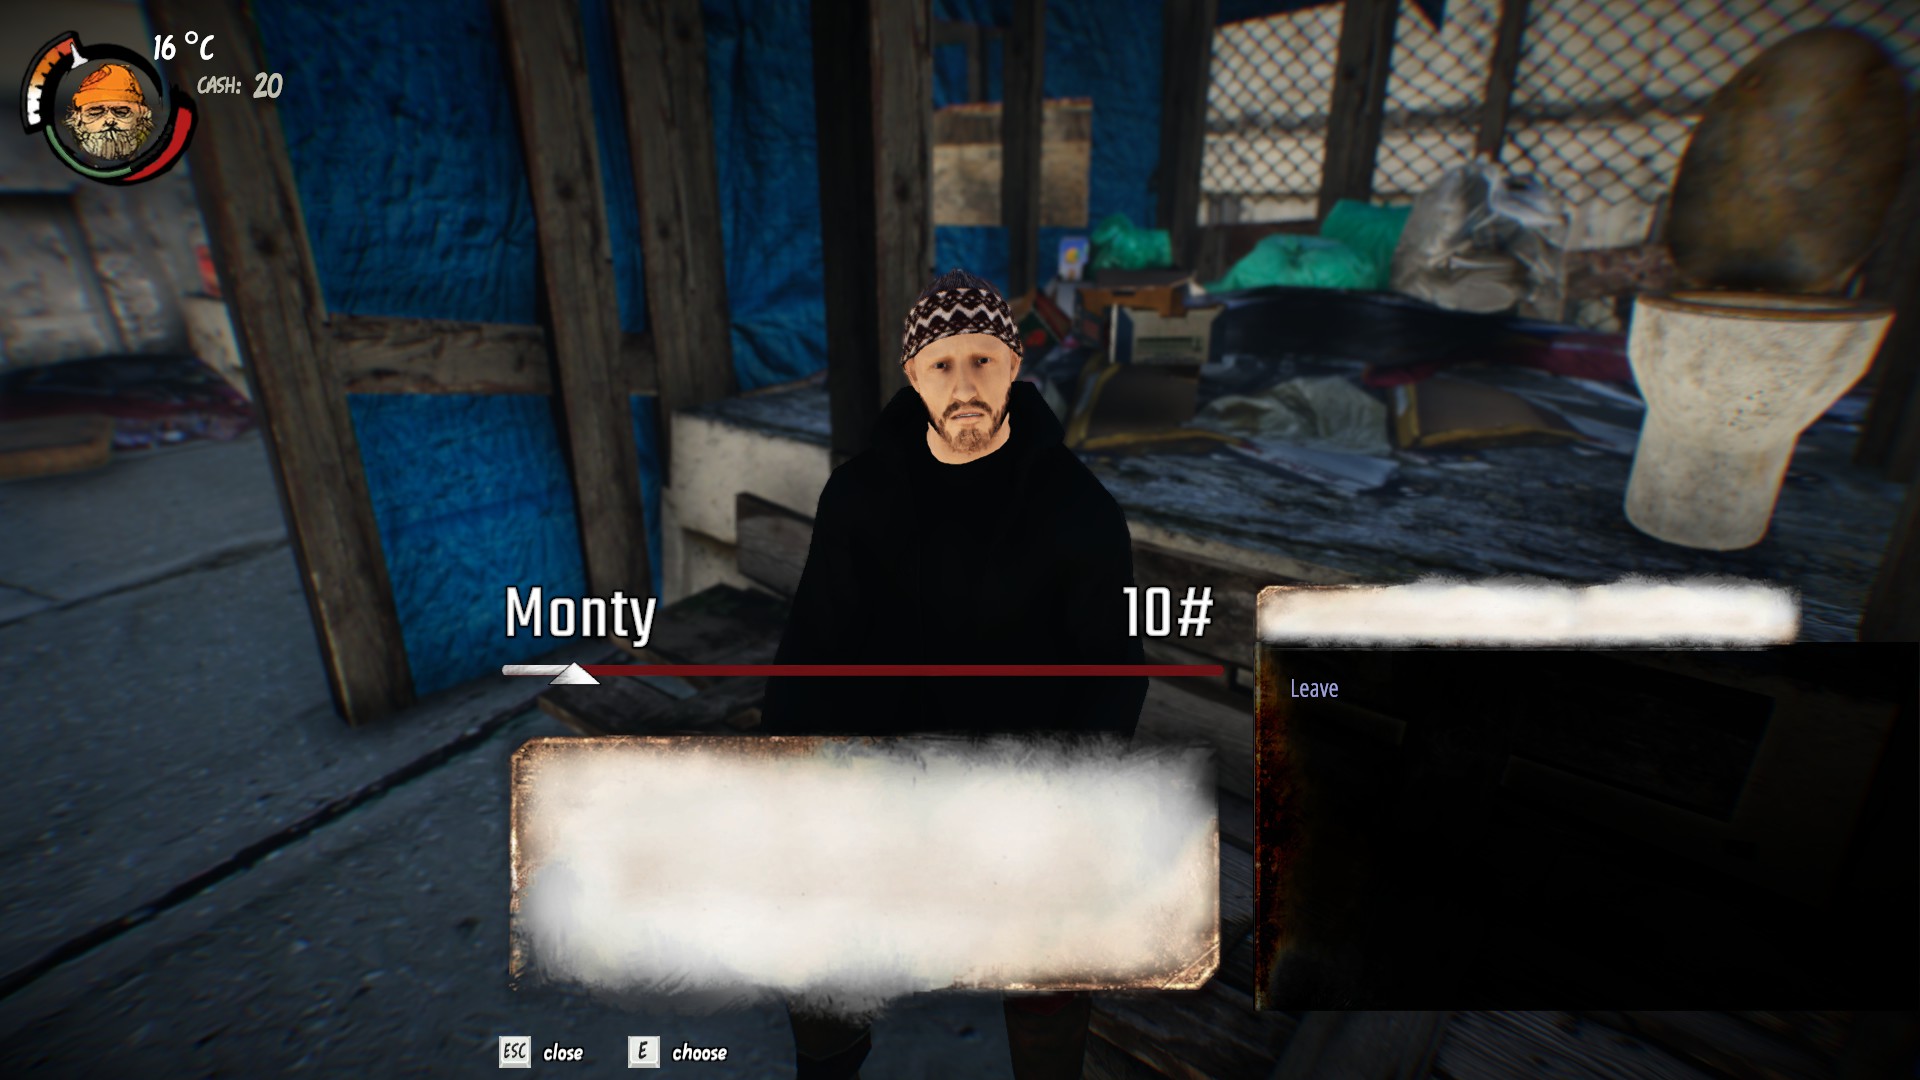
Some conversation options will have a required amount of patience to use it so you can carry on the conversation. As in the case of the picture below to use the "Hello, I'd just... could you spare a minute?" will need #10 patience to use it so we can continue on the conversation and eventually get to asking for money or stealing. If the NPC has run out of patience they will end the conversation.
During the conversation different options will come up that will compliment or insult the NPC, NPC's will react differently to these options. For example the hipster looking guys (beard, thick rim glasses) react positive when you're rude to them however the females will lose all patience with you if you're rude because they prefer compliments on their looks.
This isn't 100% accurate for every single NPC! but for the most part matching models will react the same.
During conversations you'll see special options like Strategy & Insolence. These options need to be learnt from the Master Hobo.
An example of these specialty options like Strategy, the toilet costs 20 crowns to use normally however if you use Strategy and succeed in the mini game it will cost you 10 crowns.
Stats & Buffs
Primary Stats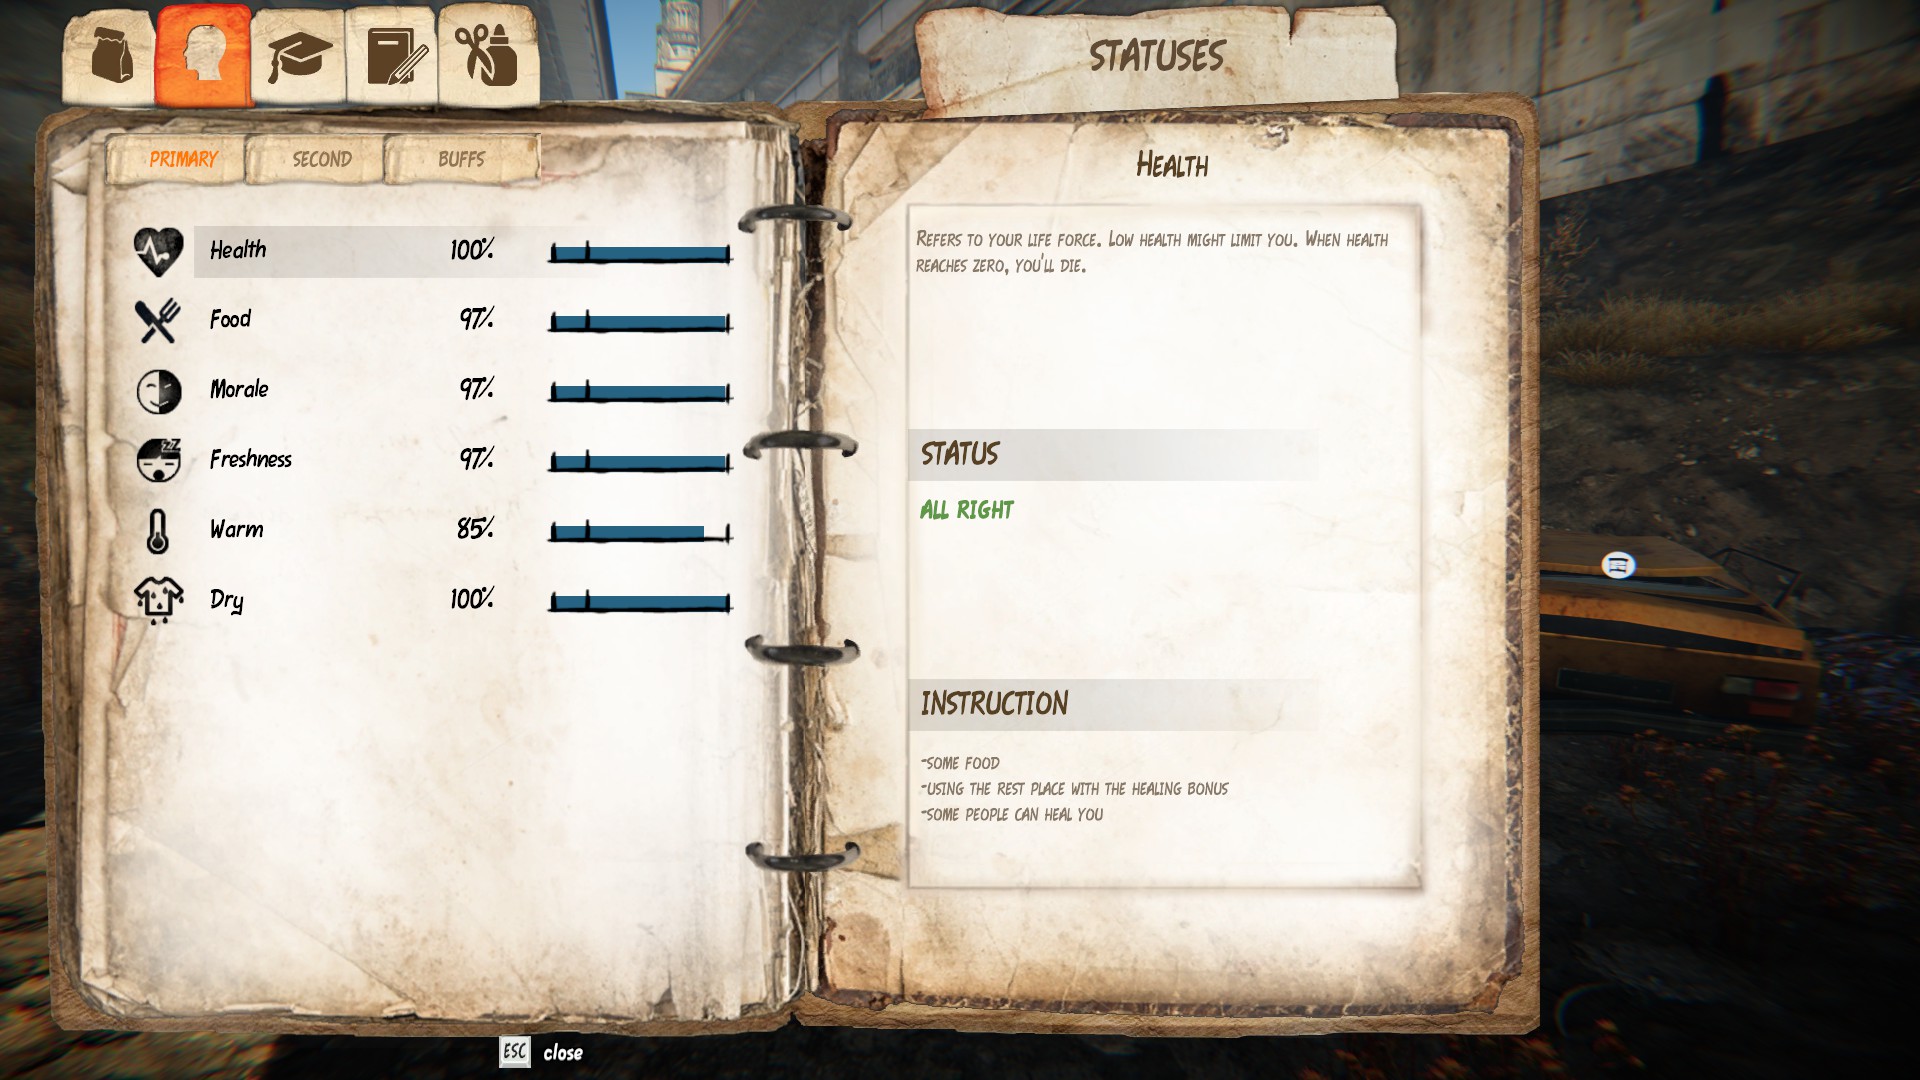 Secondary Stats
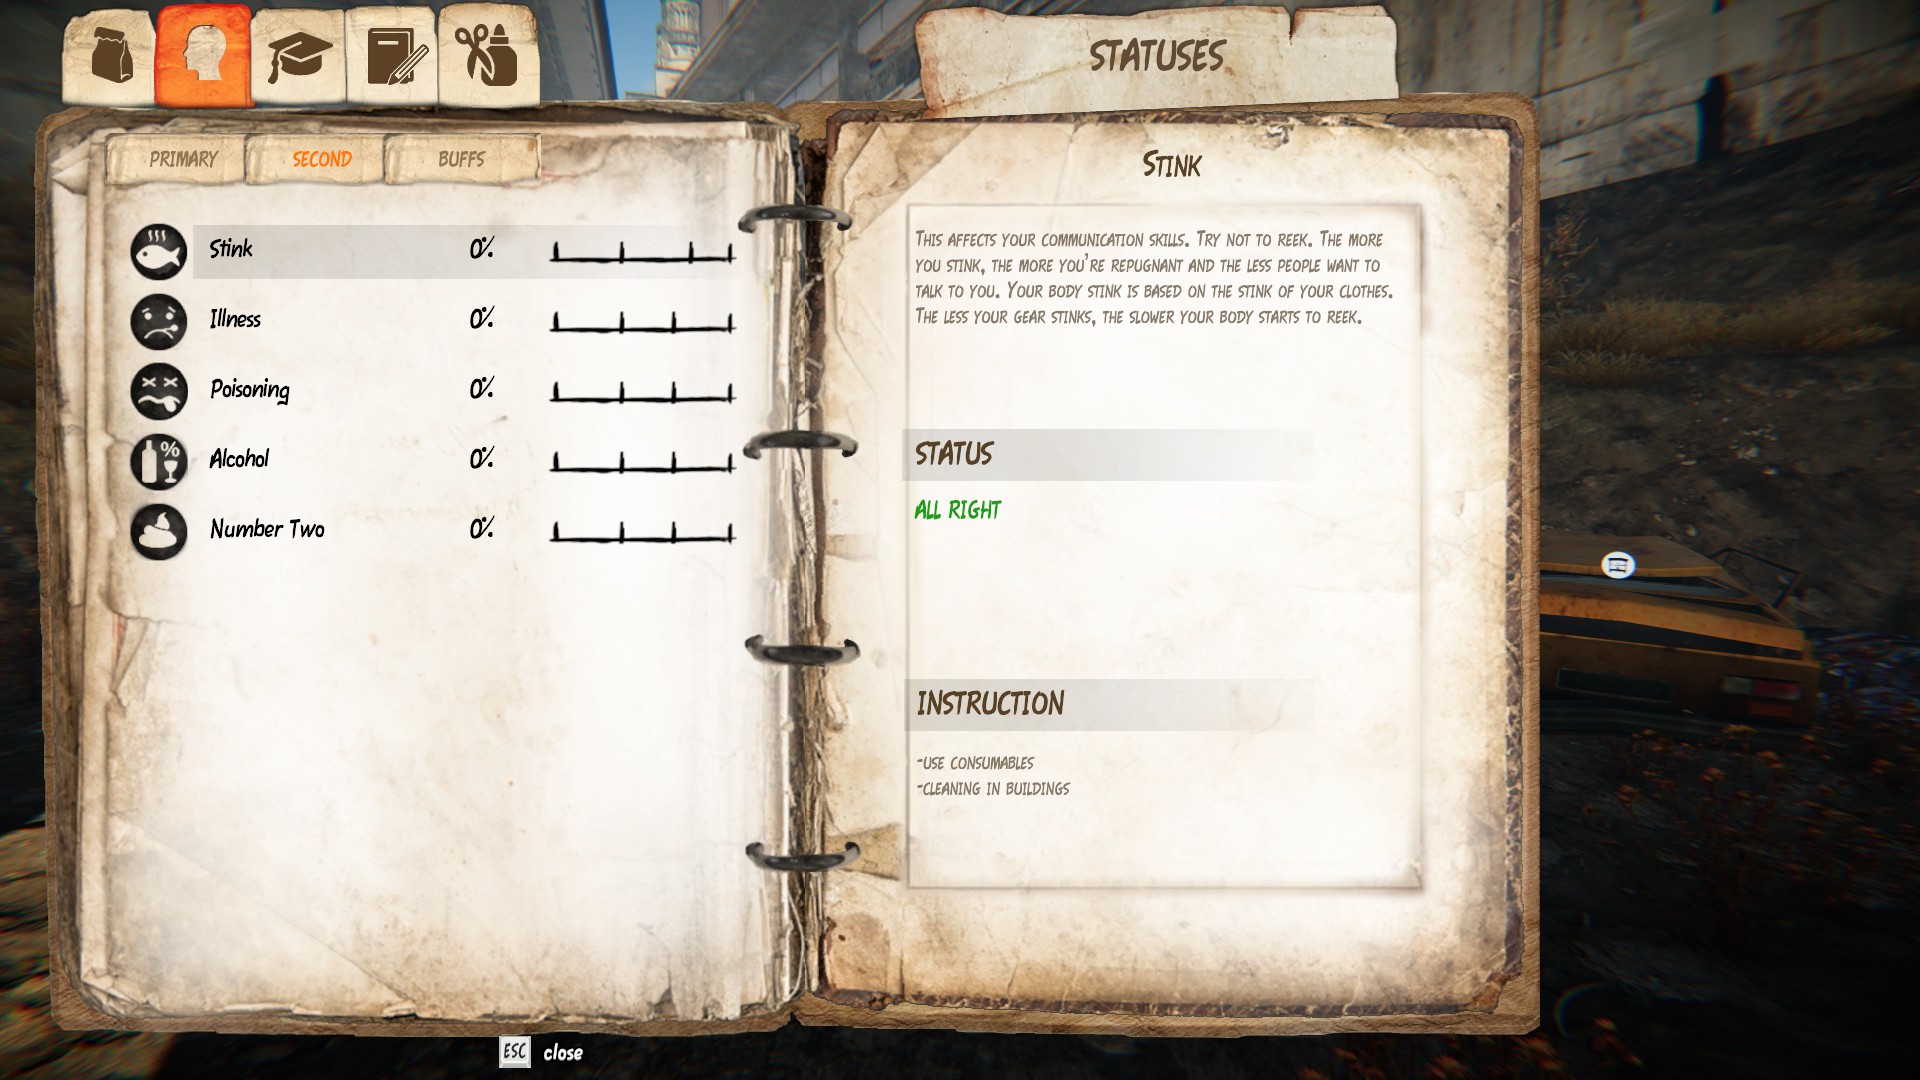 Buffs
Buffs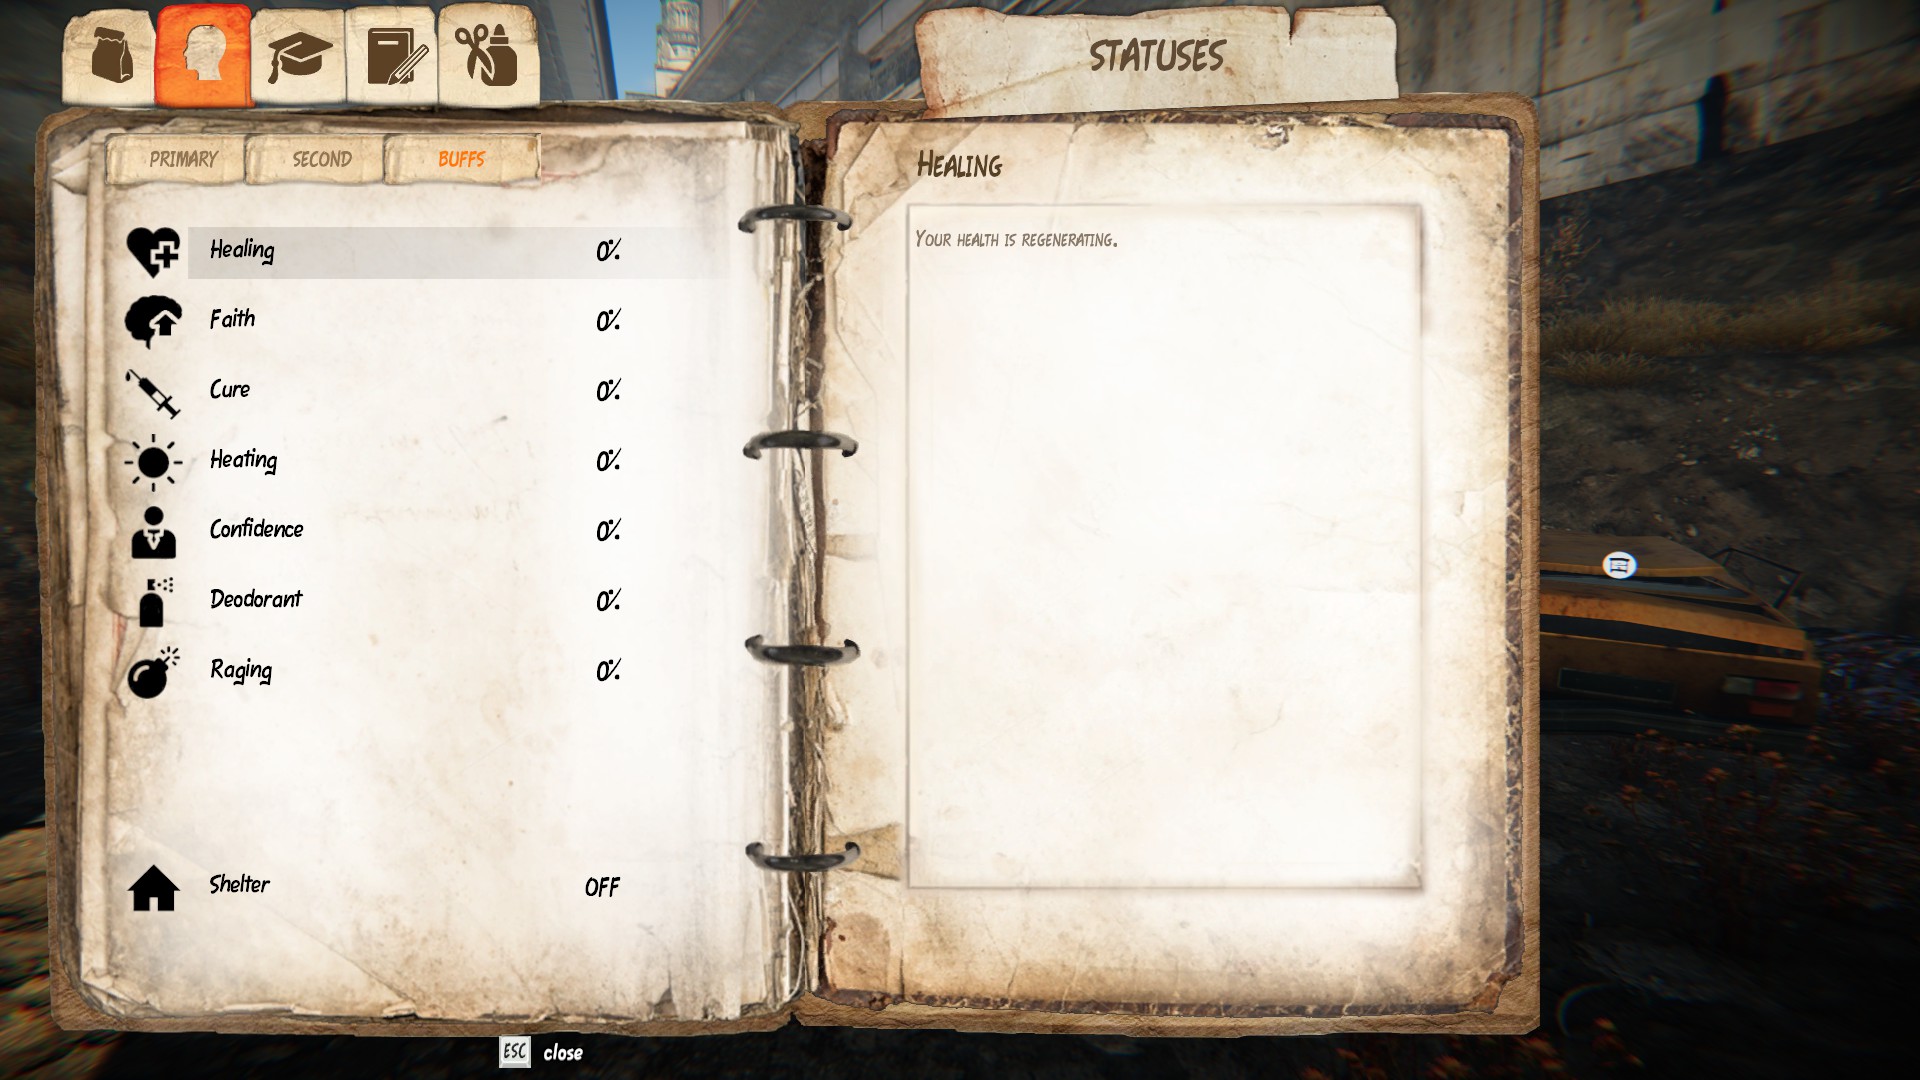
Stat Description Health Refers to your life force. Low heath might limit you. When health reaches zero, you'll die. Food Everything is harder on an empty stomach. You have to eat to face everyday hardship. Morale Good mood shields you from the grim reality of homeless life. Low morale has a negative effect on your health. Freshness Sometimes it's nice to have a good night's sleep. Lack of sleep has a negative effect on your health. Warm Keep your heat comfort. As soon as you're freezing, your health starts decreasing. Dry Avoid getting soaked. It's hard enough without being drenched. You'll cold faster if you're soaked.
Instruction
Stat Instruction Health Some food
Using the rest place with the healing bouns.
Some people can heal you. Food Eat food. Morale Some food increases morale.
Some people can cheer you up. Freshness Just take a nap somewhere.
Some food can refresh you. Warm At a heat source.
Some food and alcohol get you warm. Dry At a heat source.
Stat Description Stink This affects your communication skills. Try not to reek. The more you stink, the more you're repugnant and less people want to talk to you. Your body stink is based on the stink of your clothes. The less your gear stinks, the slower your body starts to reek. Illness Illness has a negative effect on your health. Try to prevent it. Fighting infection is easier when you aren't ill. Poisoning While you're poisioned, your health is decreasing. If you eat something, there is also a higher risk of getting diarrhea. Alcohol The more you're drunk, the more your behavior and the way people look at you change. Alcohol also poisons your body. Number Two Sometimes it happens. What can you do?.
Instruction
Stat Instruction Stink Use consumables.
Cleaning in buildings. Illness Use medicine. Vitamins are great.
Sleep heals. Poisoning Some food can help you.
Sleep heals.
Poisoning decreases over time. Alcohol Some food can help you.
Sleep heals.
Alcohol decreases over time. Number Two Drop a load (reduces to 0%).
Buff Description Healing Your health is regenerating. Faith Your morale is regenerating. Cure Your illnessess are treated. Heating Your heat comfort is being renewed. Confidence People have more patience with you during conversations. Deodorant Temporarily reduces the effect of your stink. Raging You feel the energy of ancient warriors... No, you're just hyped. Your attack and defense are strengthened. Shelter The buff is obtained by sleeping in your shelter. It will enhance all of your character's basic parameters.
Skills
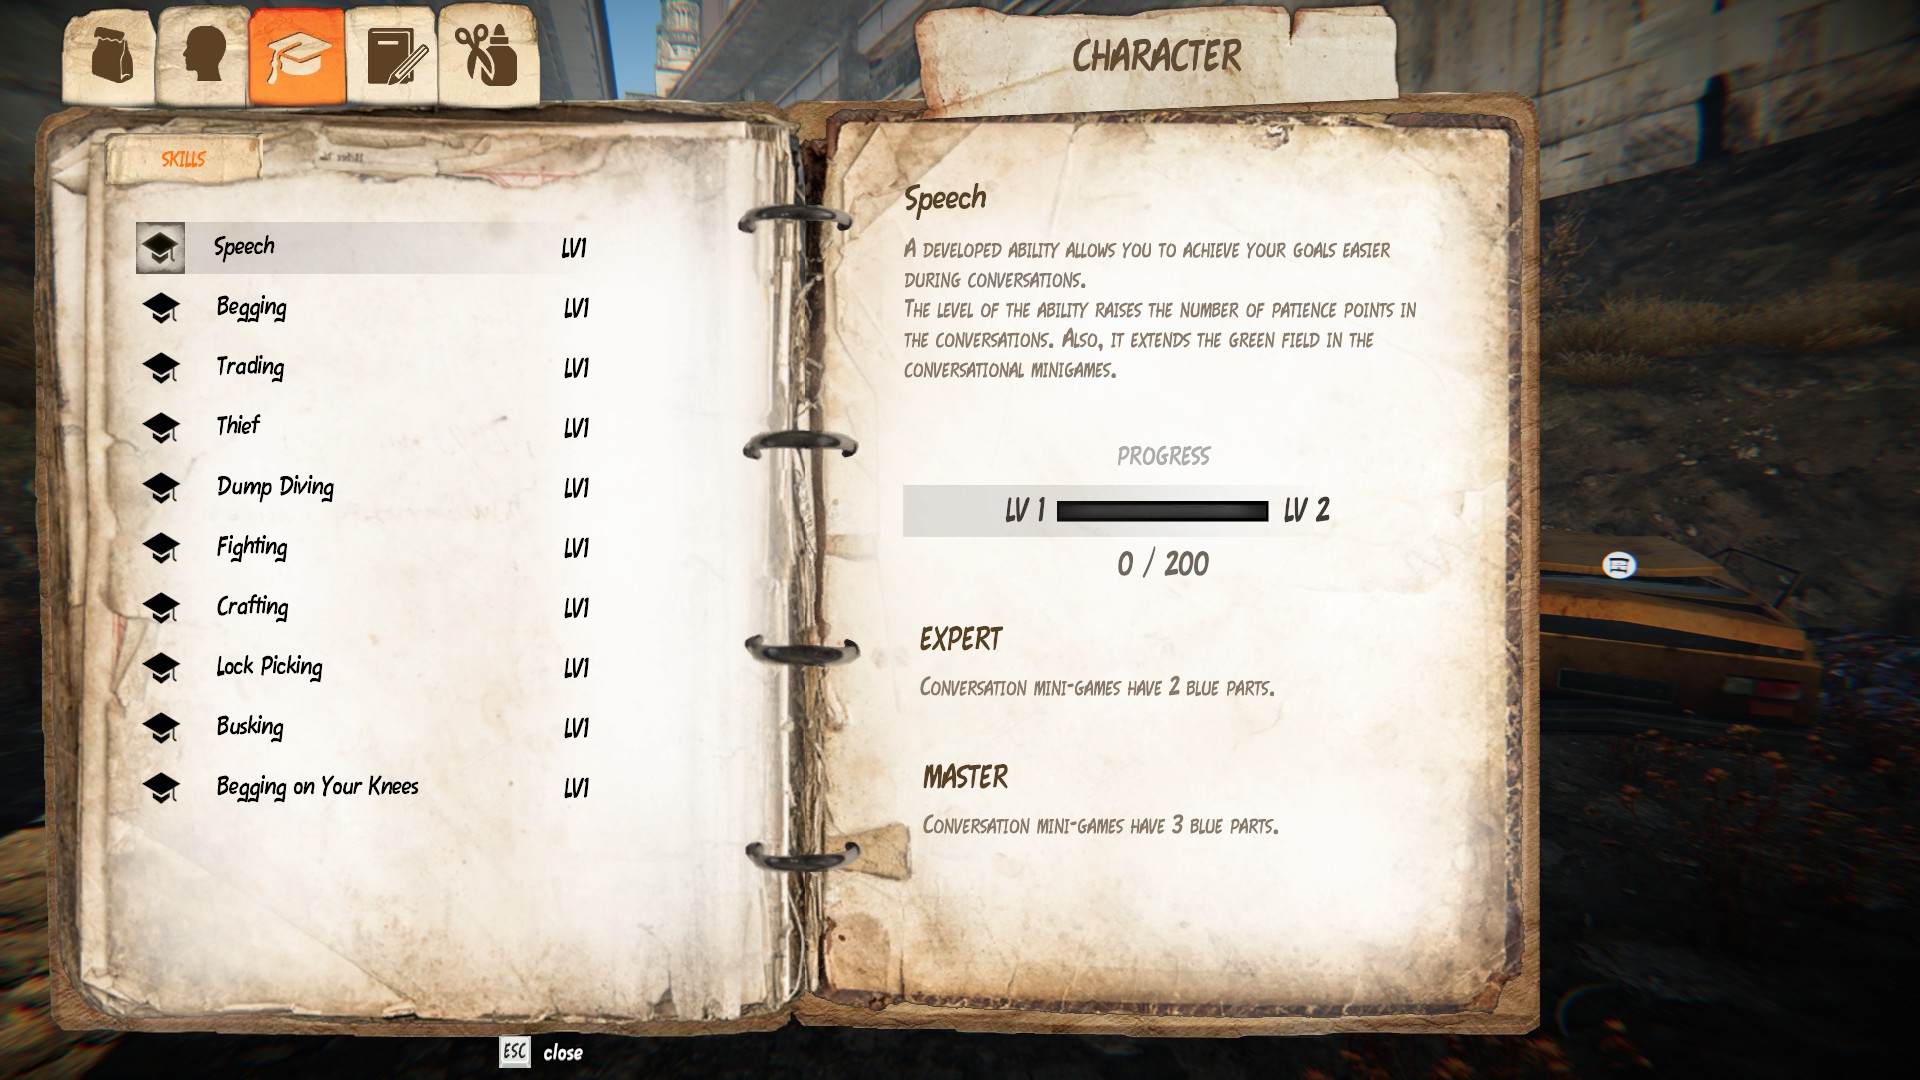
(Descriptions taken from in game, ** denotes a tweaked description.)
Skill Description Speech A developed ability allows you to achieve your goals easier during conversations.
The level of the ability raises the number of patience points in the conversations. Also, it extends the green field in the conversational mini-games. Begging During conversations people can donate you various things. Become good at it and don't be poor anymore.
This ability extends the green field in the begging mini-games. Trading You can sell certain items to the people on the street, Become good at it and earn quite a lot of money.
This ability extends the green field in the Trading mini-games. Thief **People can "dontate" you various things against their will during conversations. However,
be careful. If you fail, you'll suffer the consequences.
The higher the level your skill is, the slower the speed of the pickpocketing mini-game is. Dump Diving The skill to find useful things in waste containers belongs to the profession. Every extra level of skill means one extra warning against a stinky surprise. Fighting The better your skill is, the more adrenaline your body creates. Thus you deliver the crucial hit sooner. Crafting Many things can be crafted or repaired. It applies to cooking as well.
This ability extends the green field in the crafting mini-games. Lock Picking **Create new useful passages and open locked waste containers.
The higher the level your skill is, the more repair chances you get when playing the lock picking mini-games. Busking You can earn money as a musician on the street. The better your skill is, the more people will be interested in your busking performance. Begging on Your Knees Simply kneel down on the busy street and look miserable. The better your skill is, the more people will respond to you.
Expert / Master
Skill Expert / Master Speech Expert: Conversation mini-games have 2 blue parts.
Master: Conversation mini-games have 3 blue parts. Begging Expert: Begging mini-games have 2 blue parts.
Master: Begging mini-games have 3 blue parts. Trading Expert: Trading mini-games have 2 blue parts.
Master: Trading mini-games have 3 blue parts. Thief Expert: Pickpocketing mini-games have 2 blue parts.
Master: Pickpocketing mini-games have 3 blue parts. Dump Diving Expert: Less mess in waste containers by 60%.
Master: There is no mess in waste container. Fighting Expert: Fighting mini-games have 2 blue parts.
Master: Fighting mini-games have 3 blue parts. Crafting Expert: Crafting mini-games have 2 blue parts. You'll understand expert instructions.
Master: Crafting mini-games have 3 blue parts. You'll understand master instructions. Lock Picking Expert: Locks are shorter by 40%.
Master: Locks are shorter by 80%. Busking Expert: Cooldown of the skill reduced by 30%.
Master: Cooldown of the skill reduced by 60%. Begging on Your Knees Expert: Cooldown of the skill reduced by 30%.
Master: Cooldown of the skill reduced by 60%.
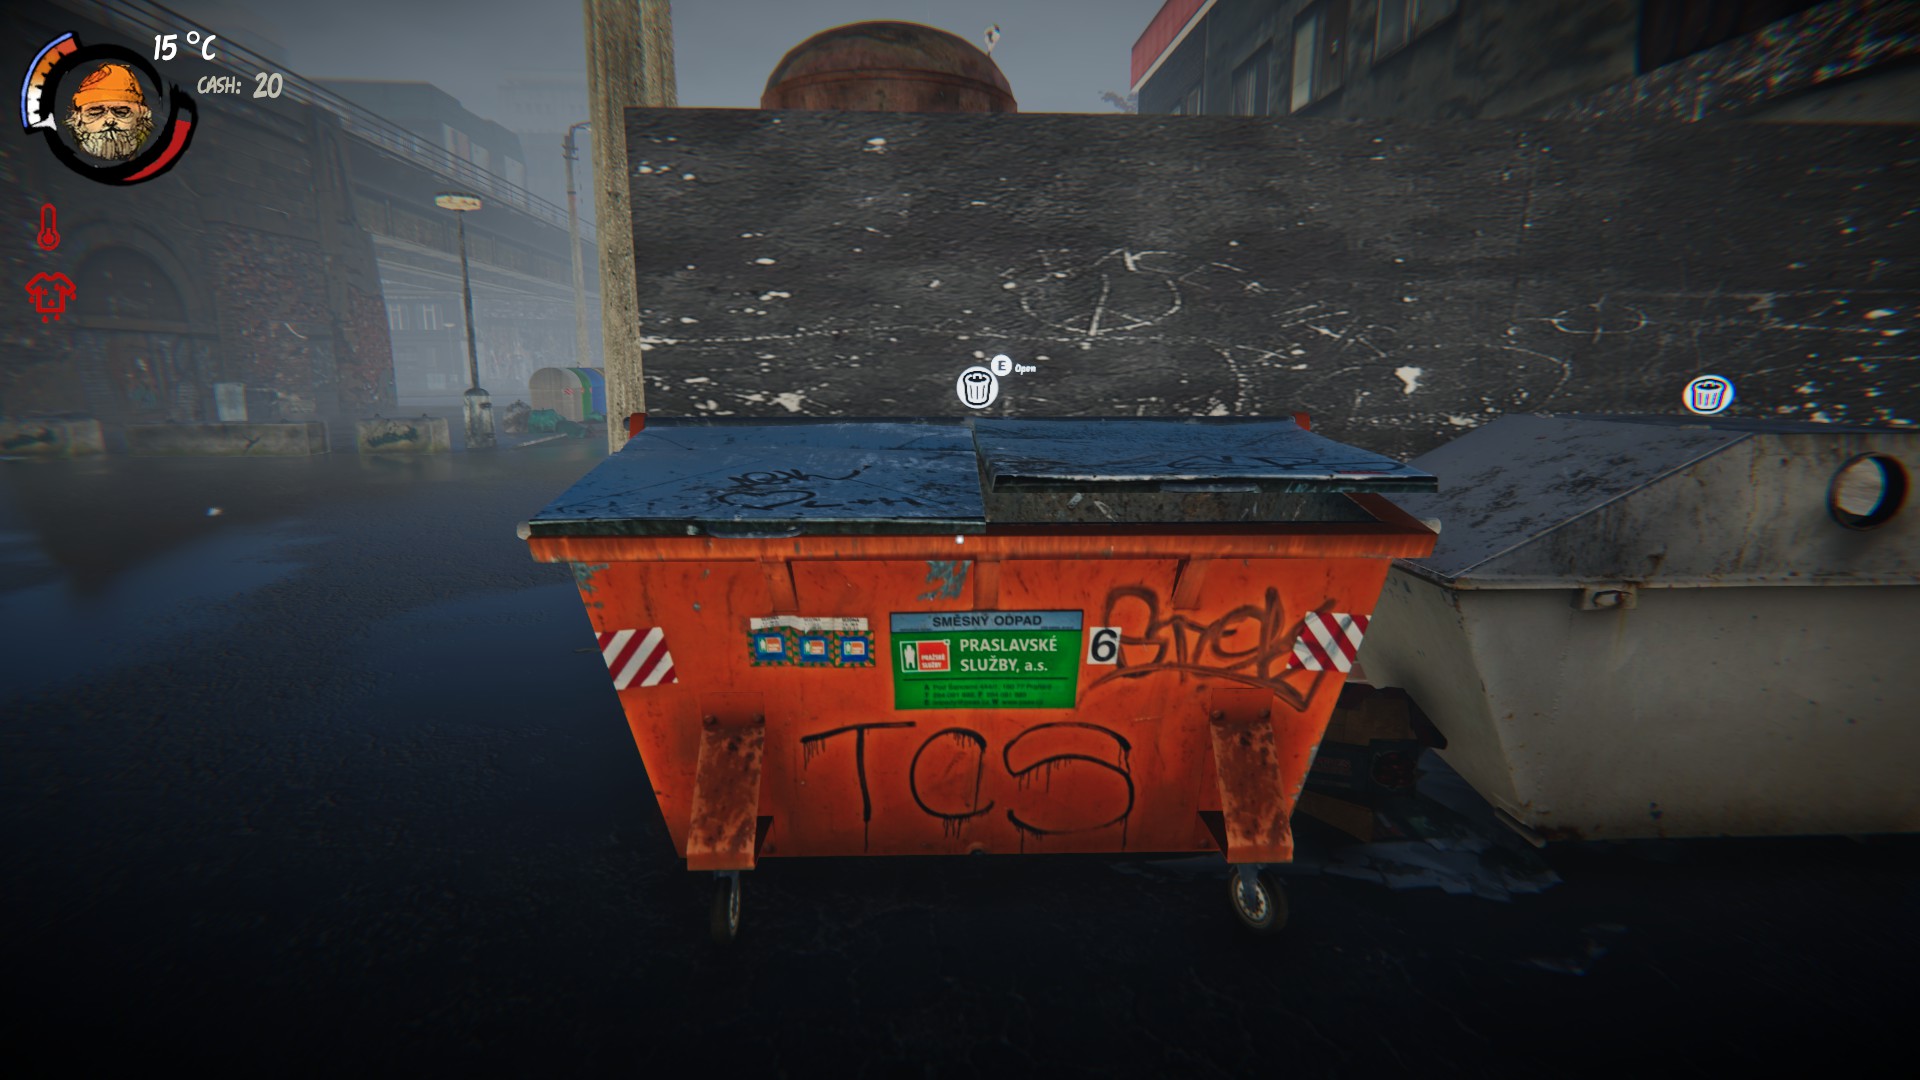
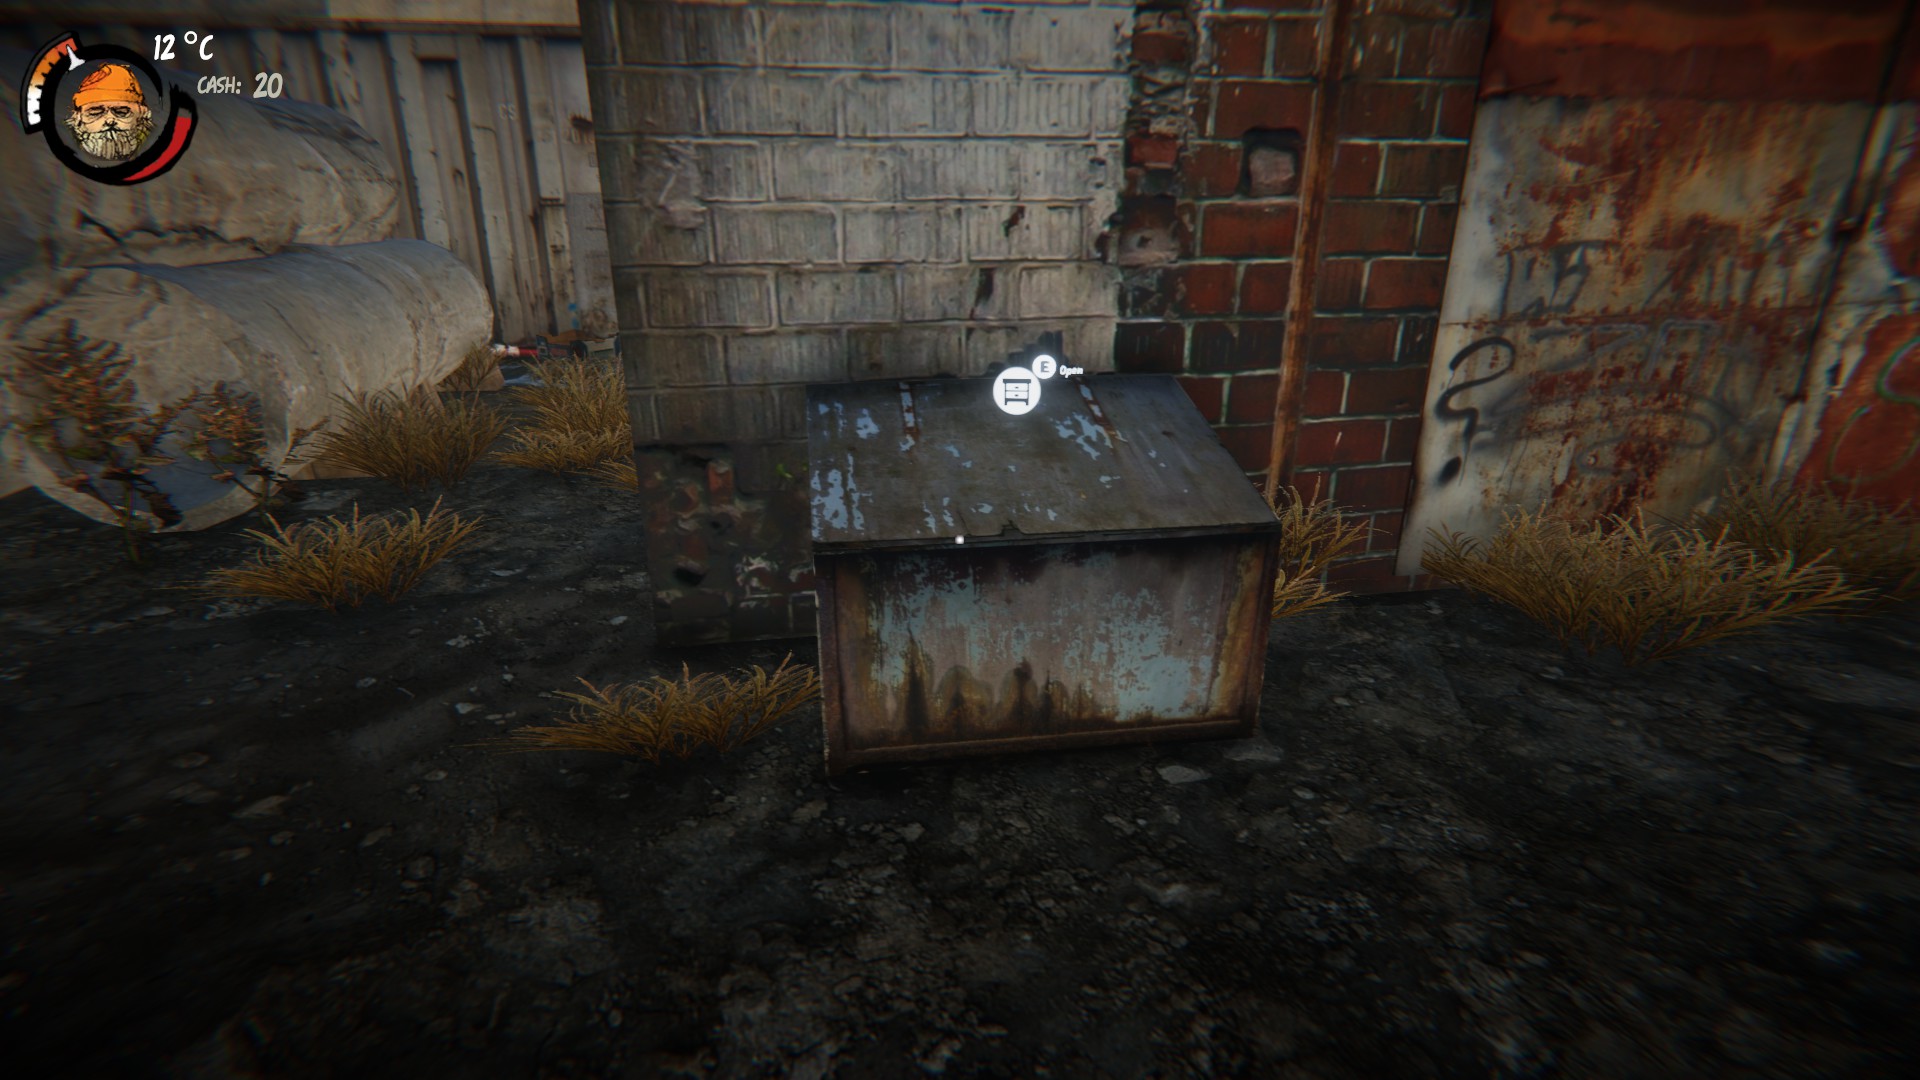
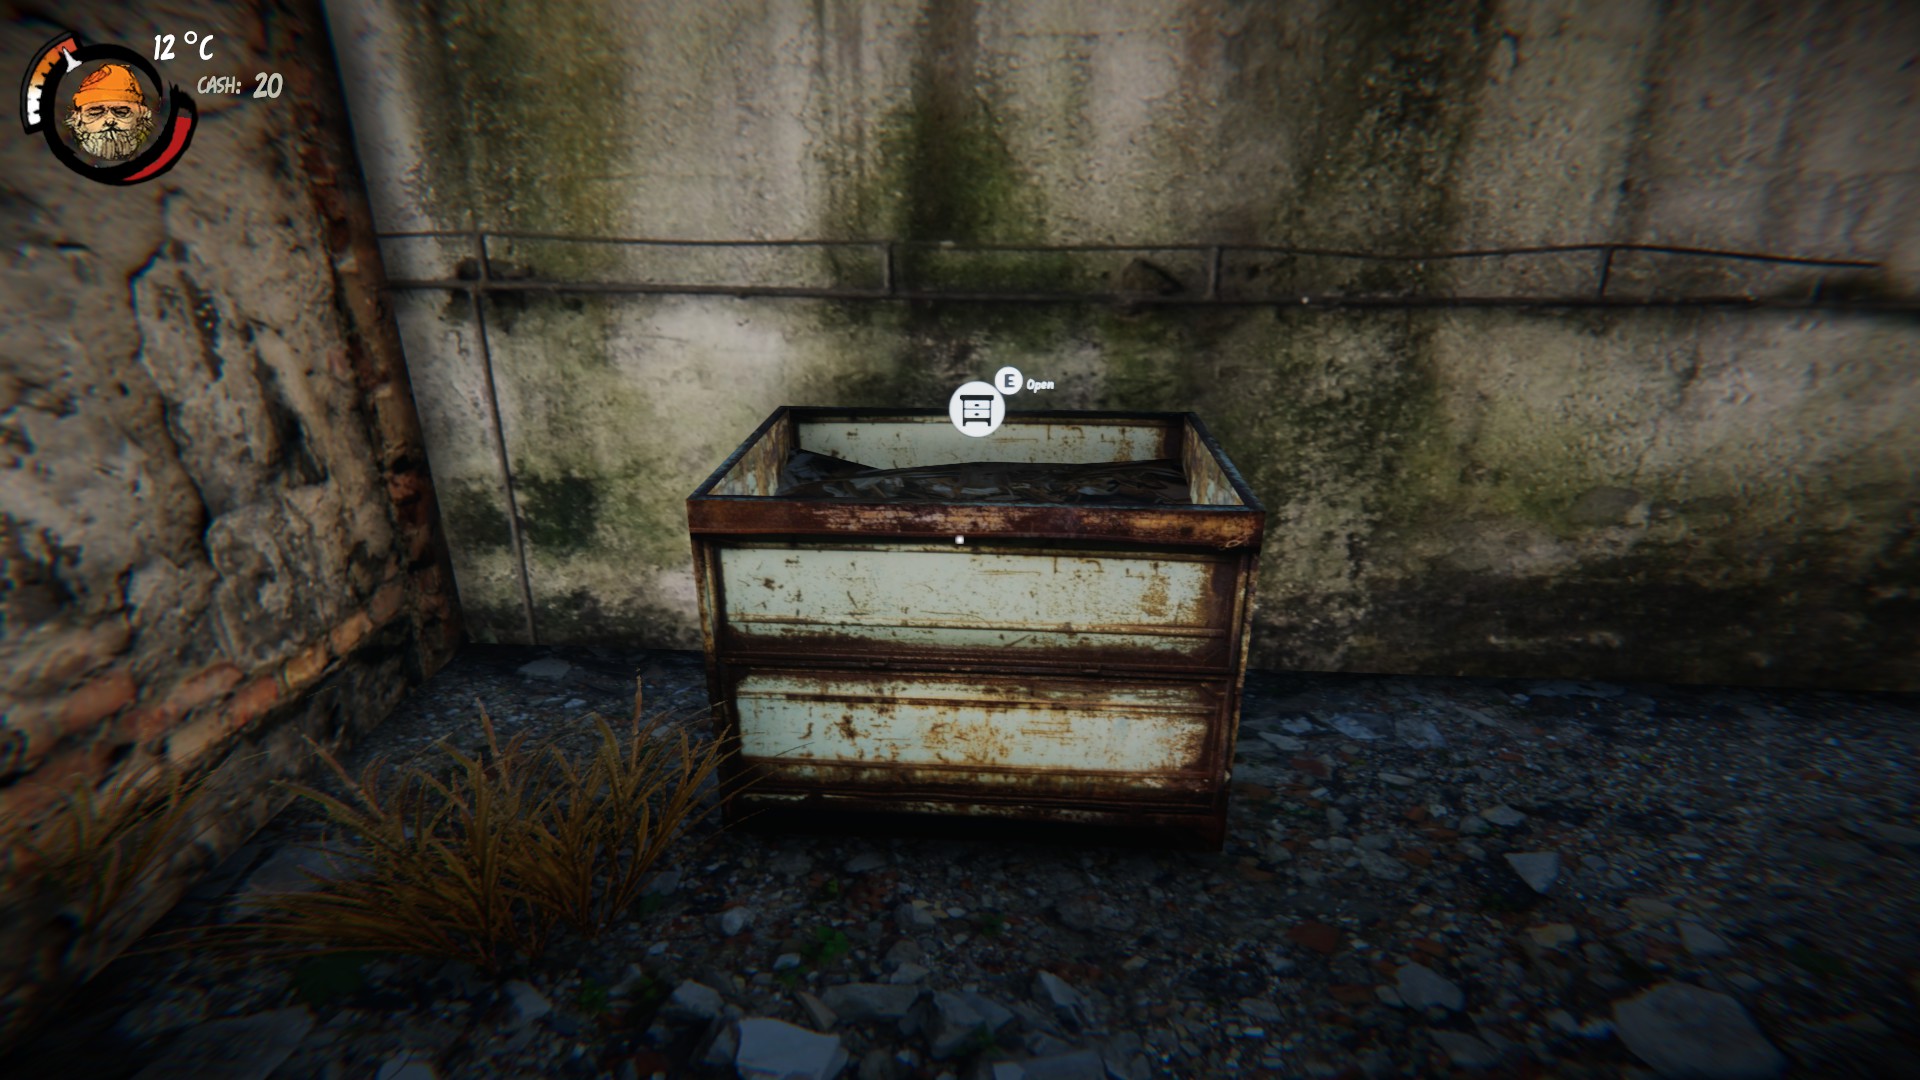
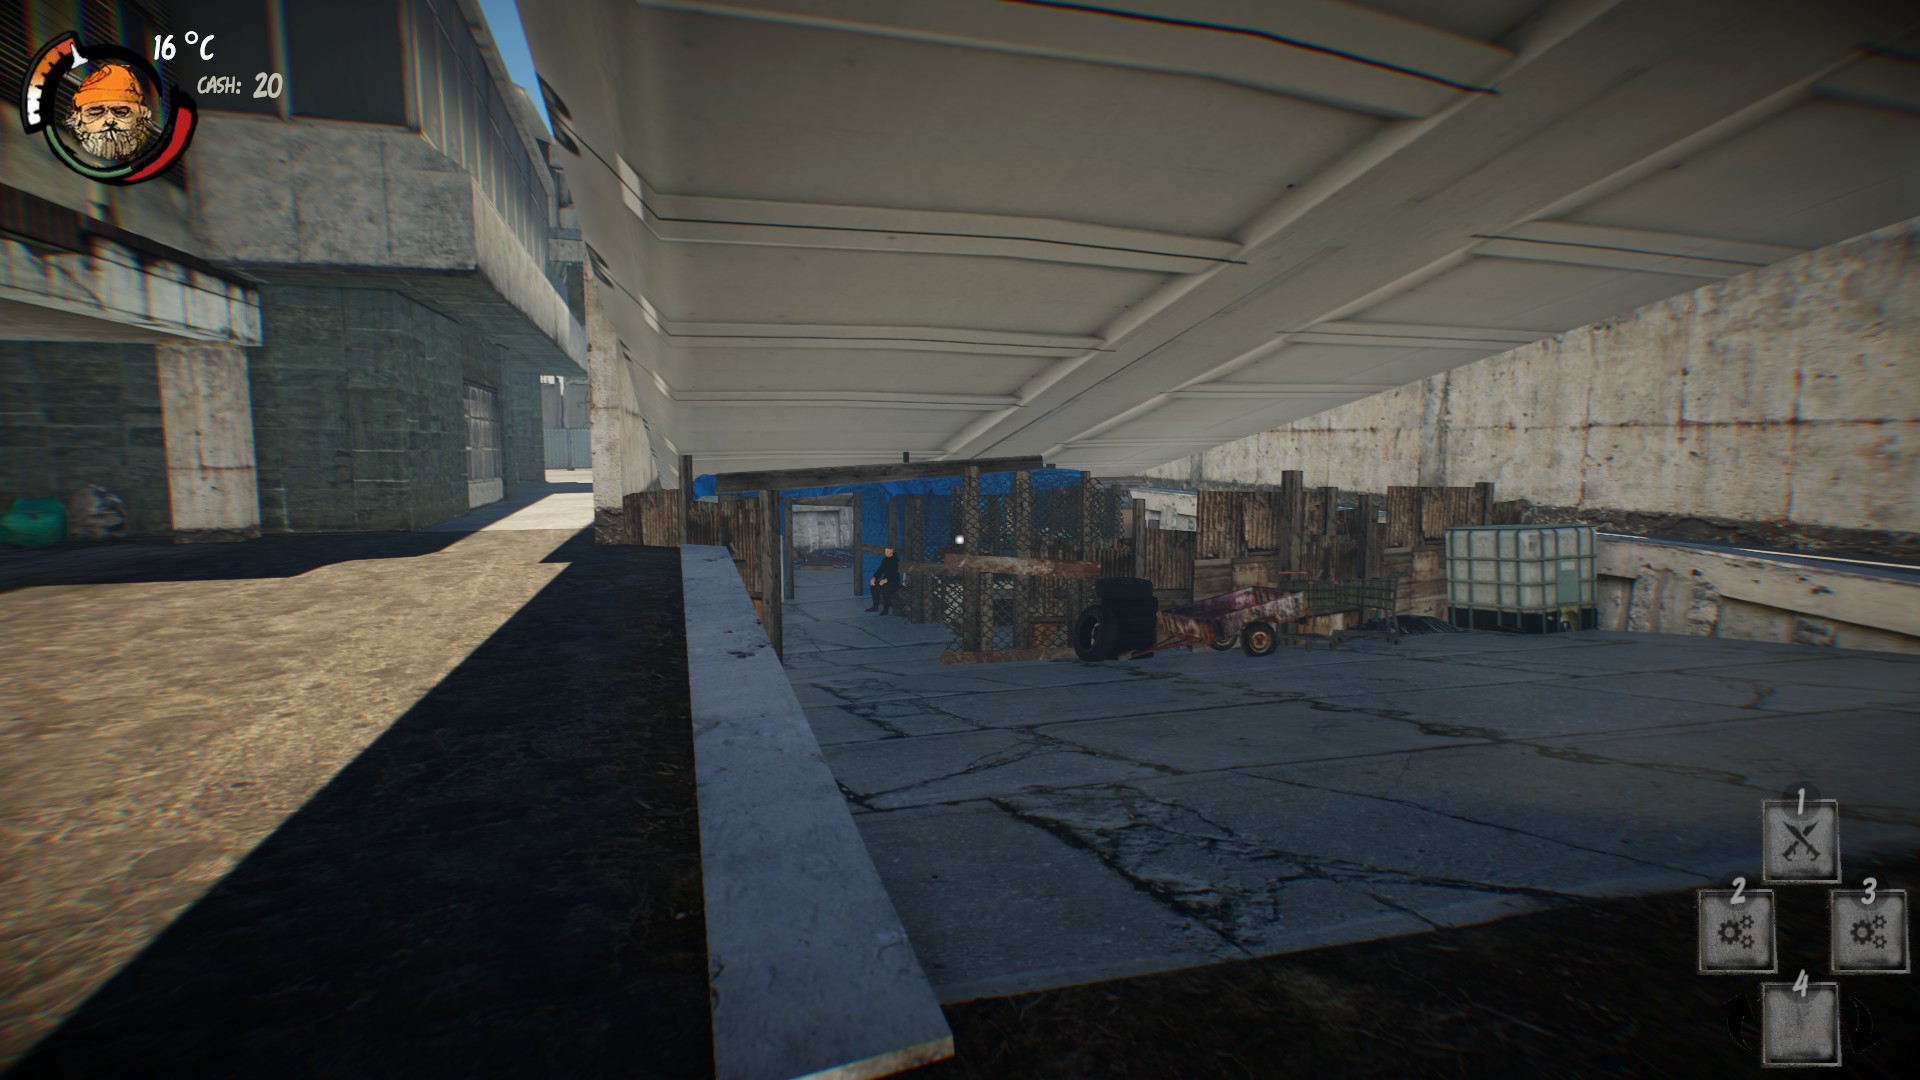
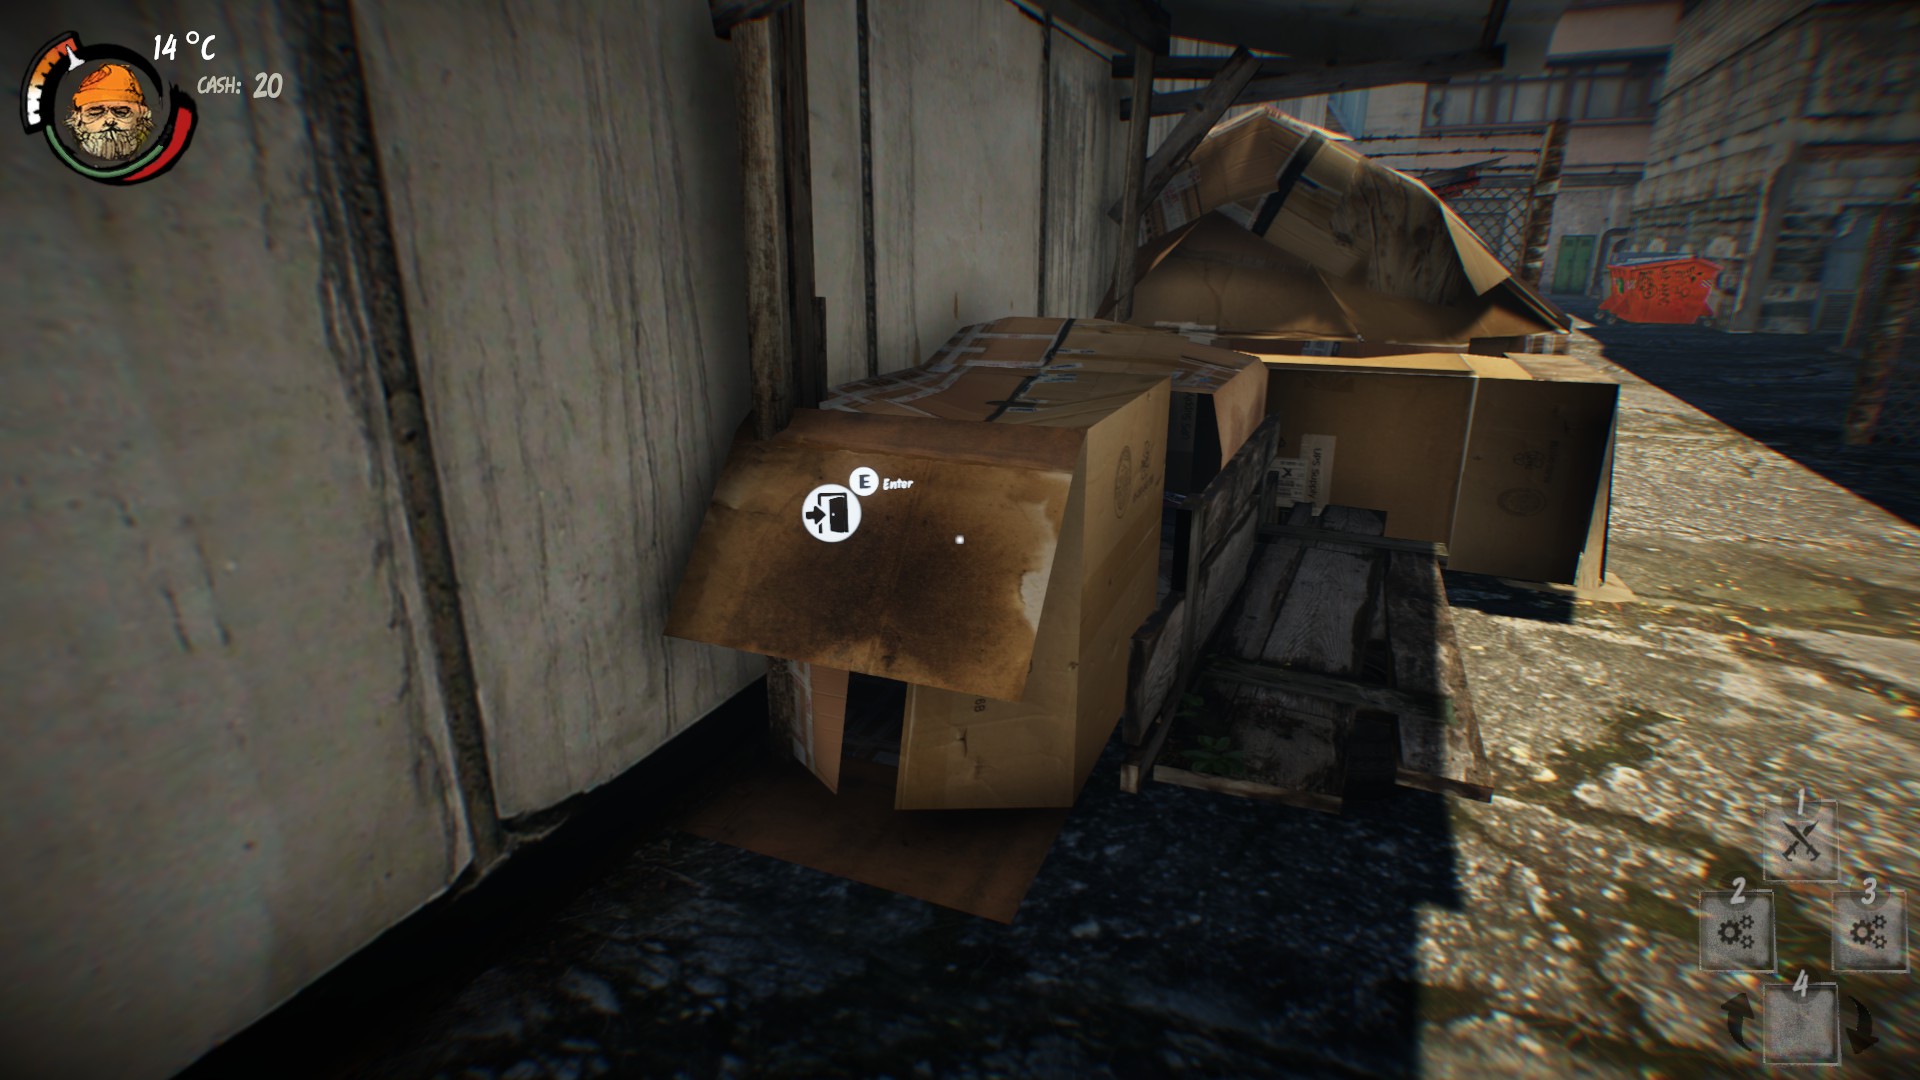
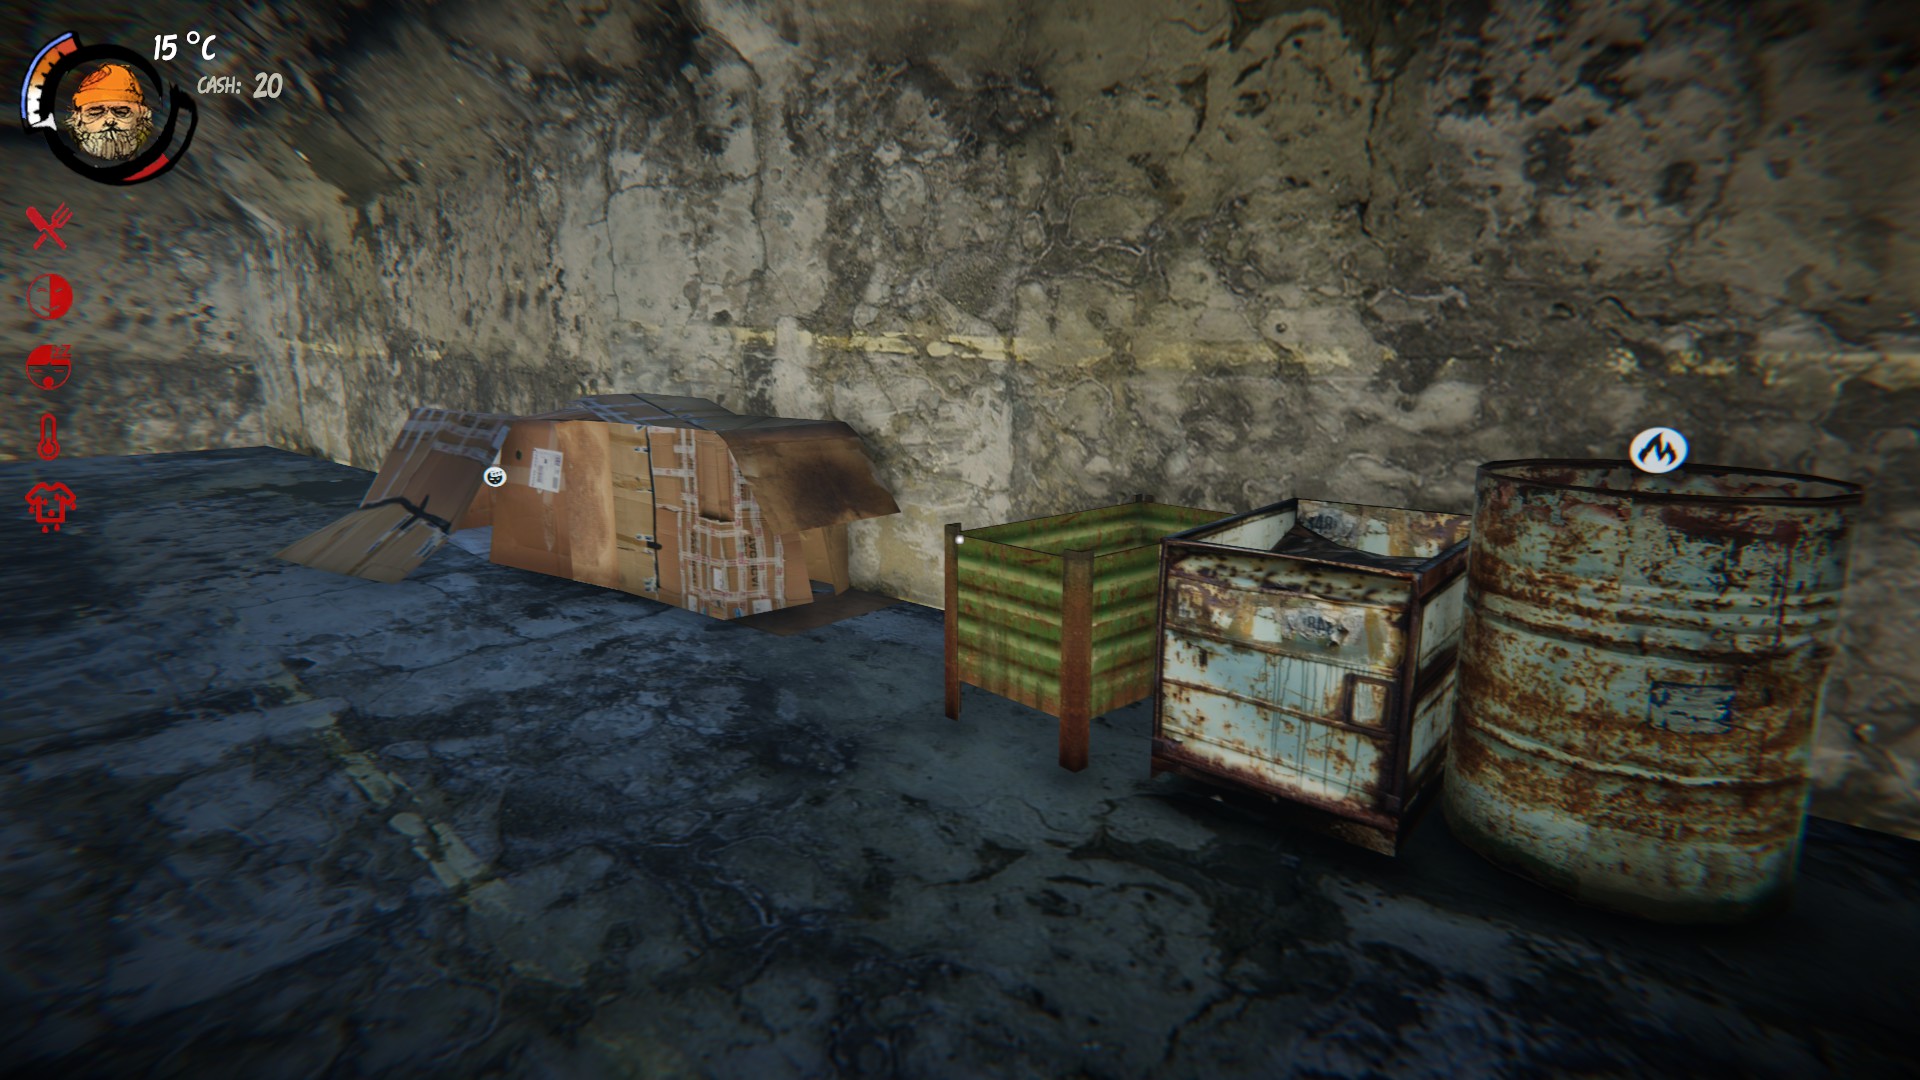
Dumpsters & Resource Containers
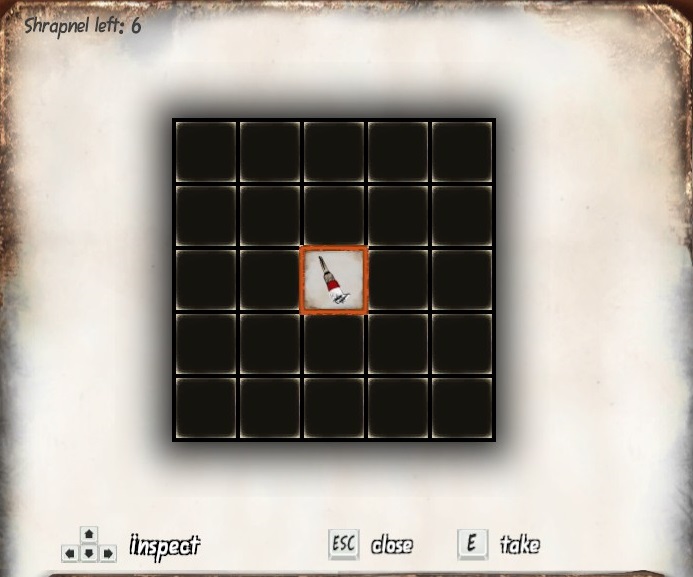
Shrapnel

 Finds
Finds Dumpsters
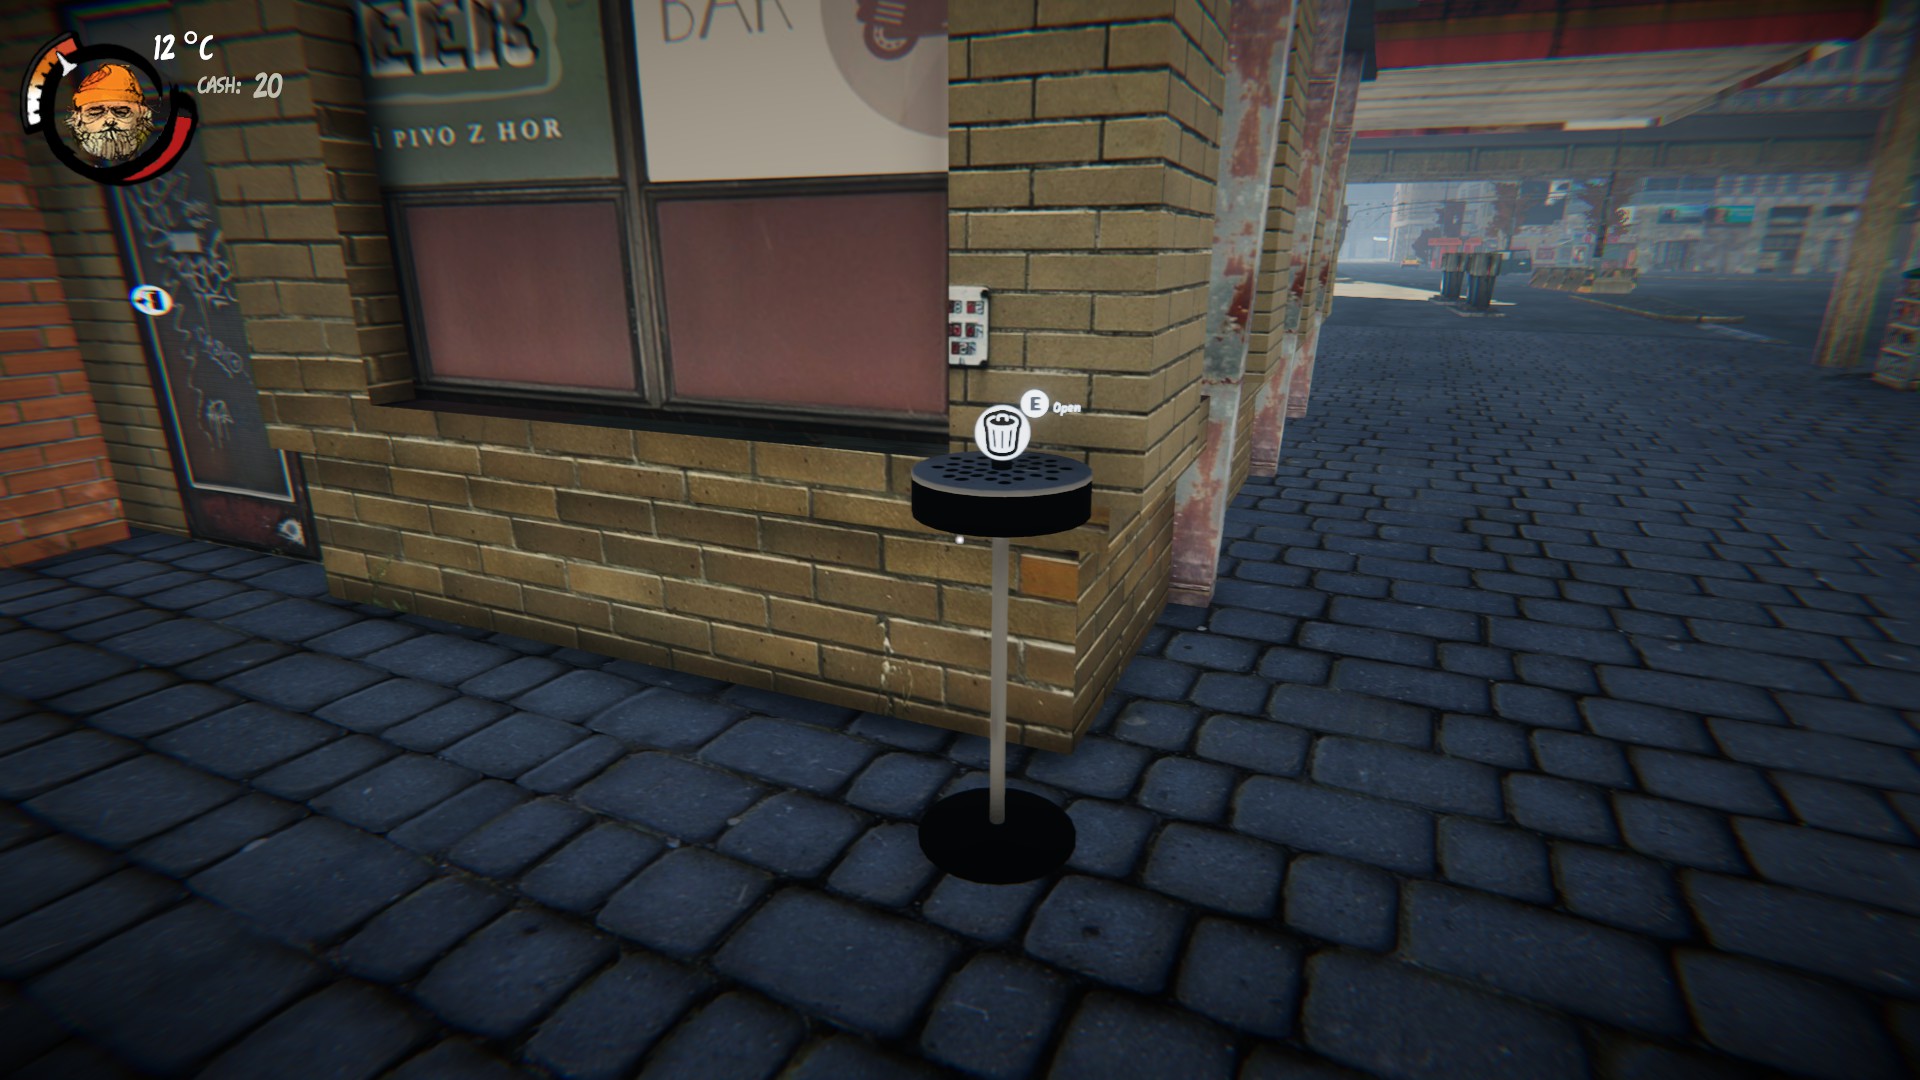


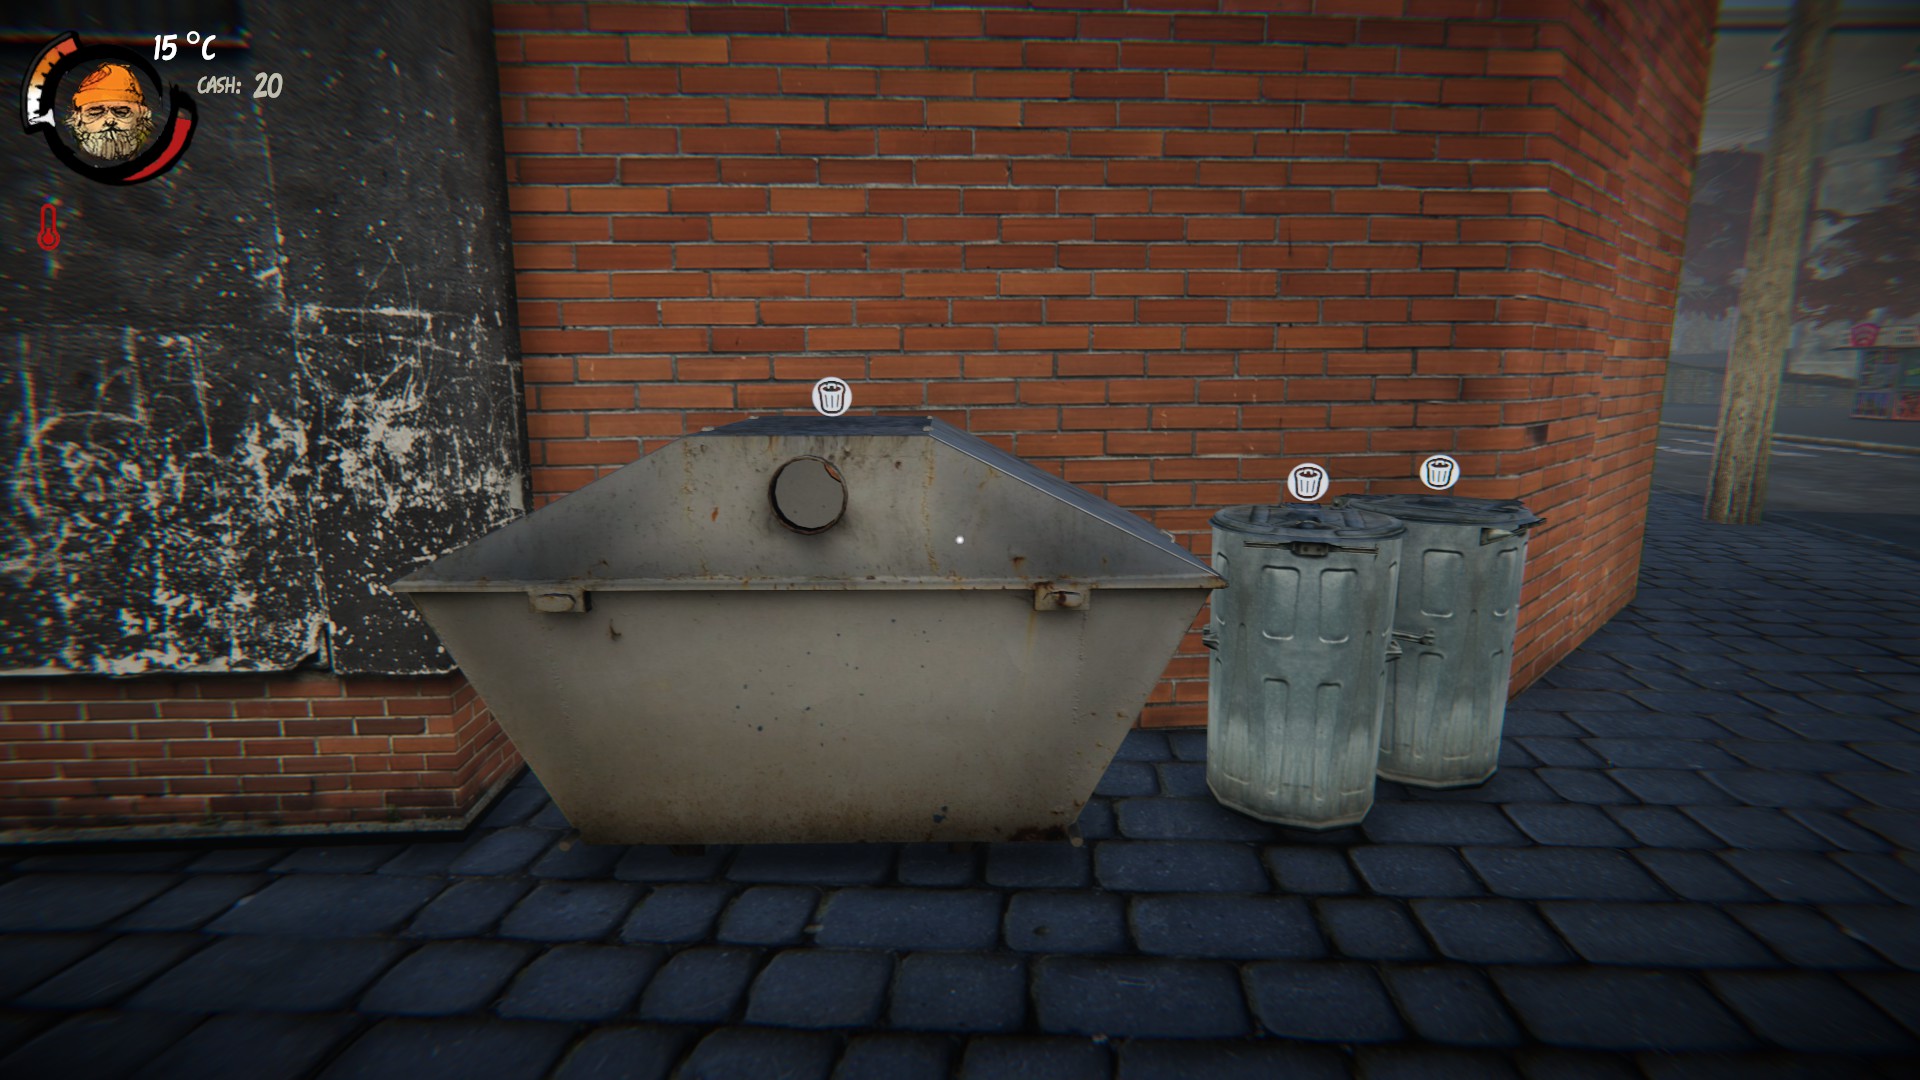

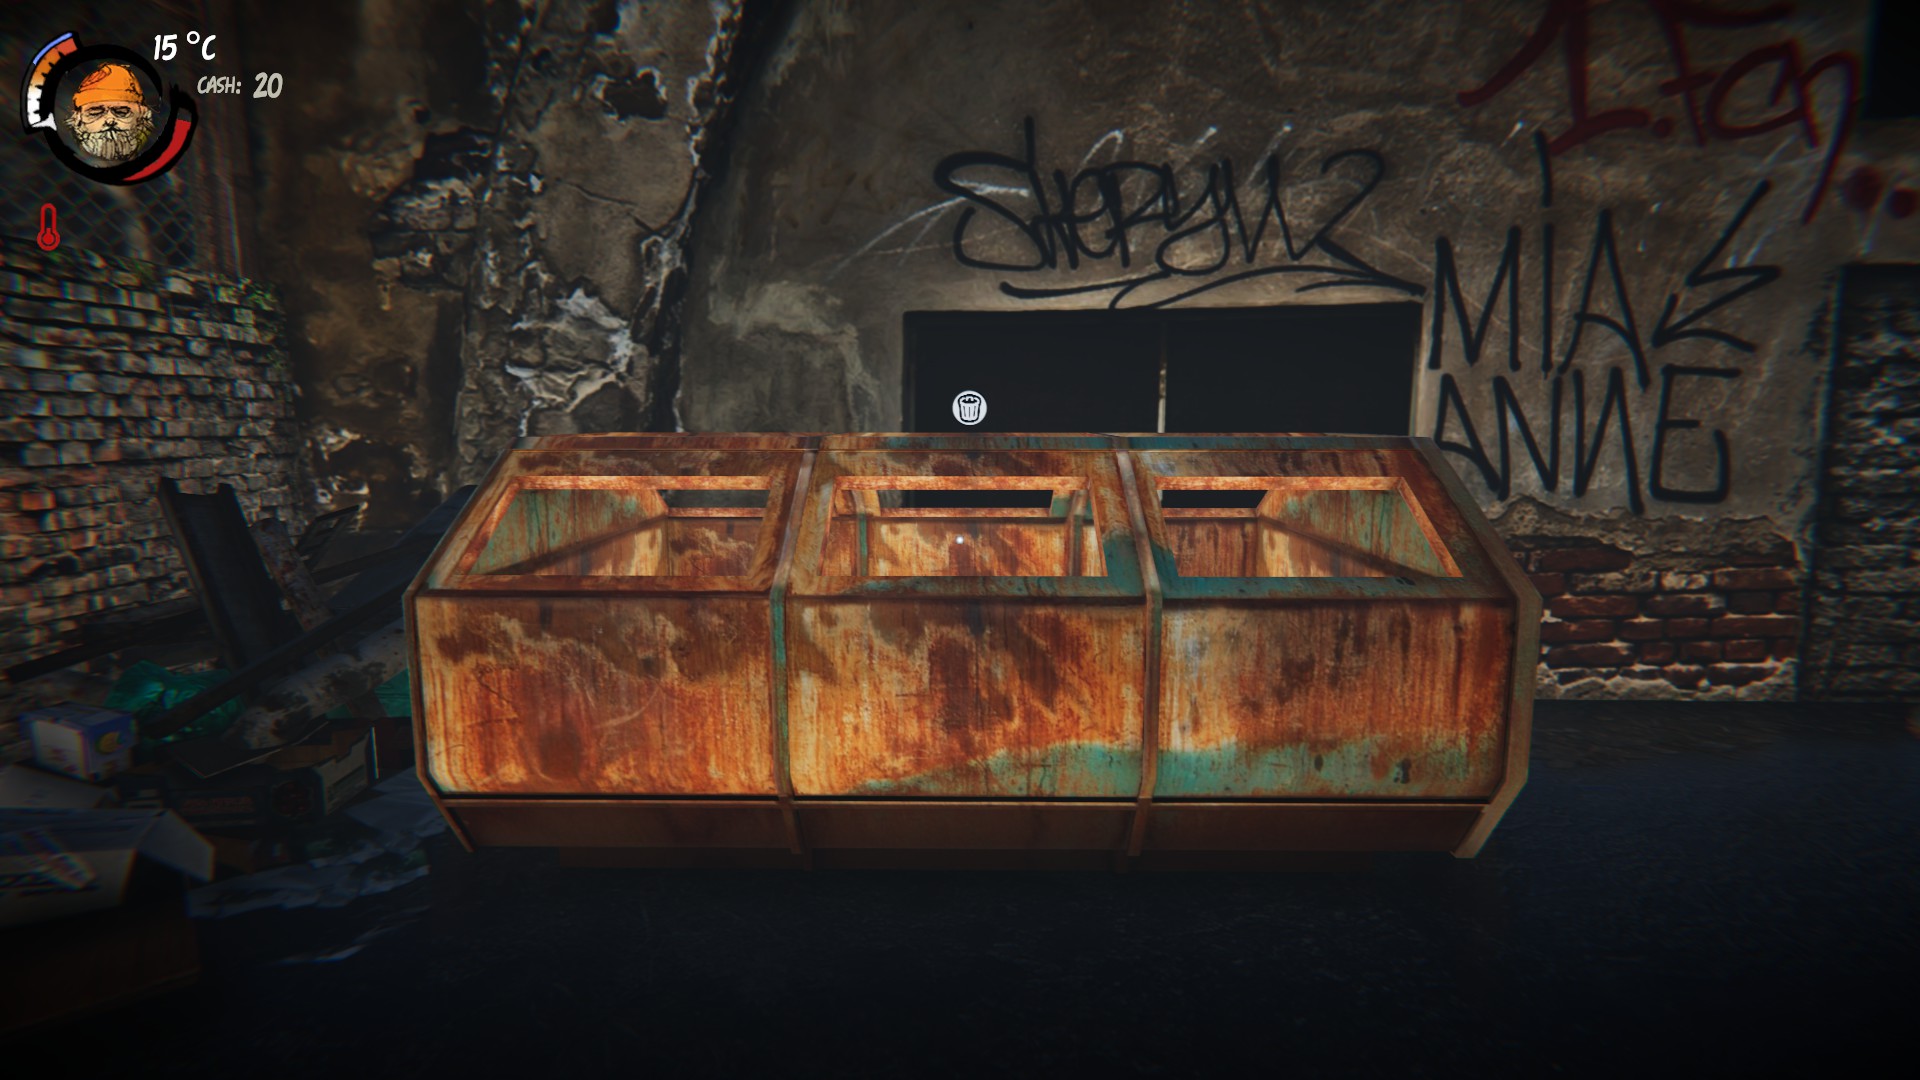
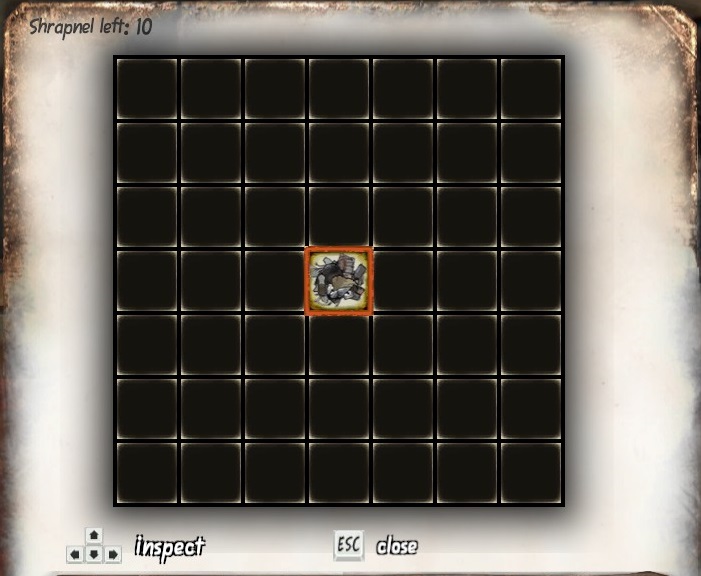 Resource Containers
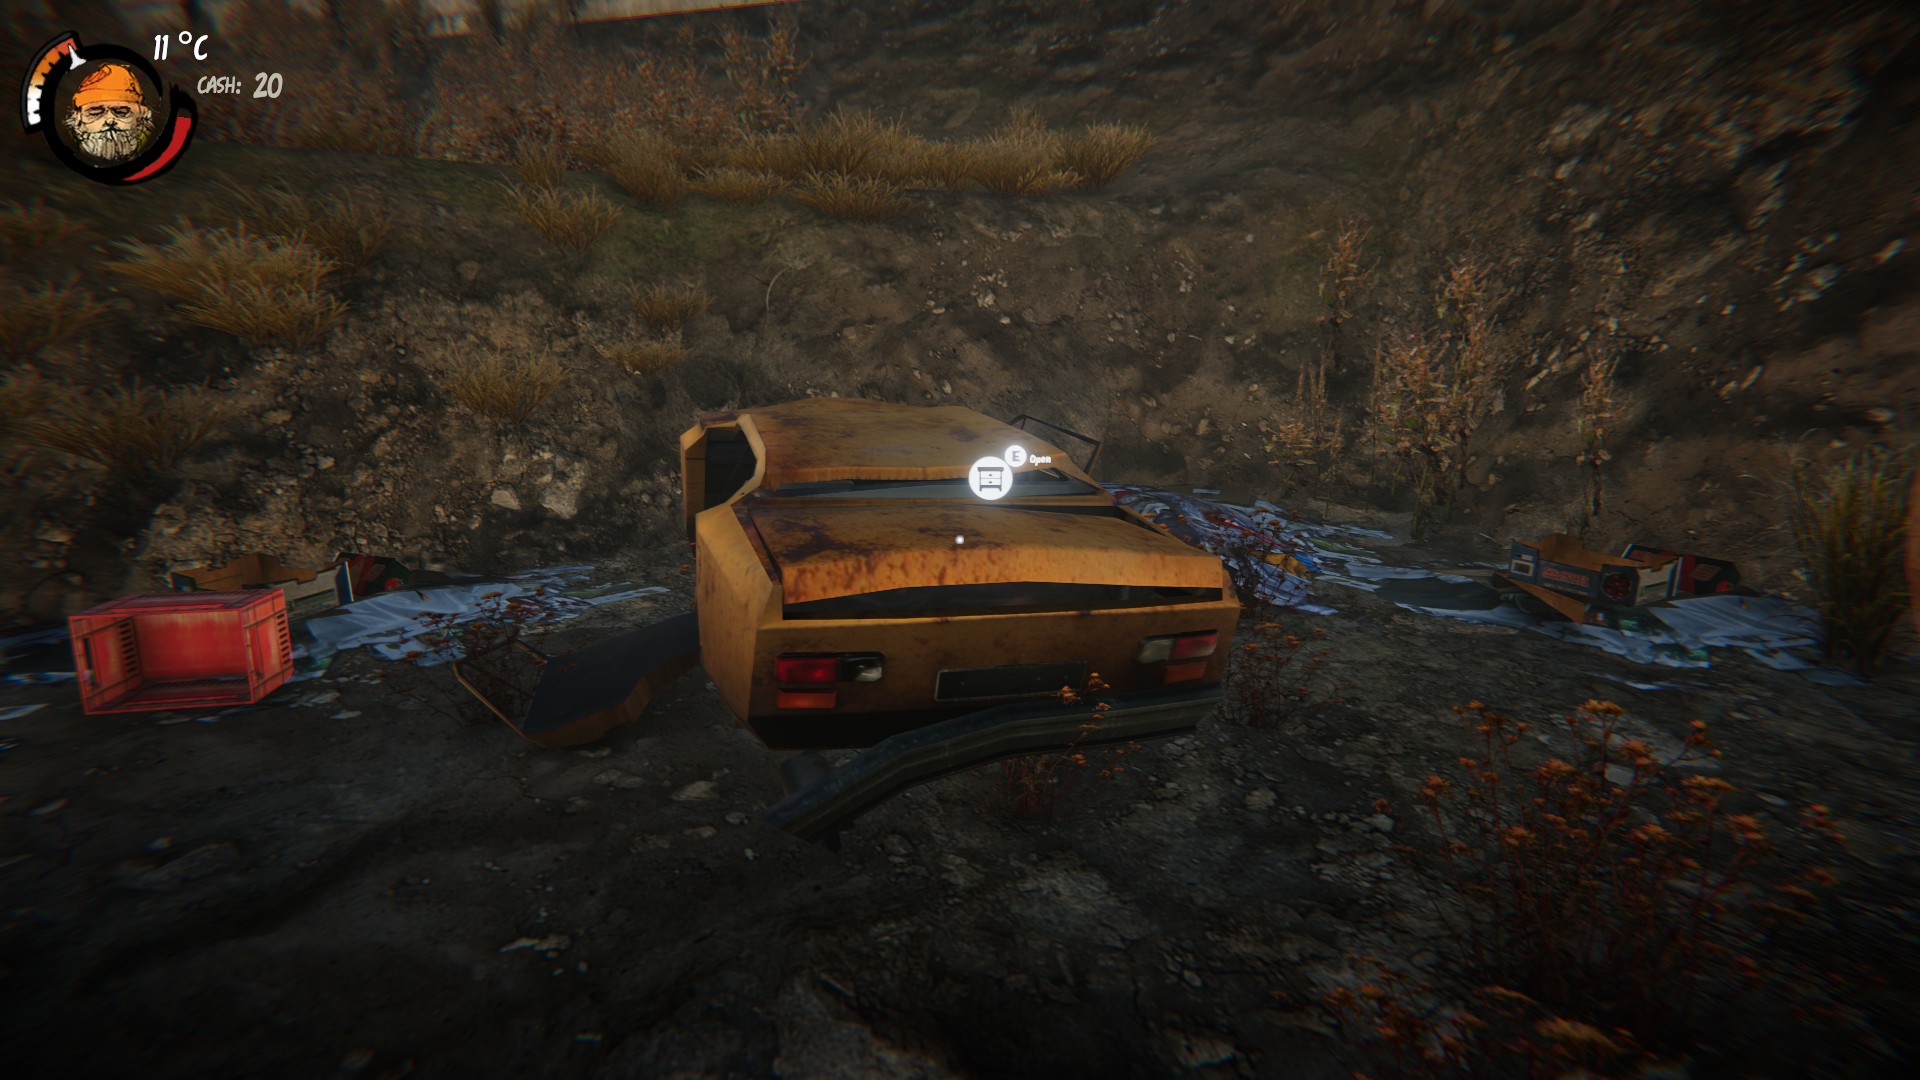
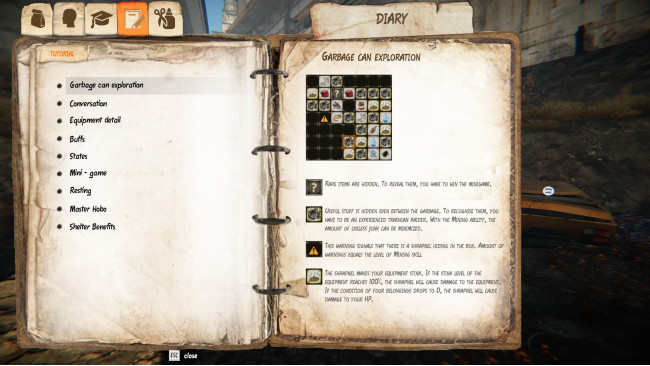
seem to confuse people a bit so I'll try to simplify this as much as I can in my own words. This is covered in the in game tutorial.
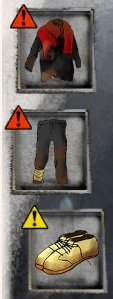
This icon is a stink or "shrapnel" warning, meaning that if you go over it your clothes will get smelly and if your clothes get to smelly you'll start taking damage from going over shrapnel.
Here's the stink / shrapnel icon.
The smellier your clothes are the less likely people will talk to you and if they do talk to you the harder the mini game may be.
Exclamation Mark Icon Description Faded Yellow Slightly smelly, don't worry to much. Solid Yellow Pretty smelly, should probably think about changing or washing. Solid Red Extremely smelly, change or wash clothes asap.
Bigger dumpsters also offer the chance of getting a special find, this find can vary from hobo area items like chairs, shelves etc. to clothing.
In this guide I'll categorise the dumpsters by difficulty due to the container size - shrapnel count and rewards.
Easy
These dumpster / bins are the easiest out of them all, they only have 2 shrapnel but normally have food scraps. They only have 9 slots.
Medium
Hard
These 2 red dumpsters seem to be the best to get the "finds".
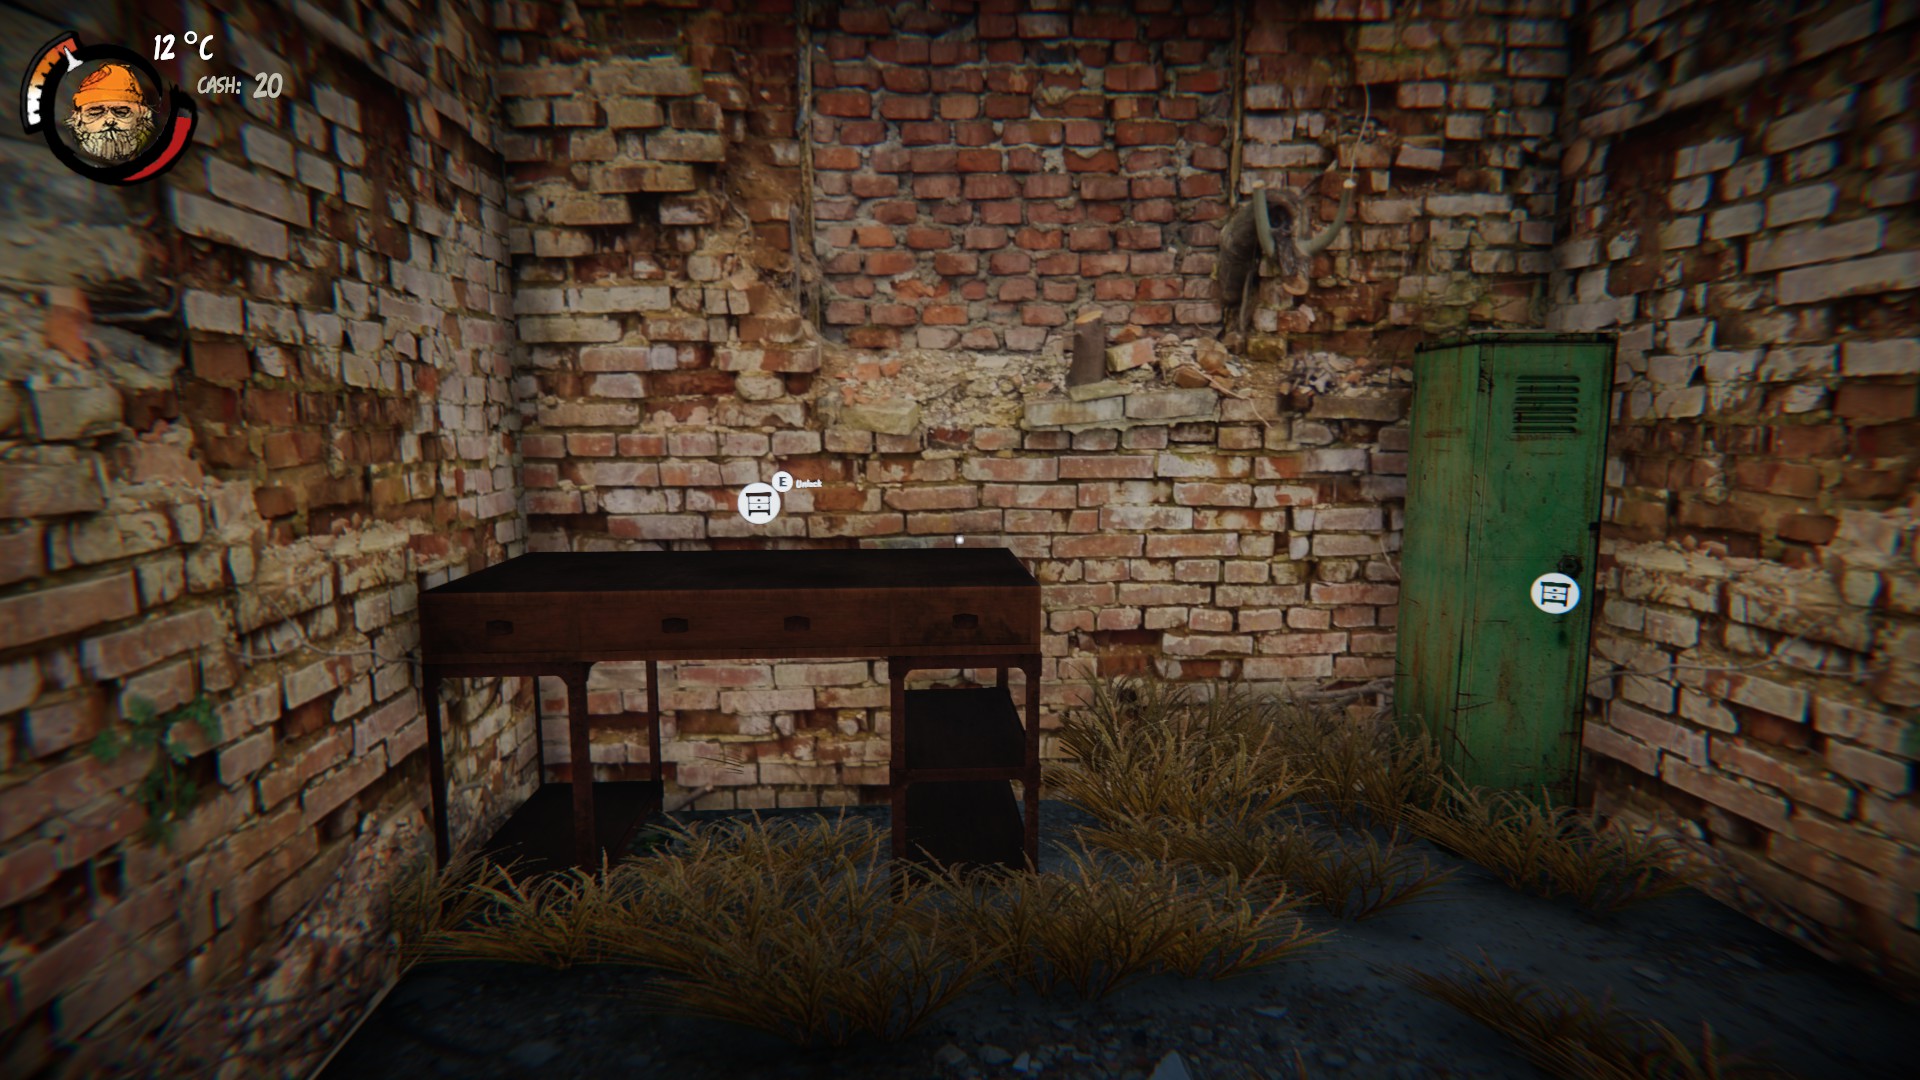
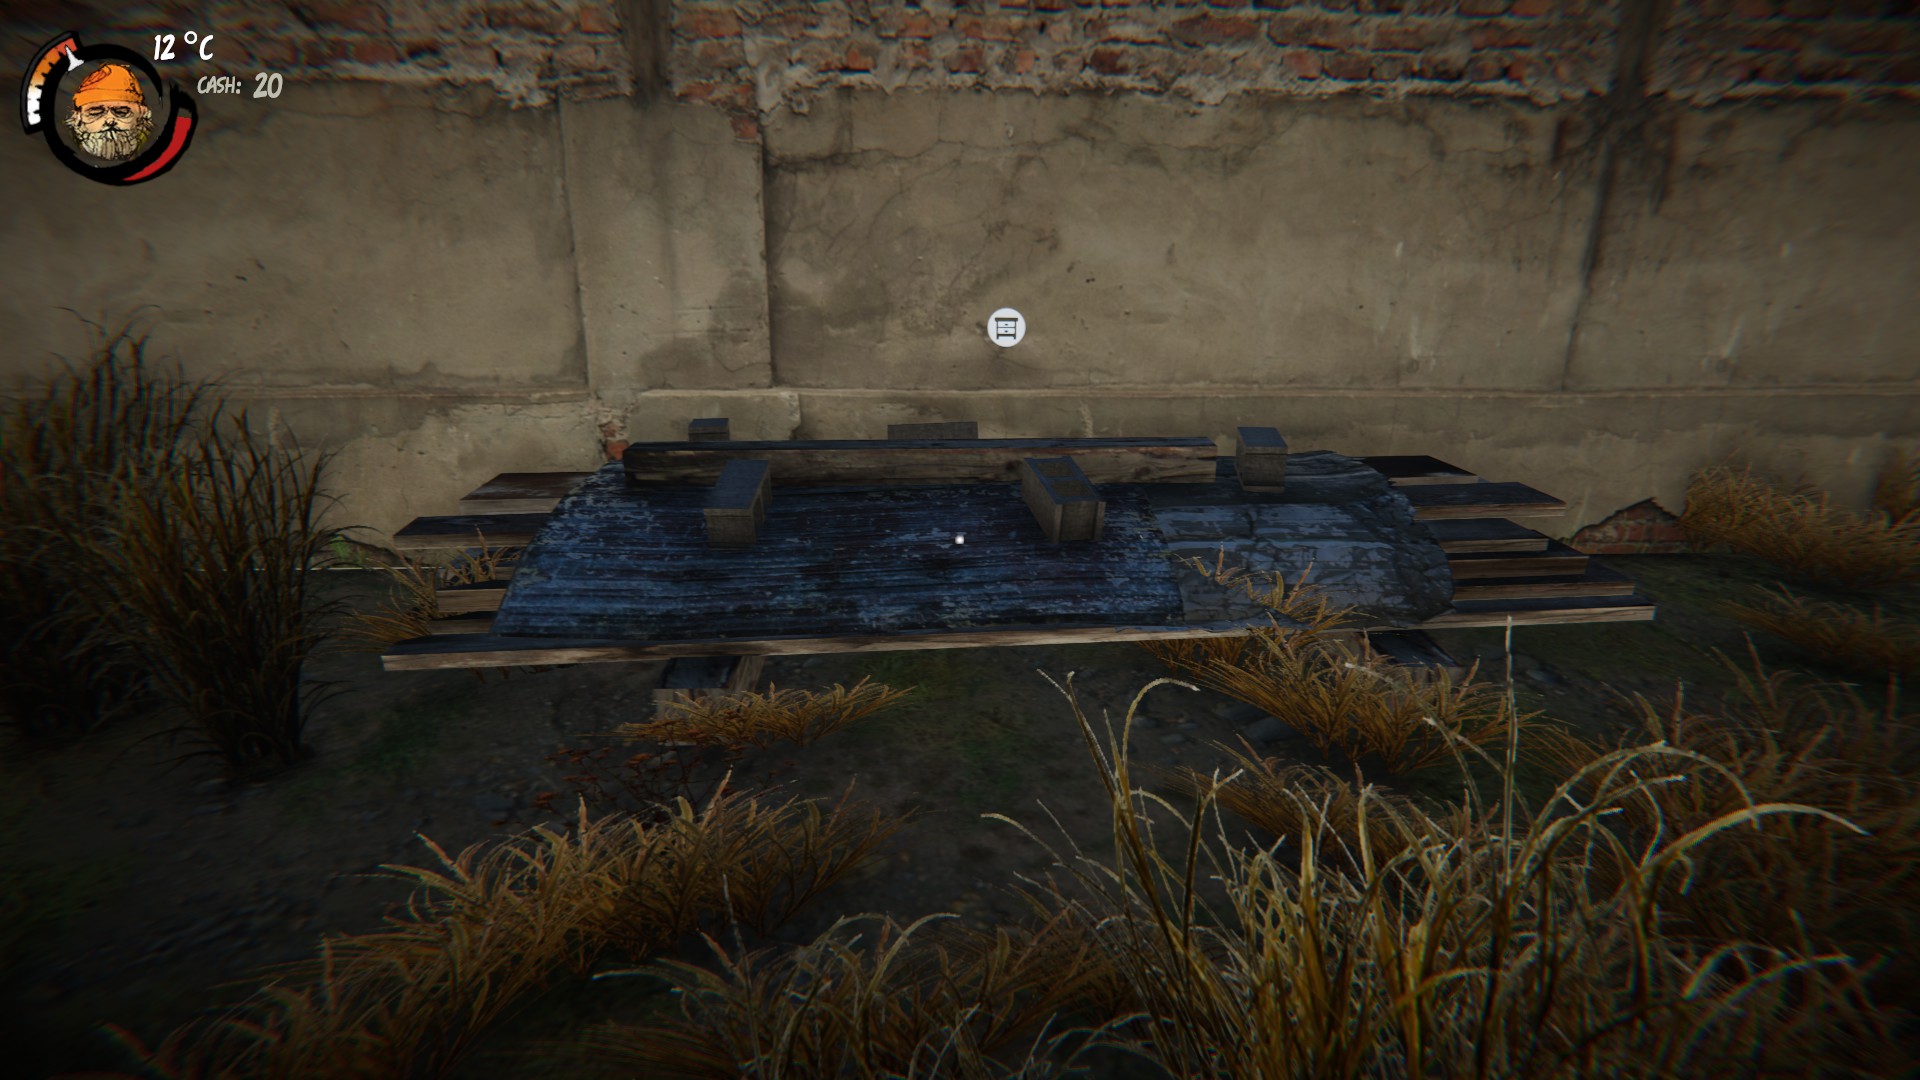
In addition to the standard dumpsters you can also find resource containers, these containers have things you need for base building, repairing items etc. Some of these are locked.
This one only gives you wood.
NPC Hobo's
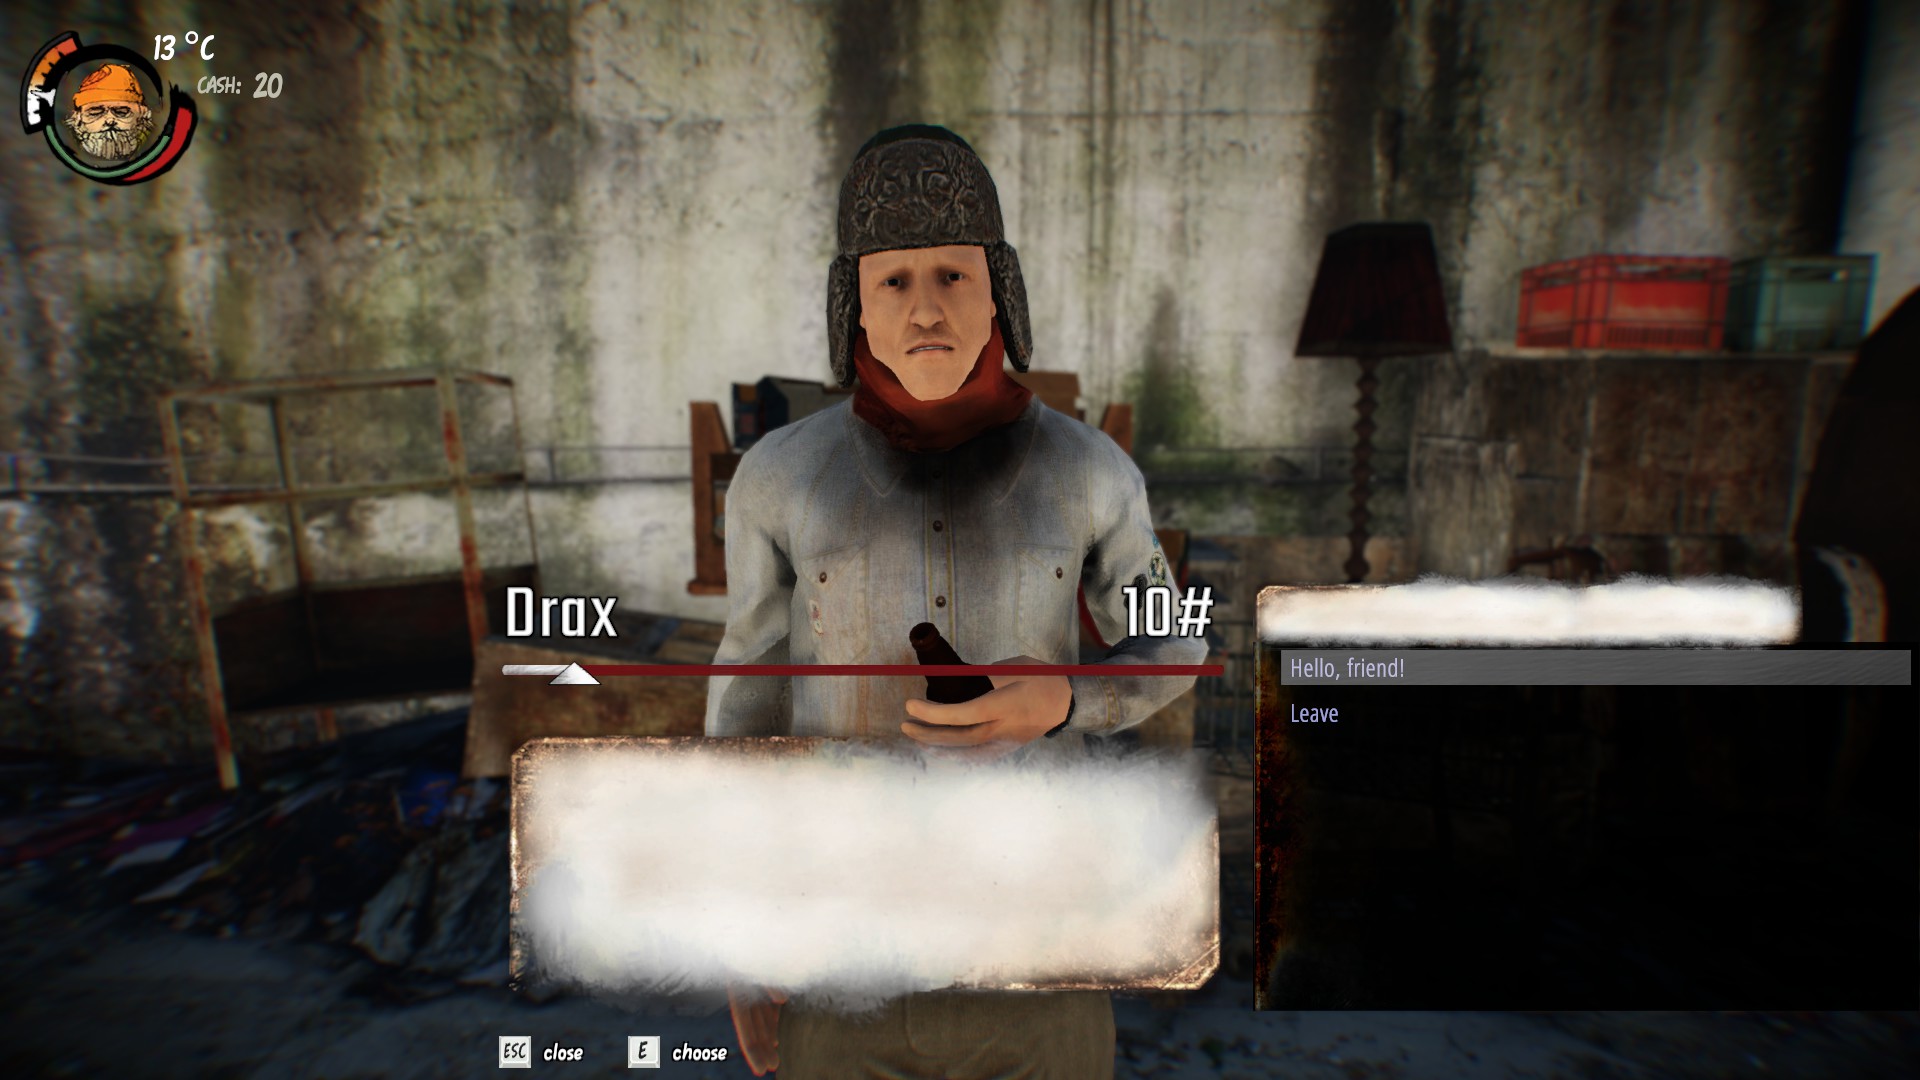
Drax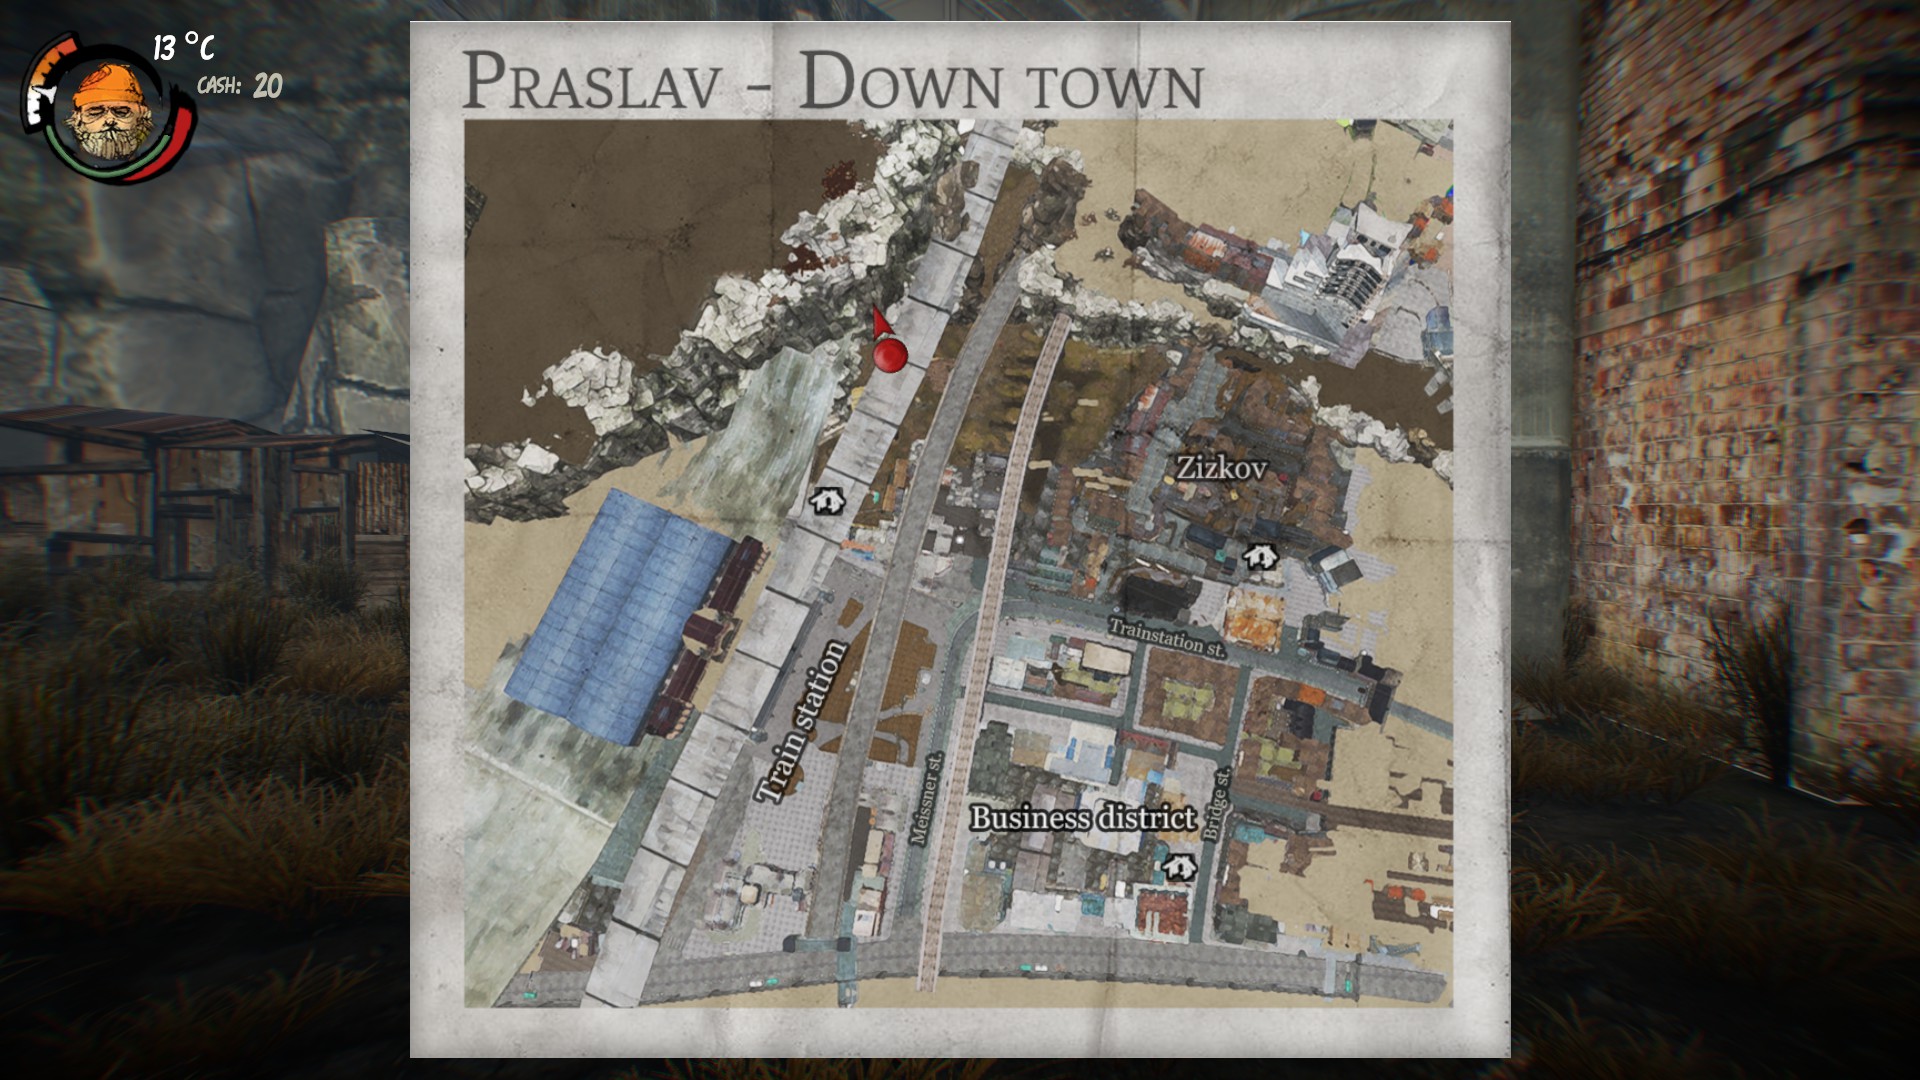
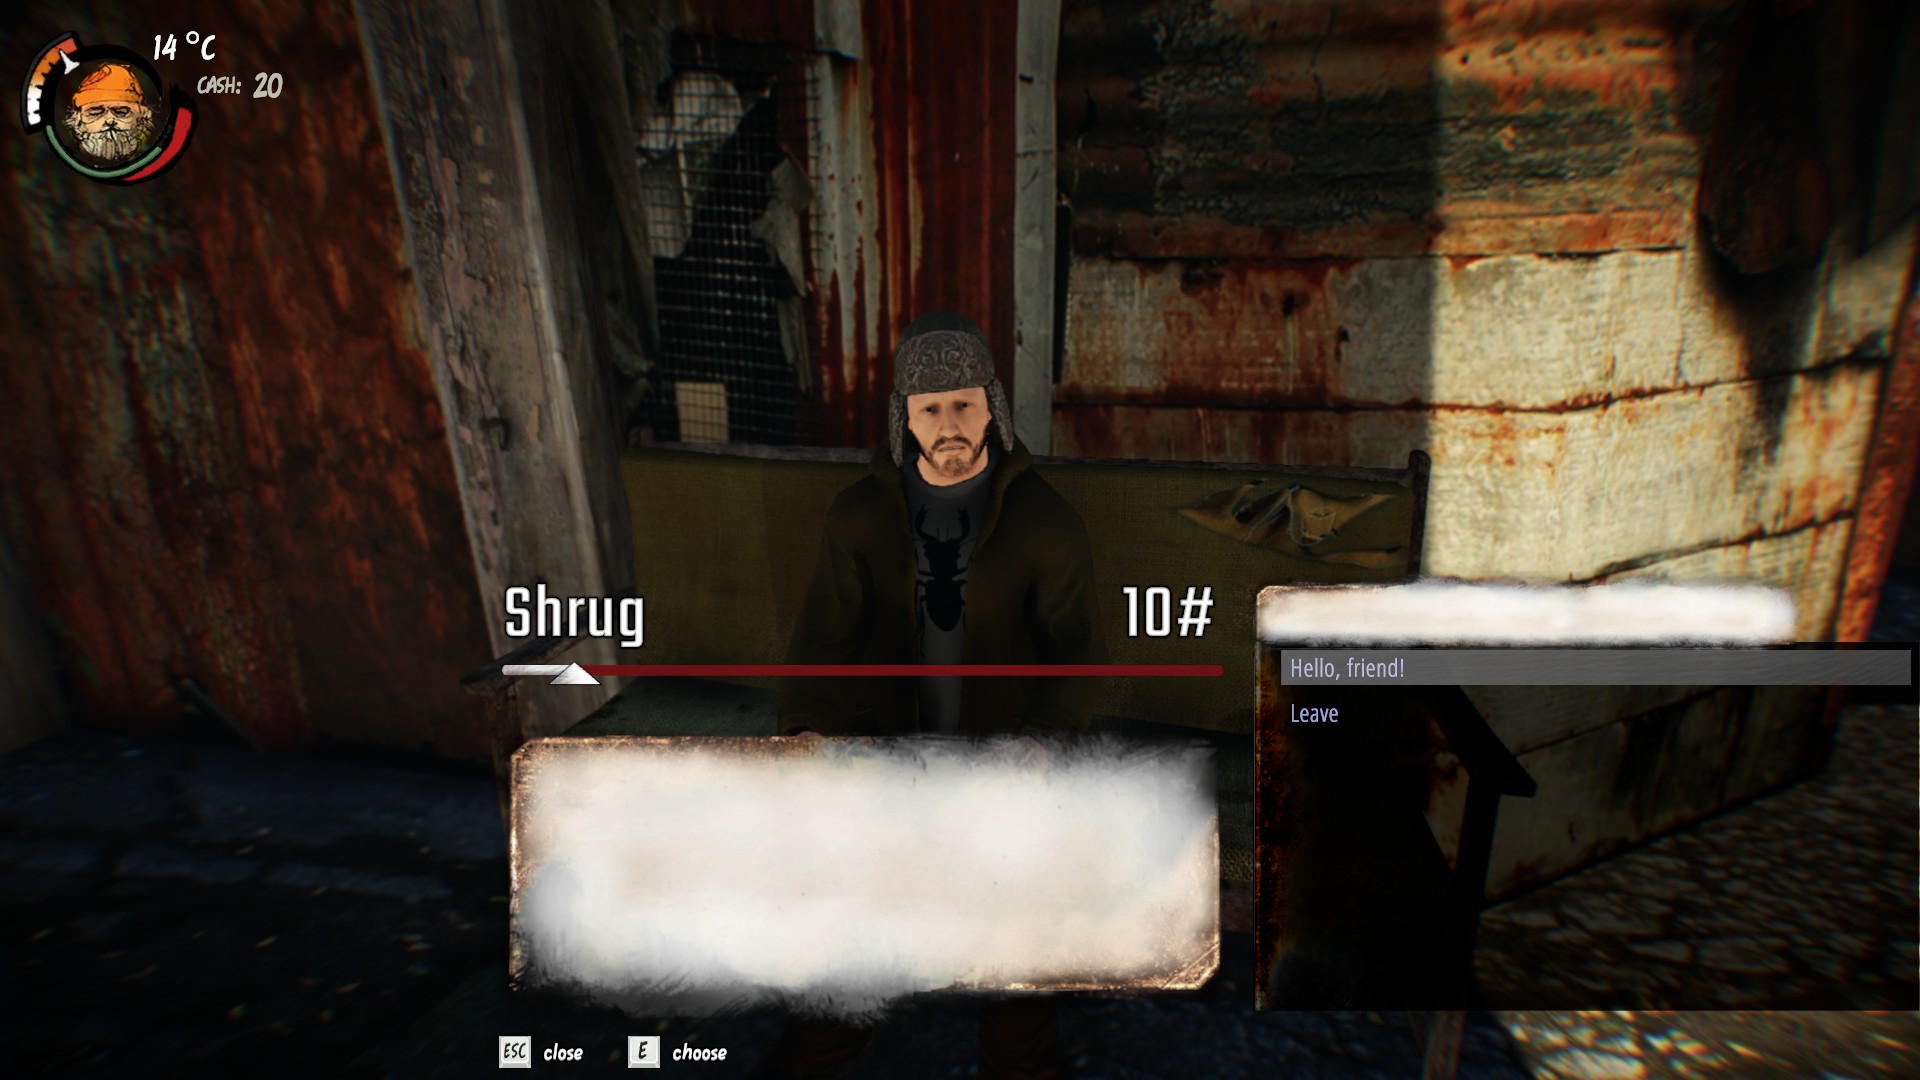
 Shrug
Shrug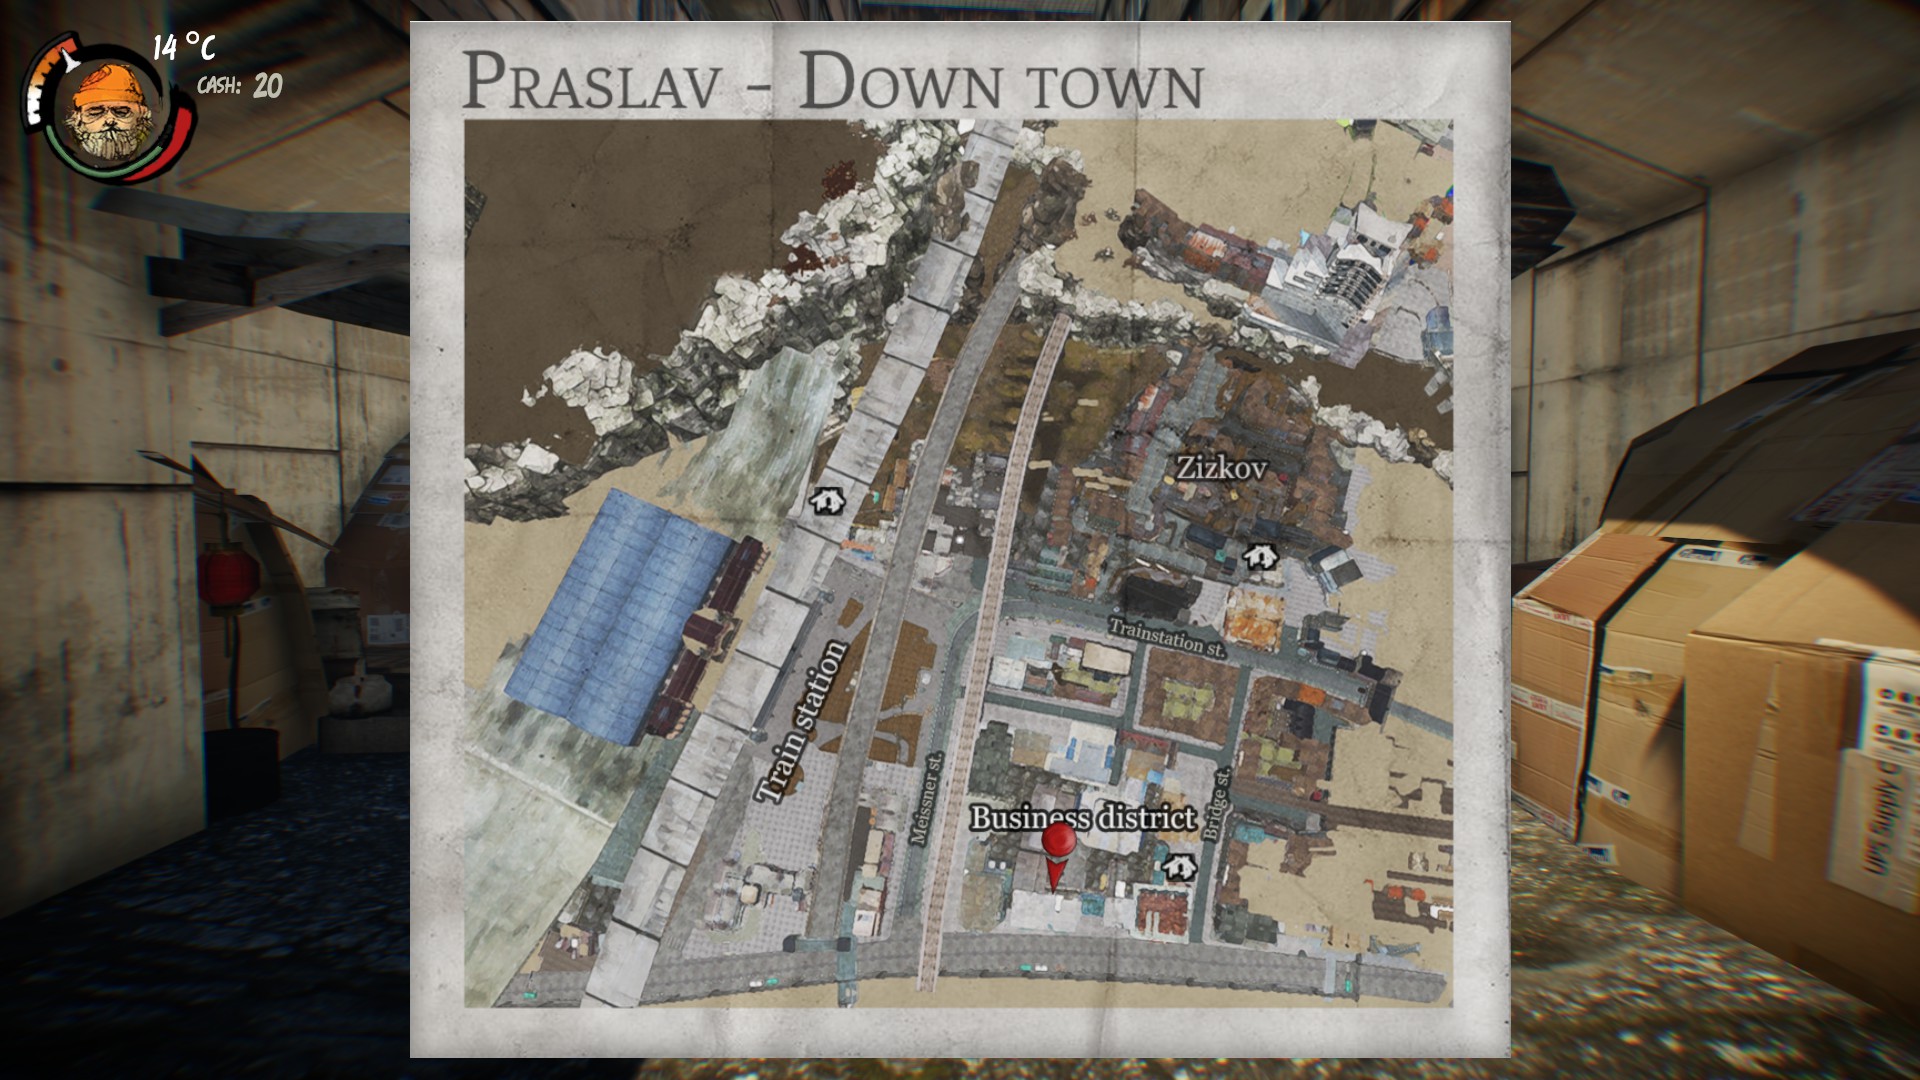

 Monty
Monty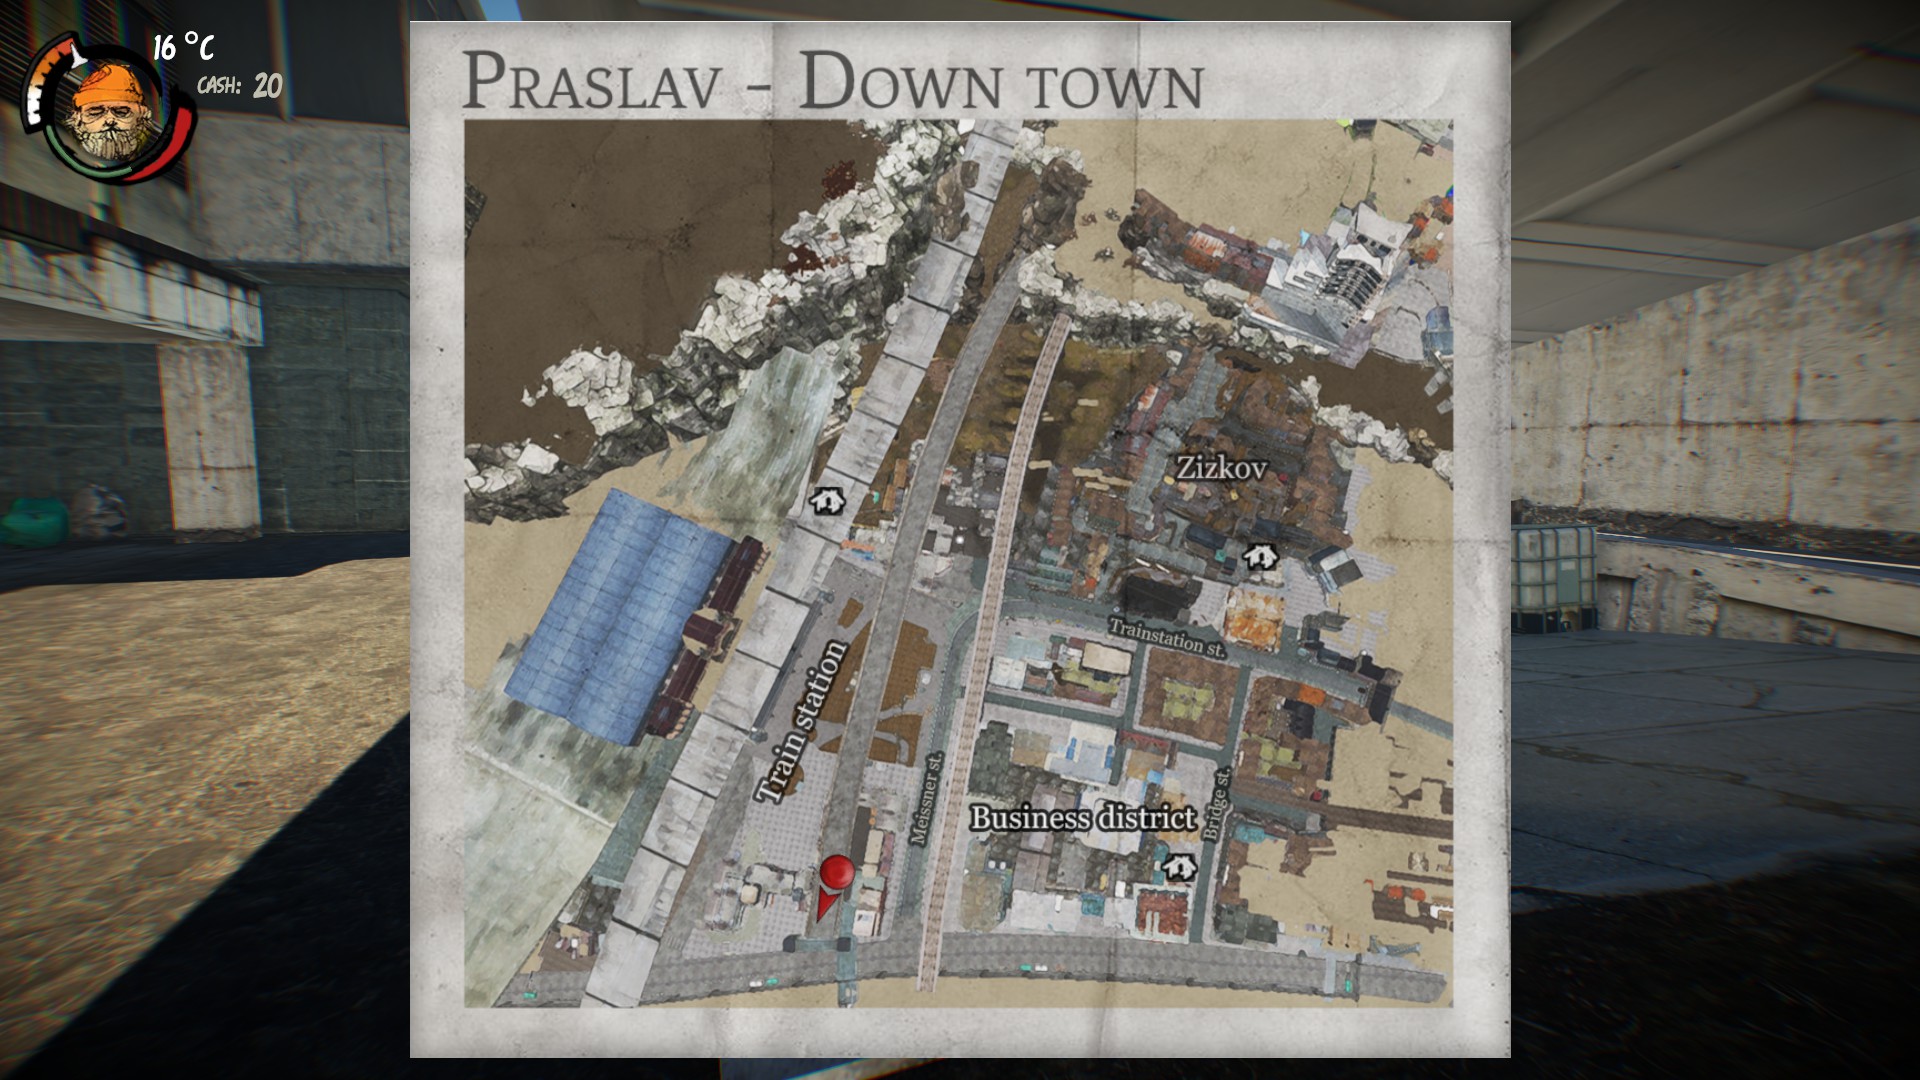
 Nugget & Brekeke
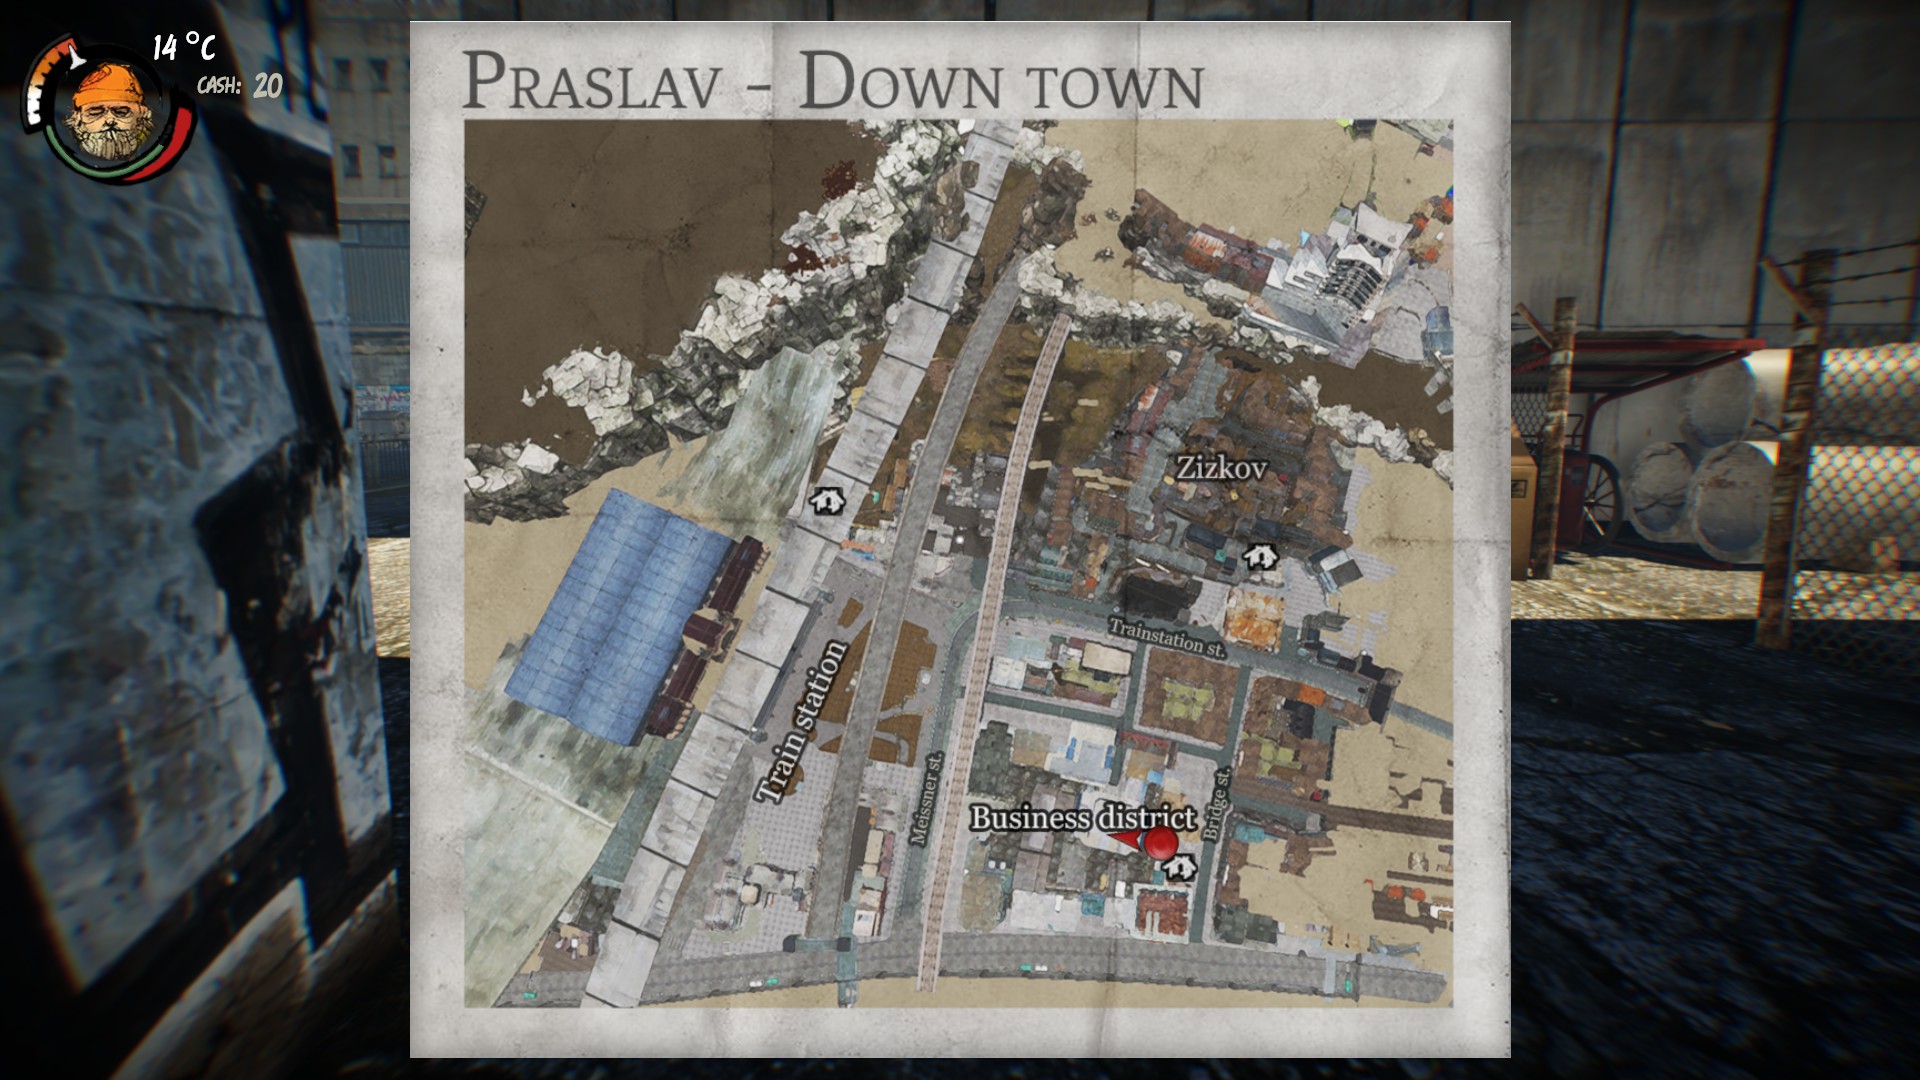
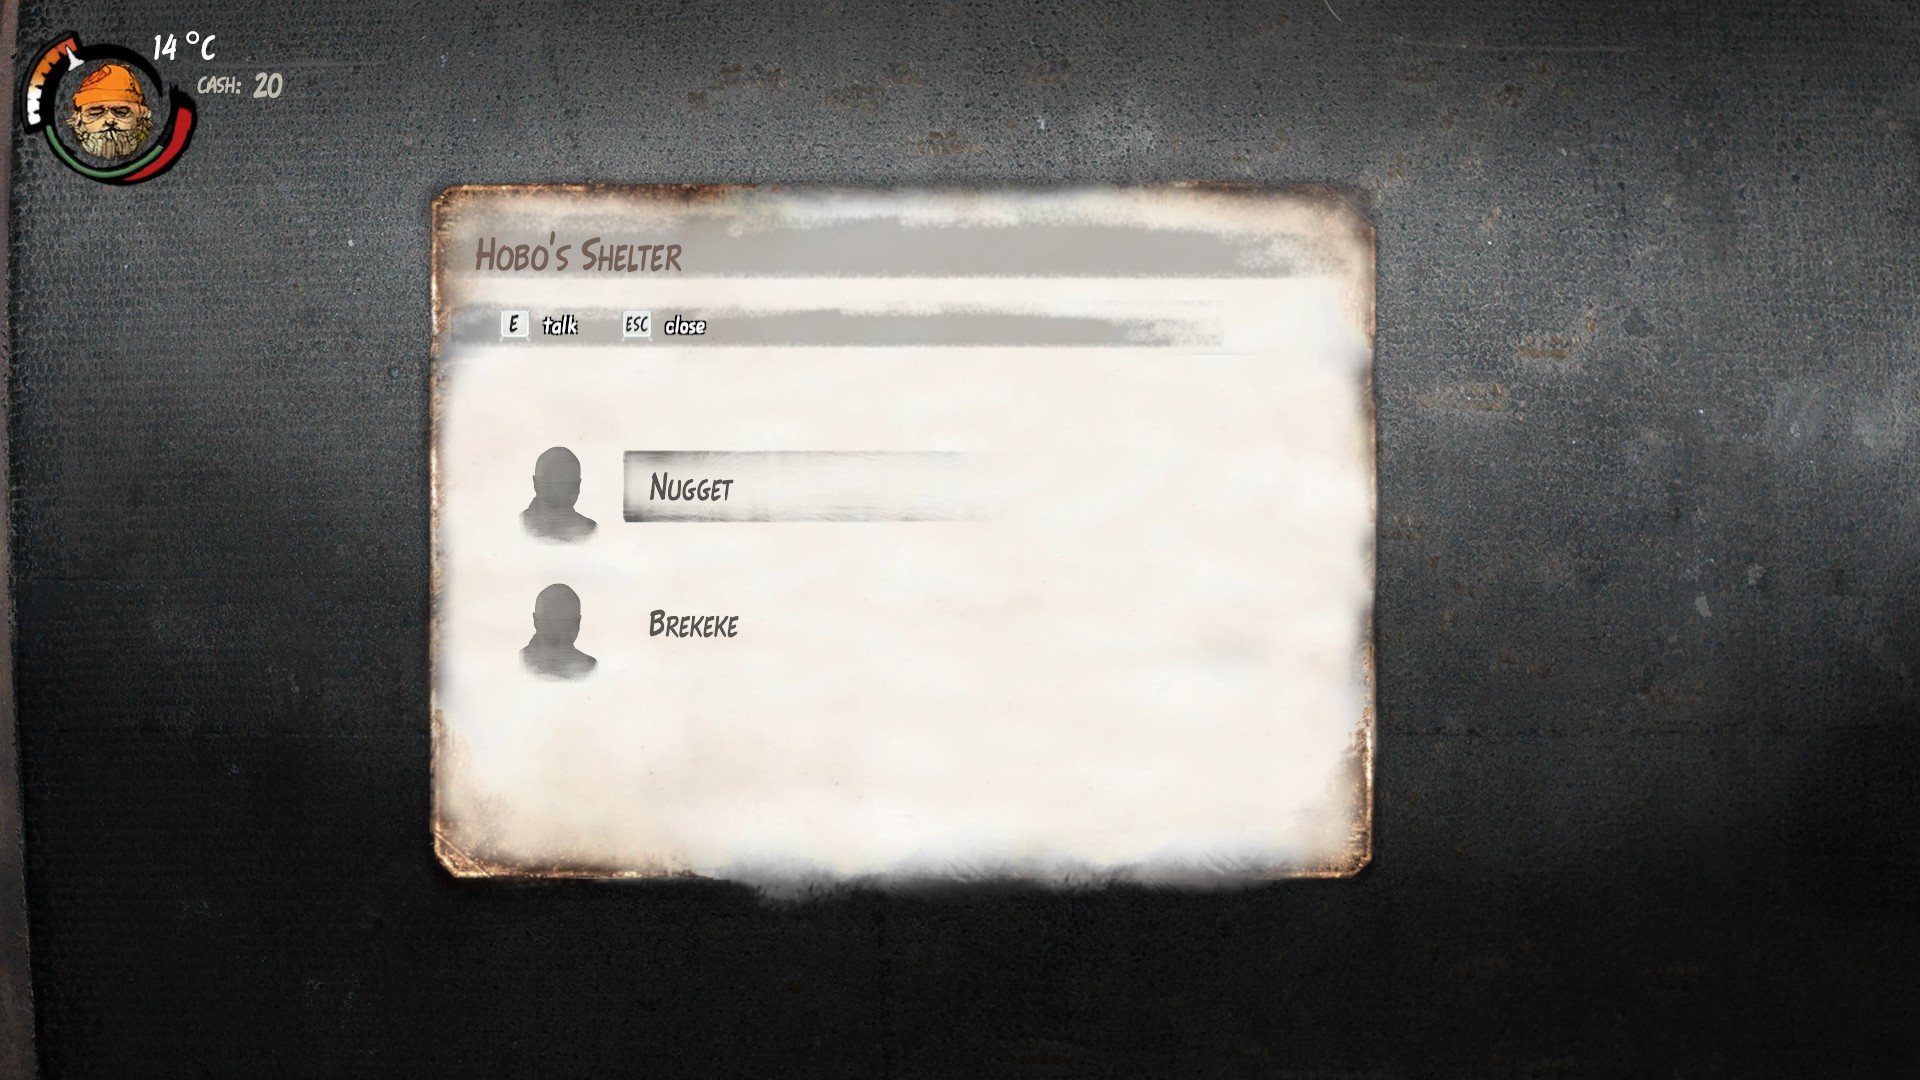
This section is for the NPC hobo's that you'll meet.
First one you'll find is , you can barter with him.
Next is , again you can barter with him.
Next is , I couldn't seem to do anything with him though.
Last but not least is , interesting characters...
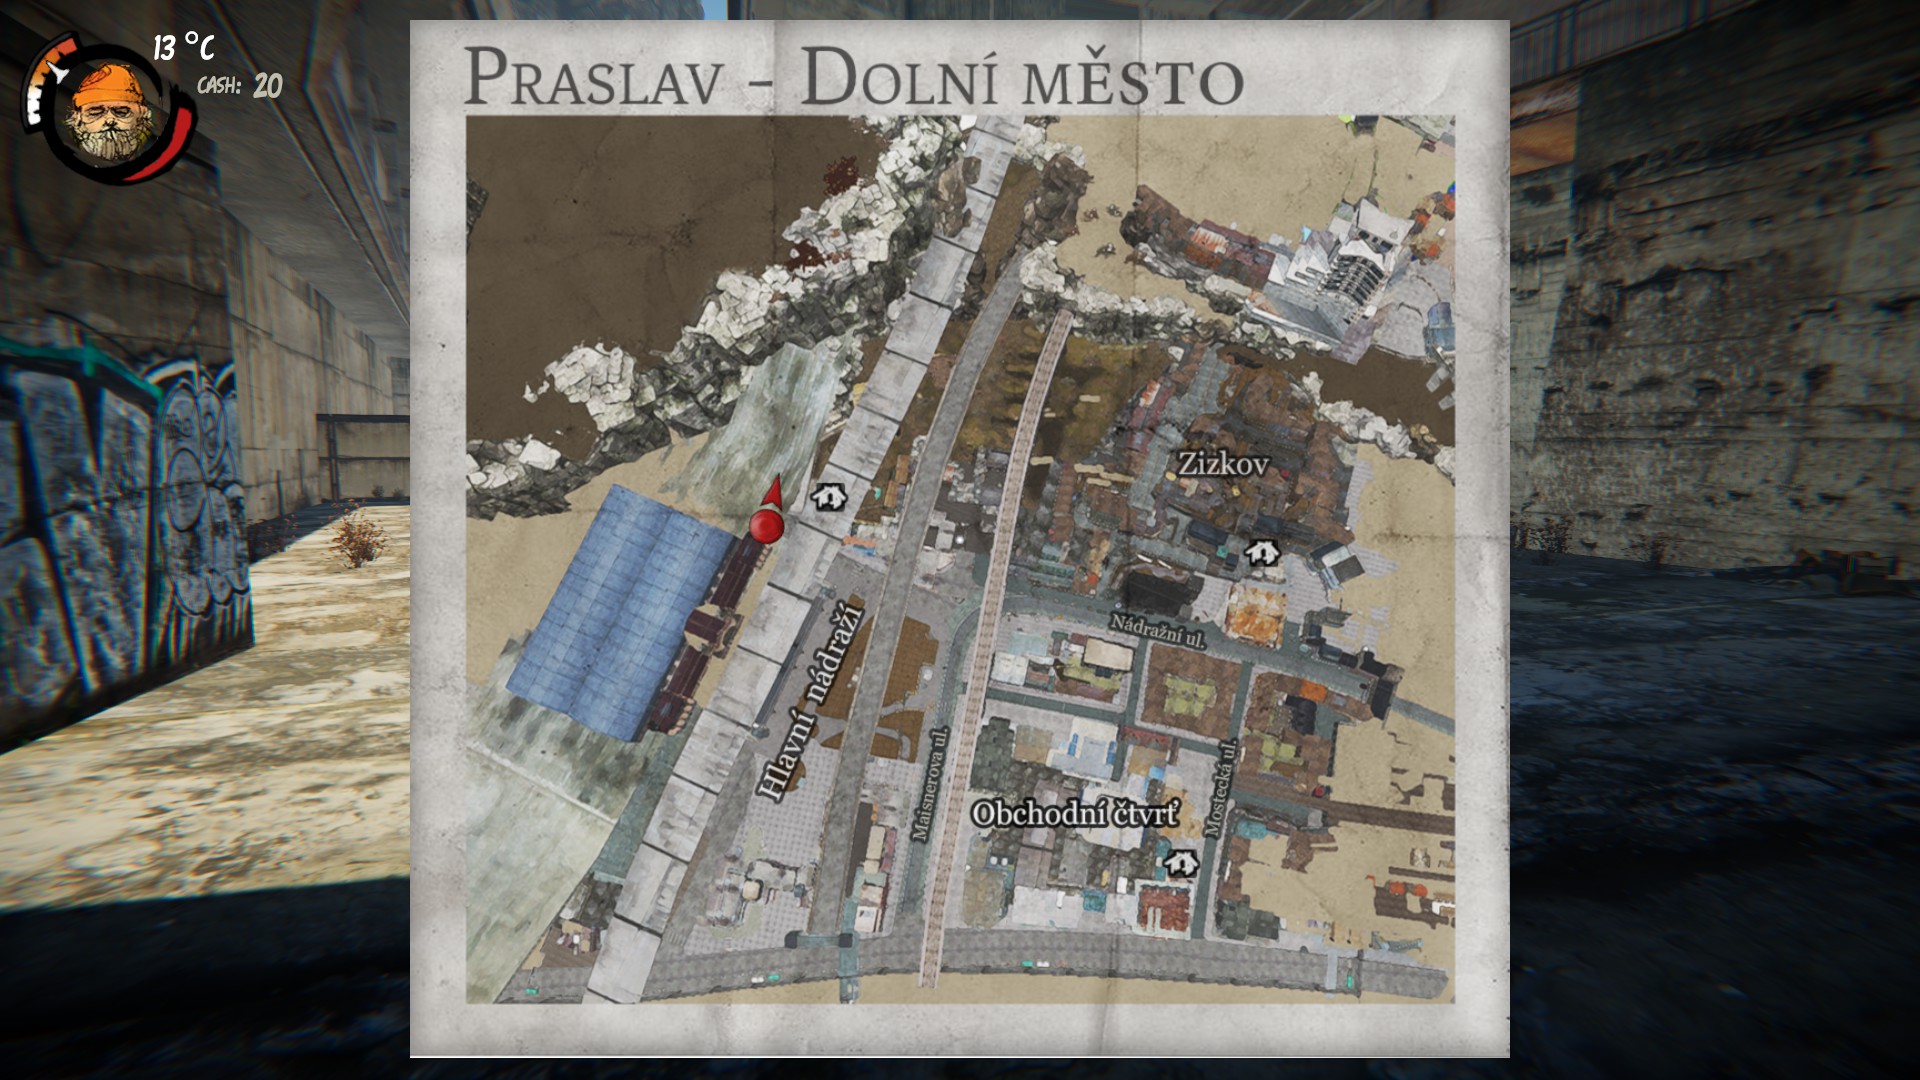
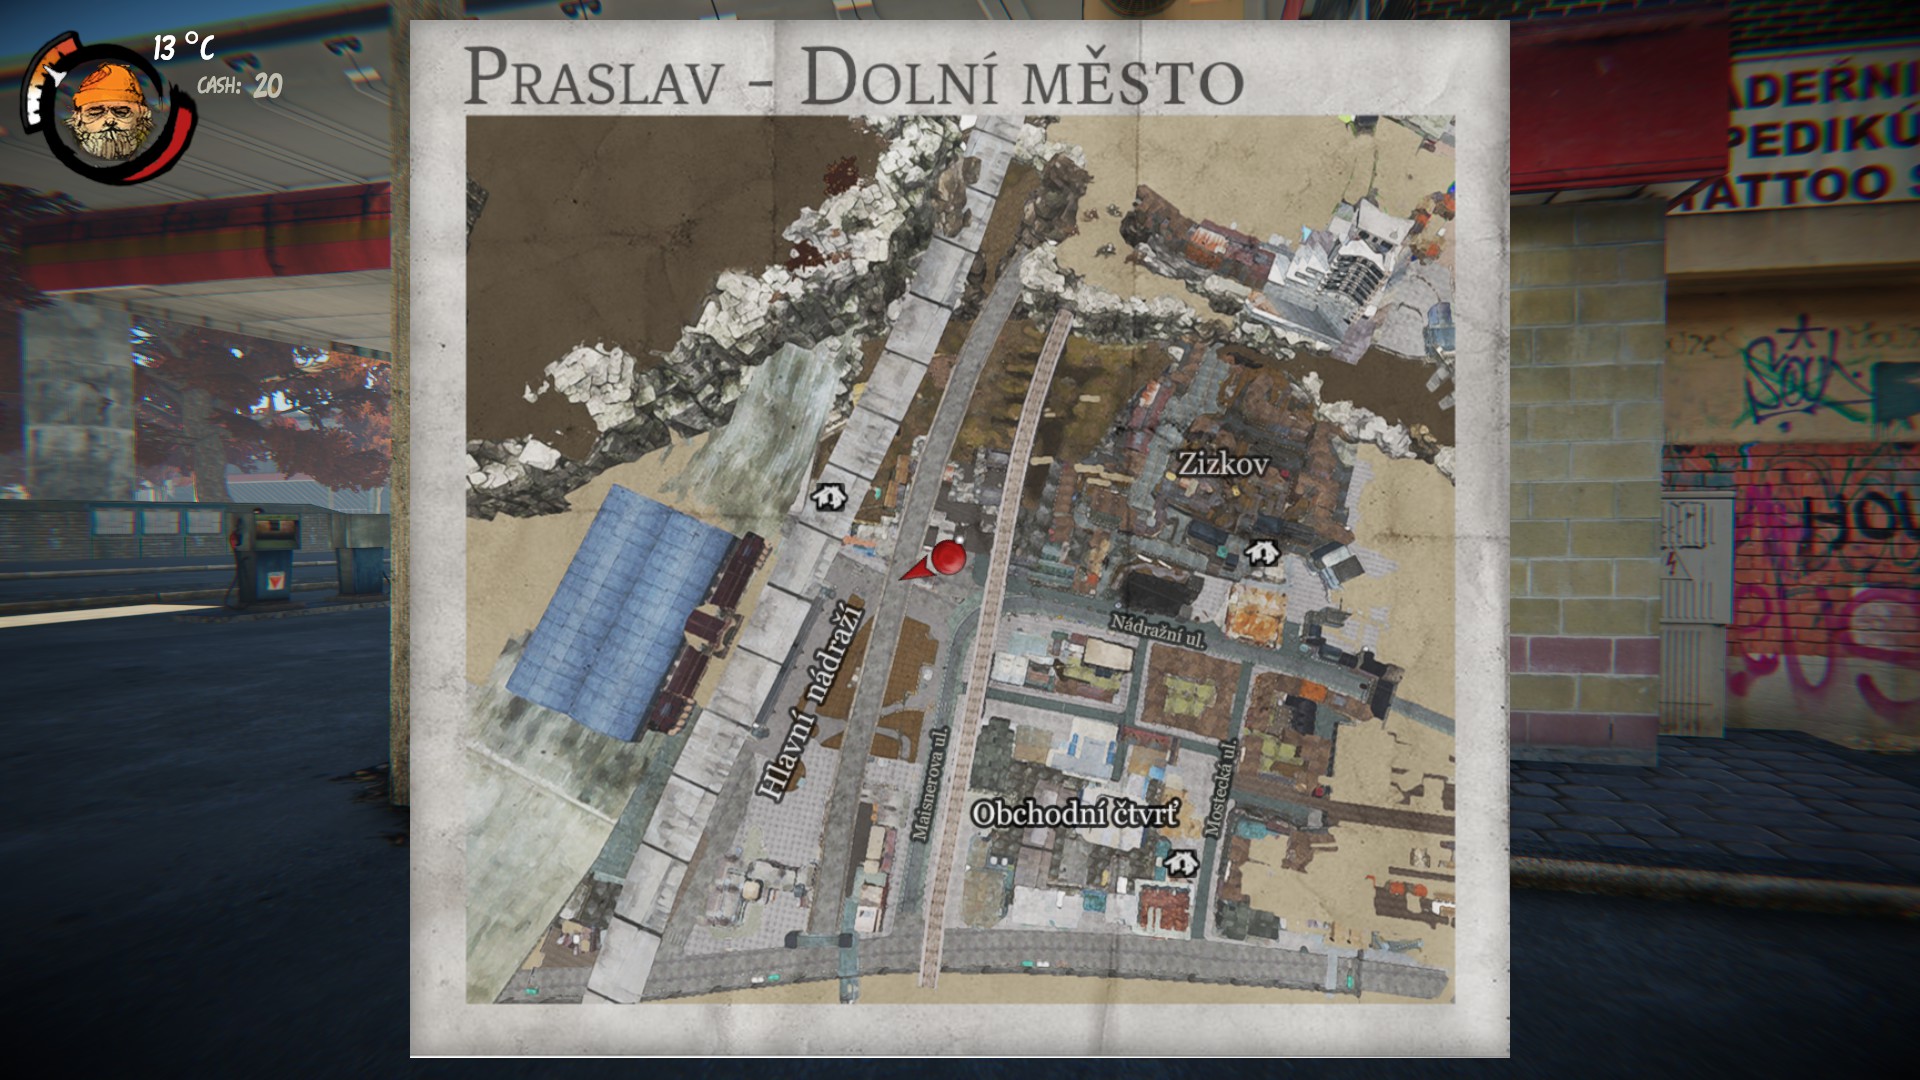
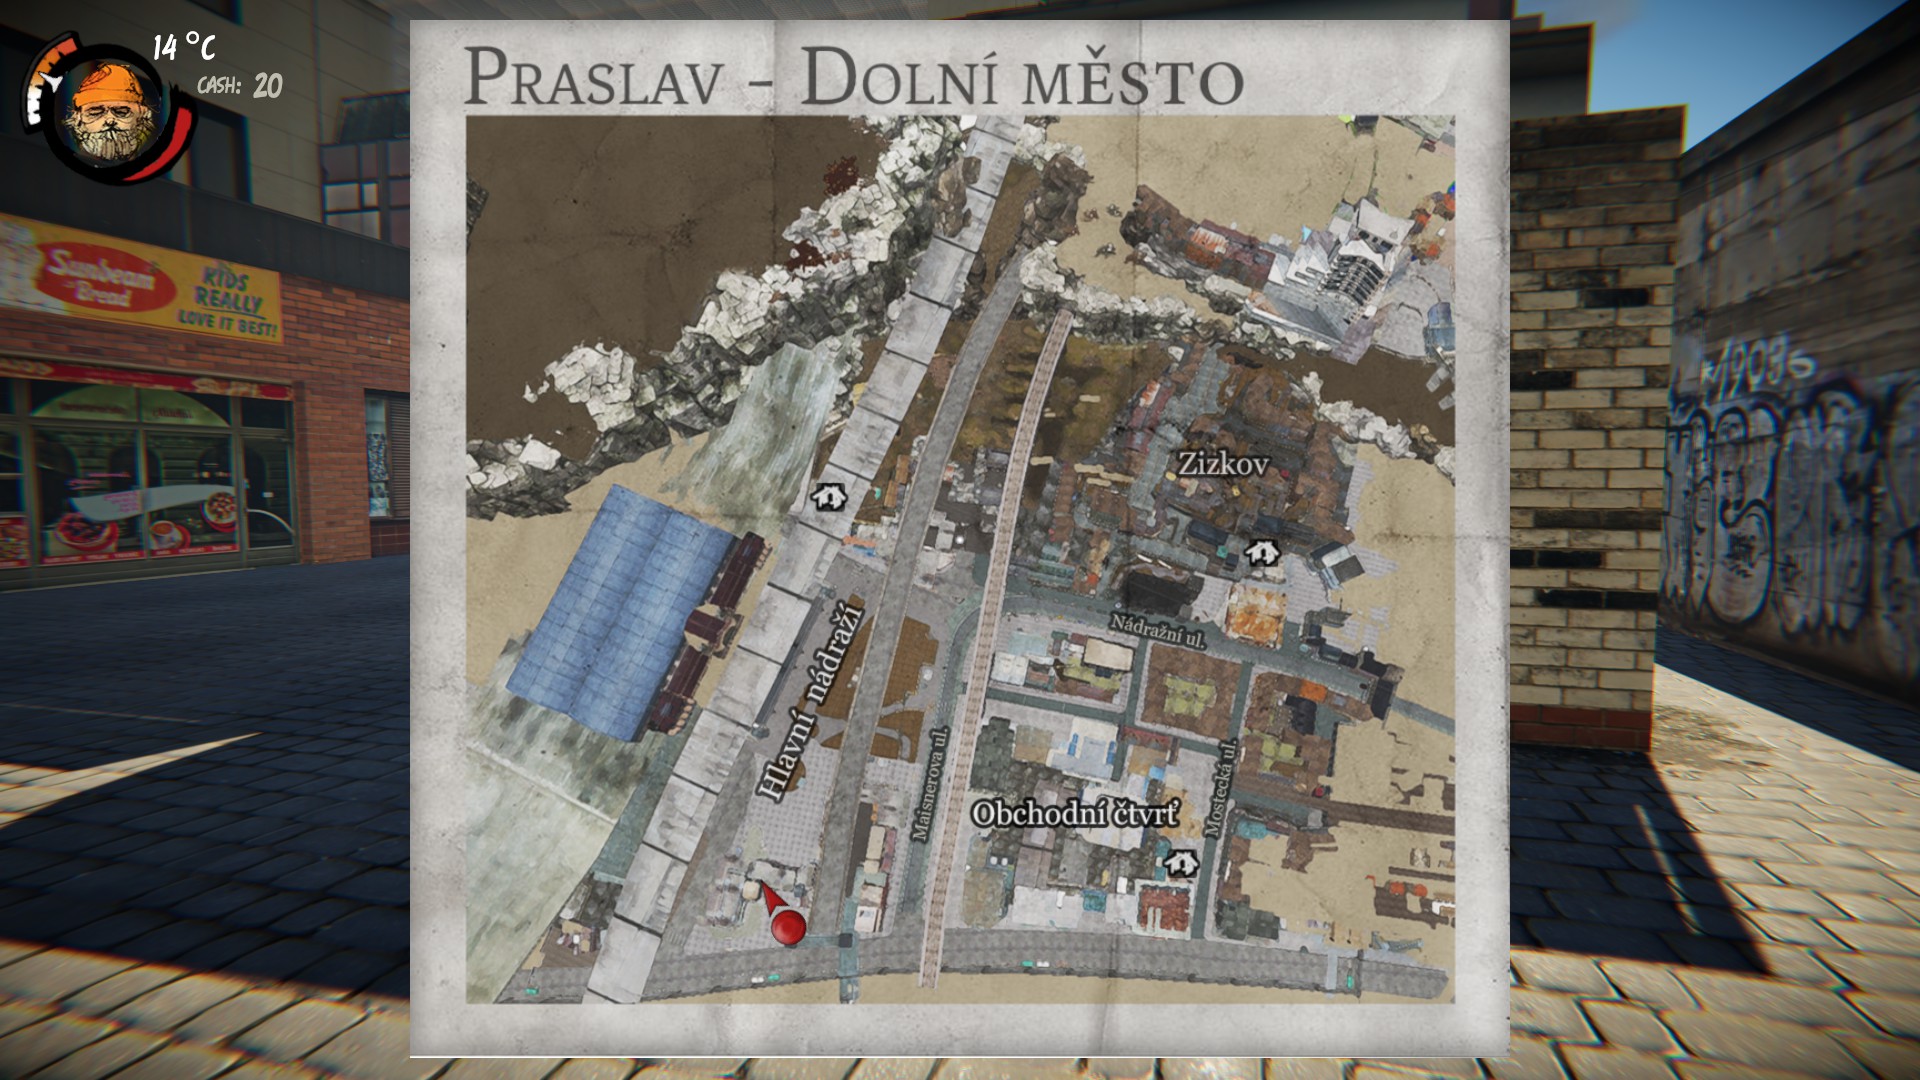
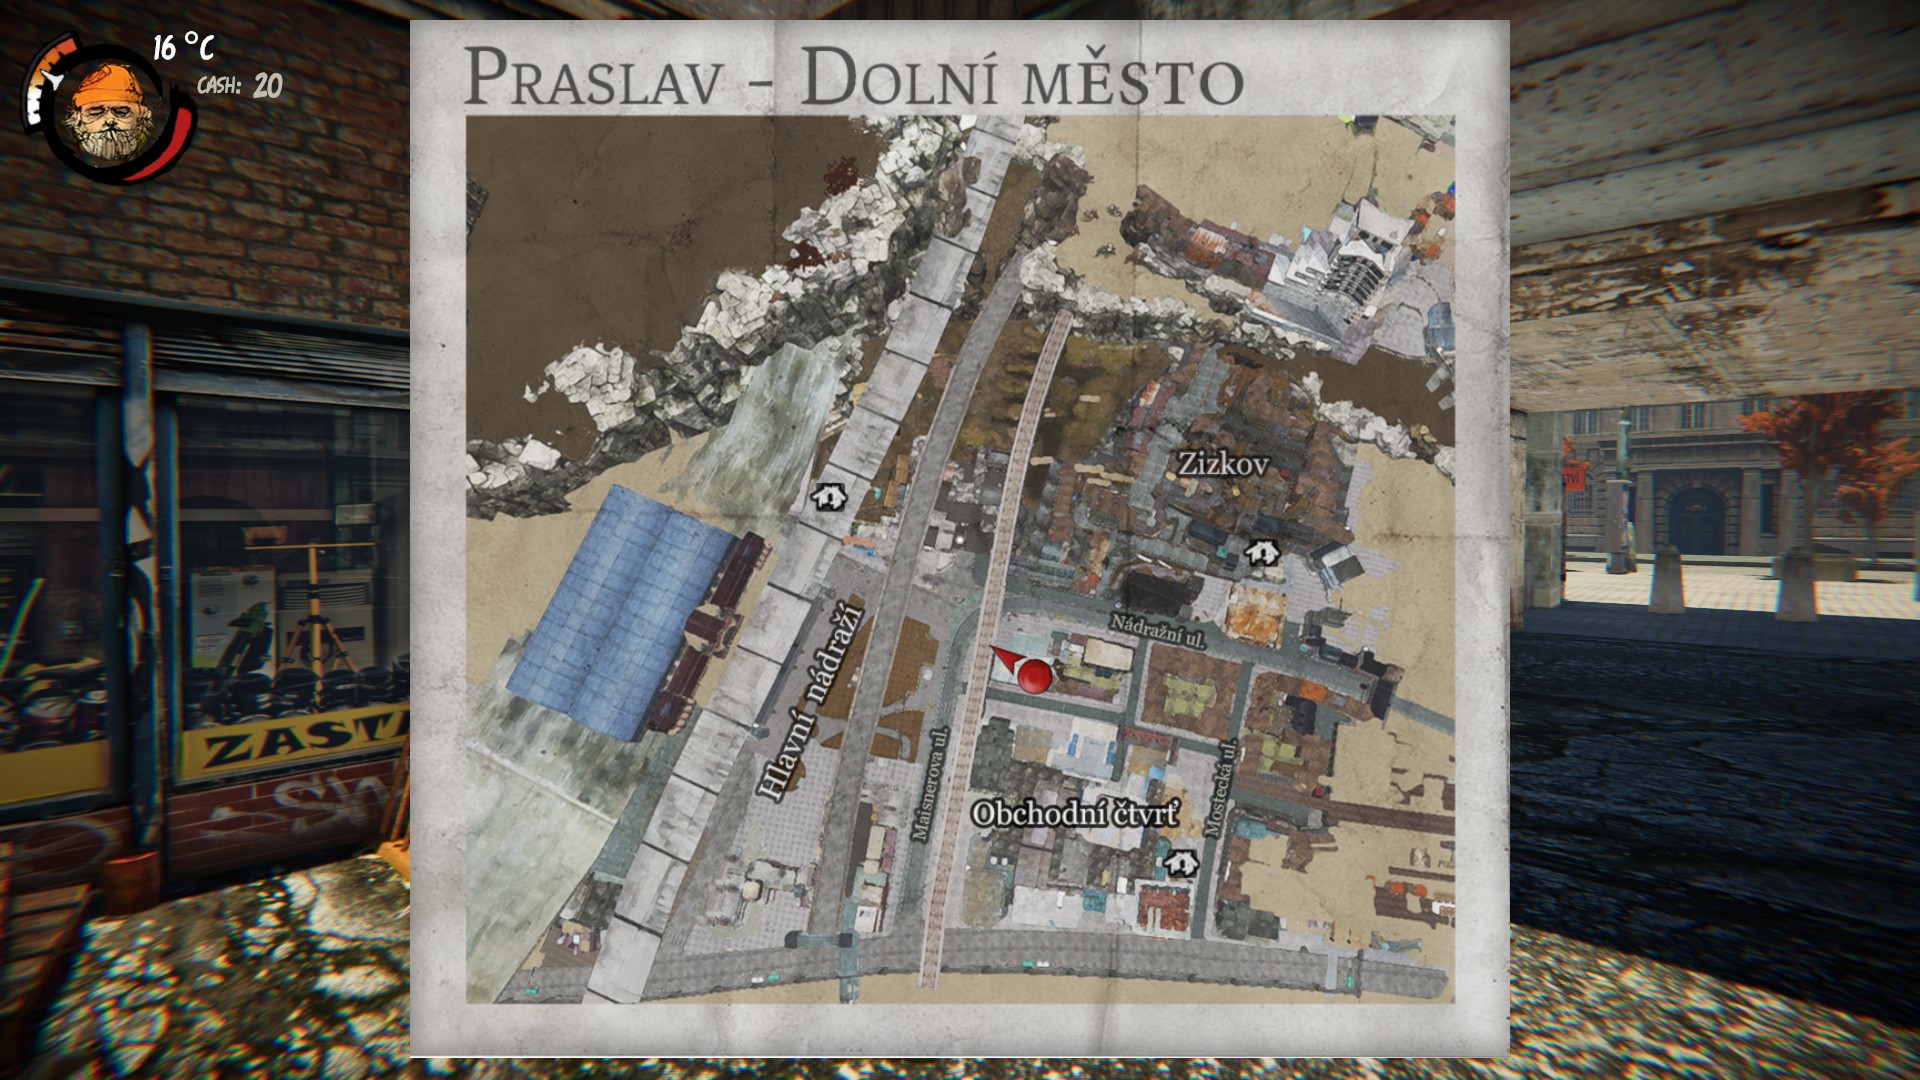
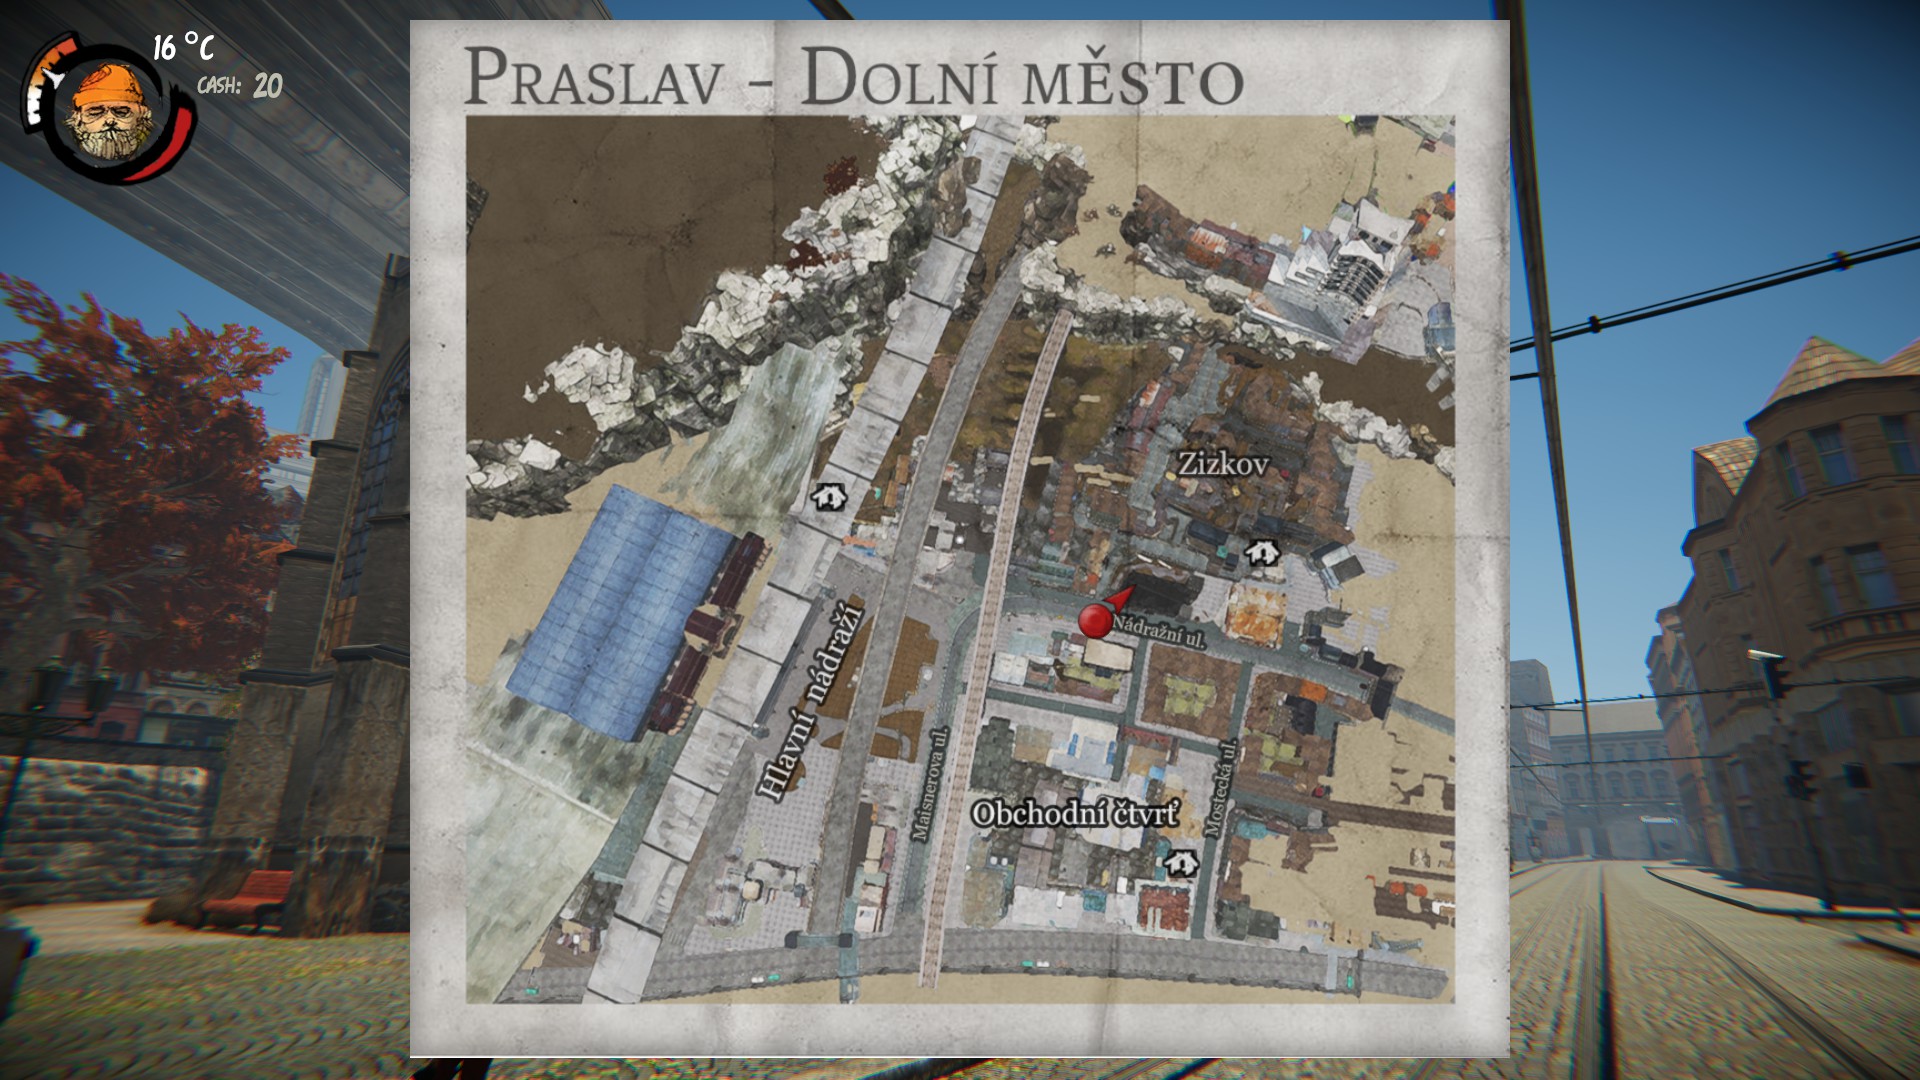
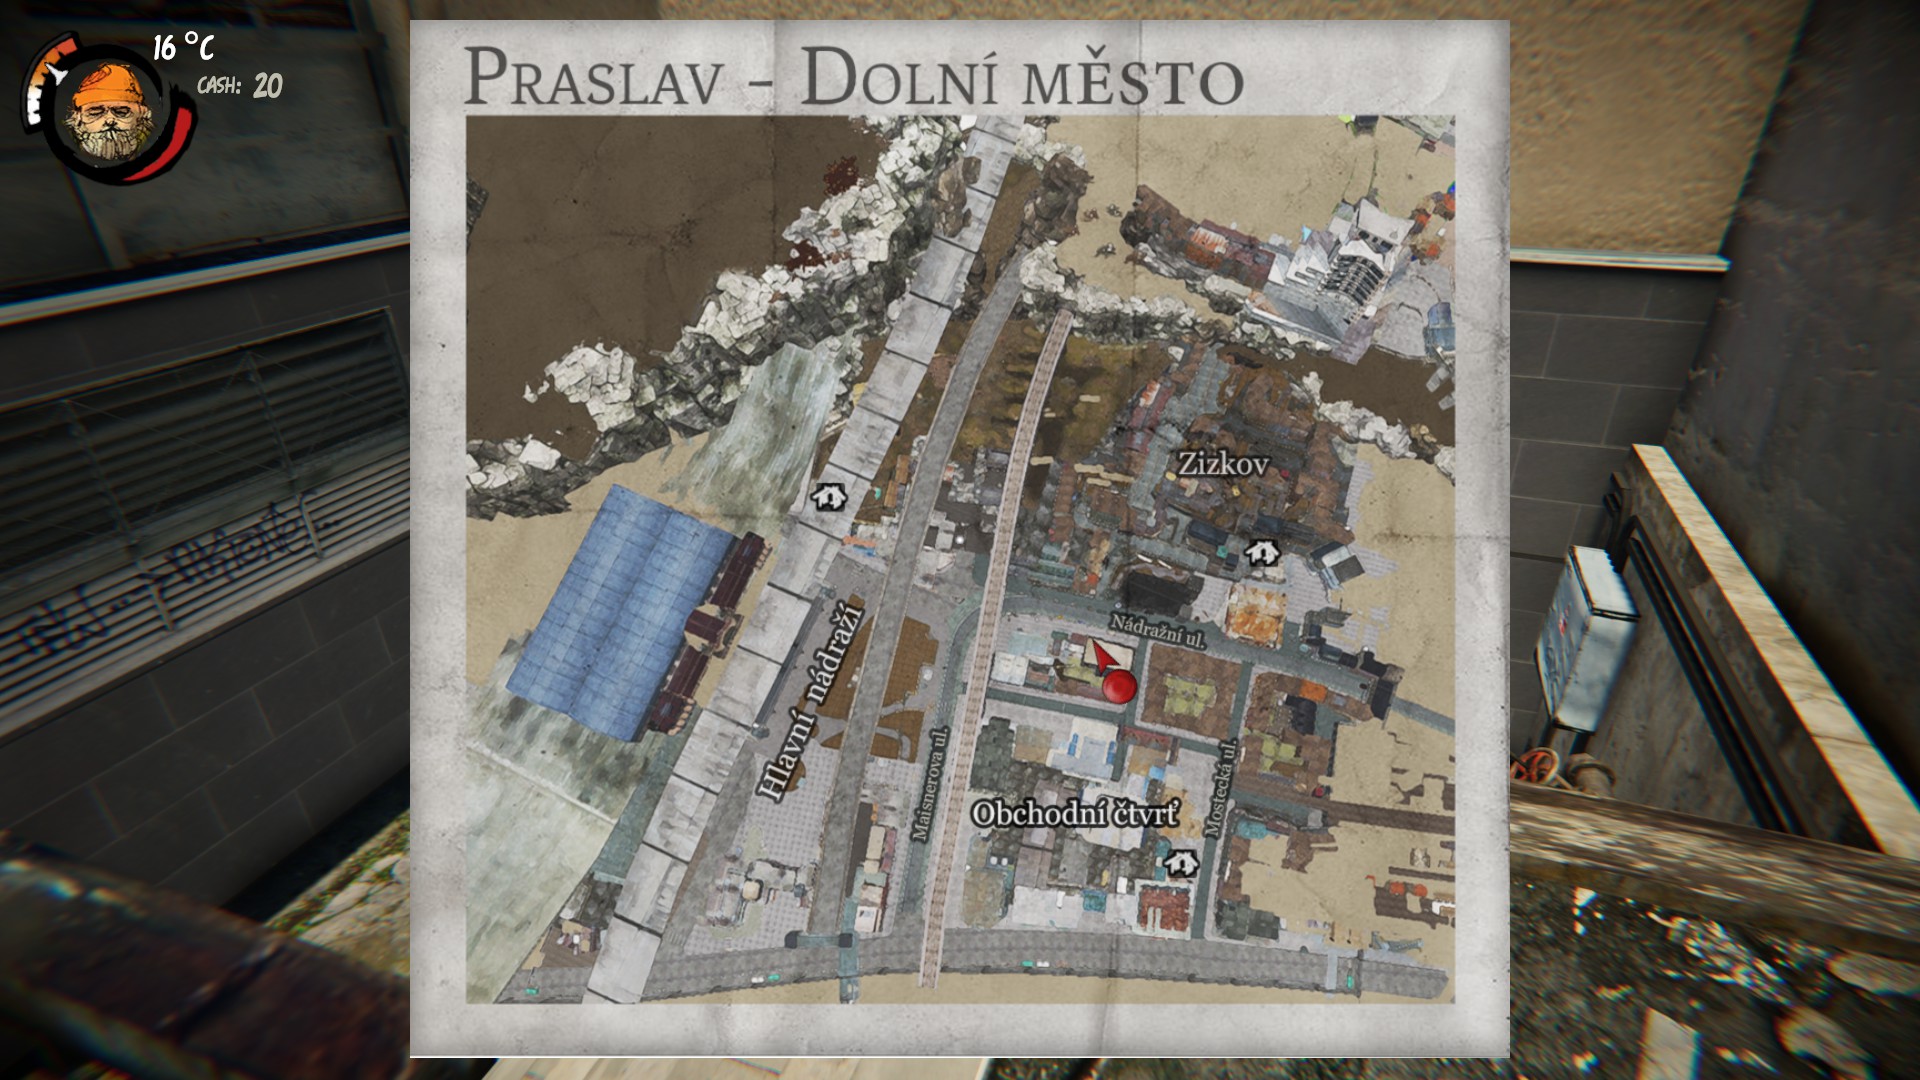
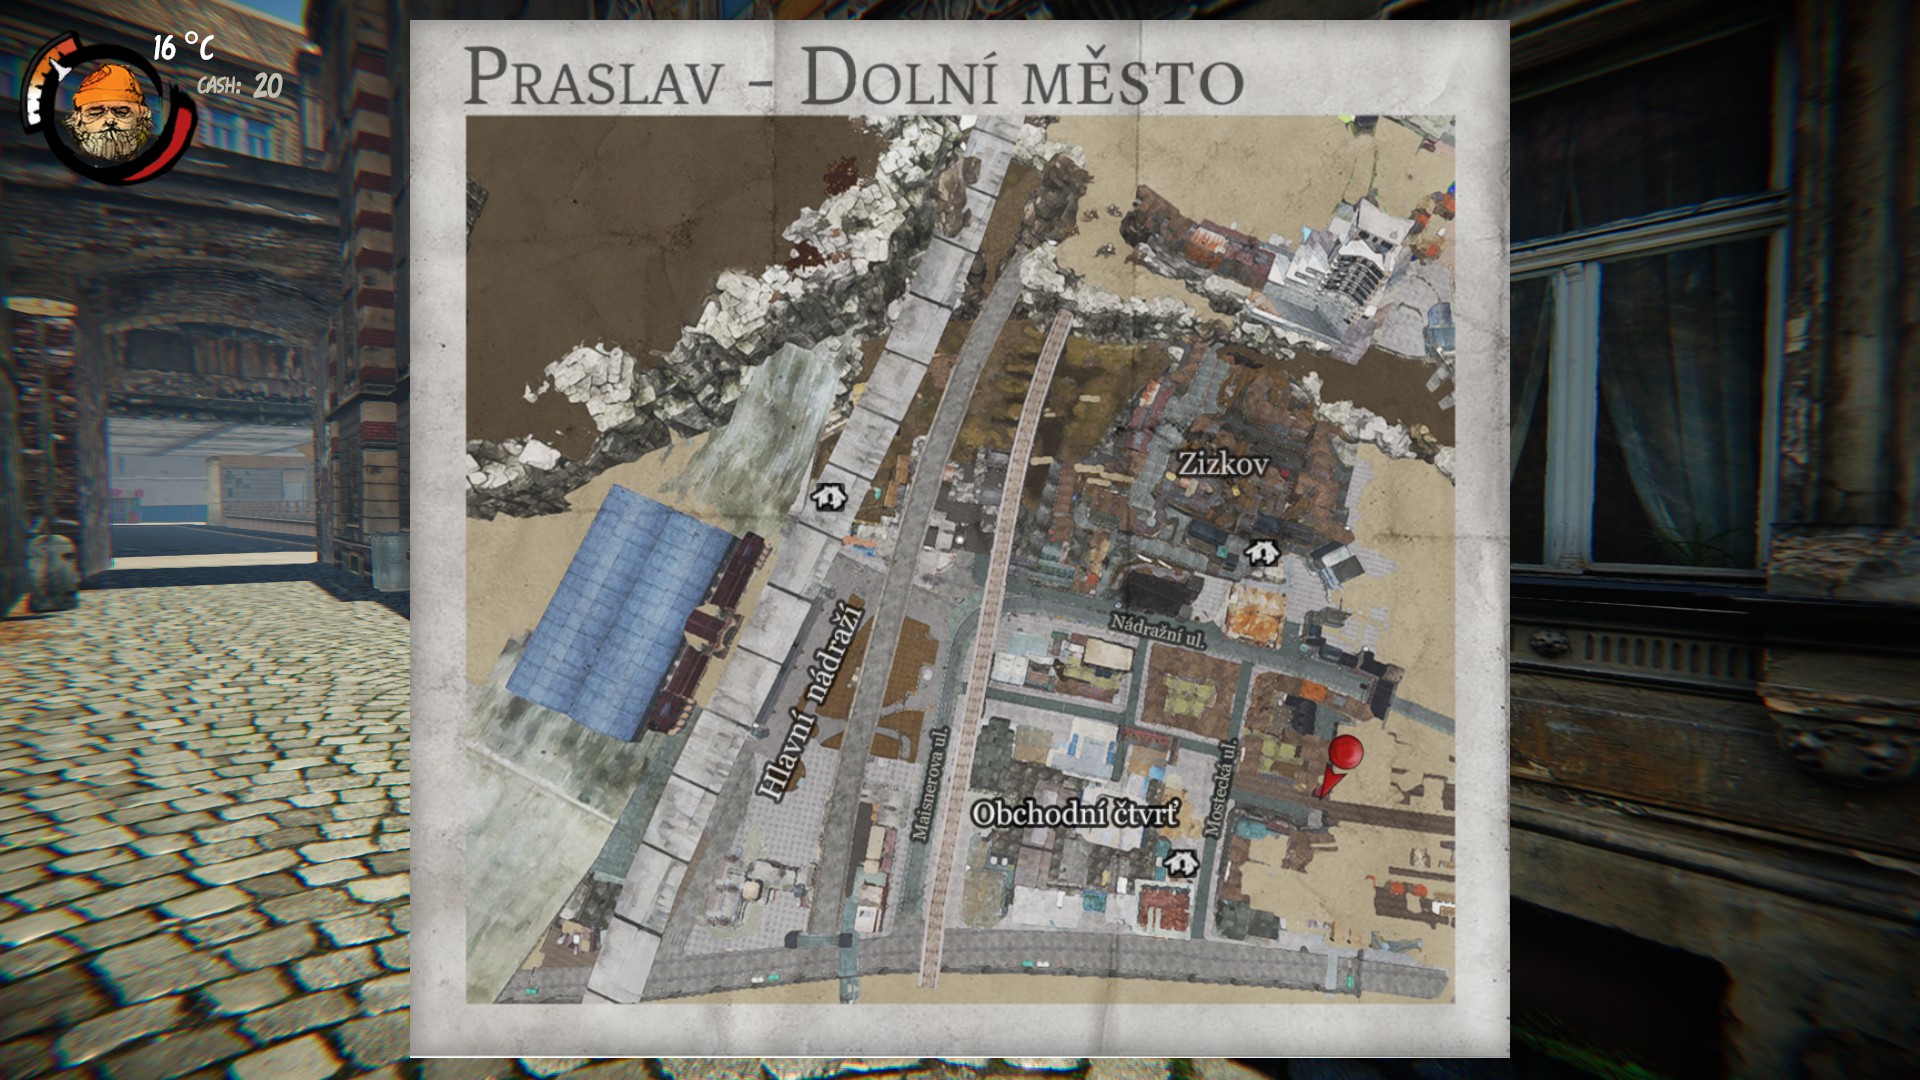
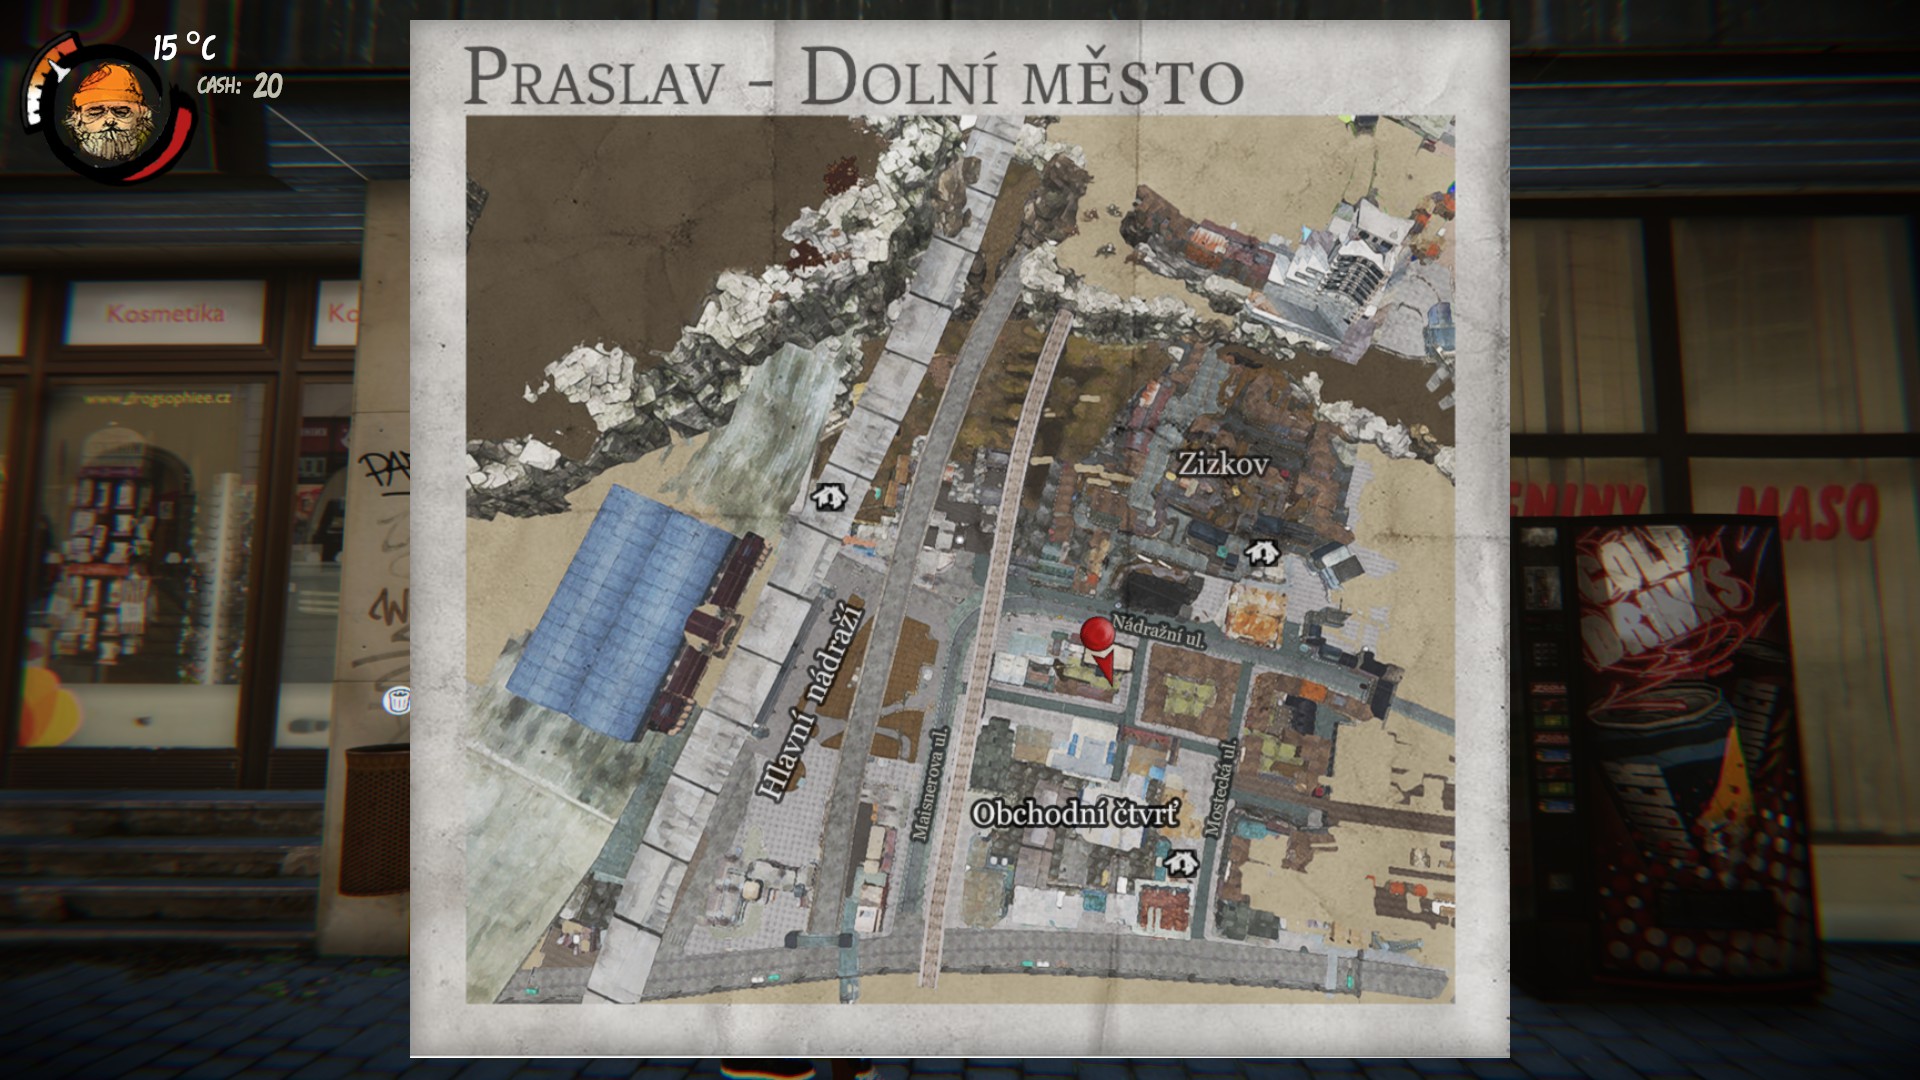
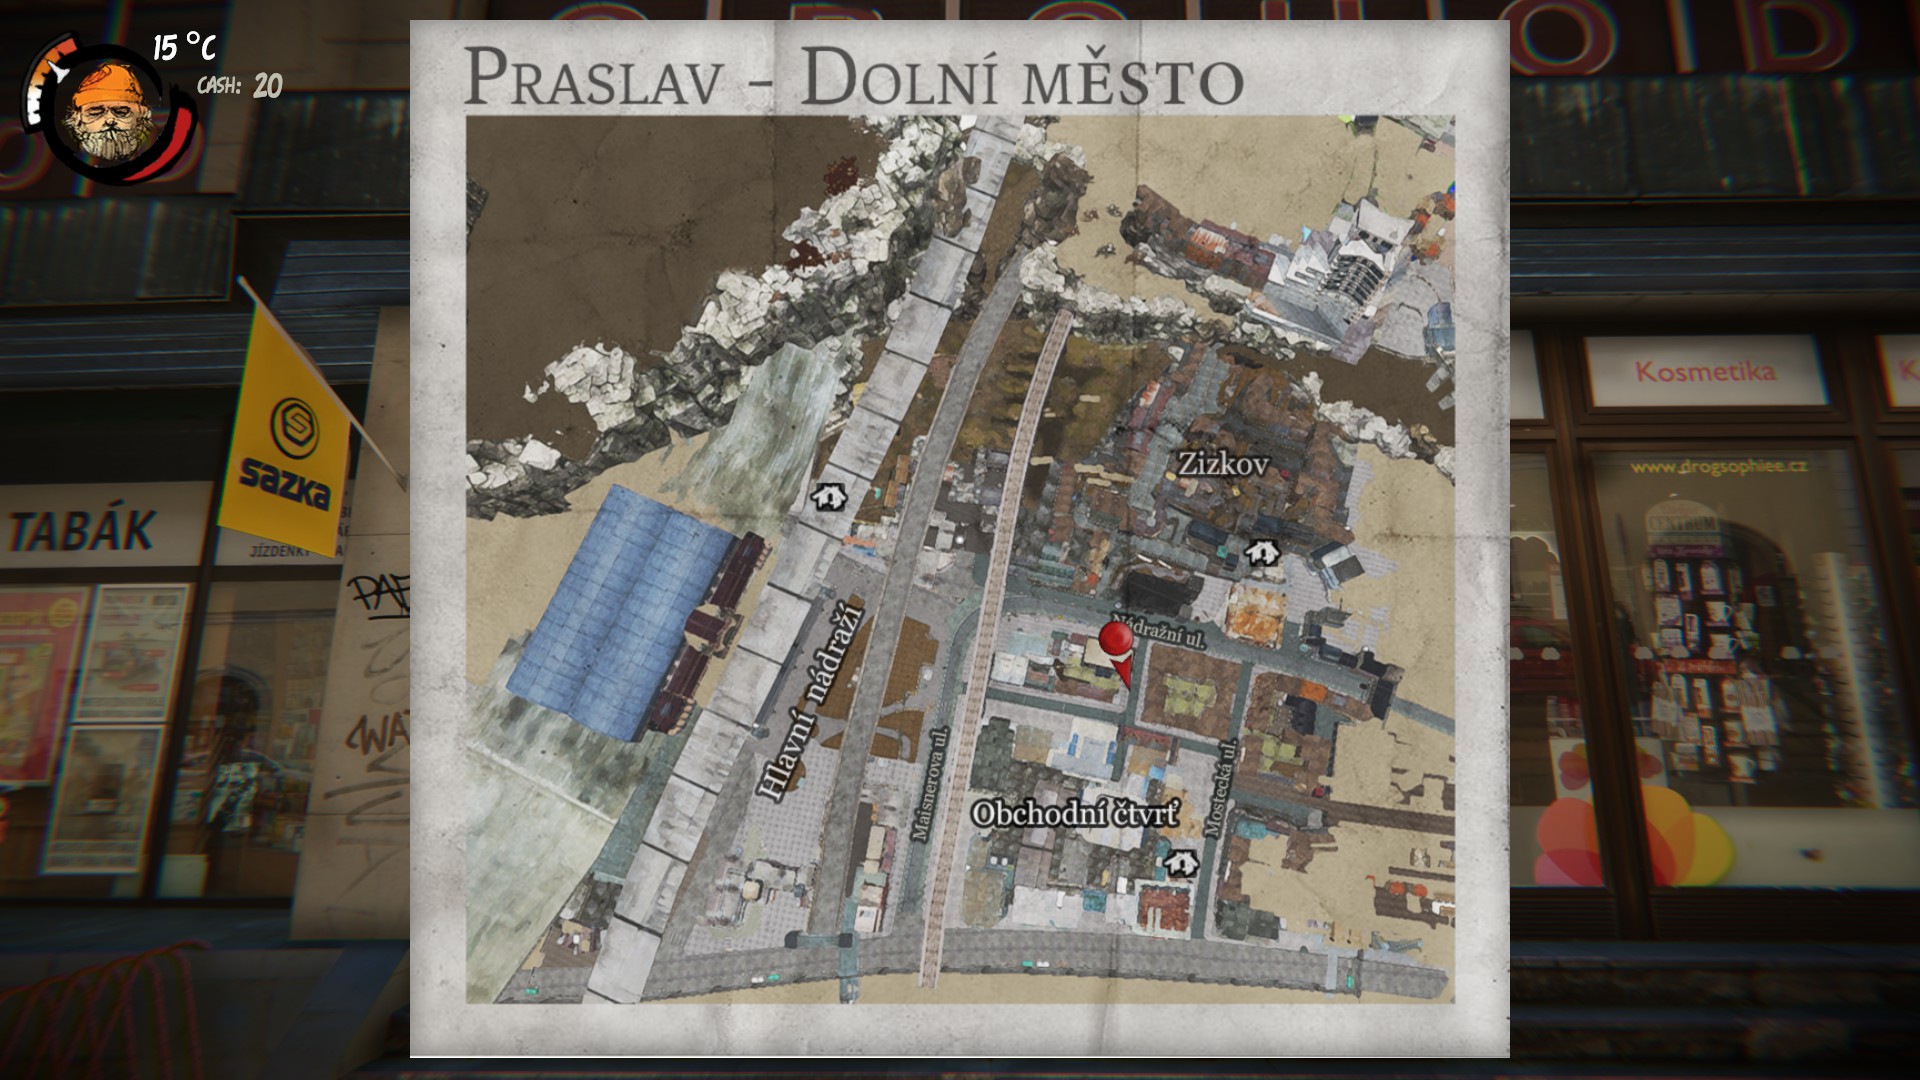
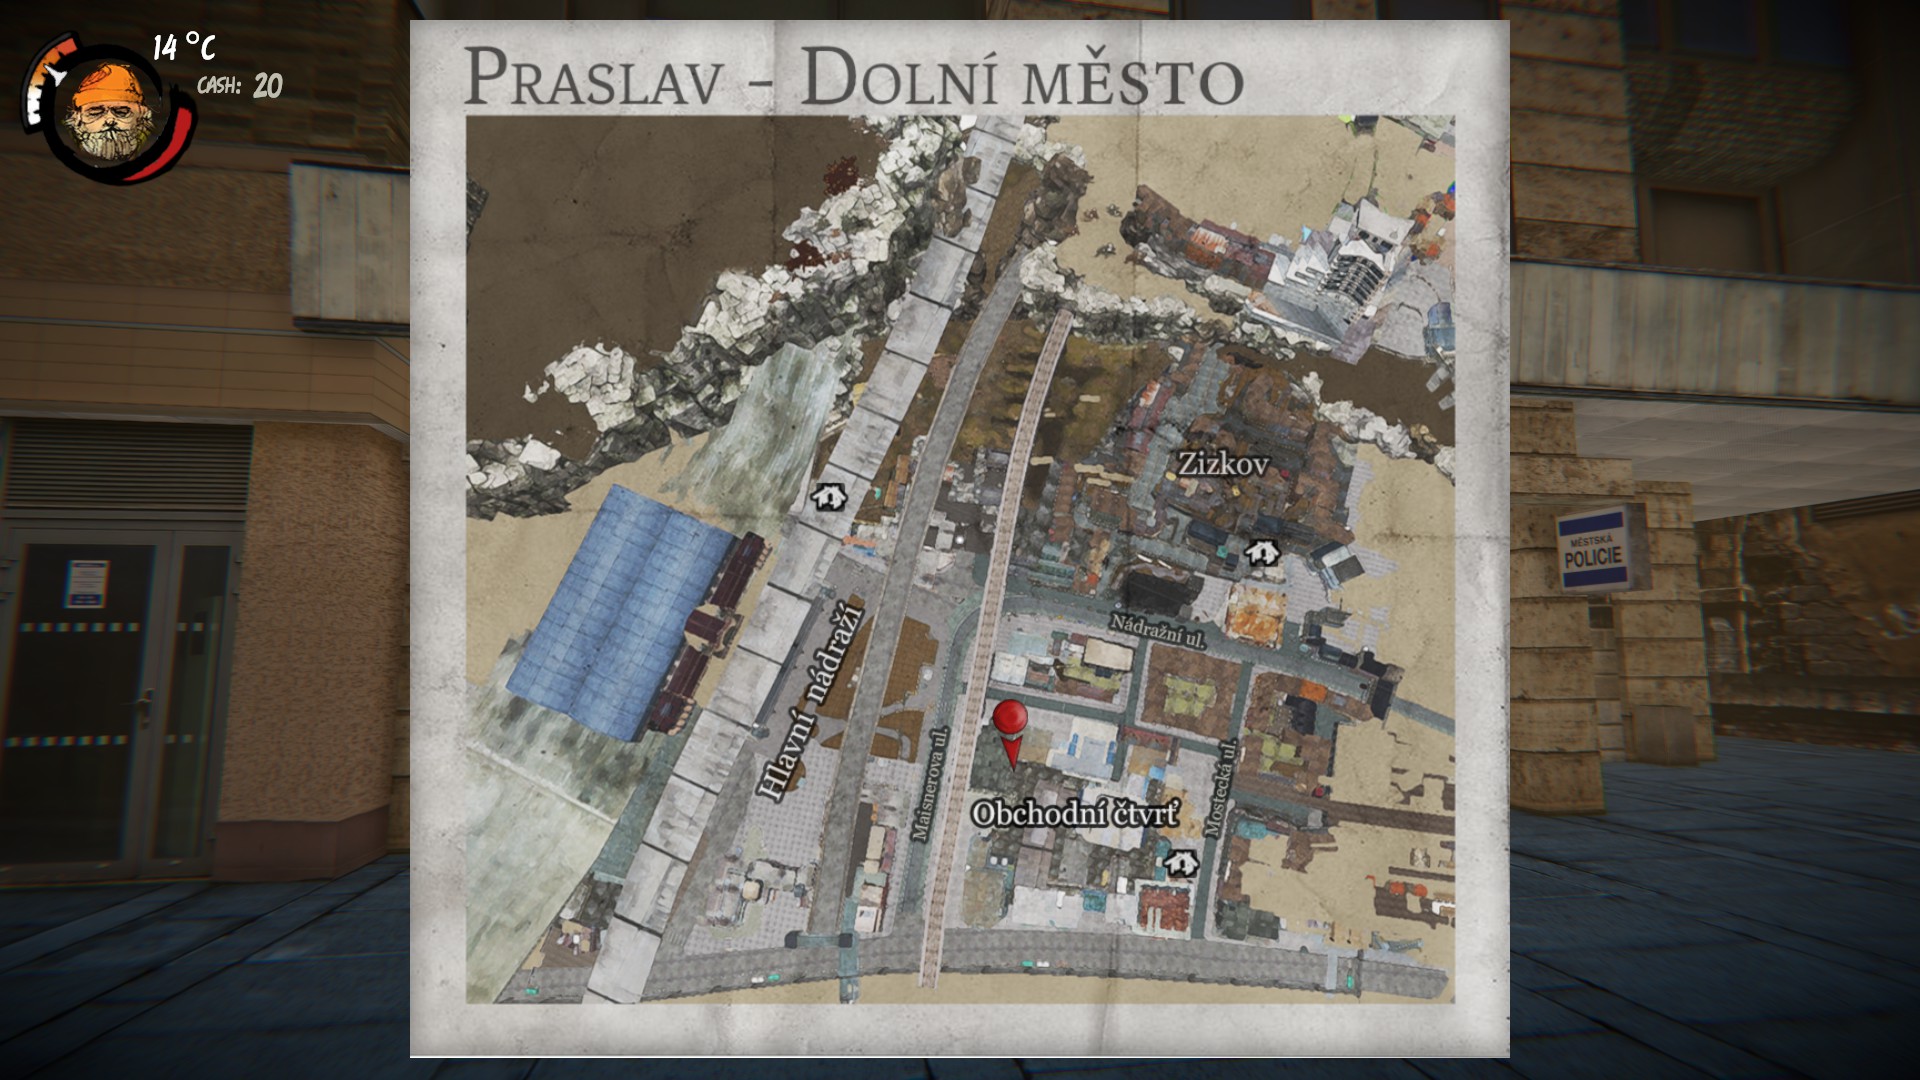
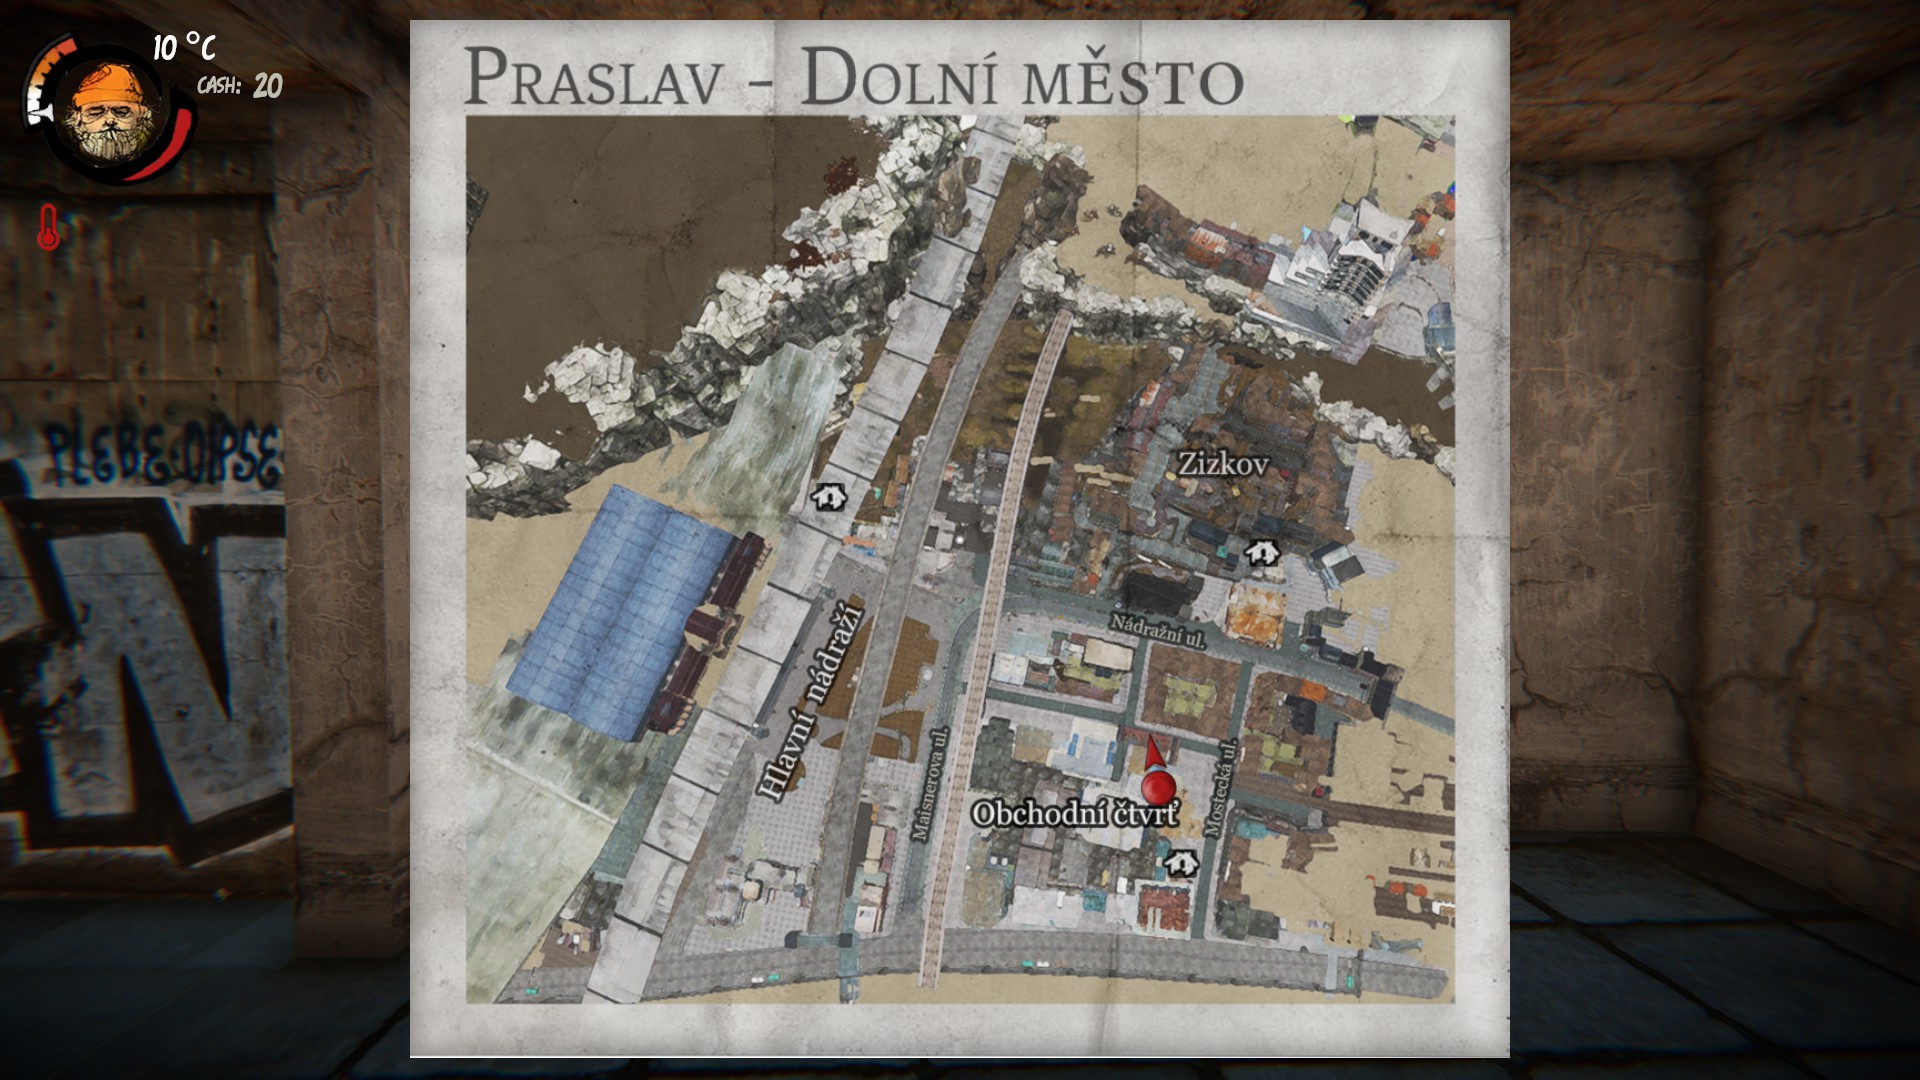
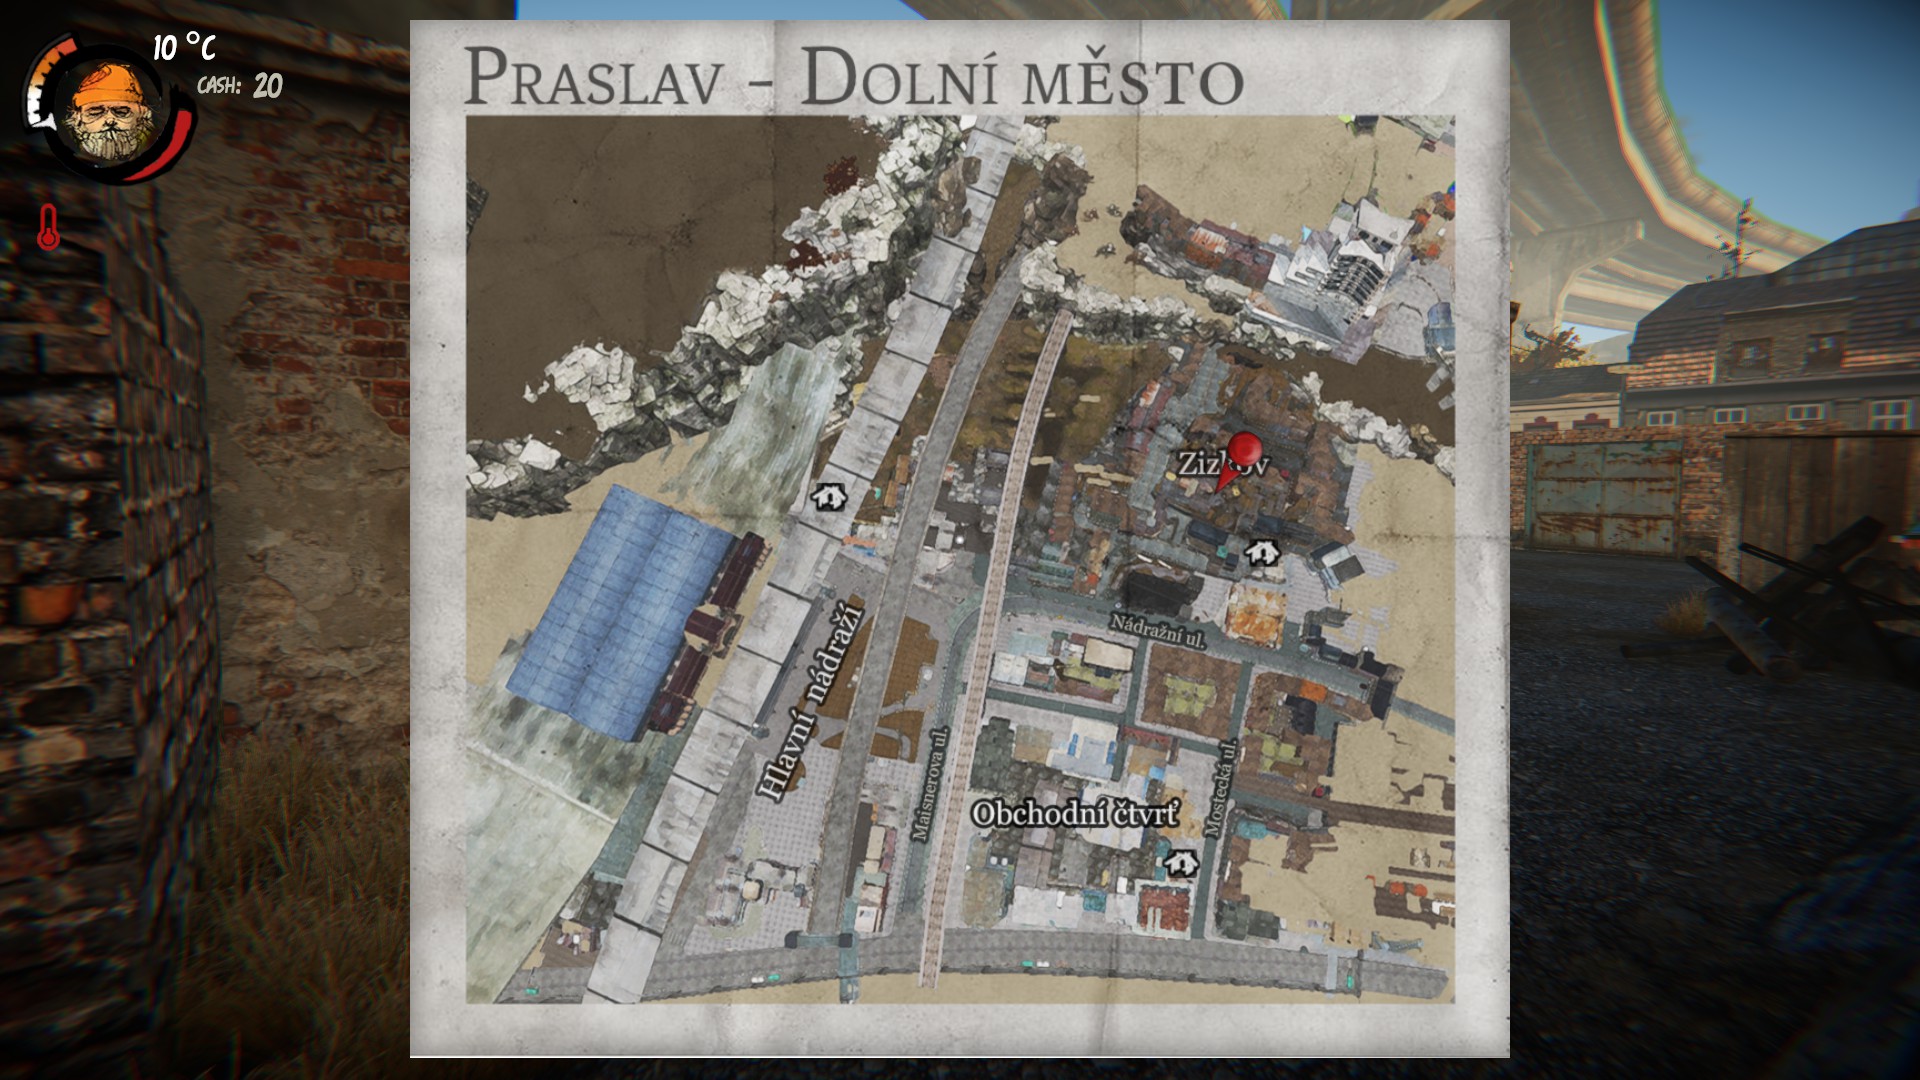
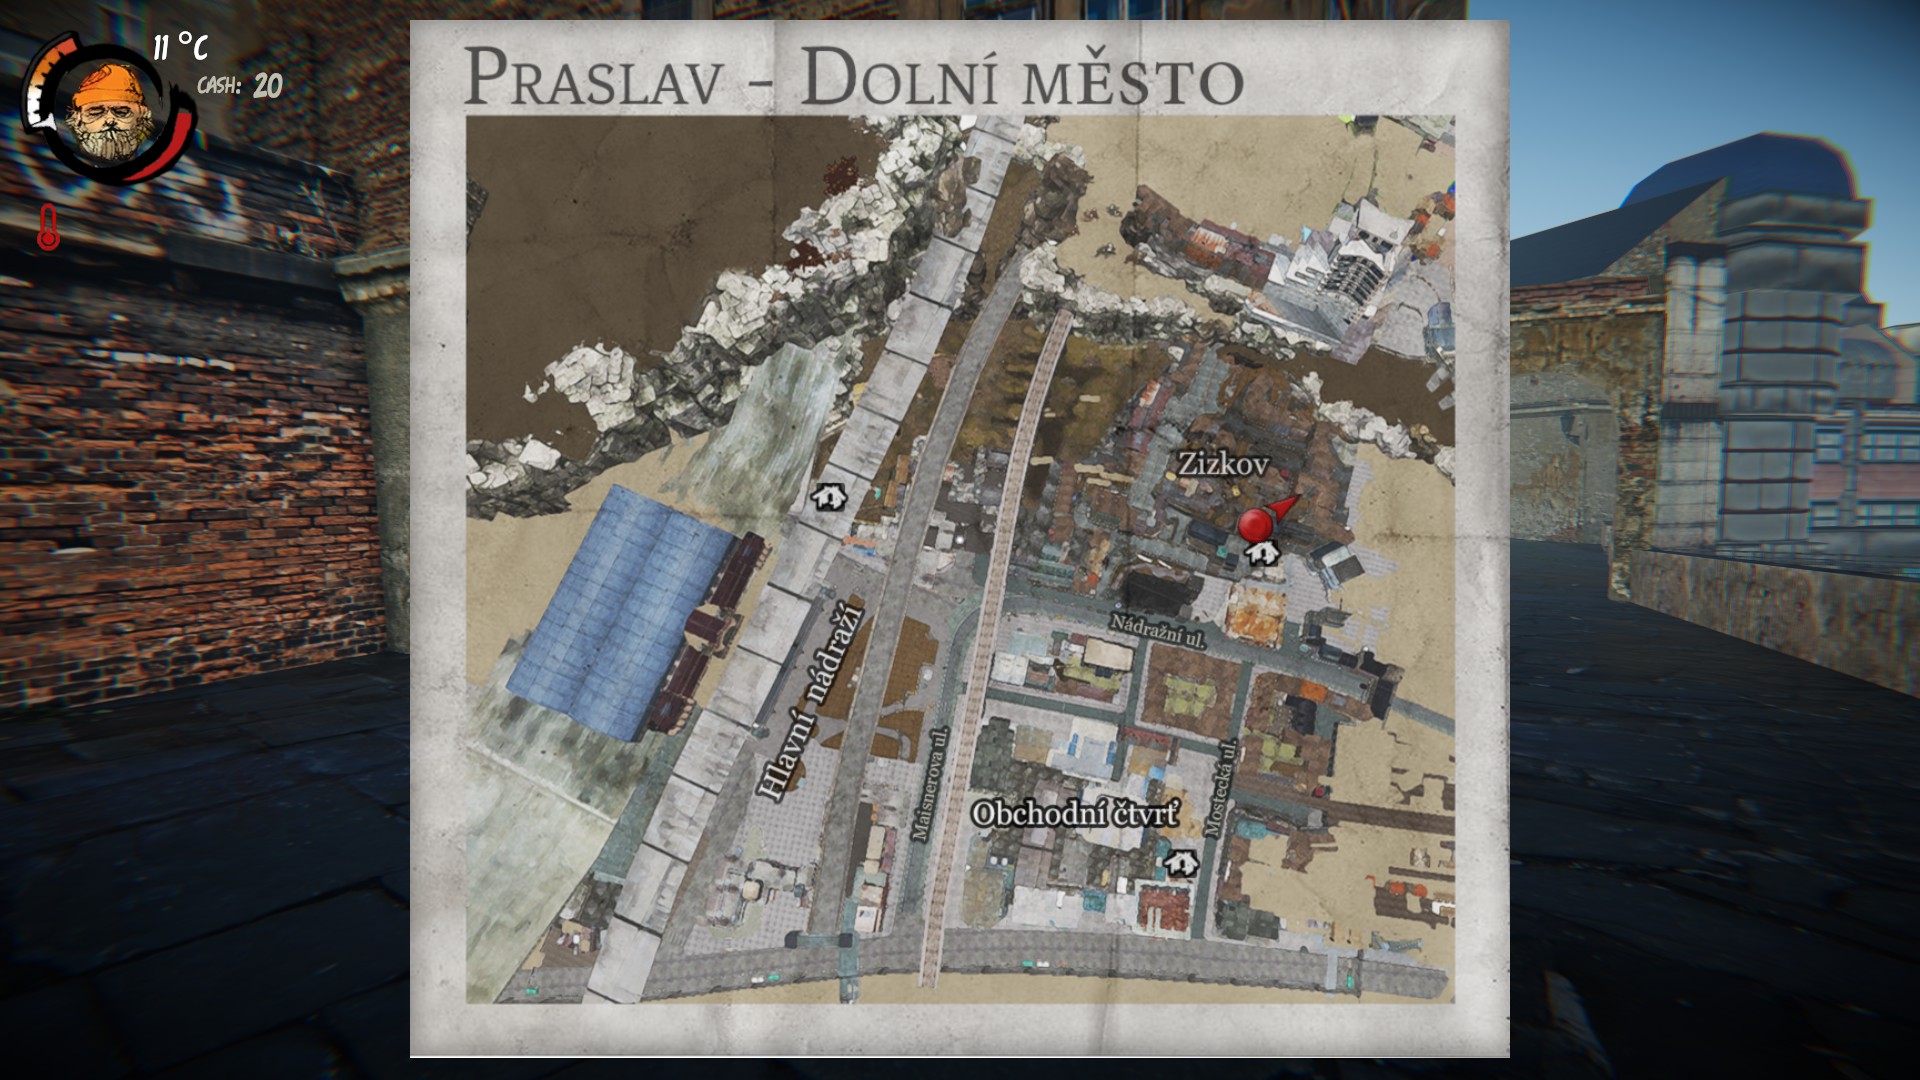
Important Locations
Hobo Areas
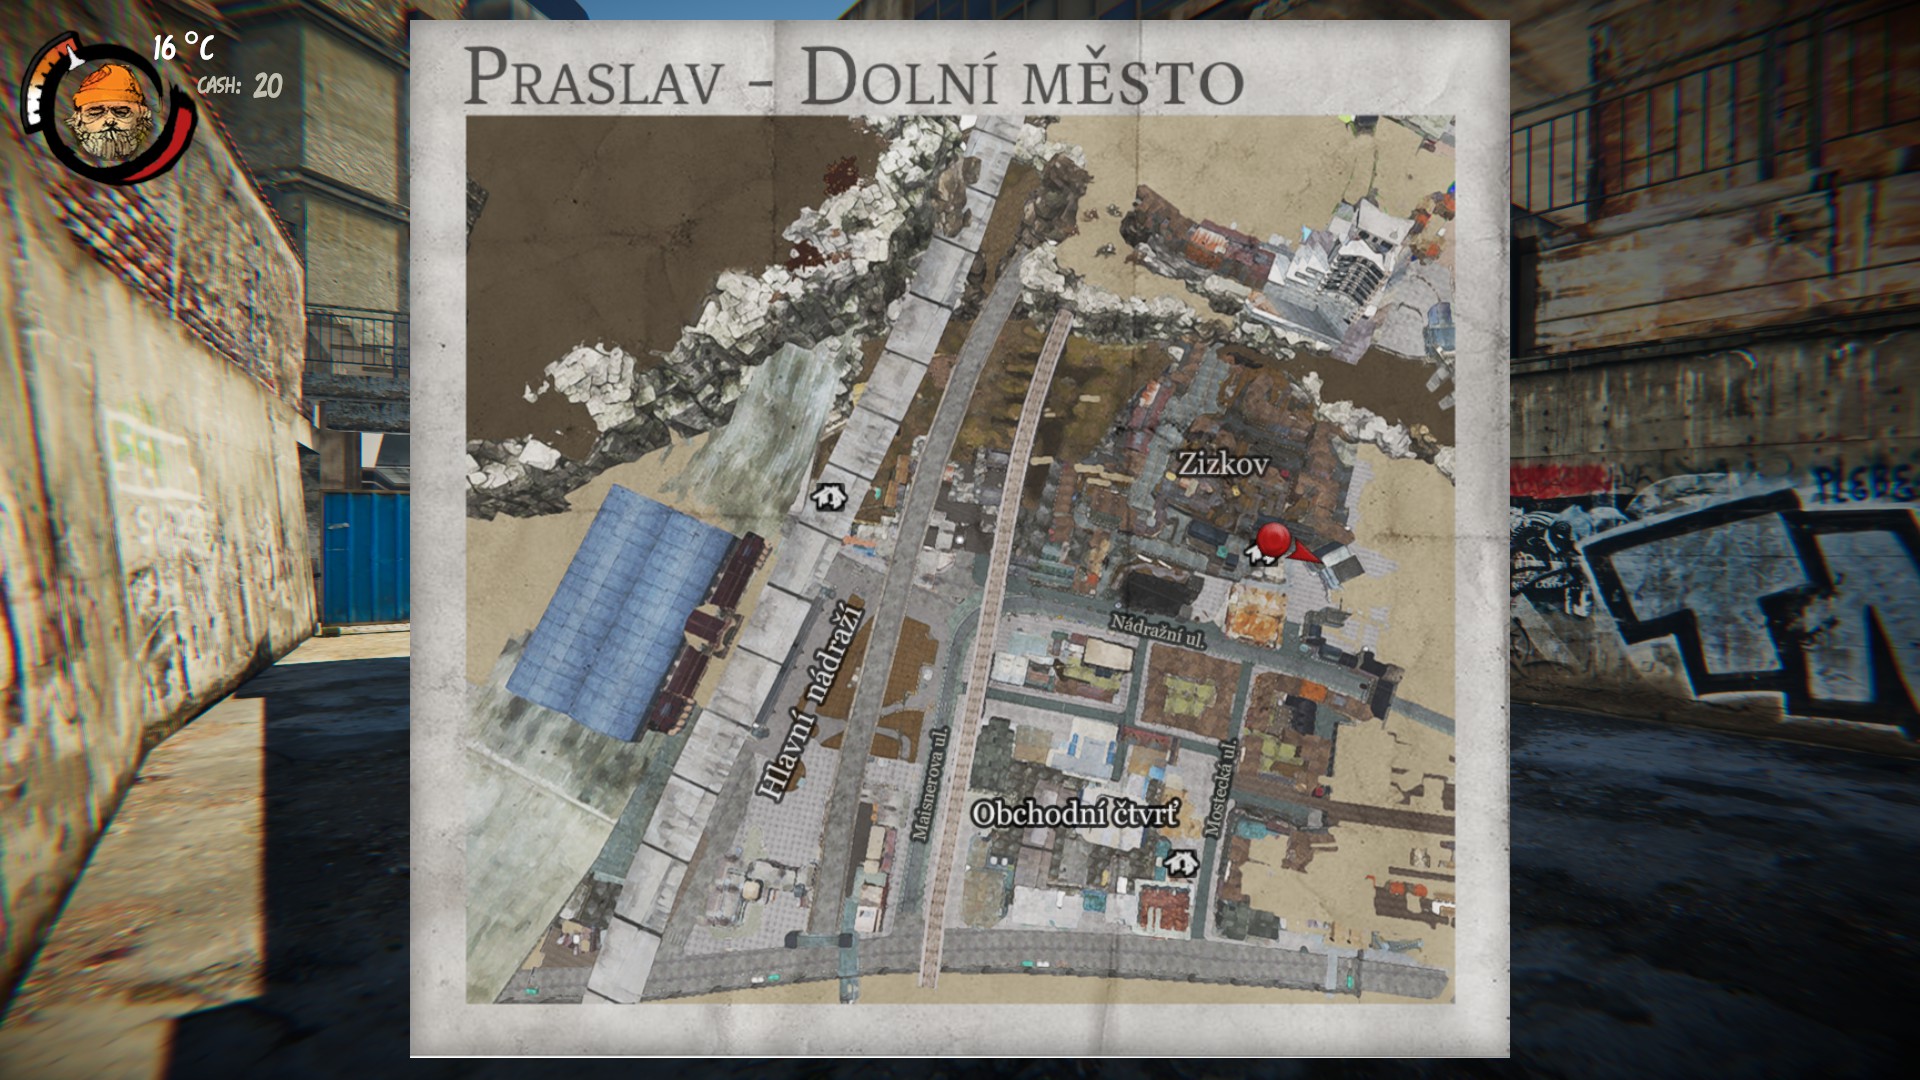
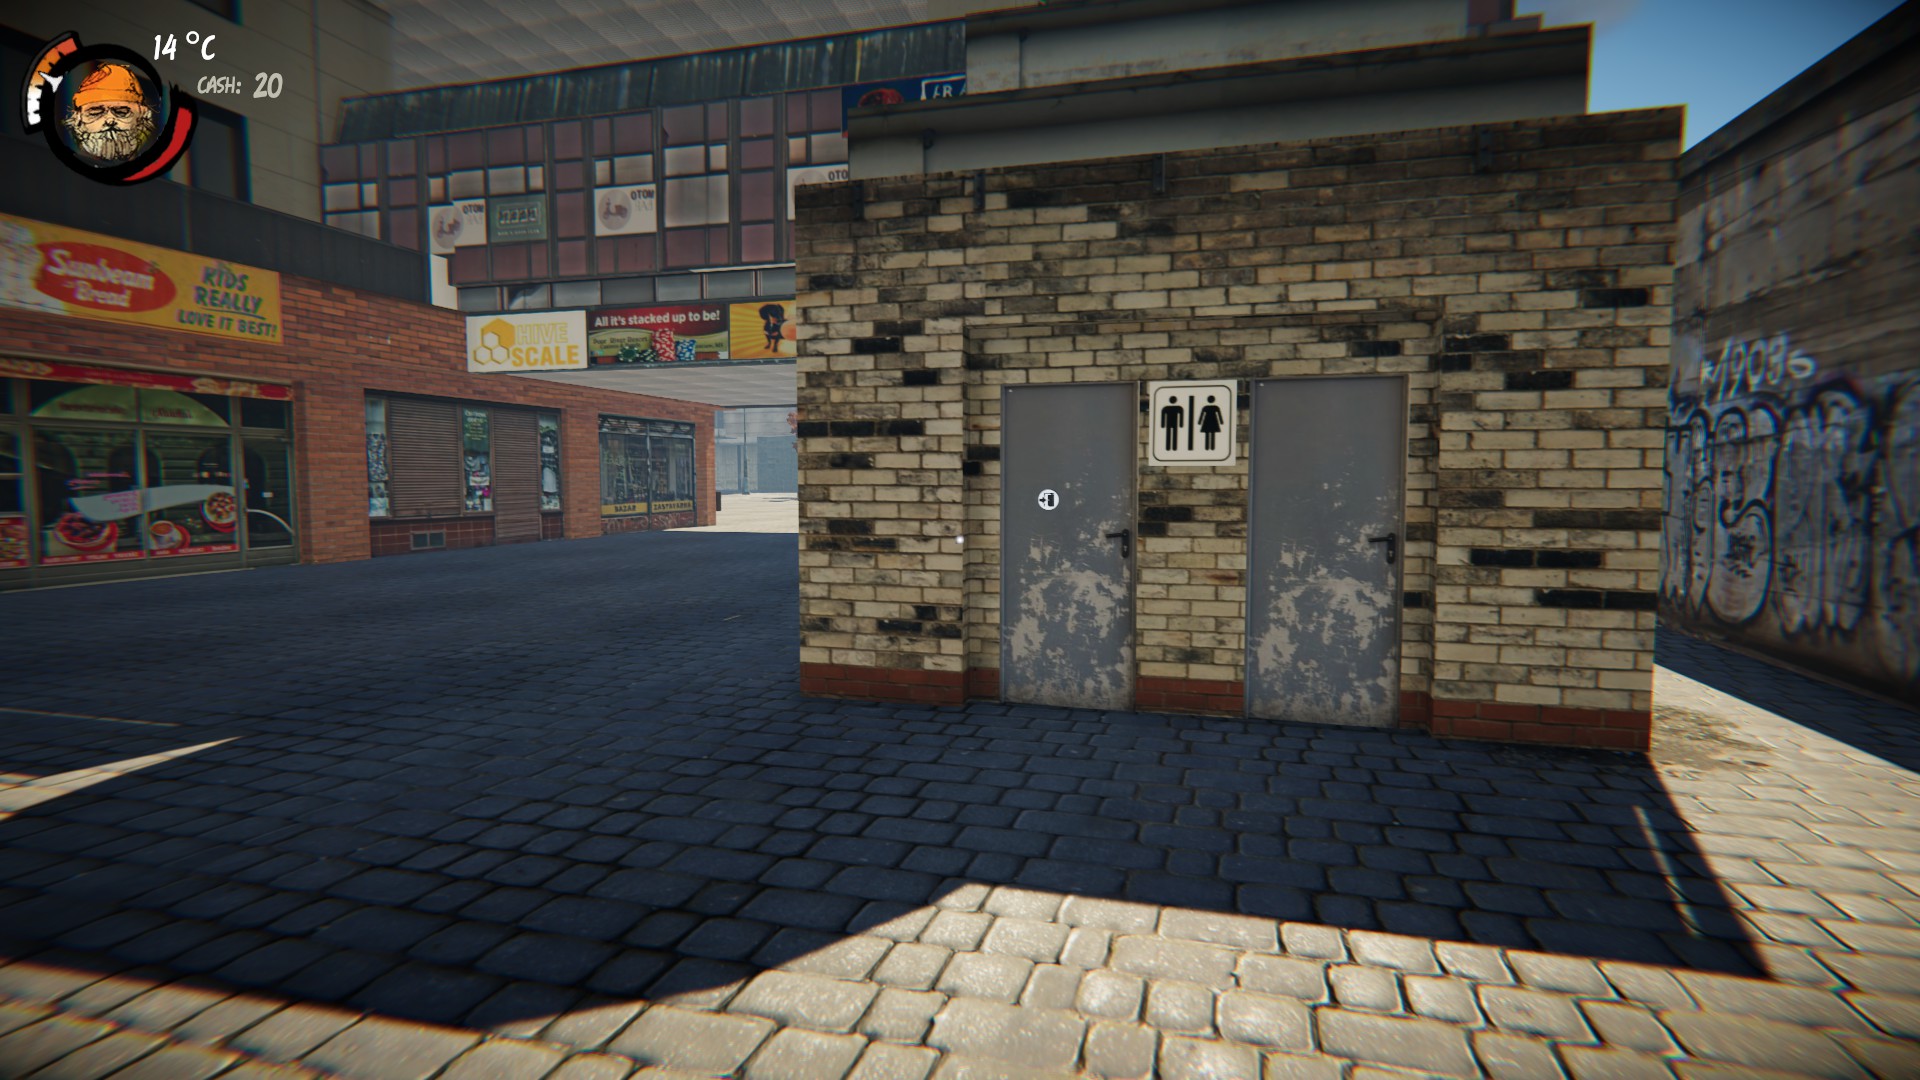
 Toilets
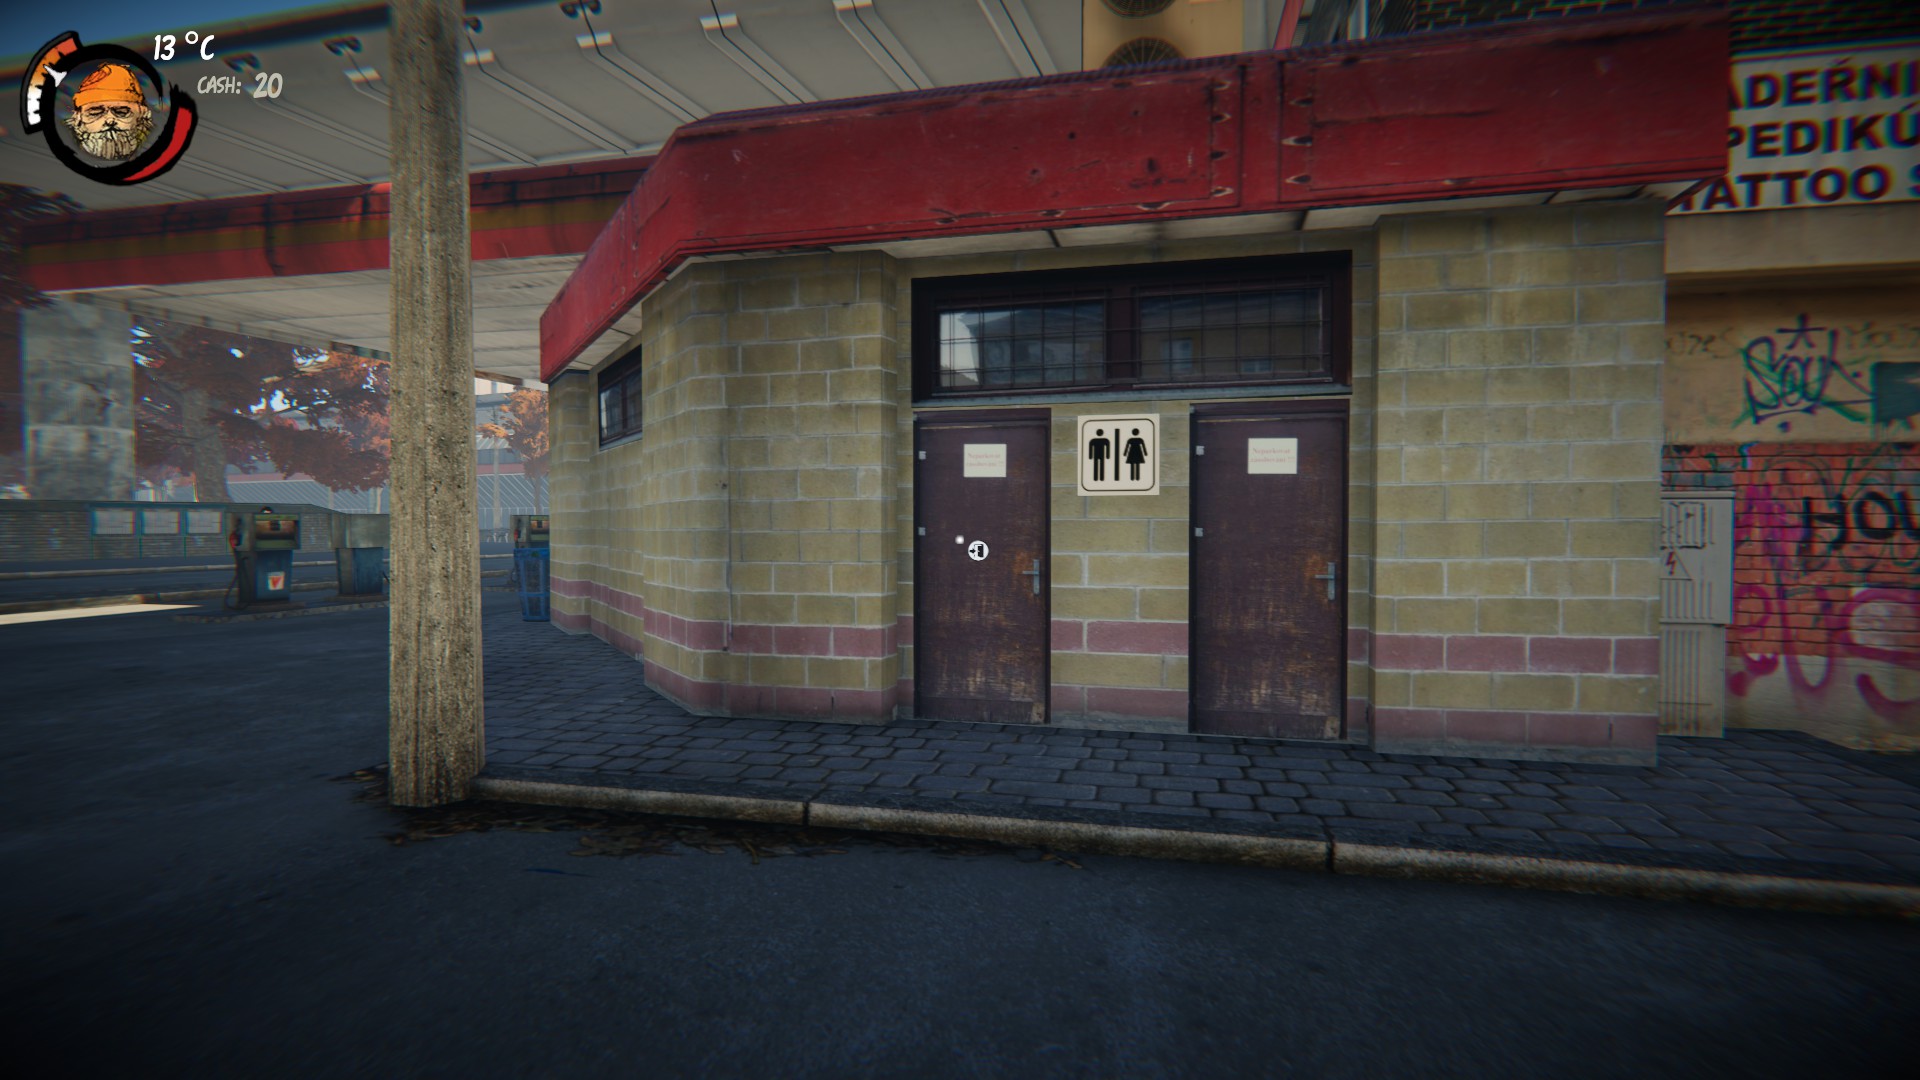
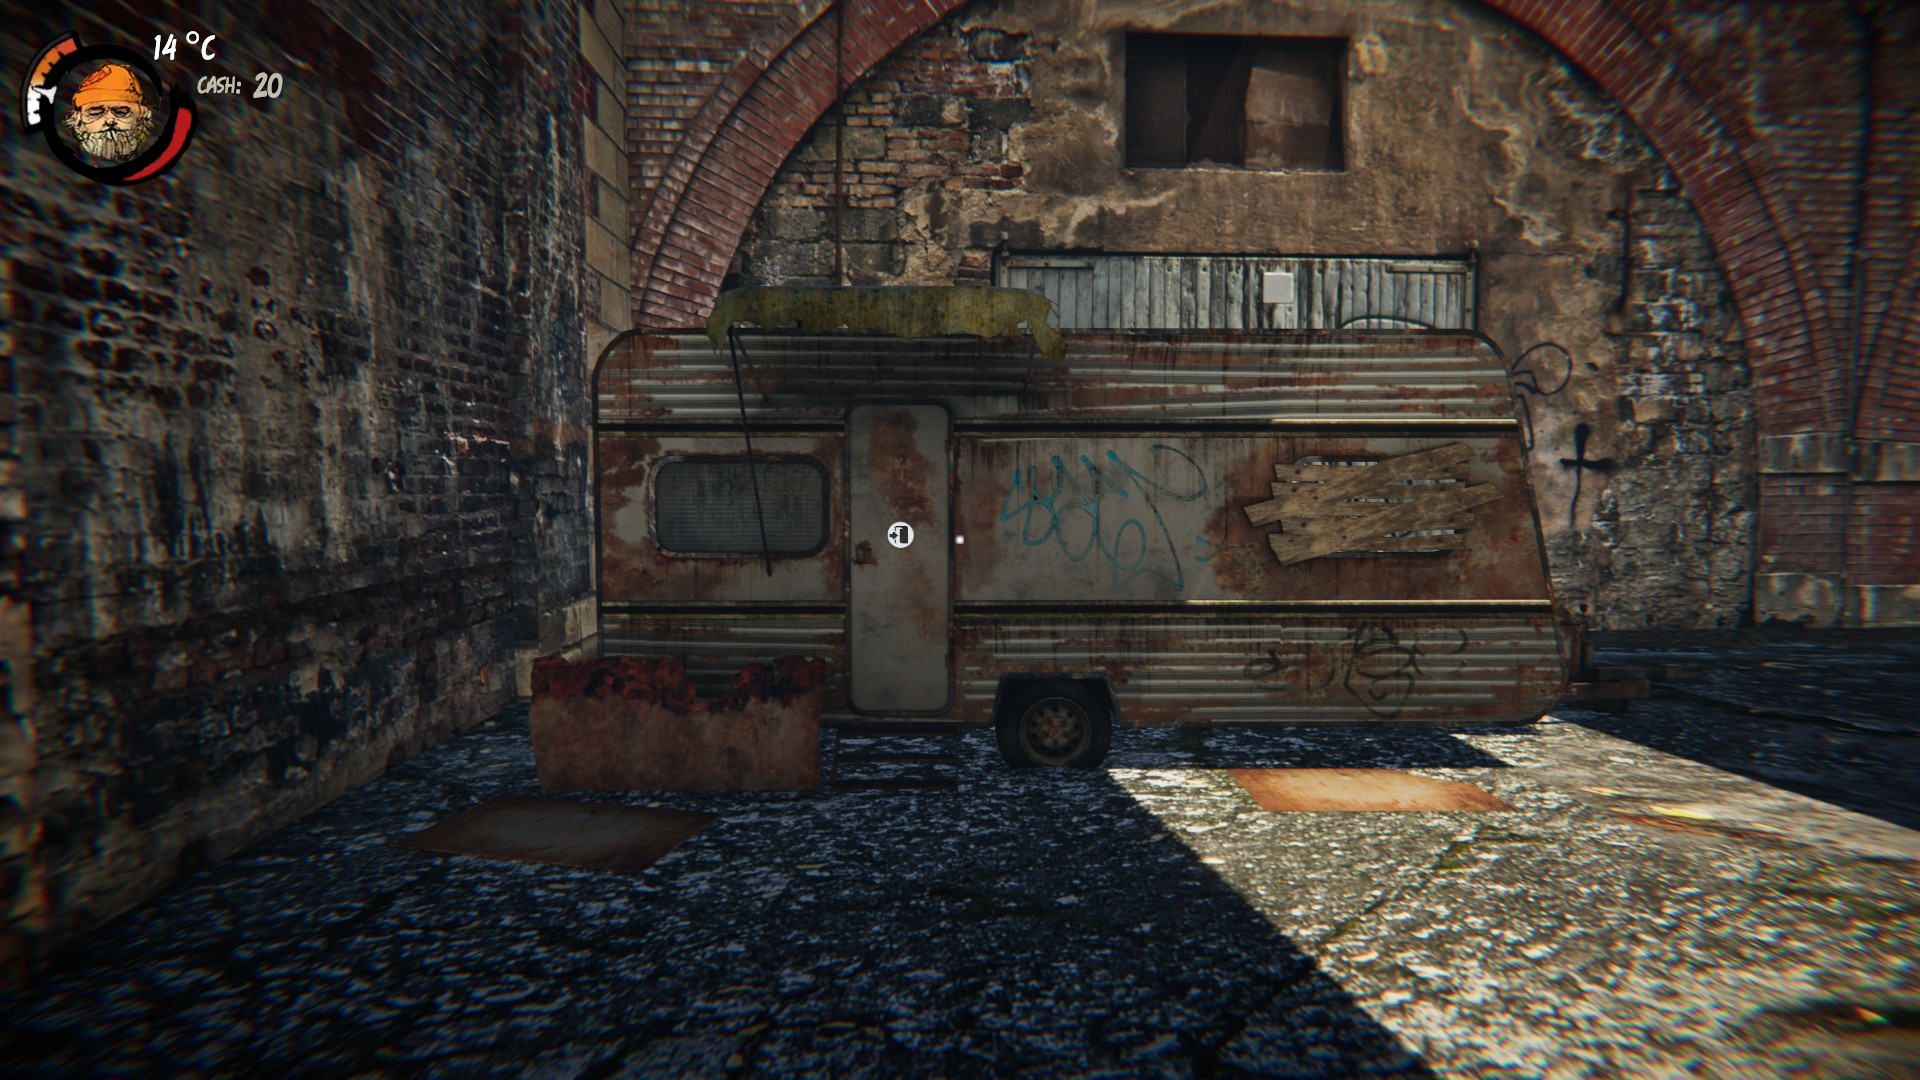
 Master Hobo
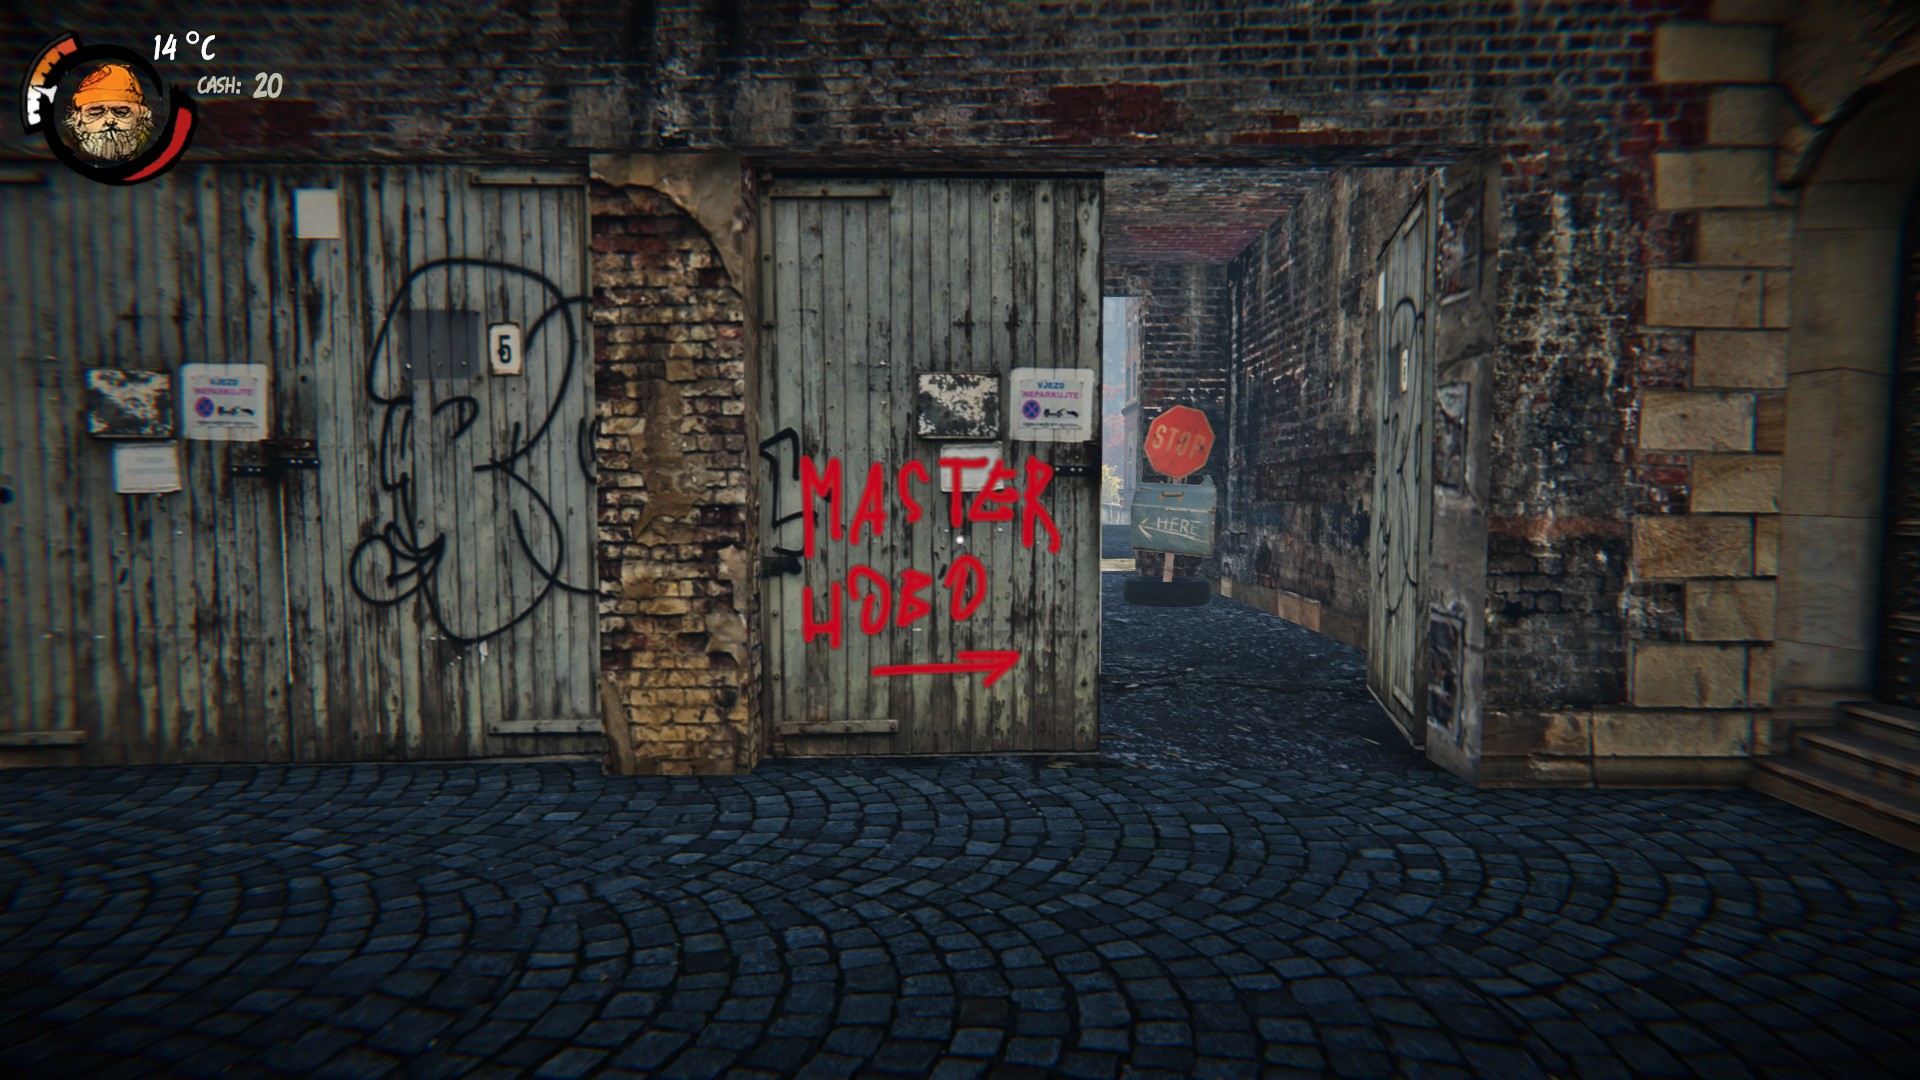
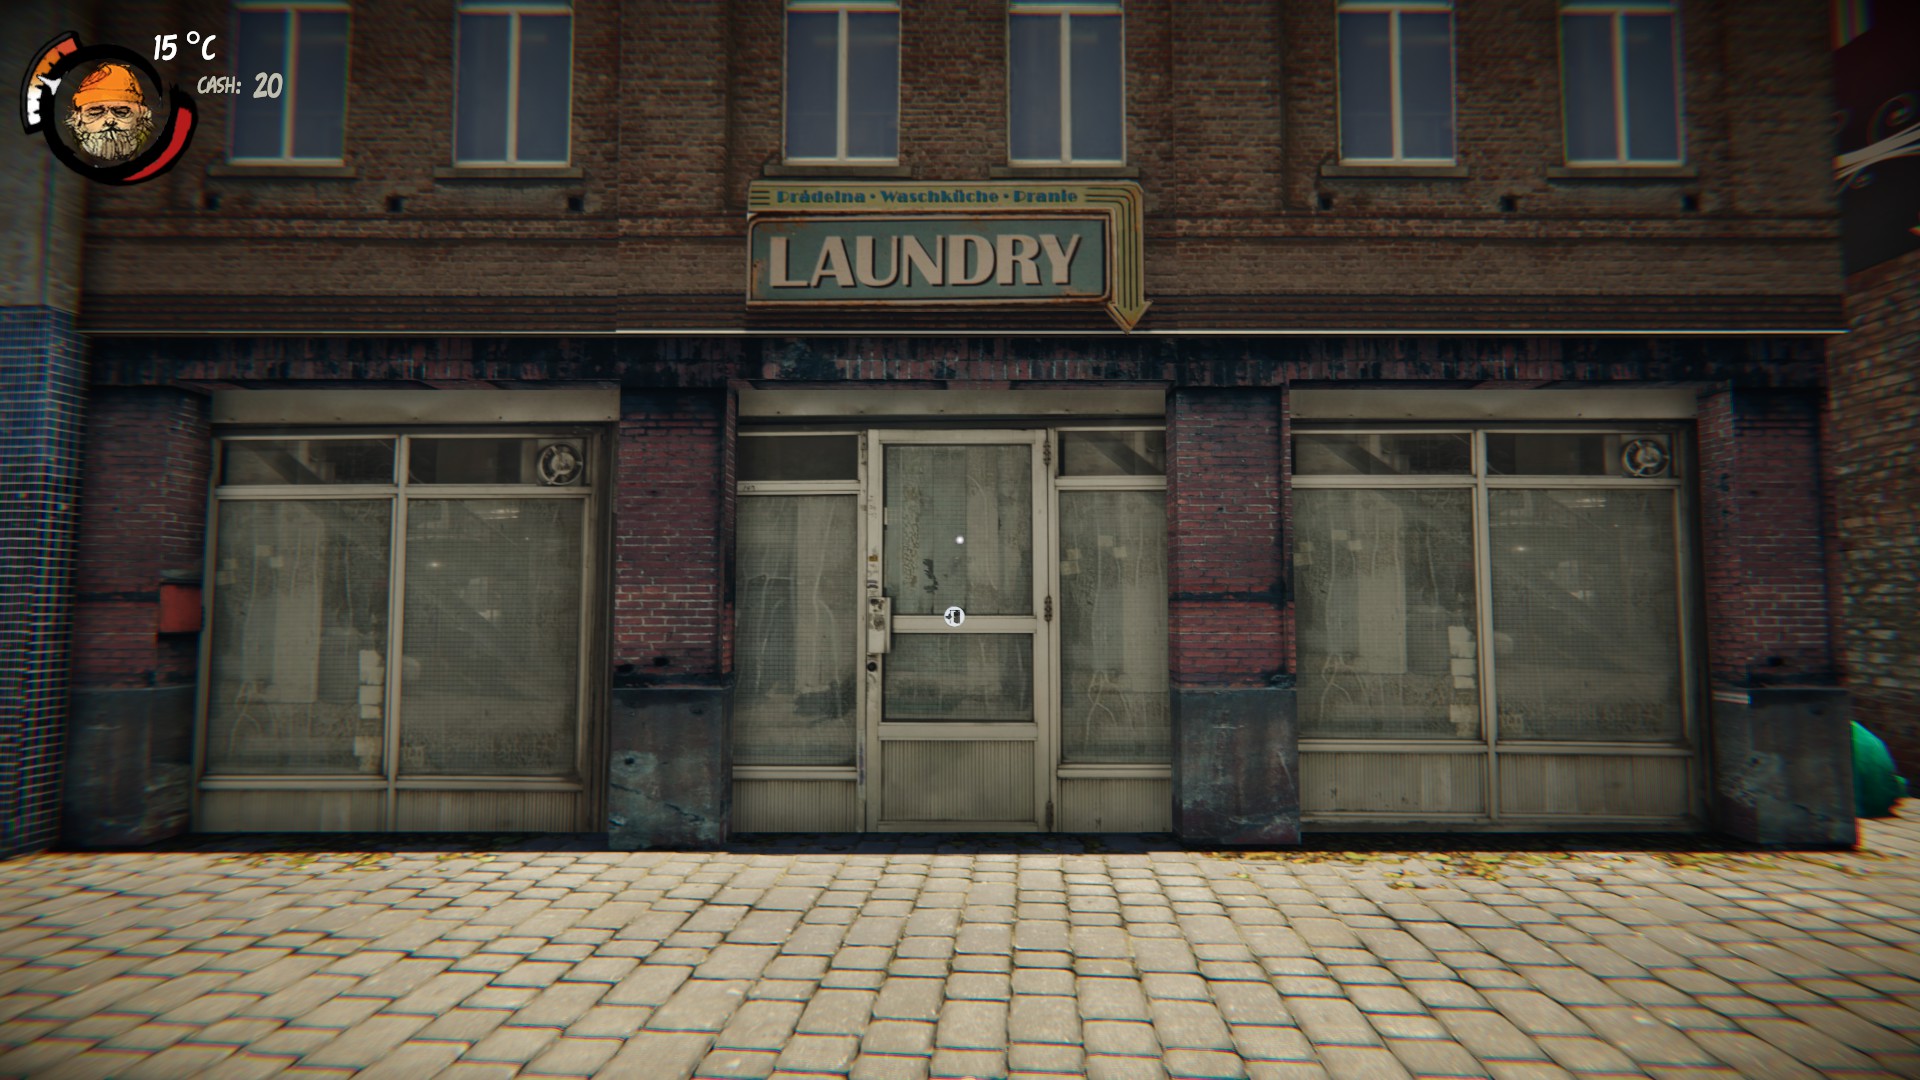
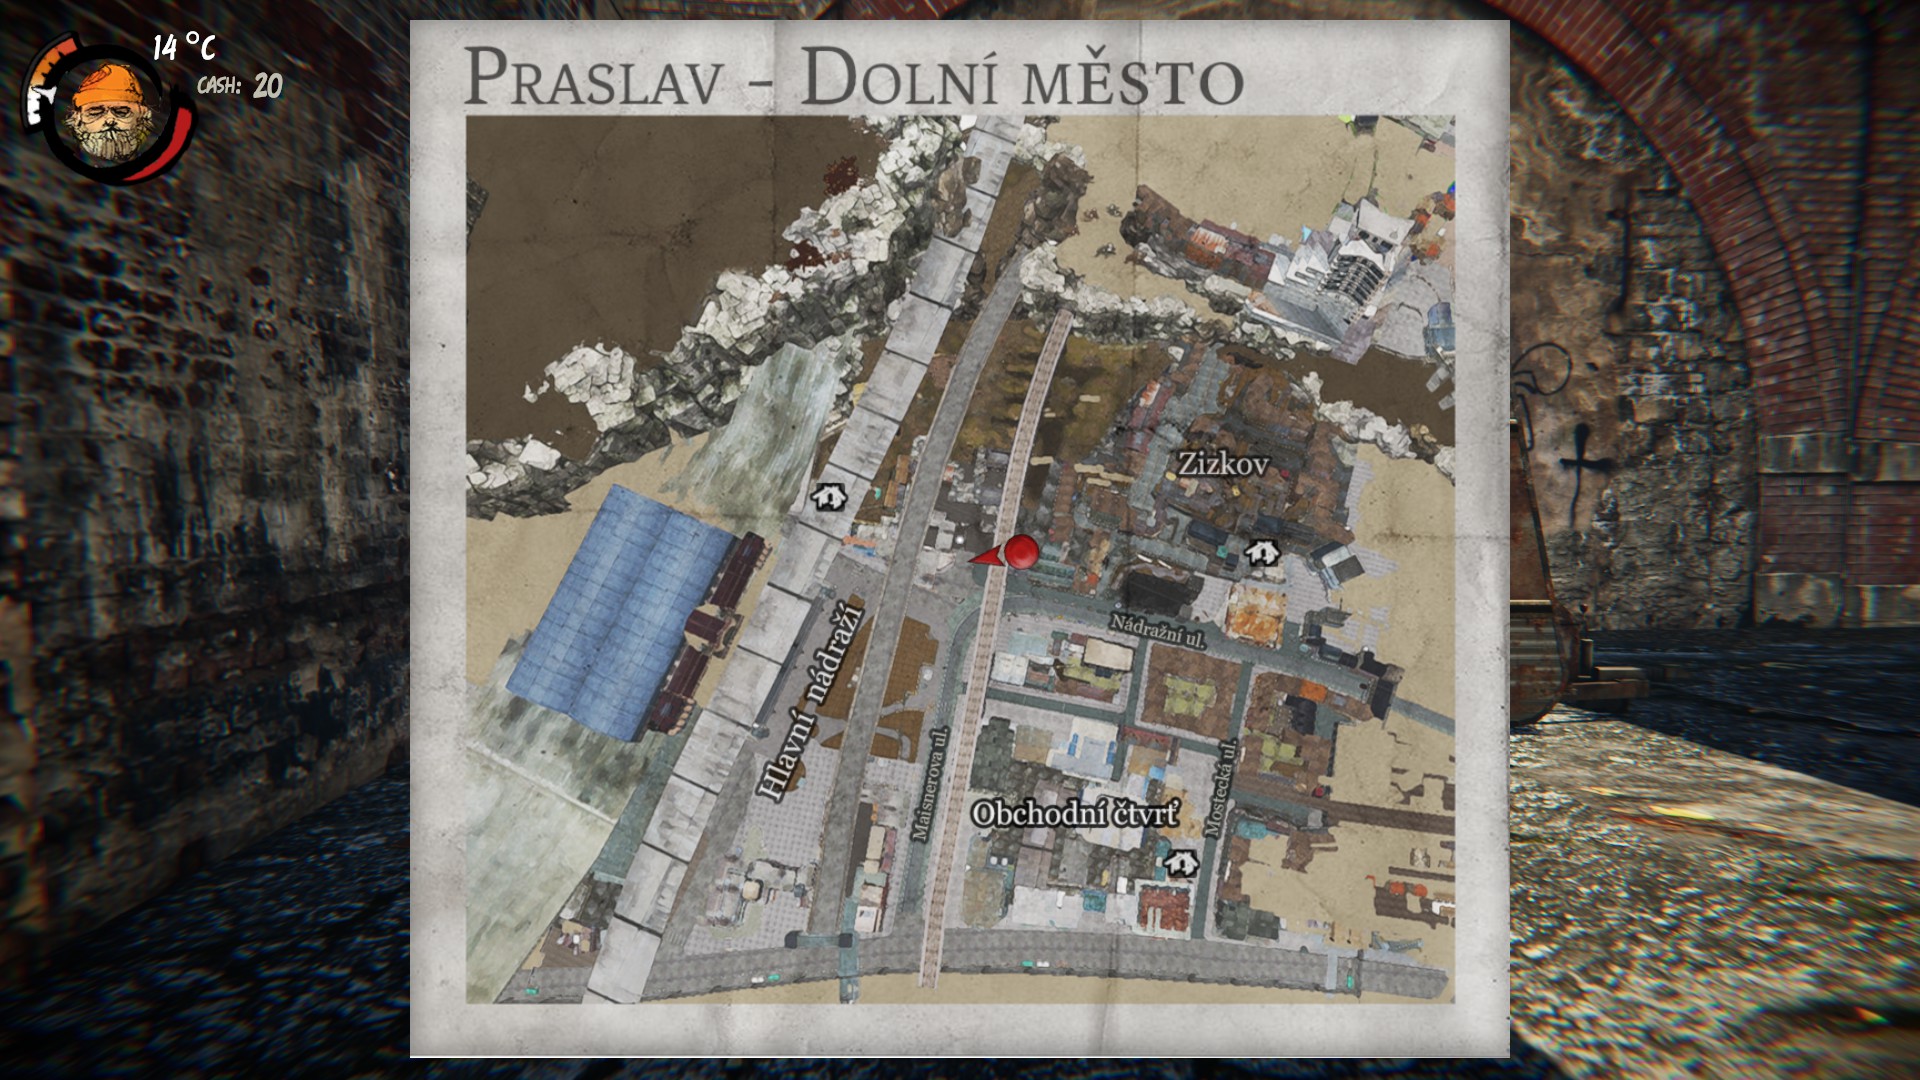 Laundry
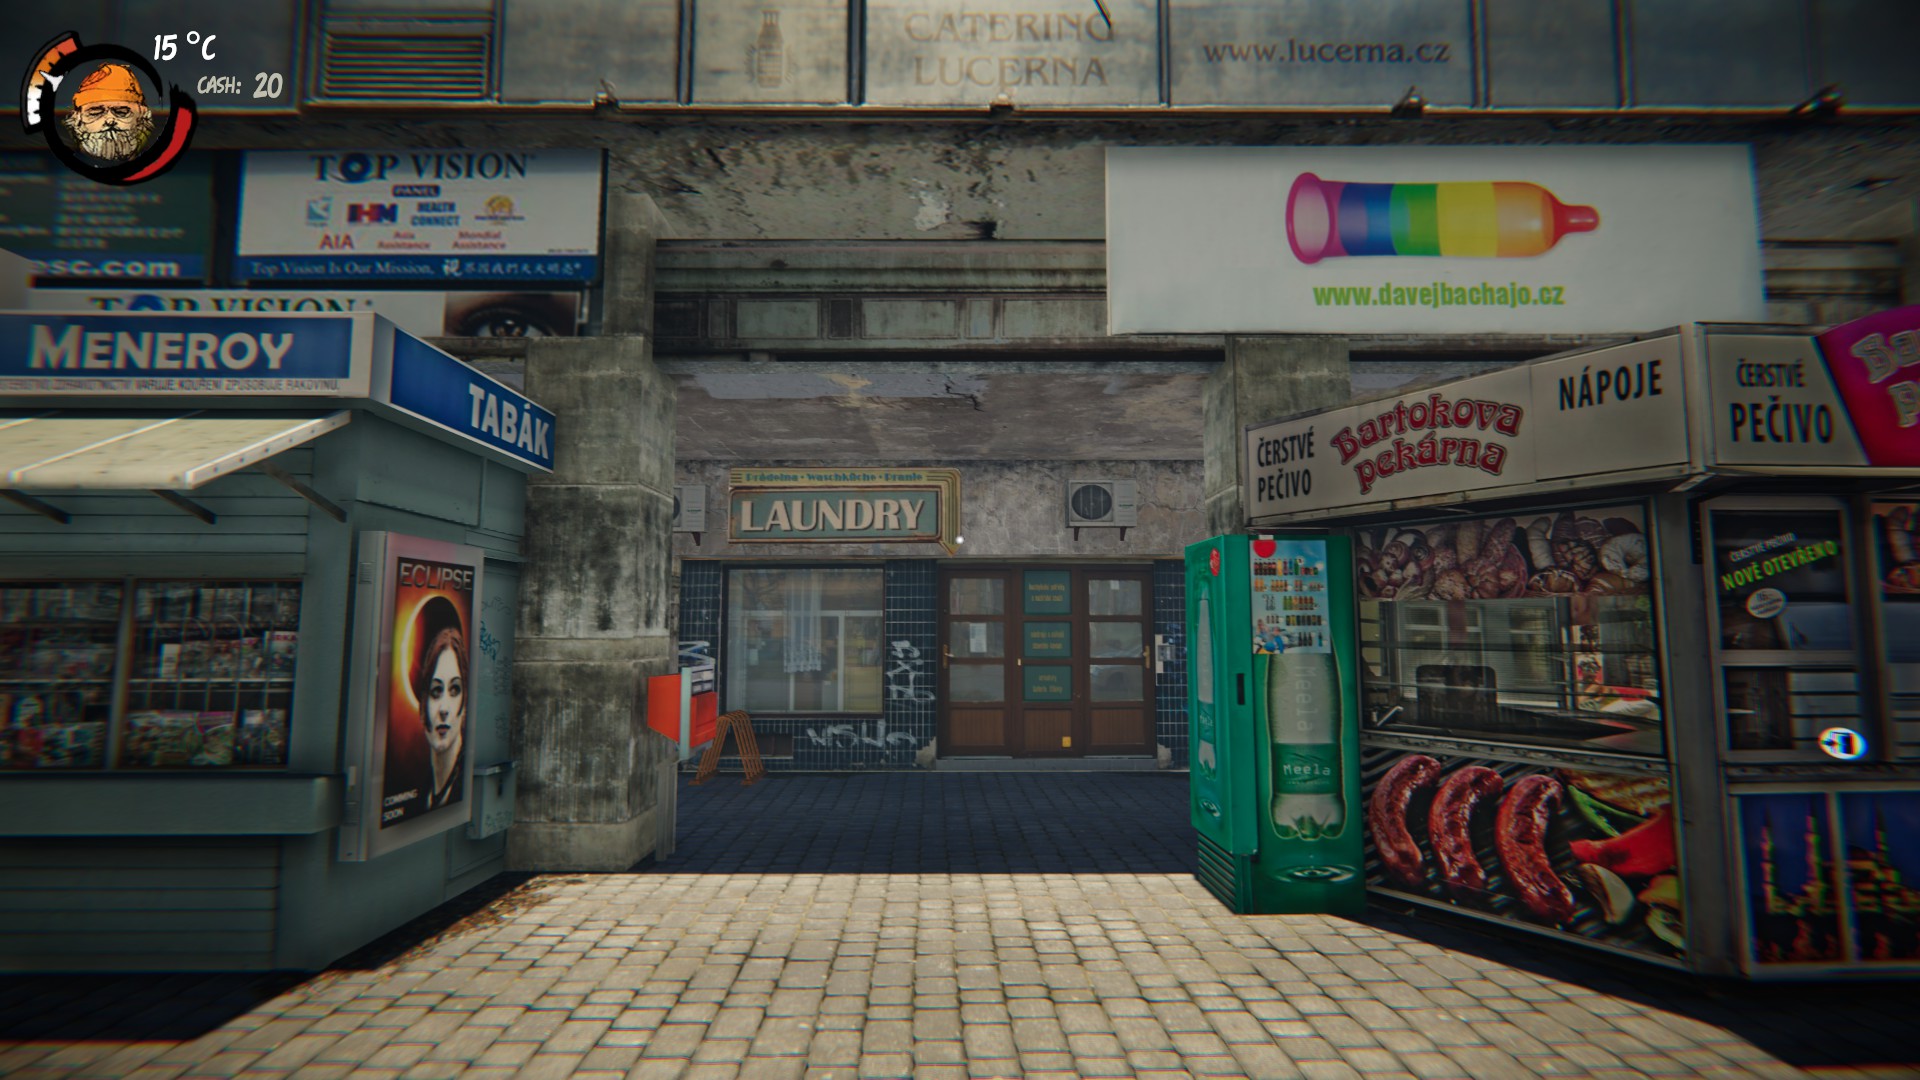

 Pawnshop
 Church
 Combat Needs
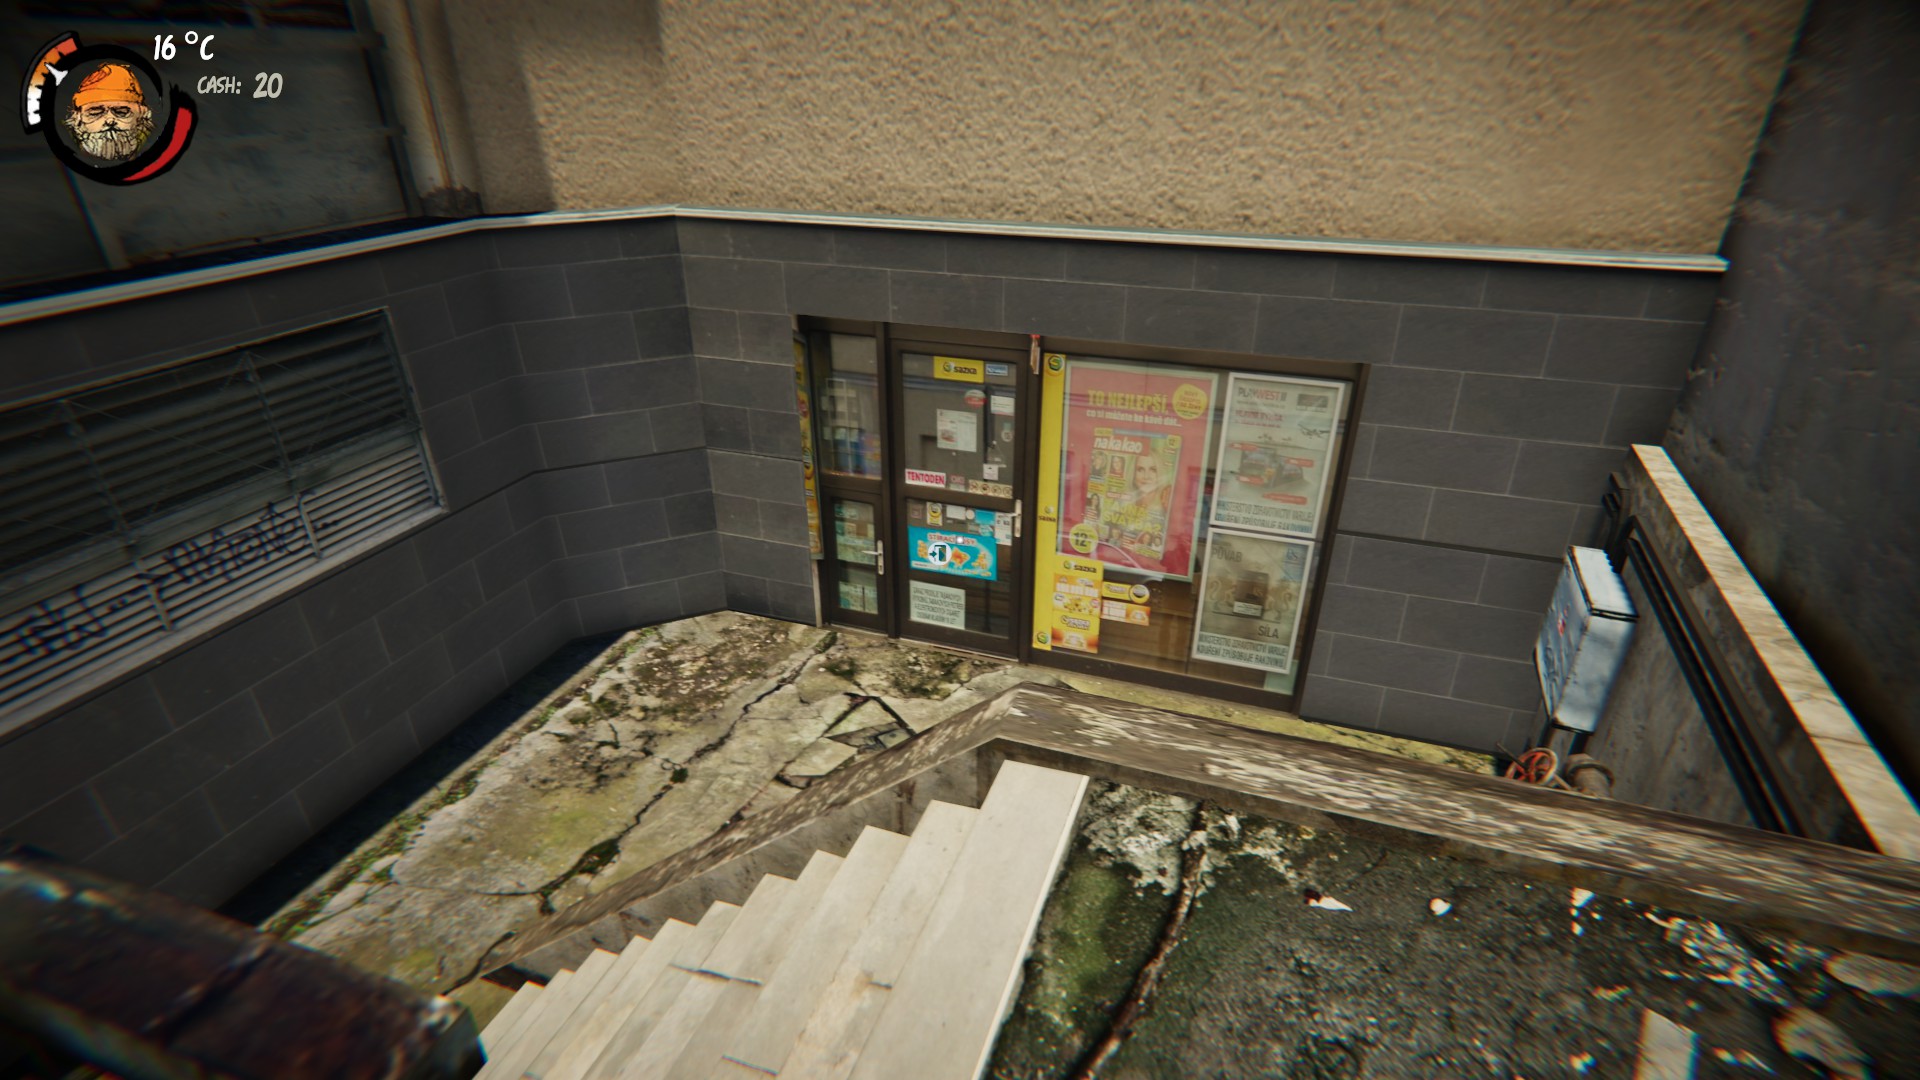
 Seamstress
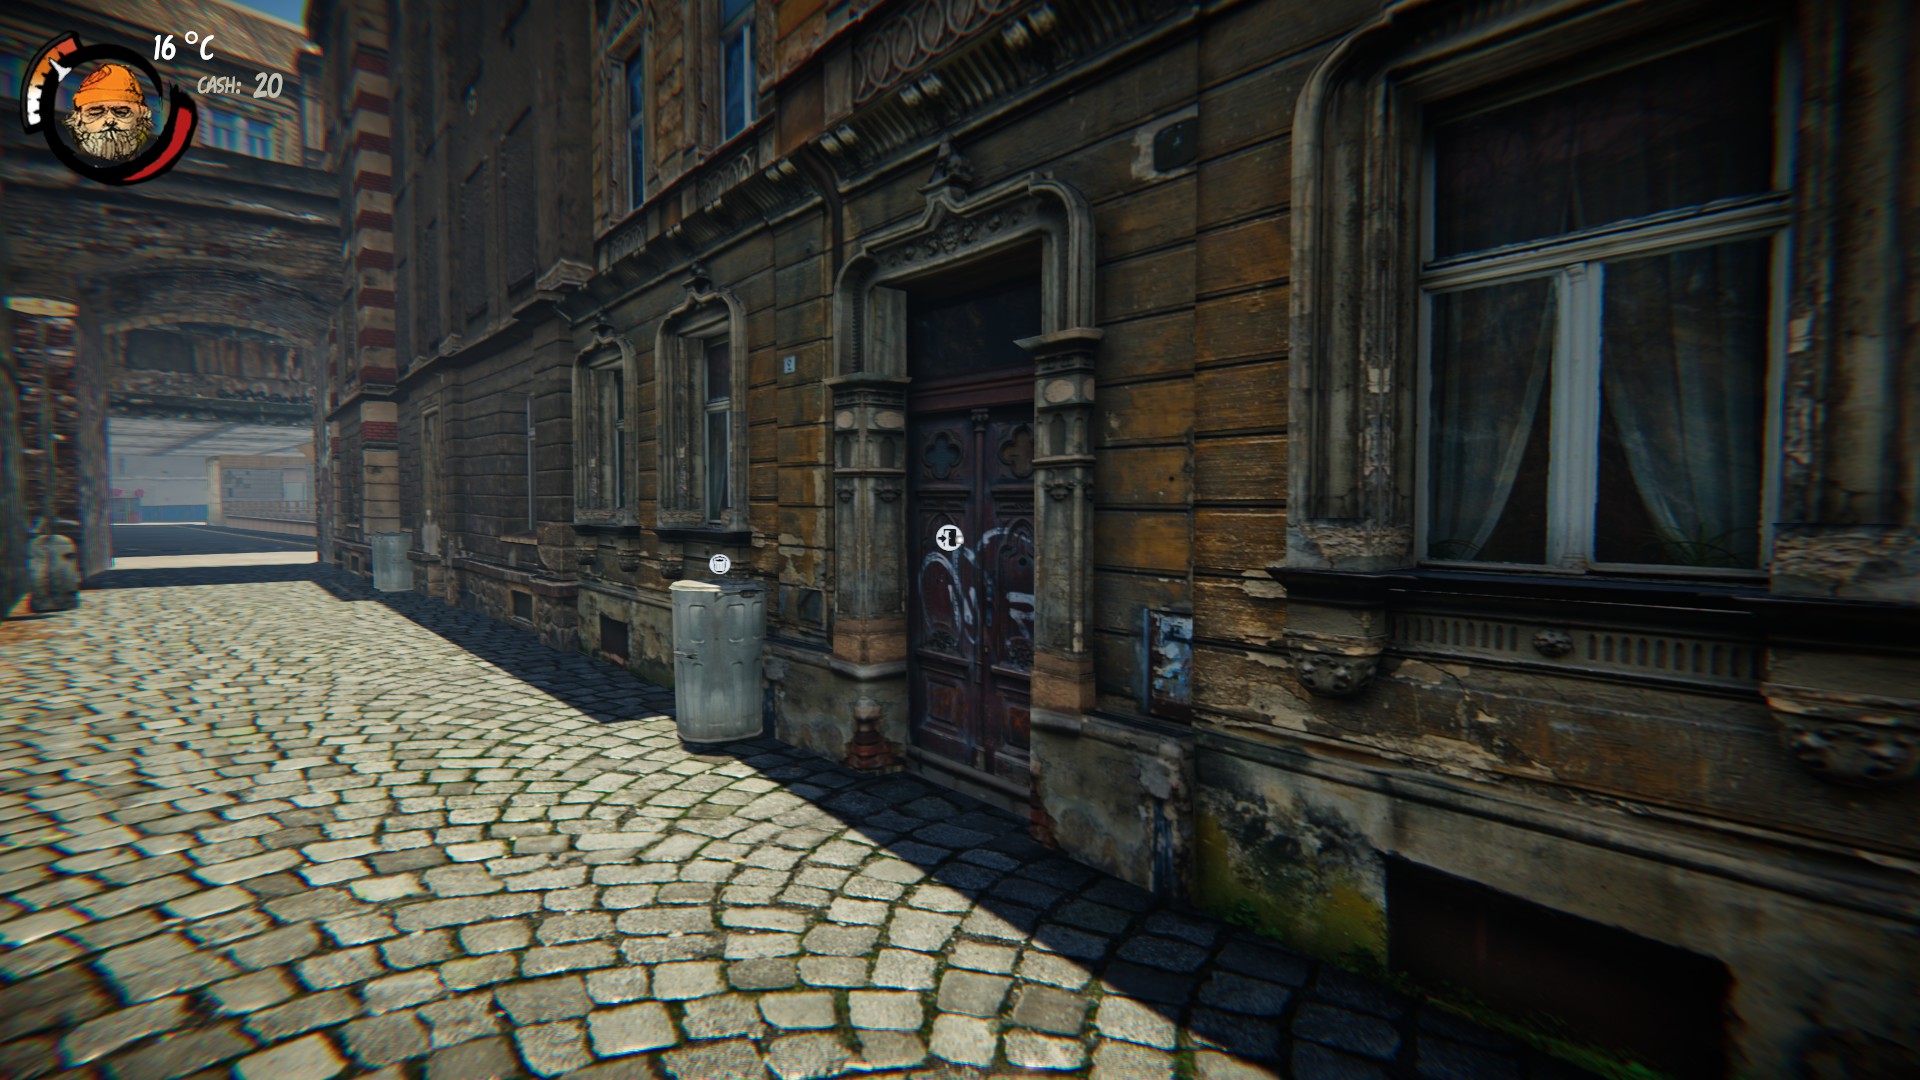
 Doctor
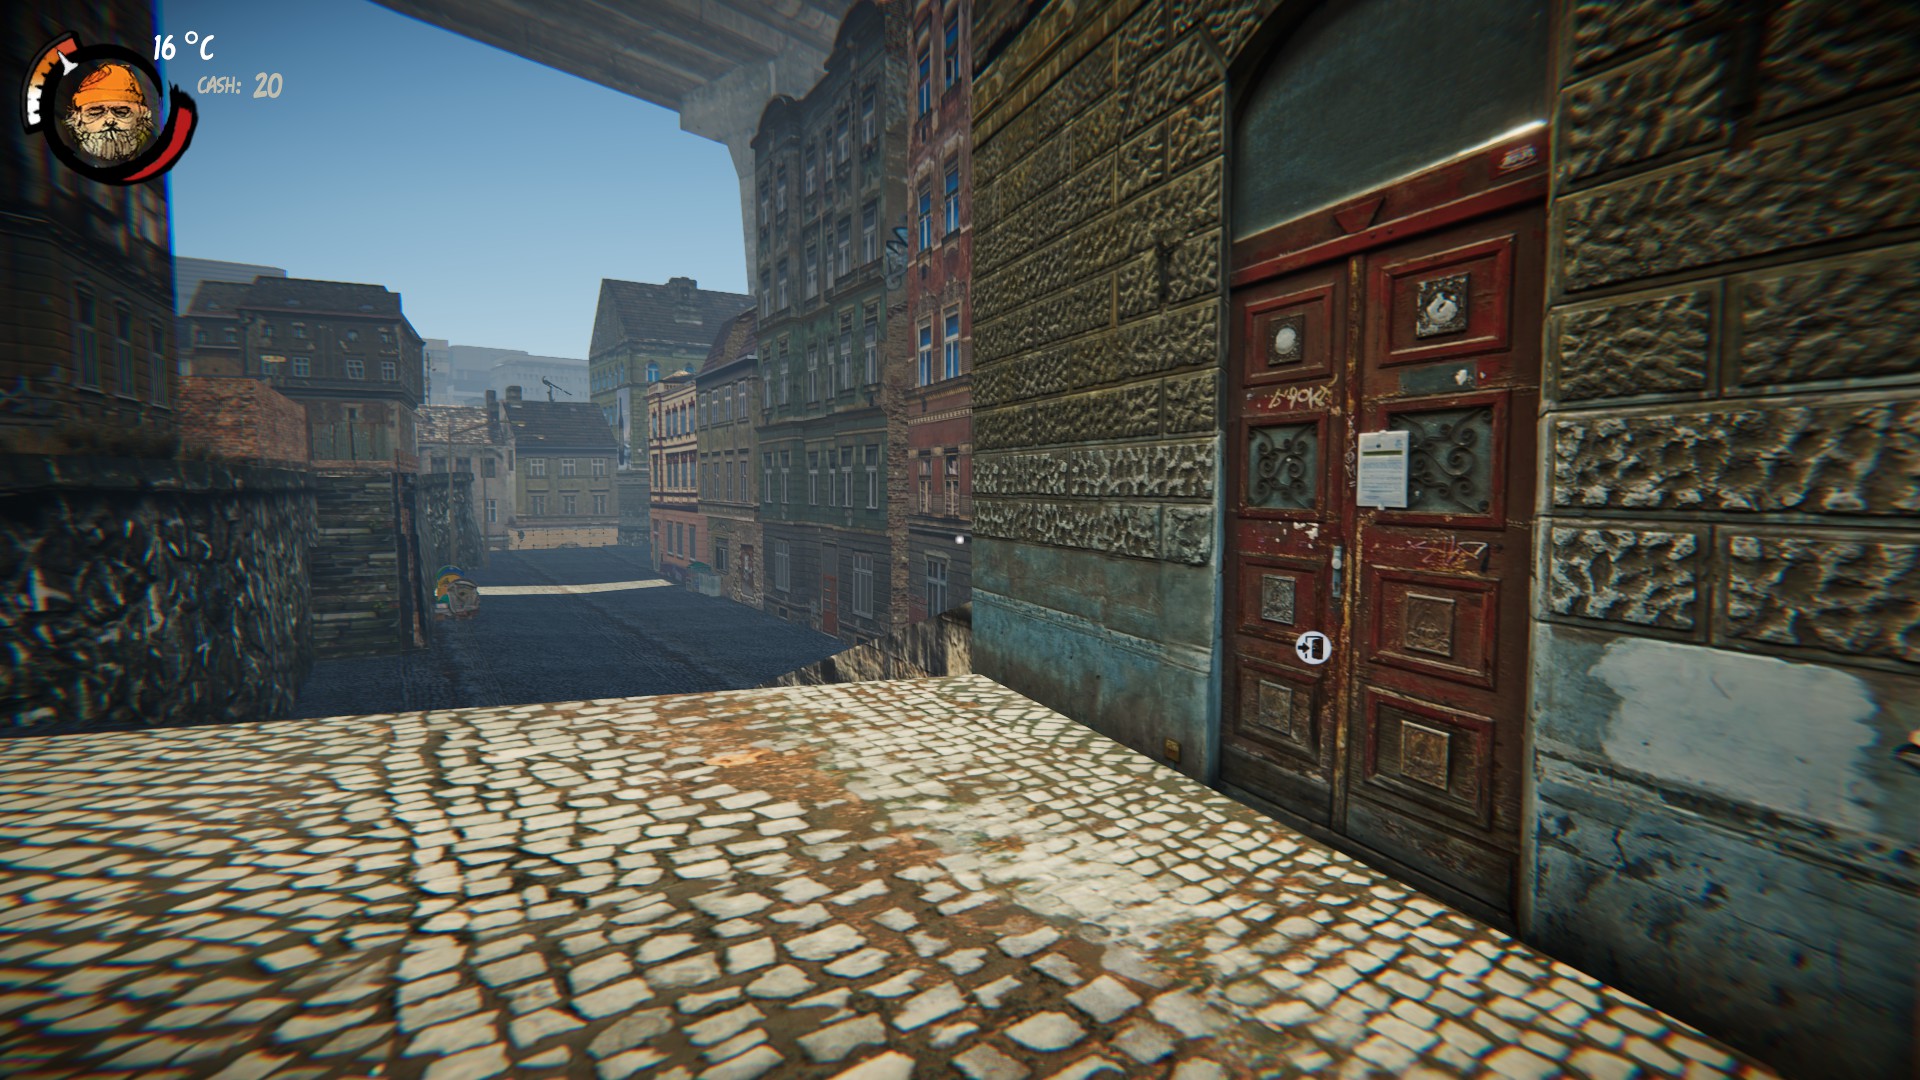
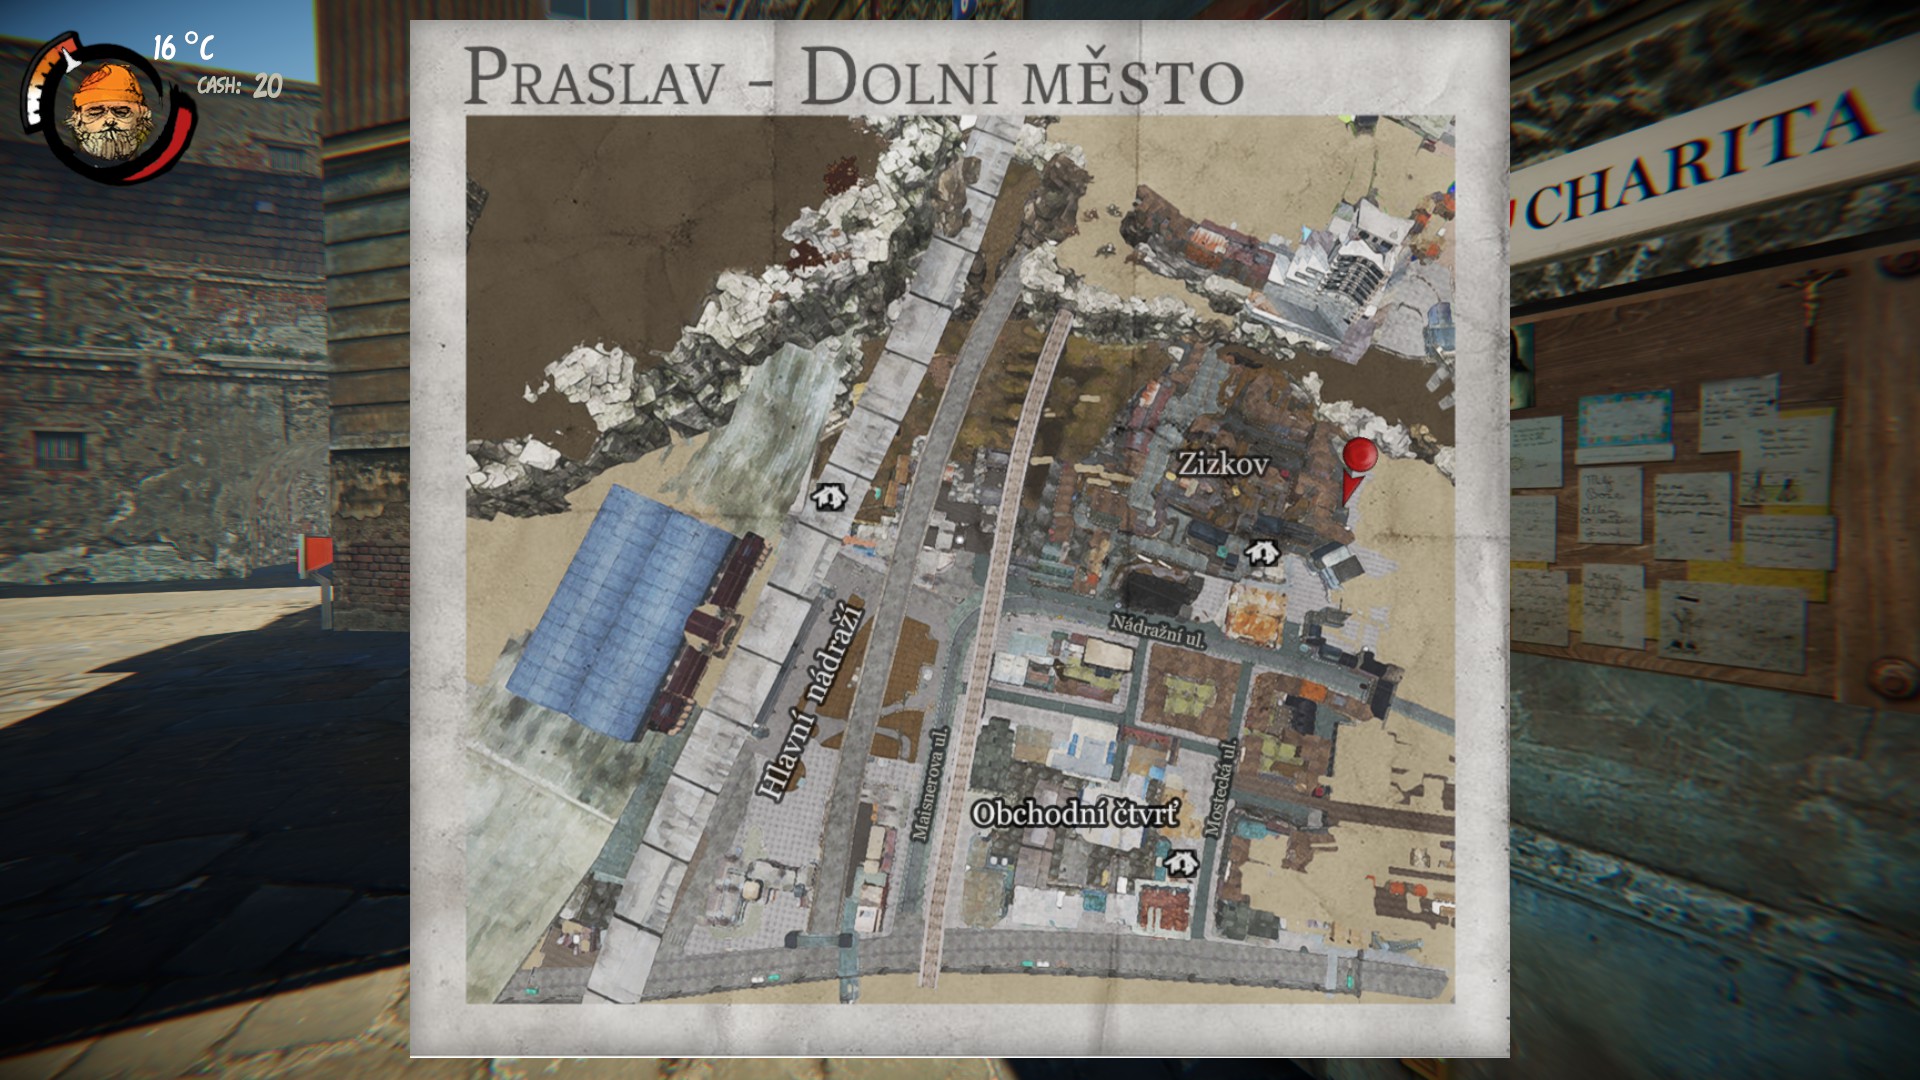
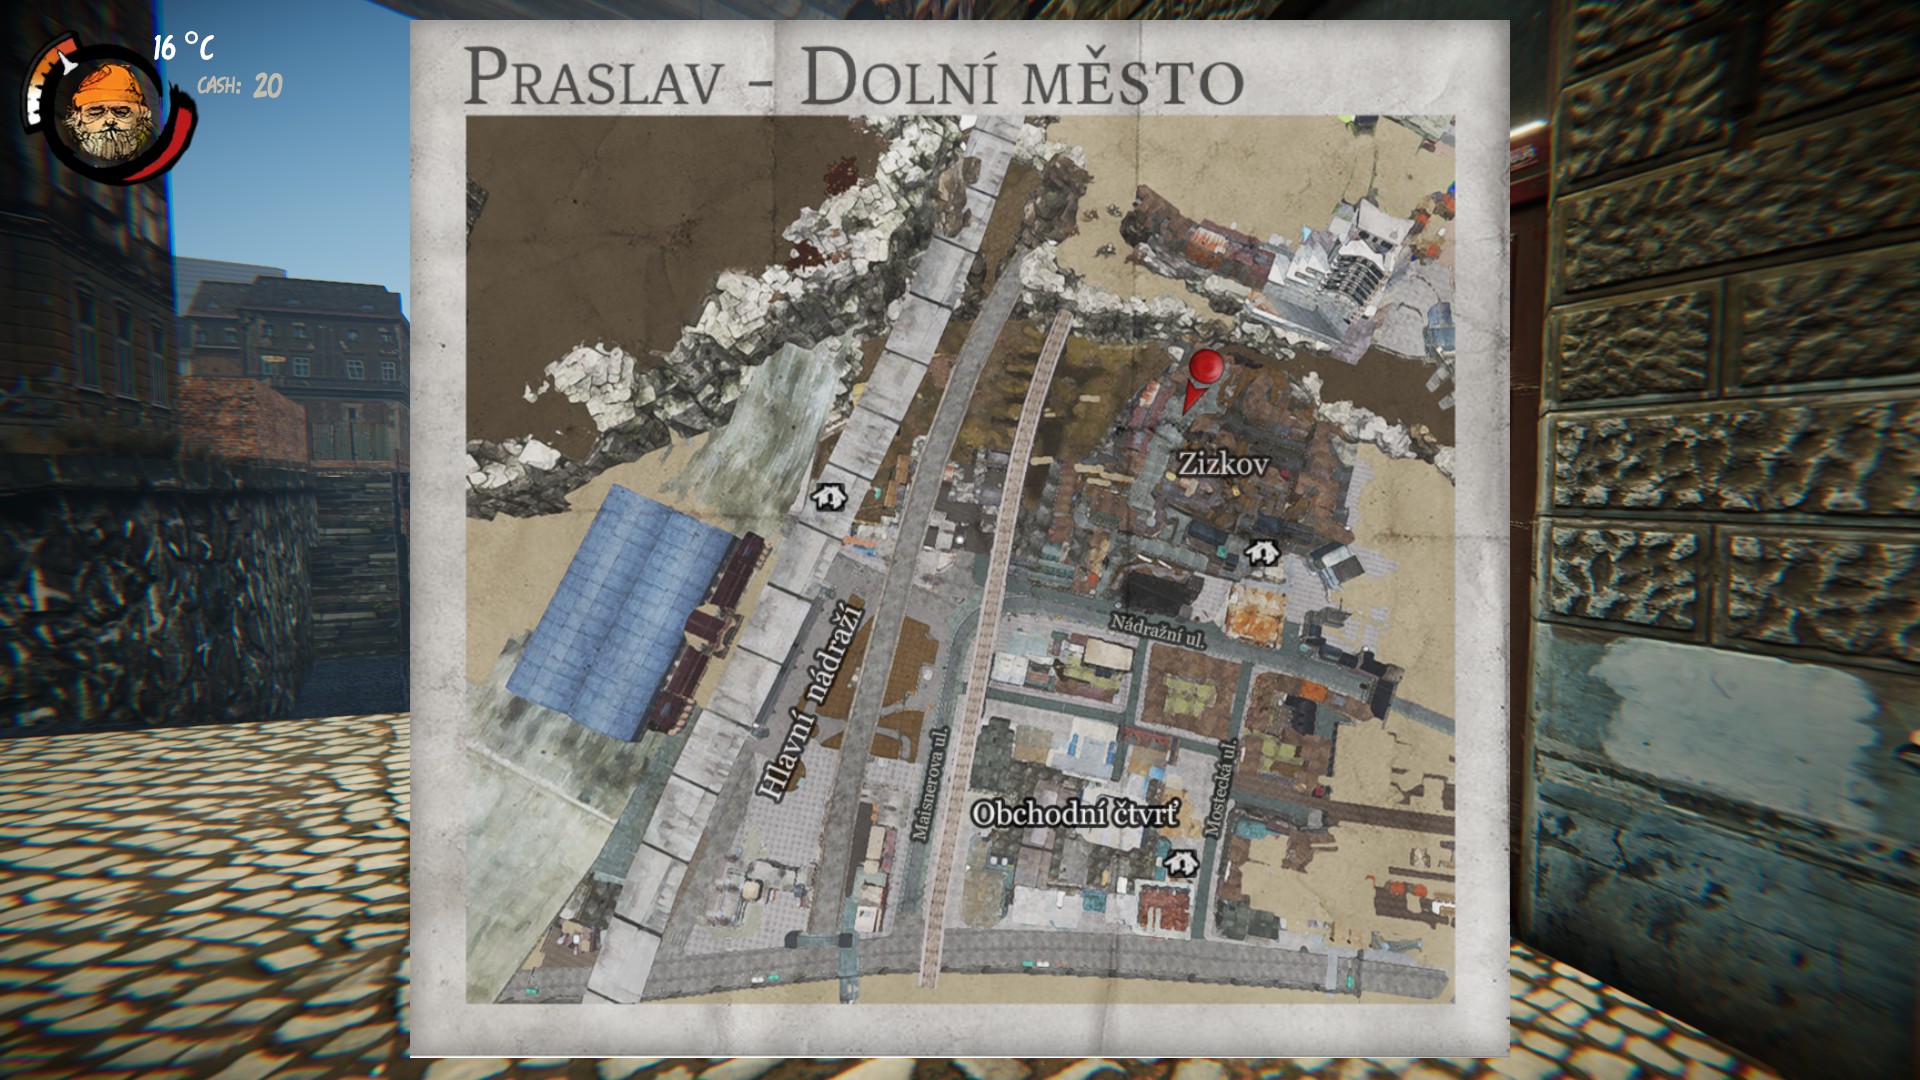 Charity
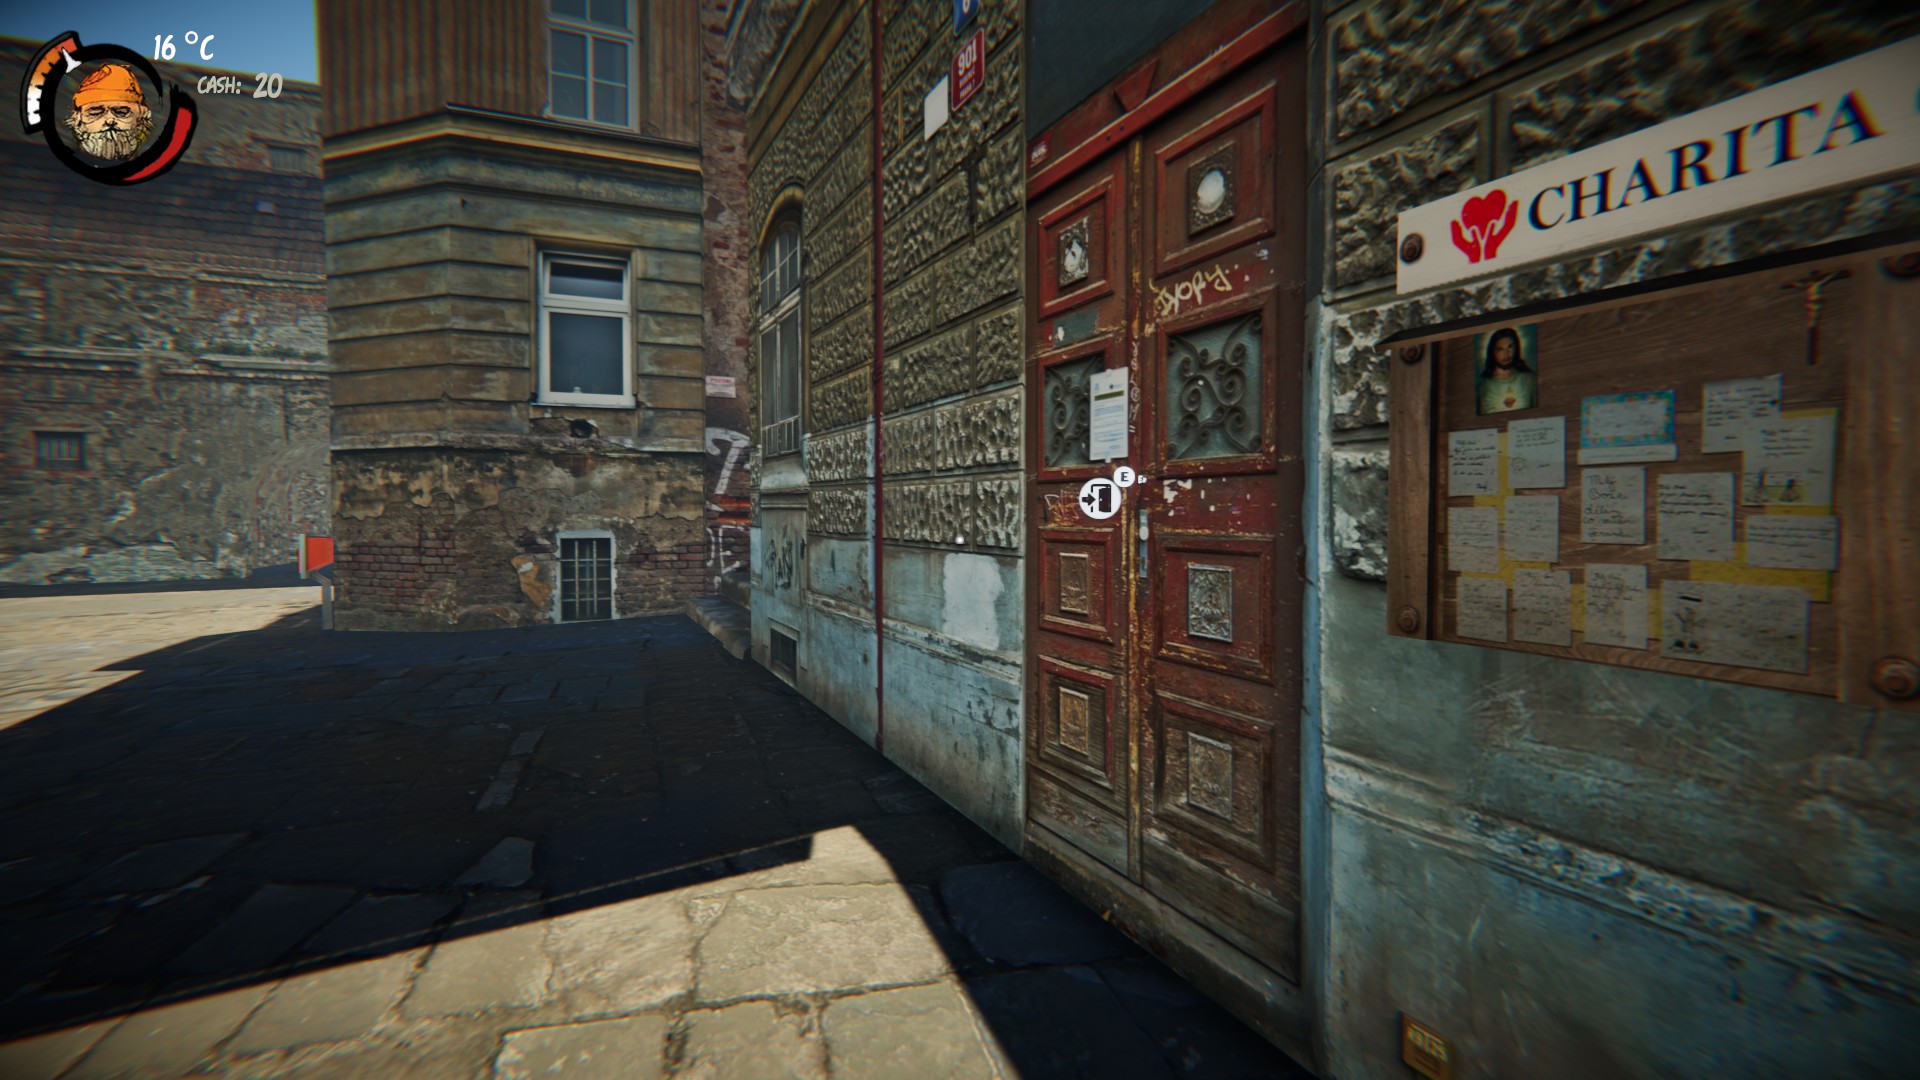
 Rest Areas
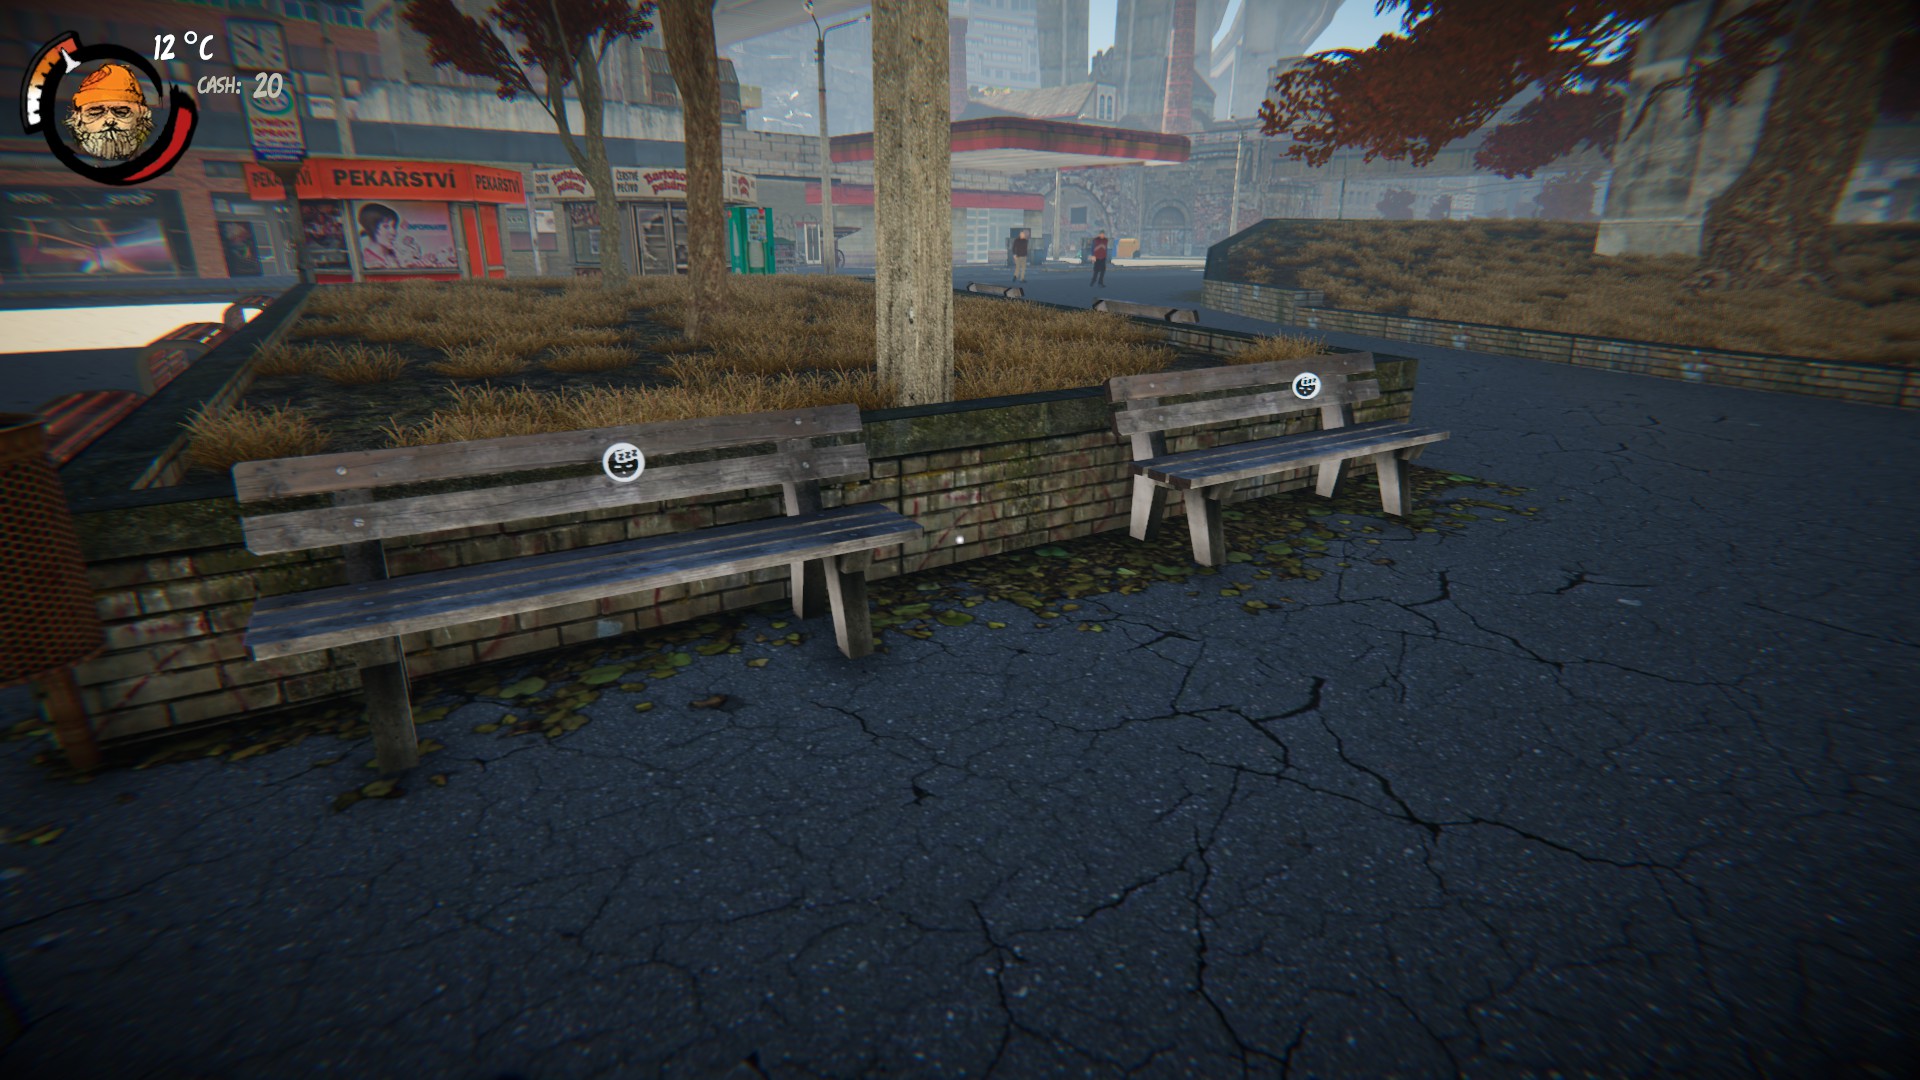

 Snack Bars
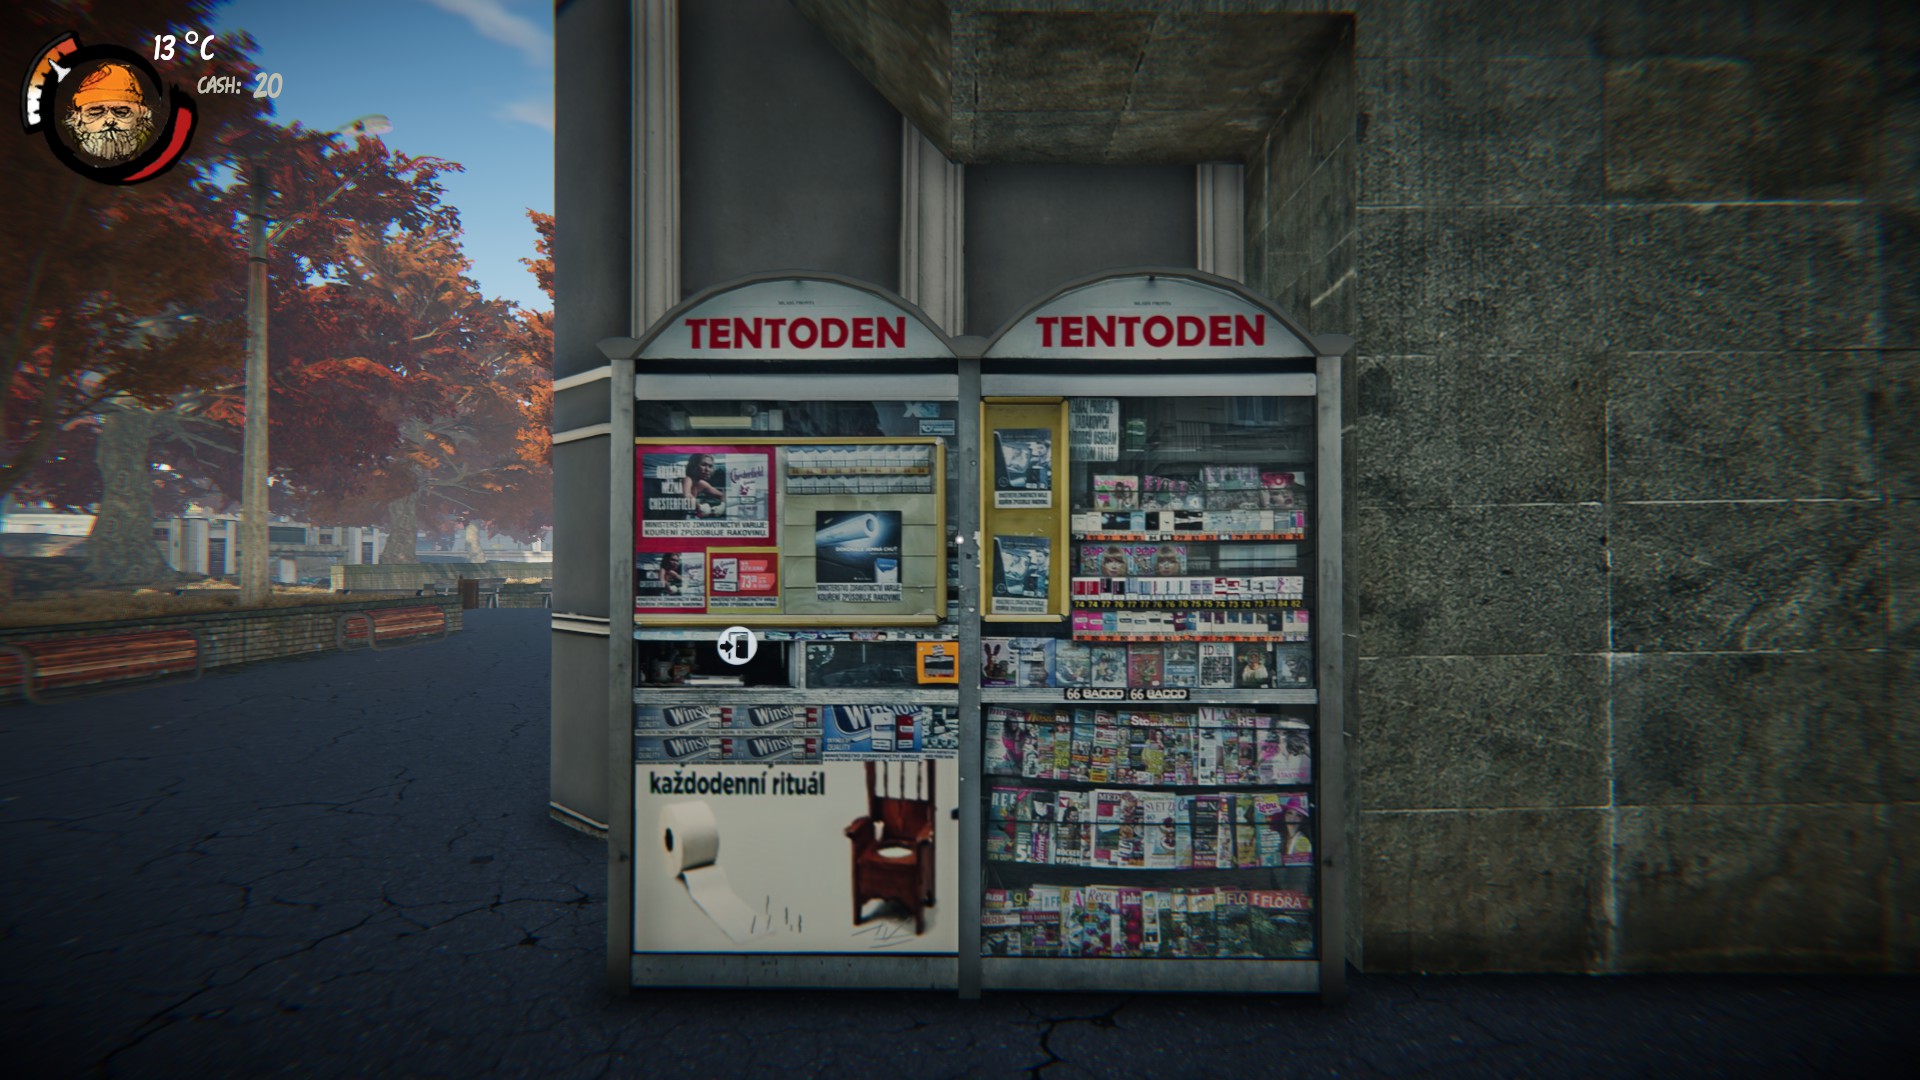
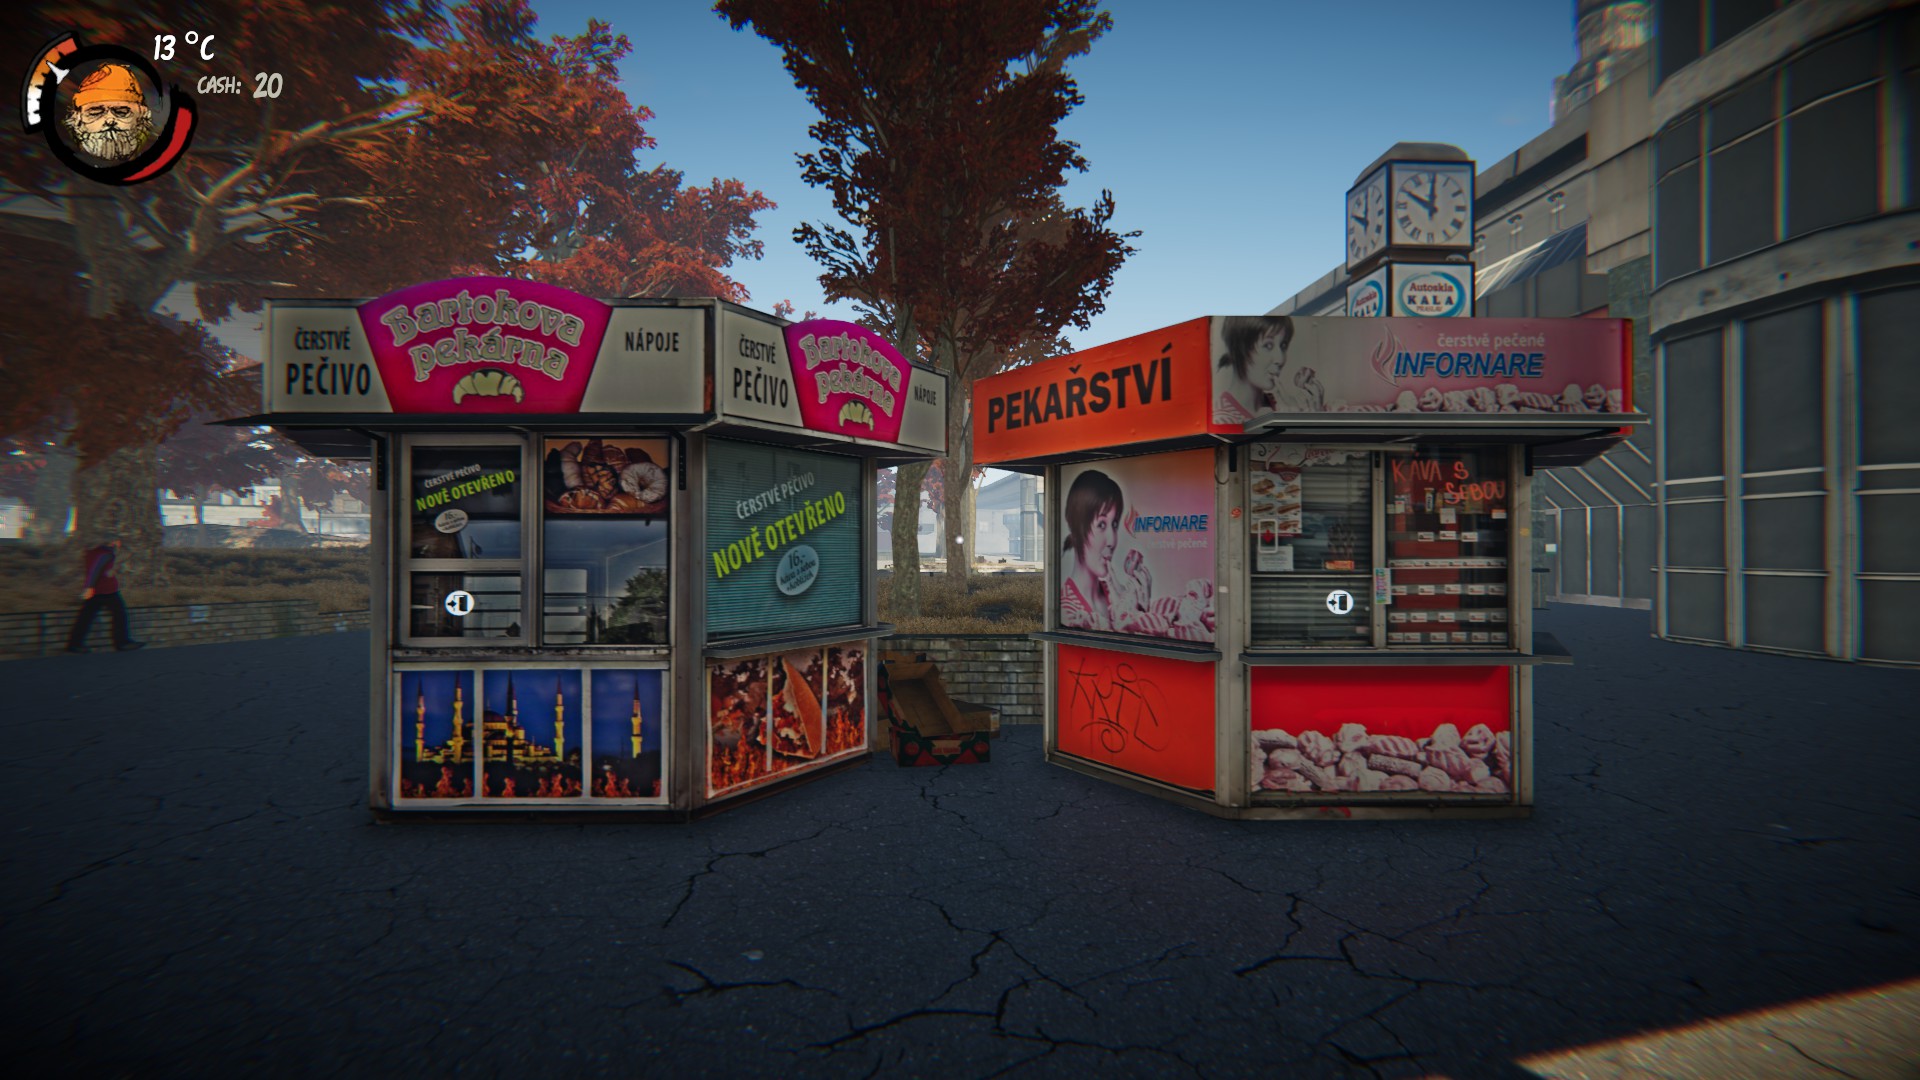 Tobacconist's
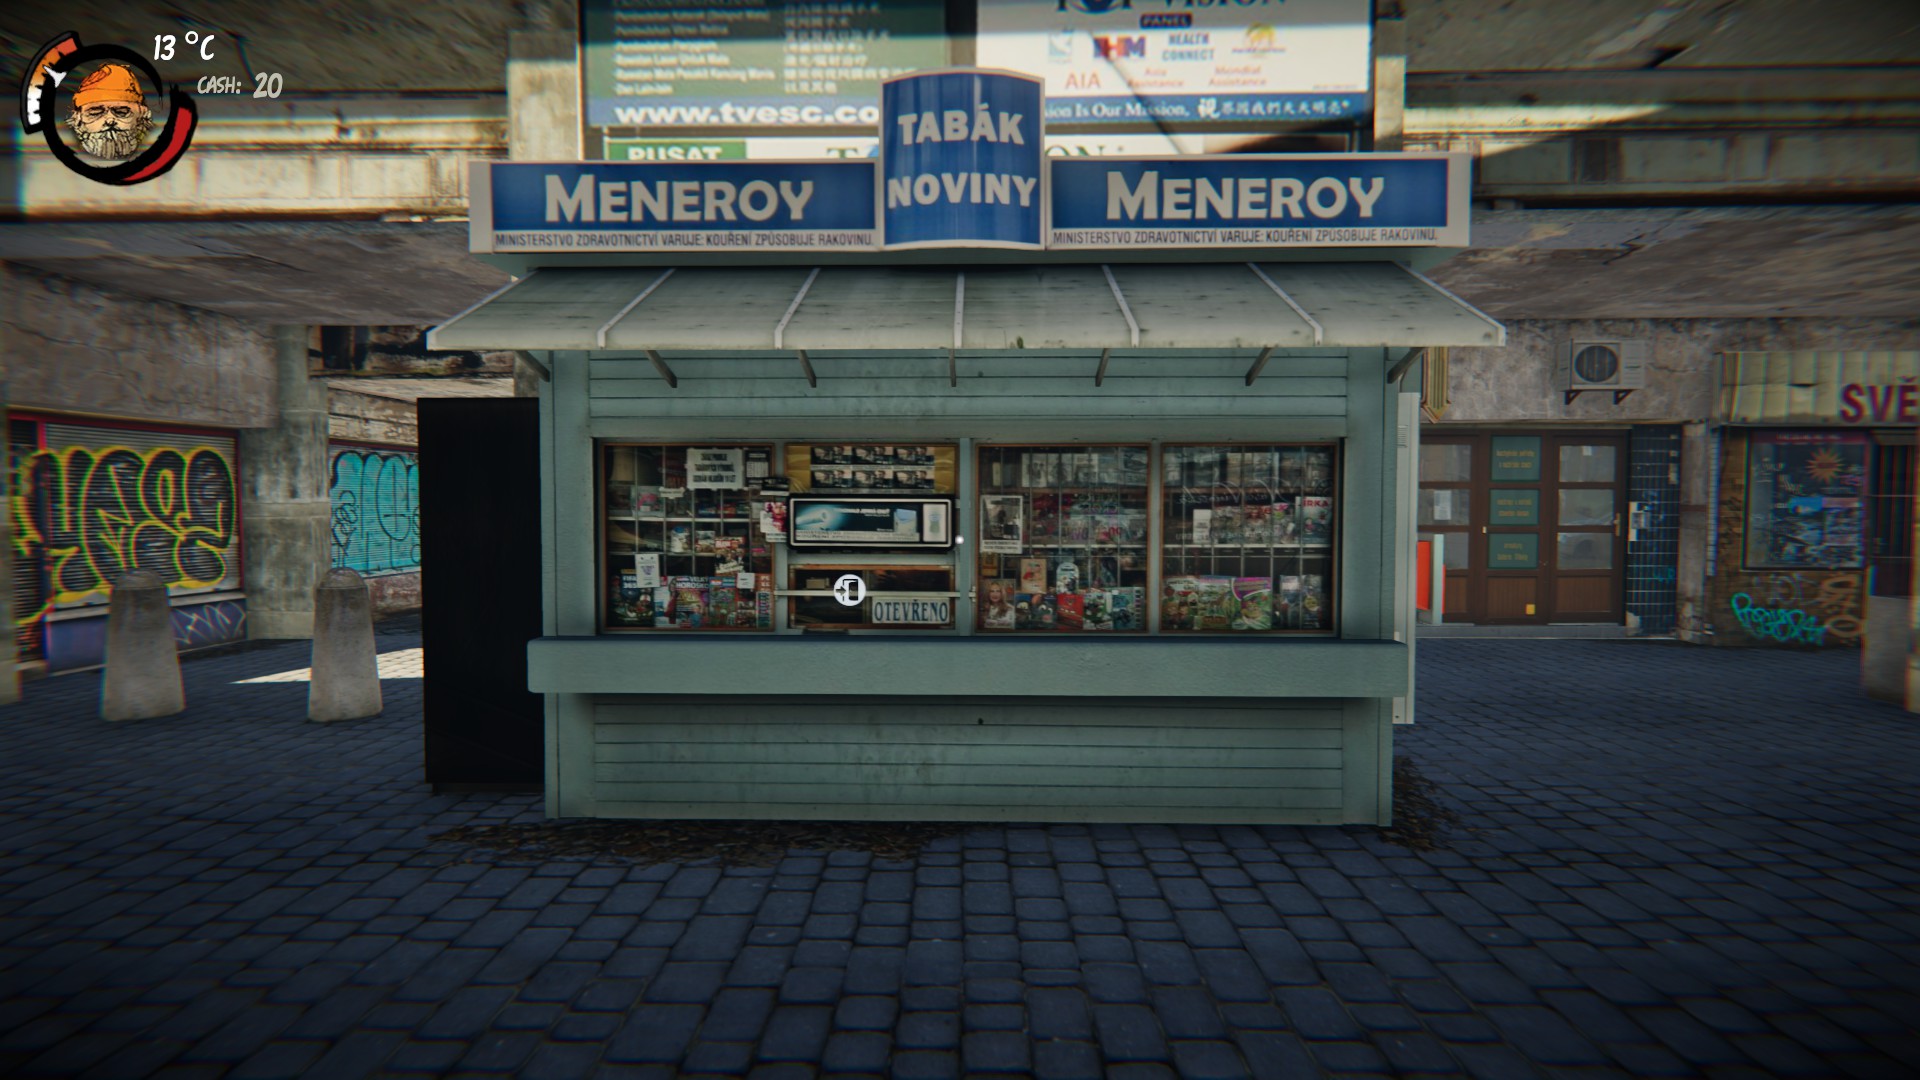
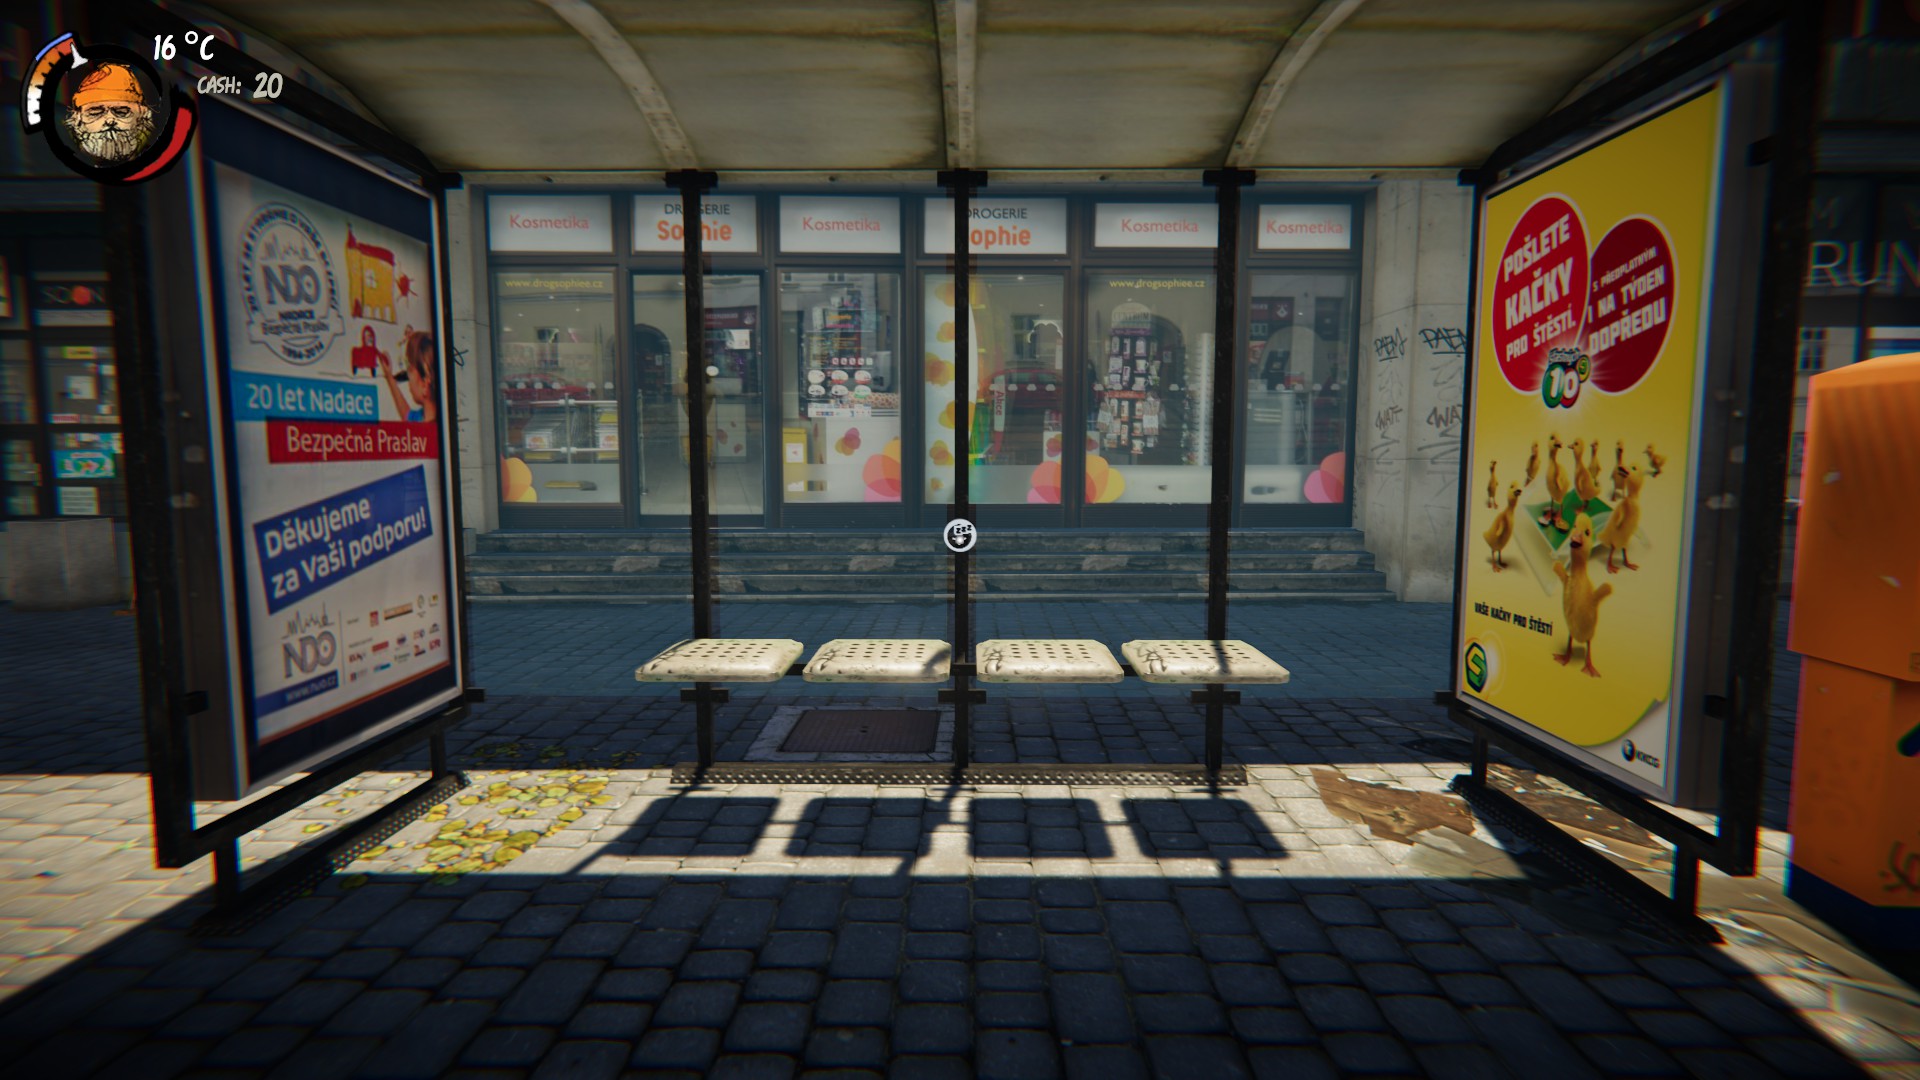
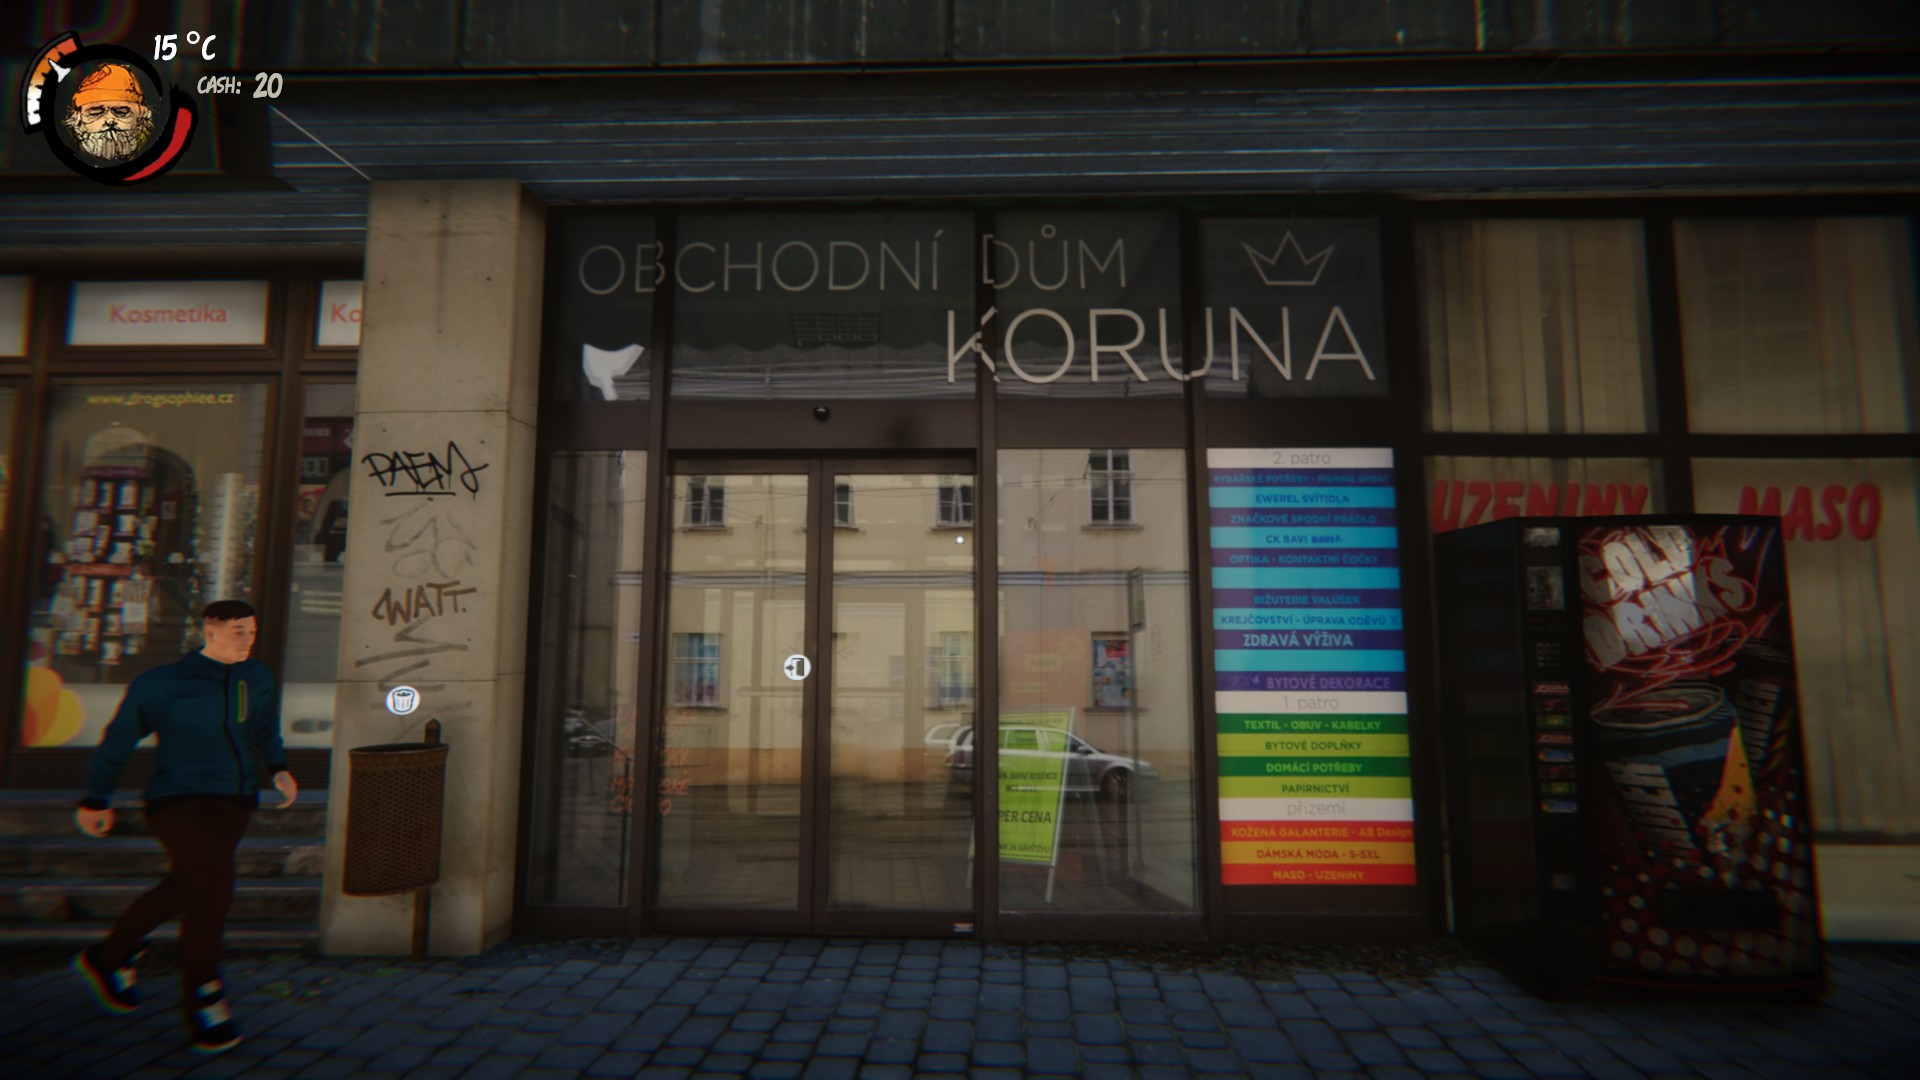
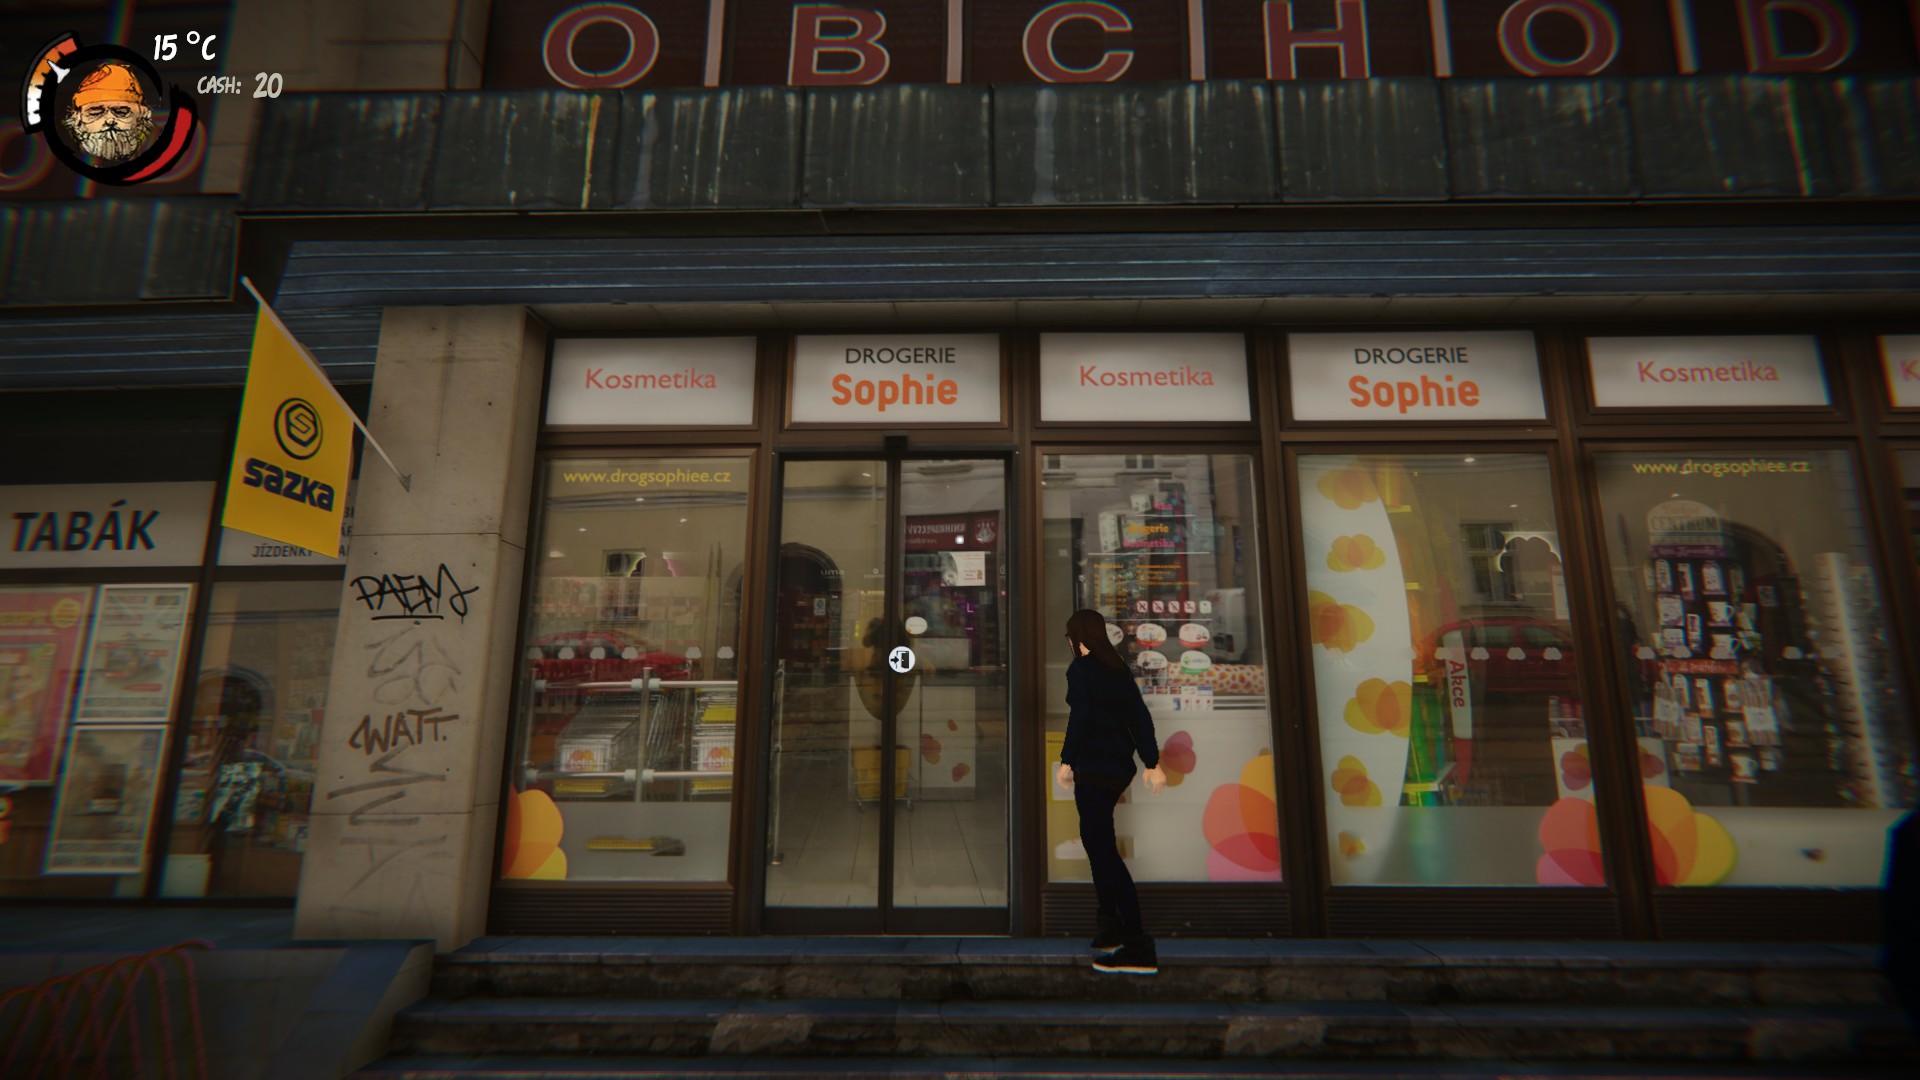
 Shops
Shops

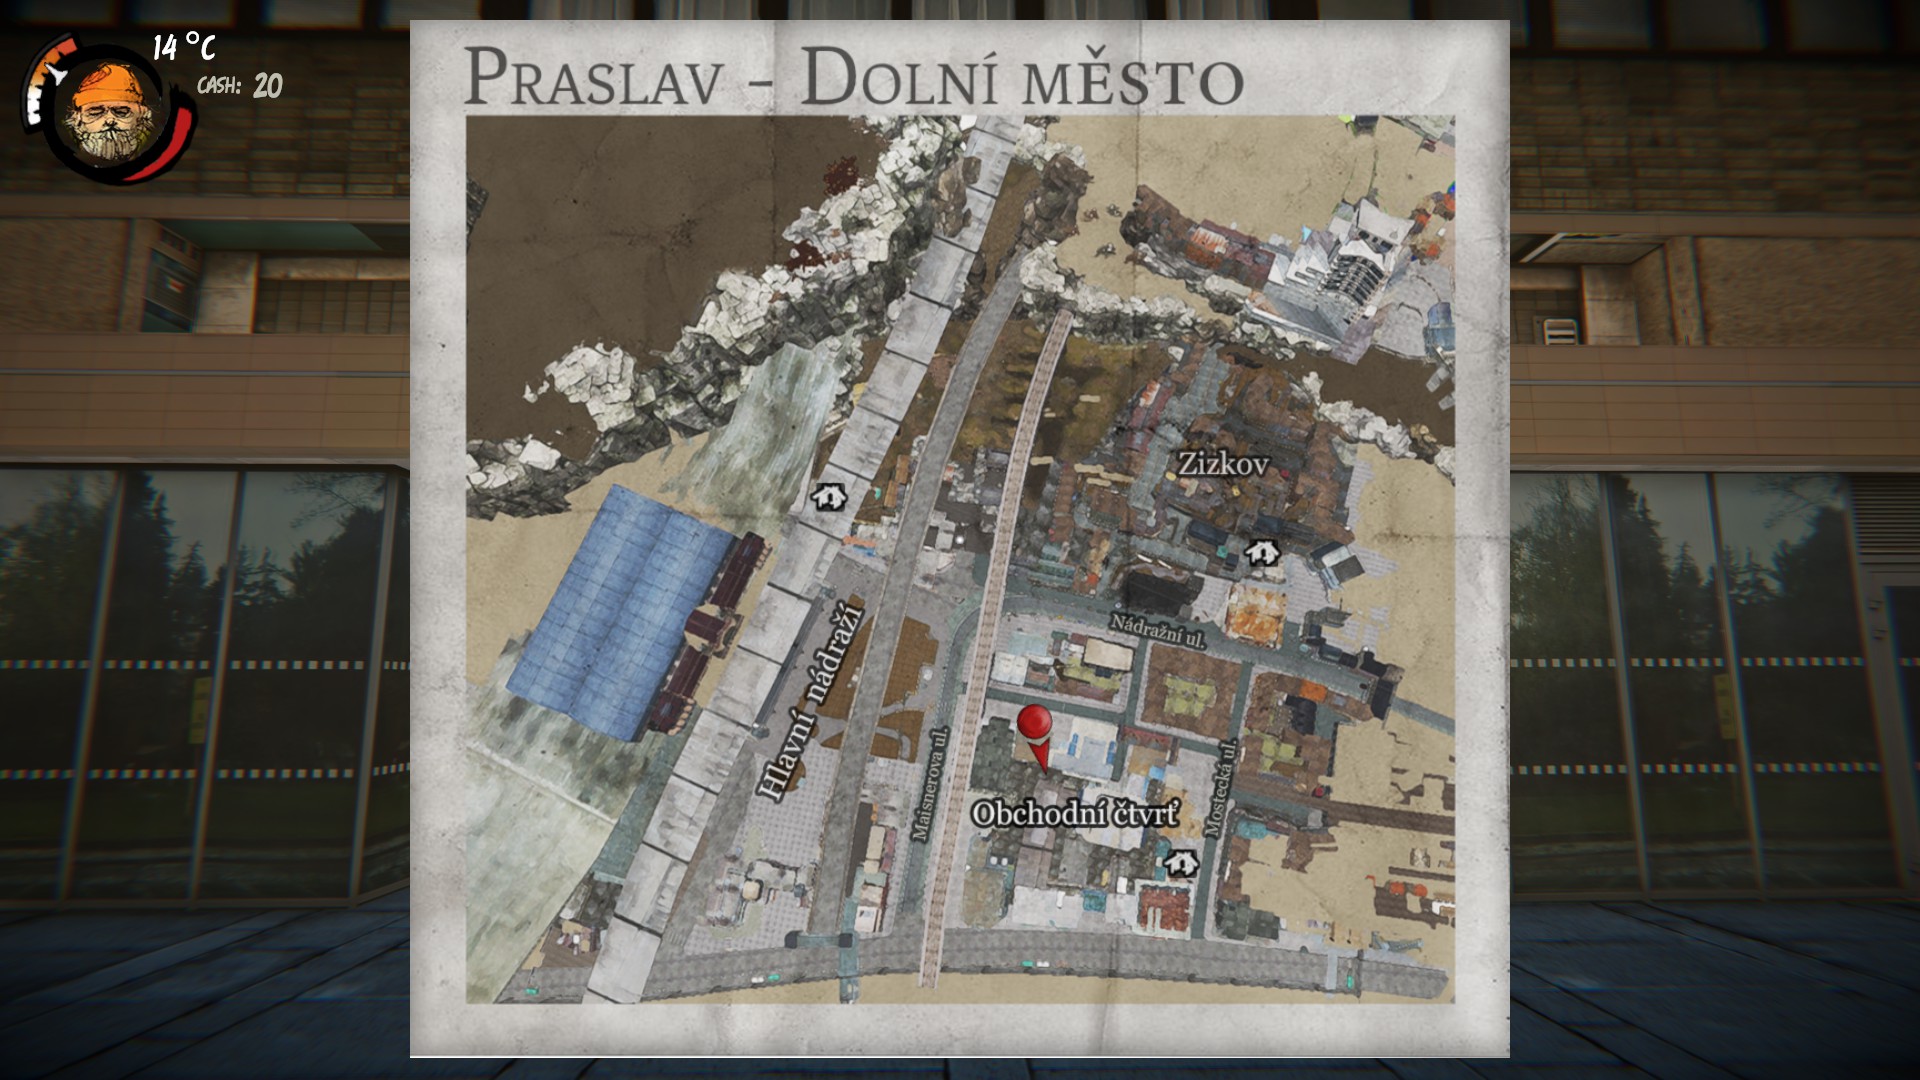
 Scrap Dealer
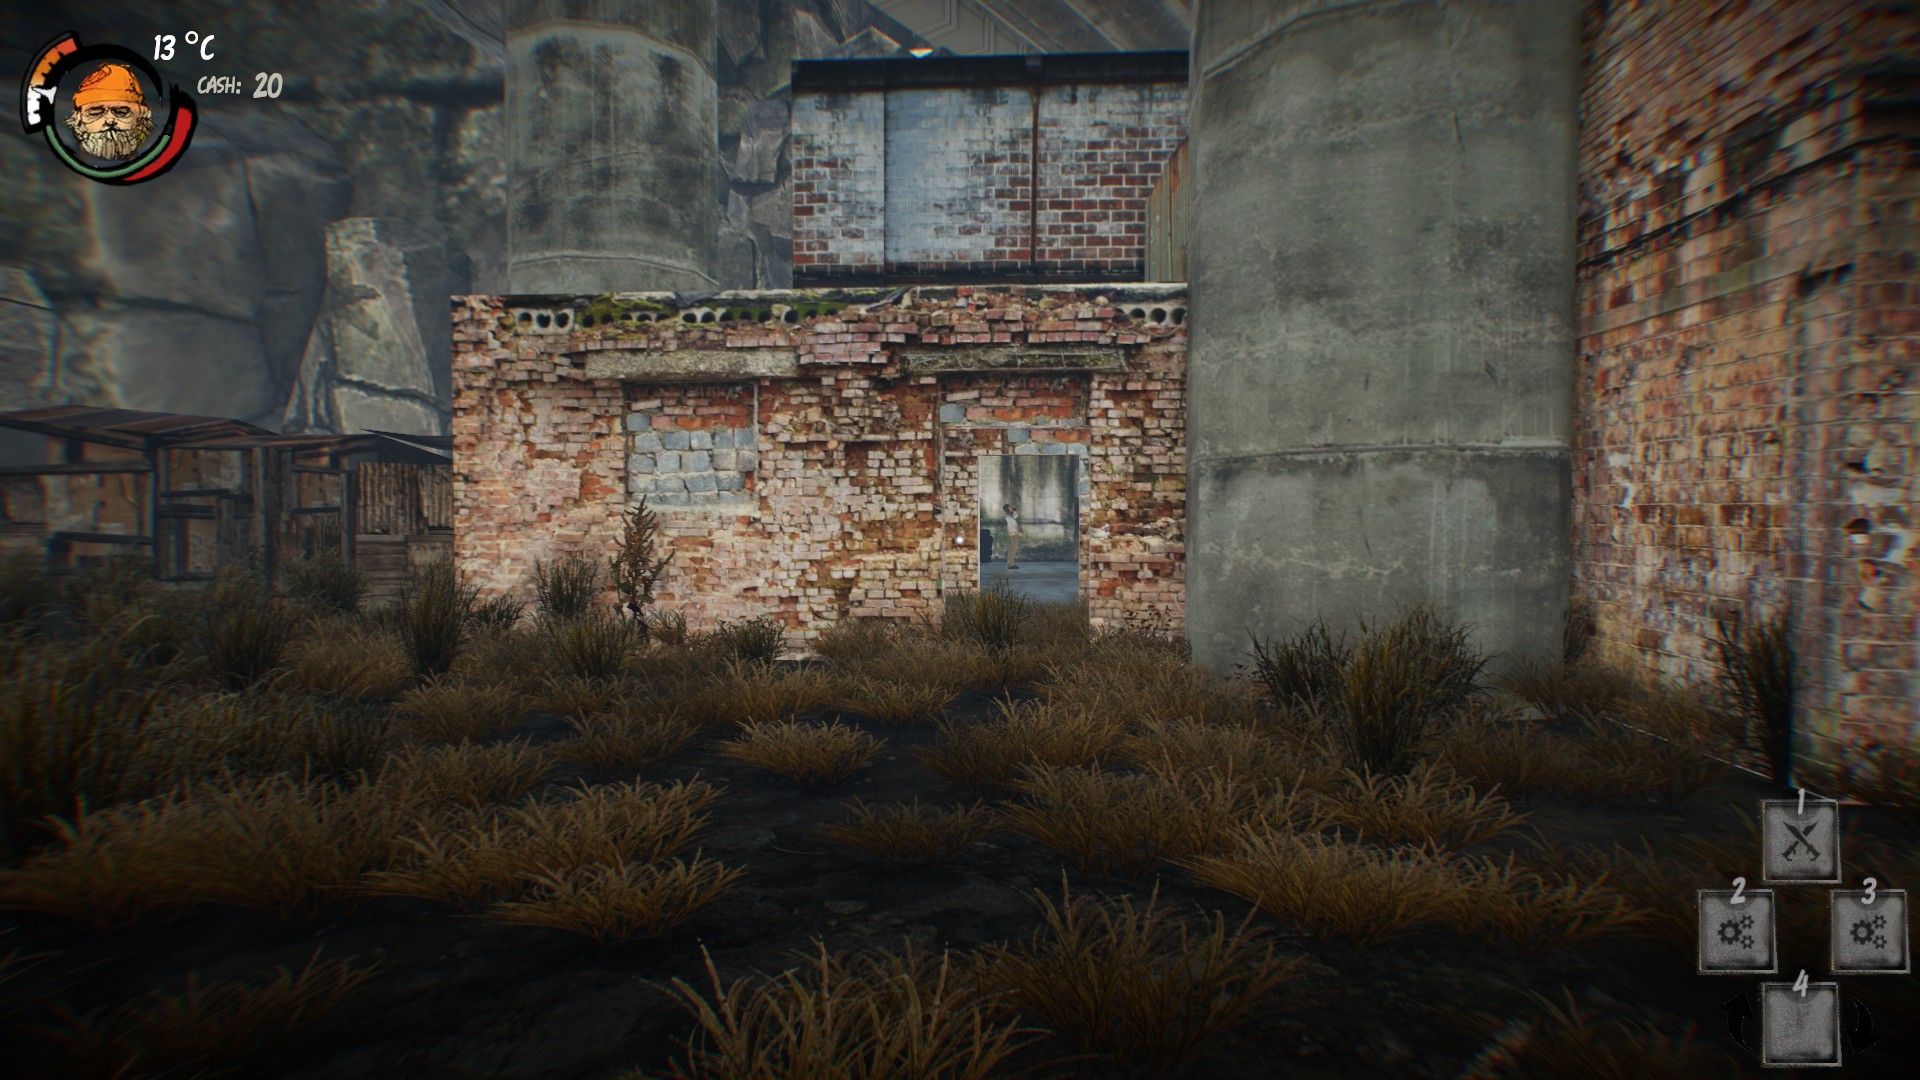
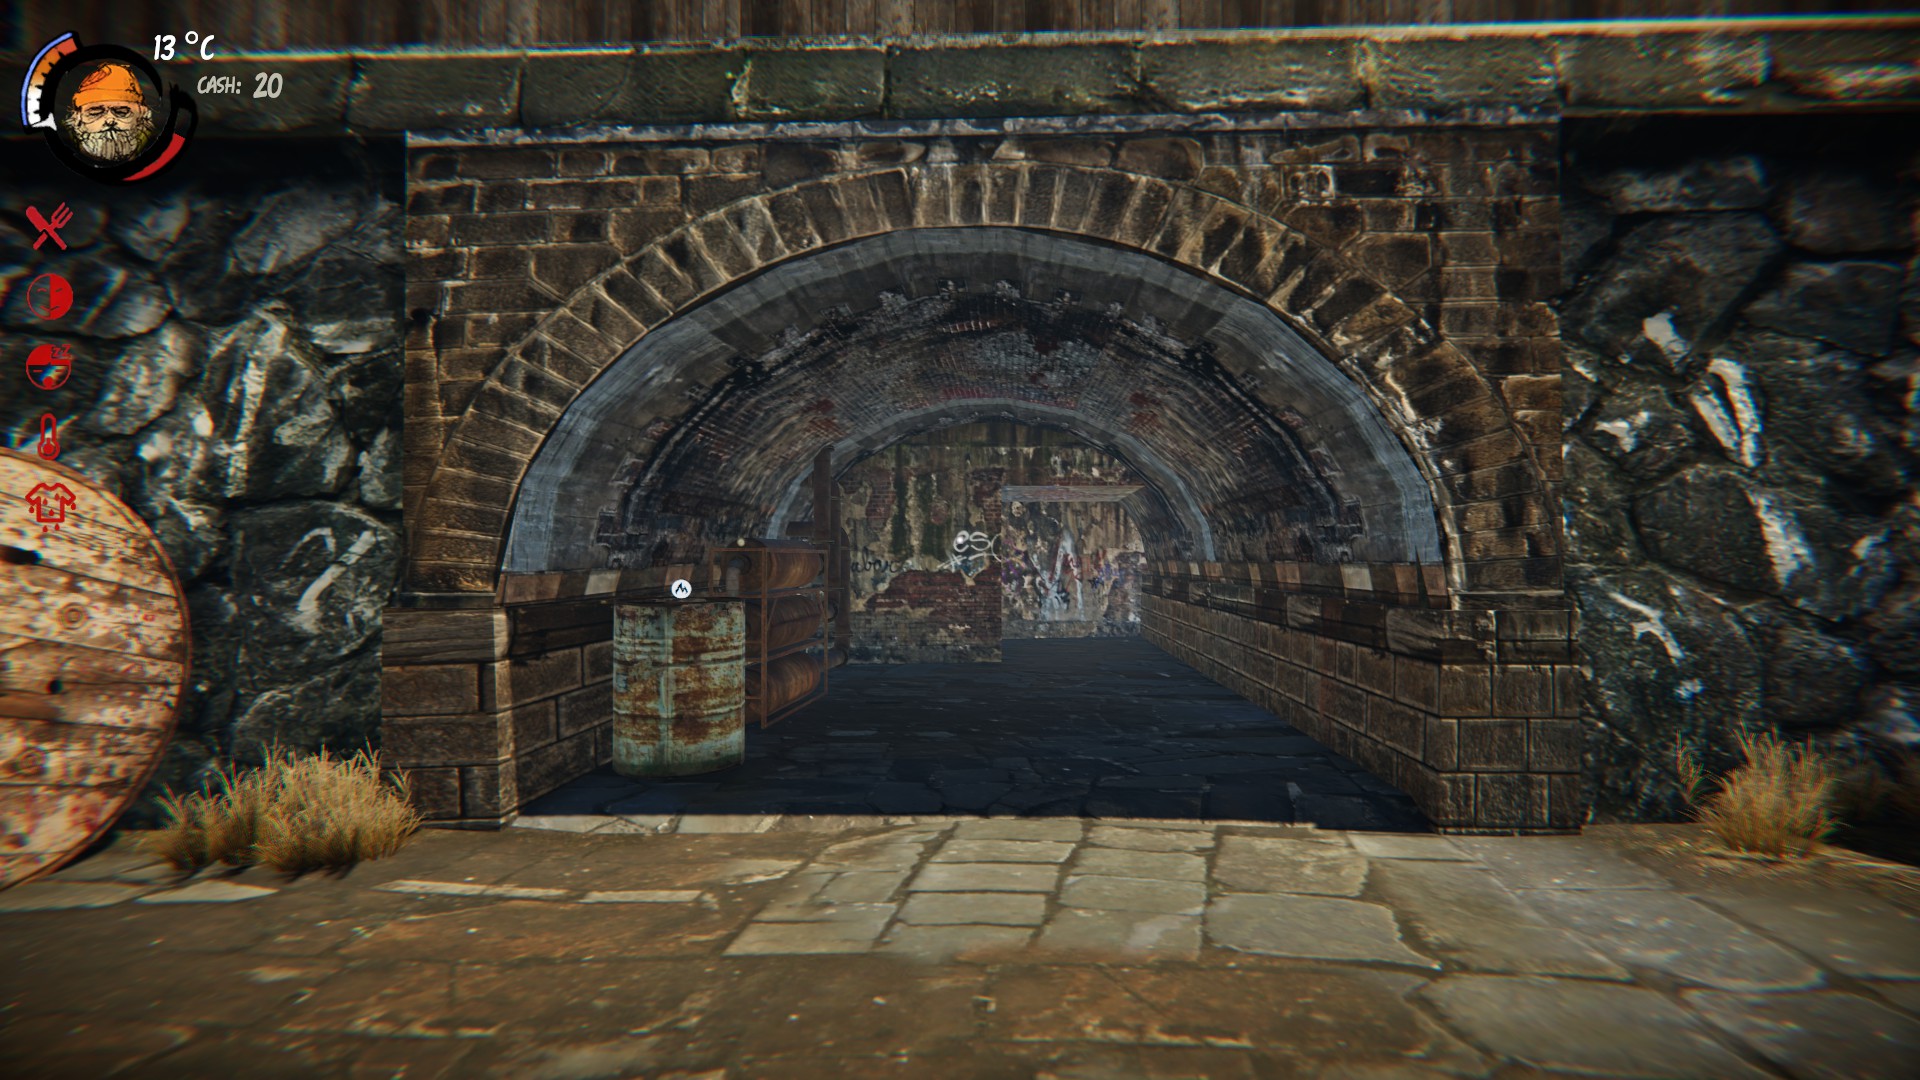
Where you can build a base.
1.
2.
3.
When you gotta go you gotta go.
1.
2.
He will teach you important skills to survive.
Was your nasty clothes.
1.
2.
Sell and buy items and or junk.
For when you need a little faith in your life.
Not currently functional.
Cure all that ails you.
Sleep, shower and buy items.
Still got to sleep.
1.
2.
Gives bonus.
3.
Gives bonus.
4.
Gives bonus.
Buy food and drinks.
Buy things like maps, lockpicks and scratchies.
Buy items to keep you clean.
1.
2.
3.
Sell scrap and copper wire.
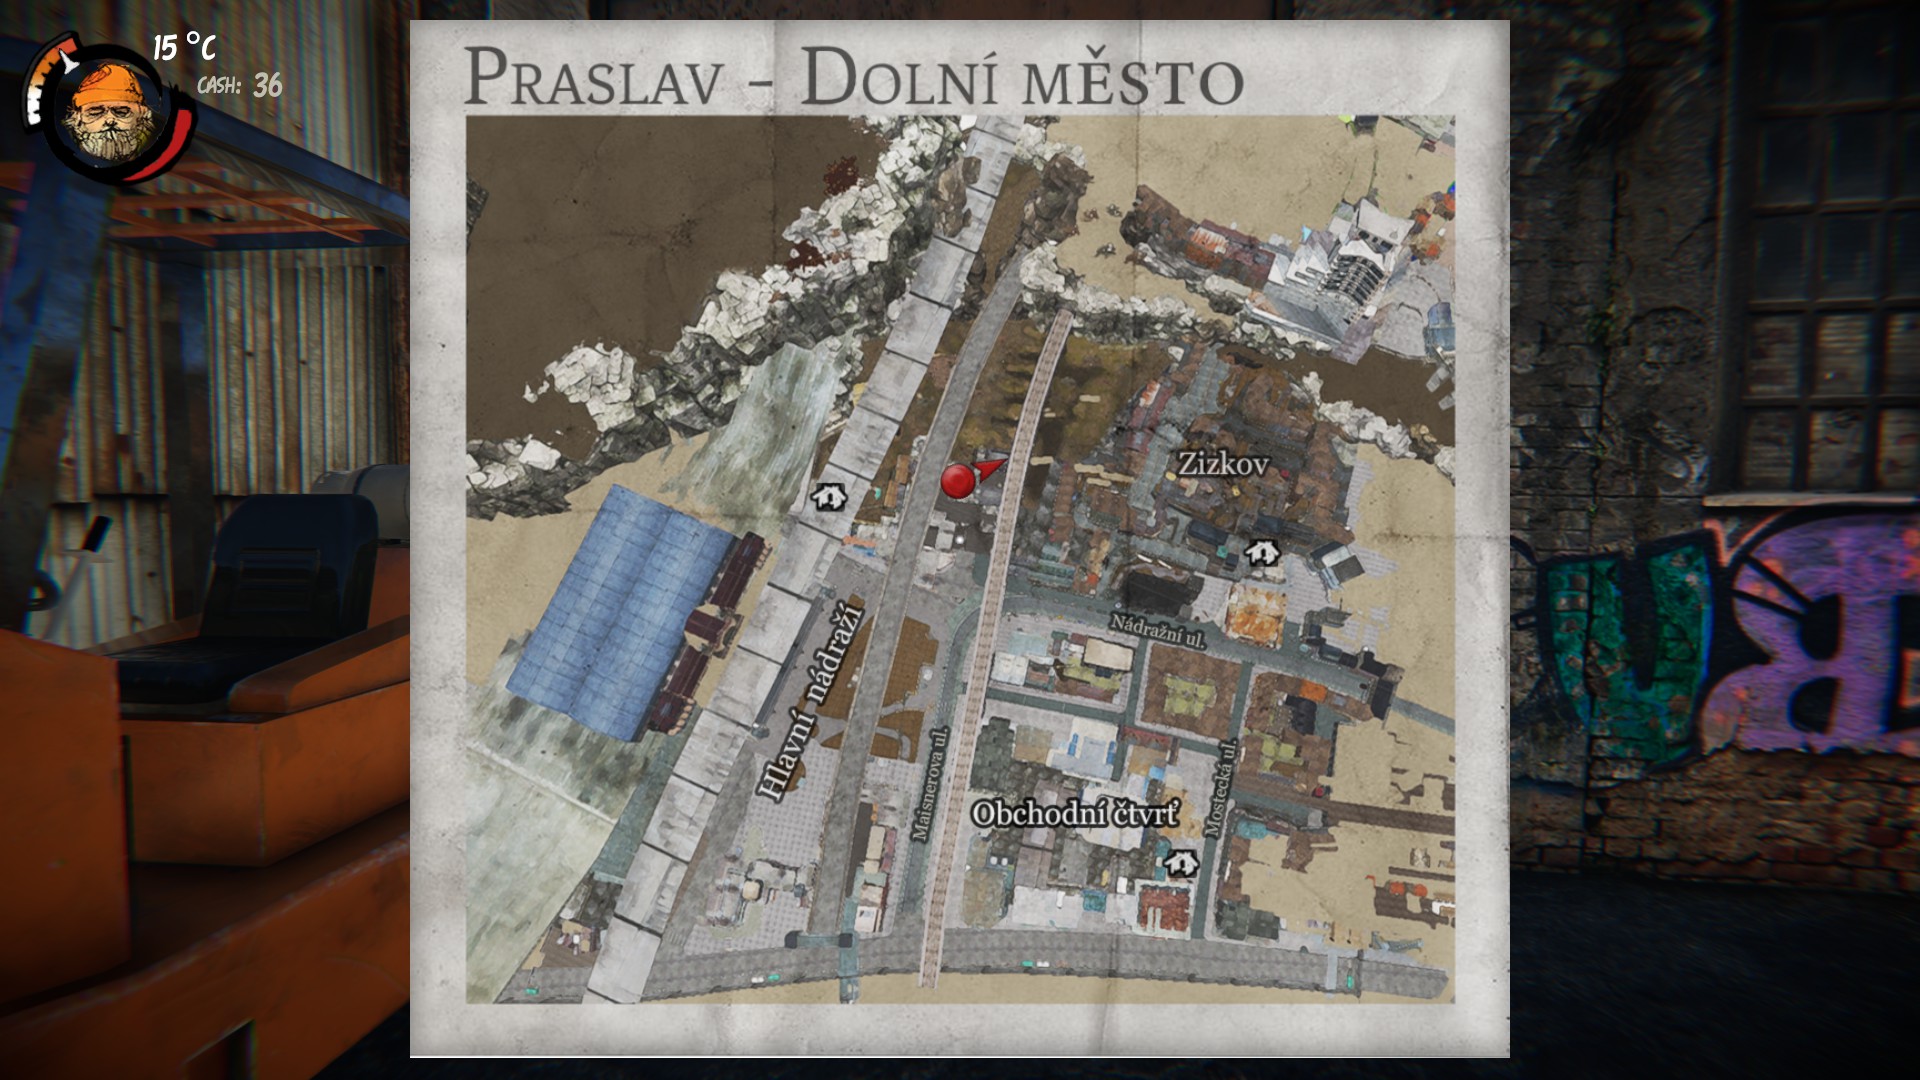
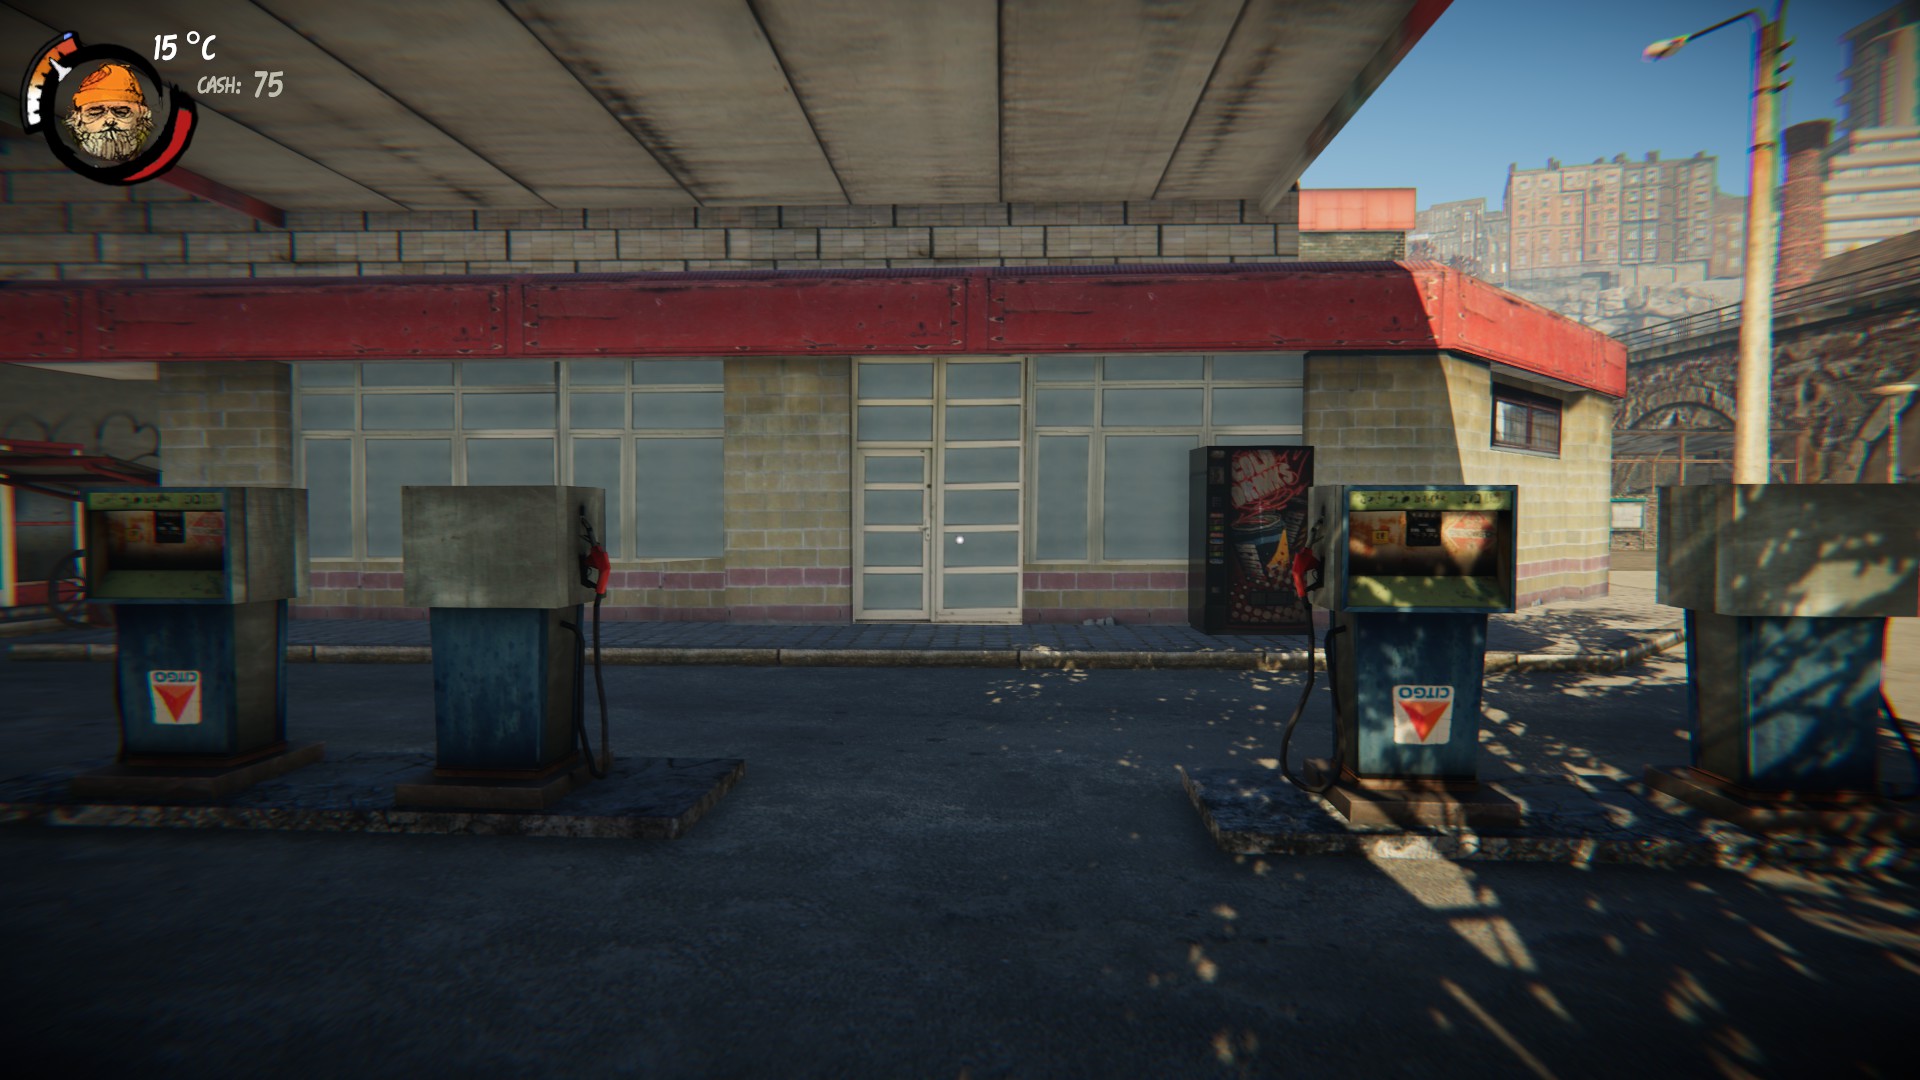
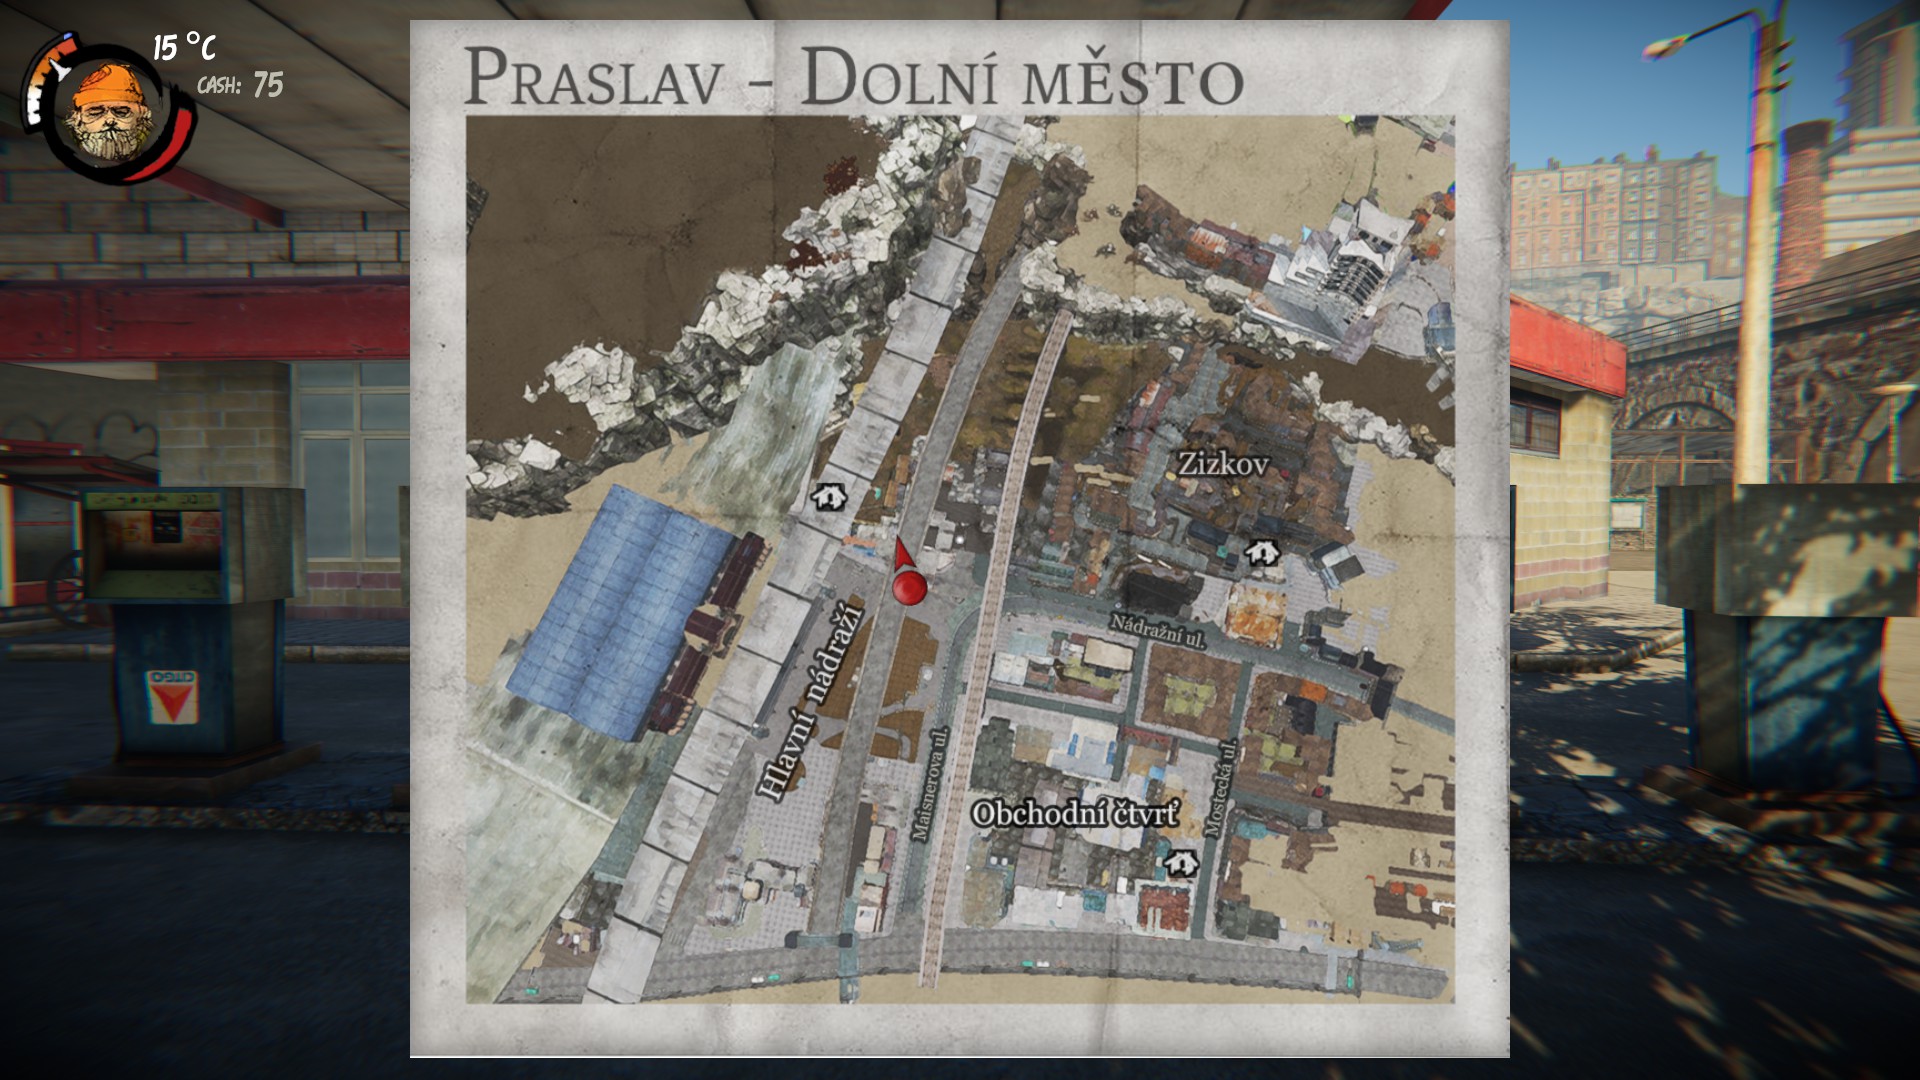
Gas Station
Interesting Locations
Gym
 Job Agency
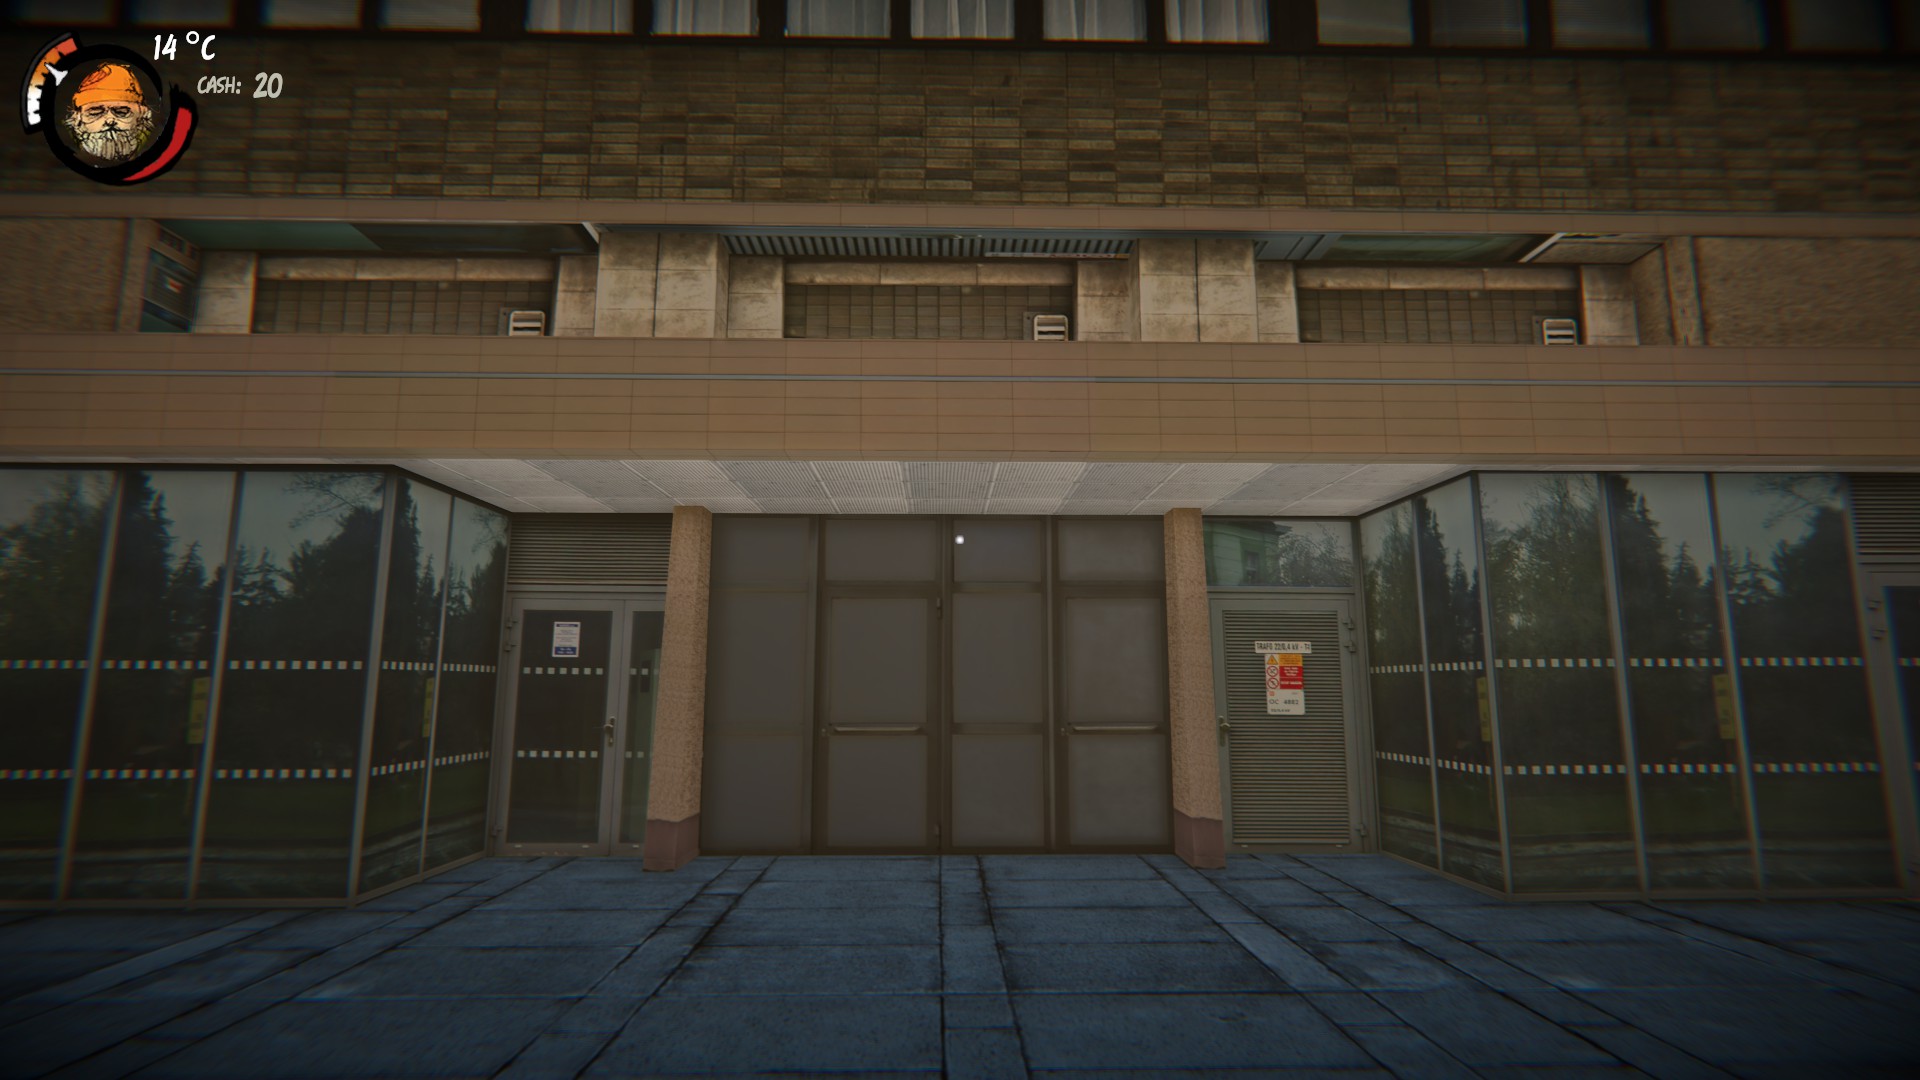
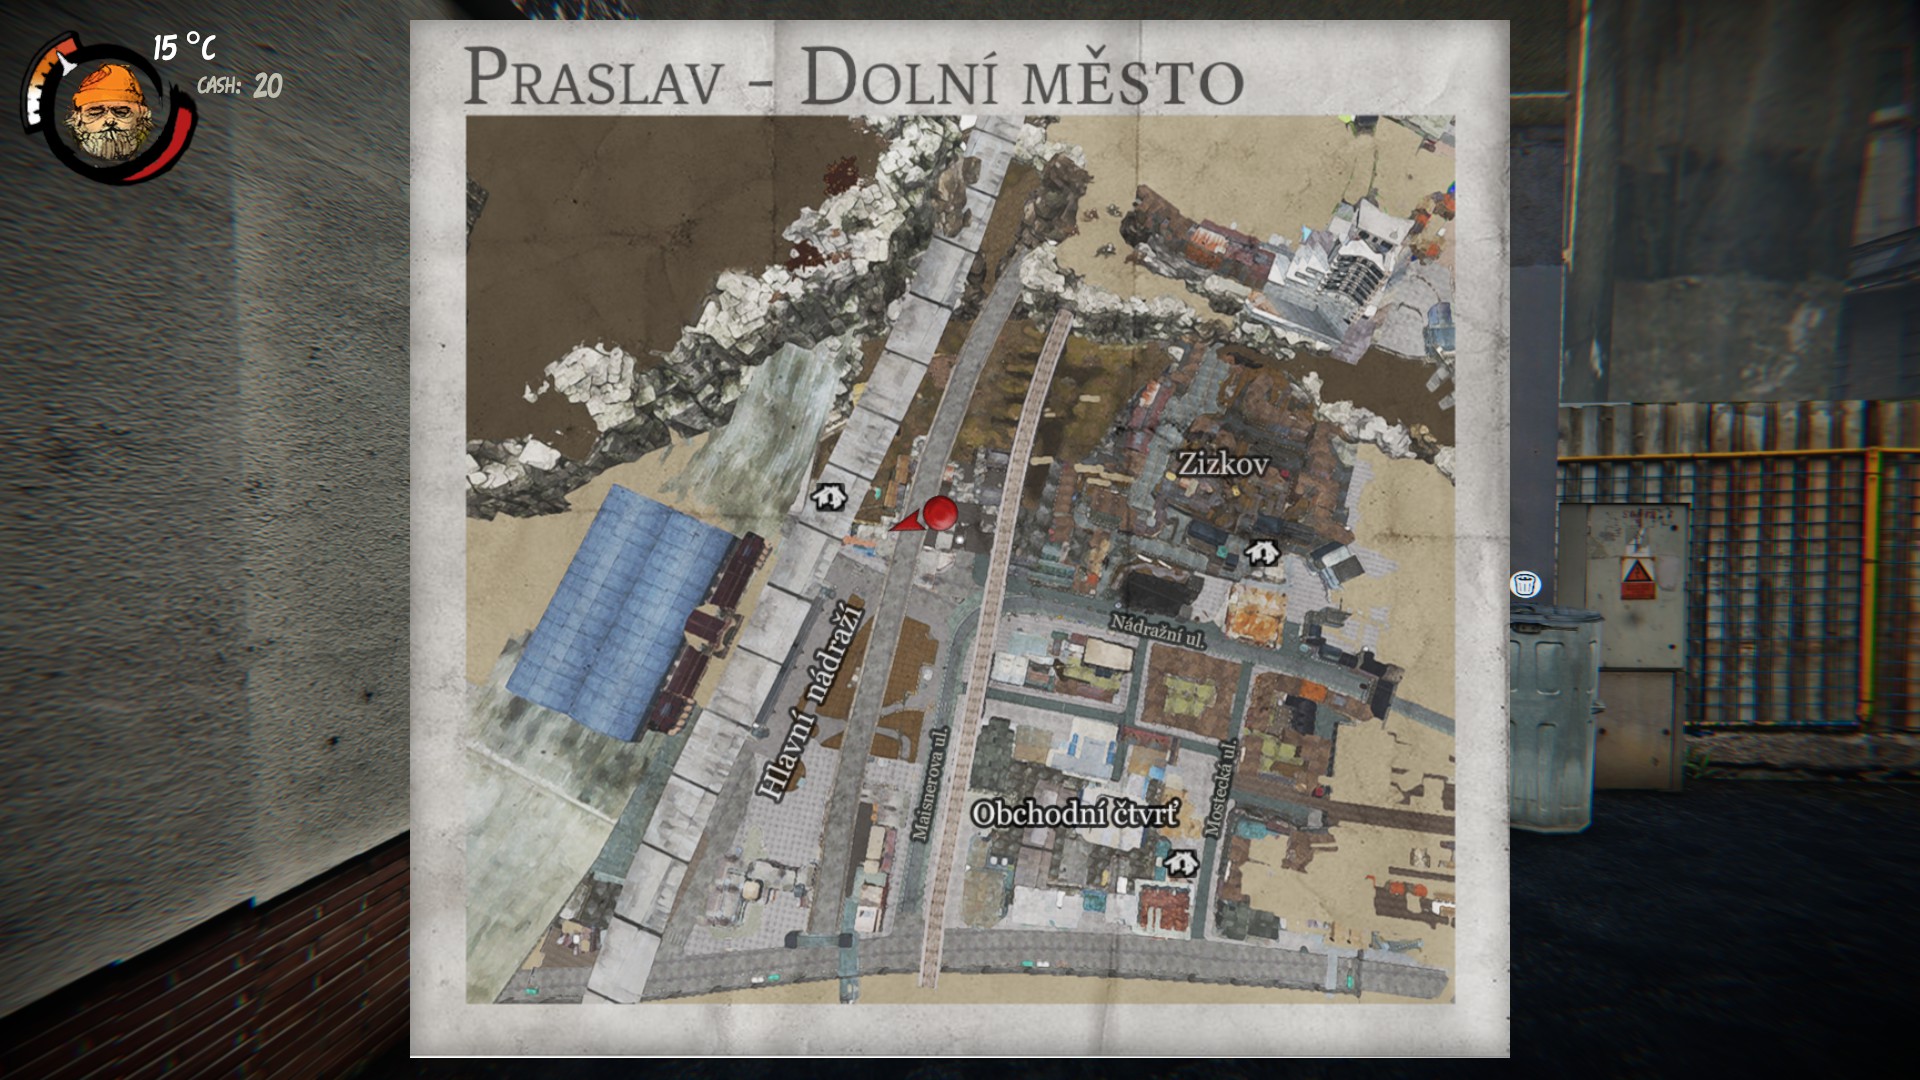
 Police Station
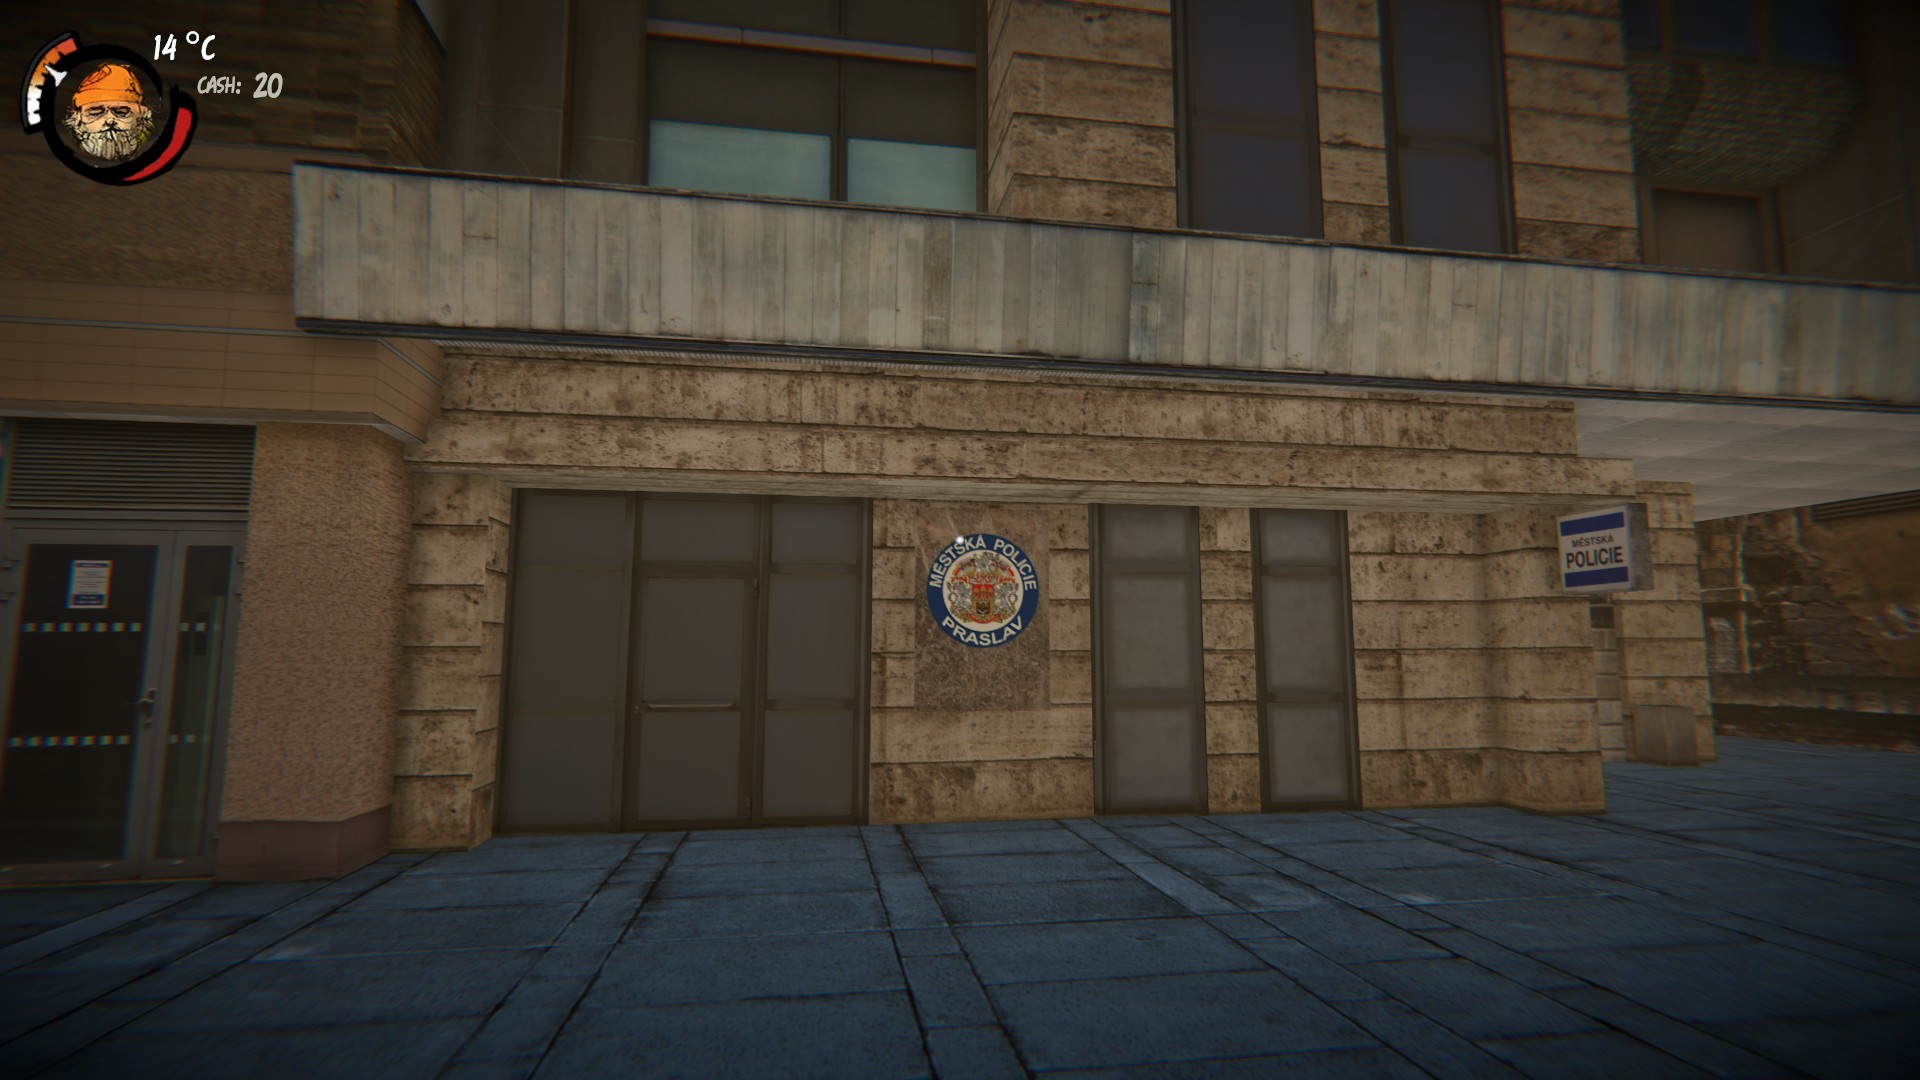
 Nightclub
 Cinema
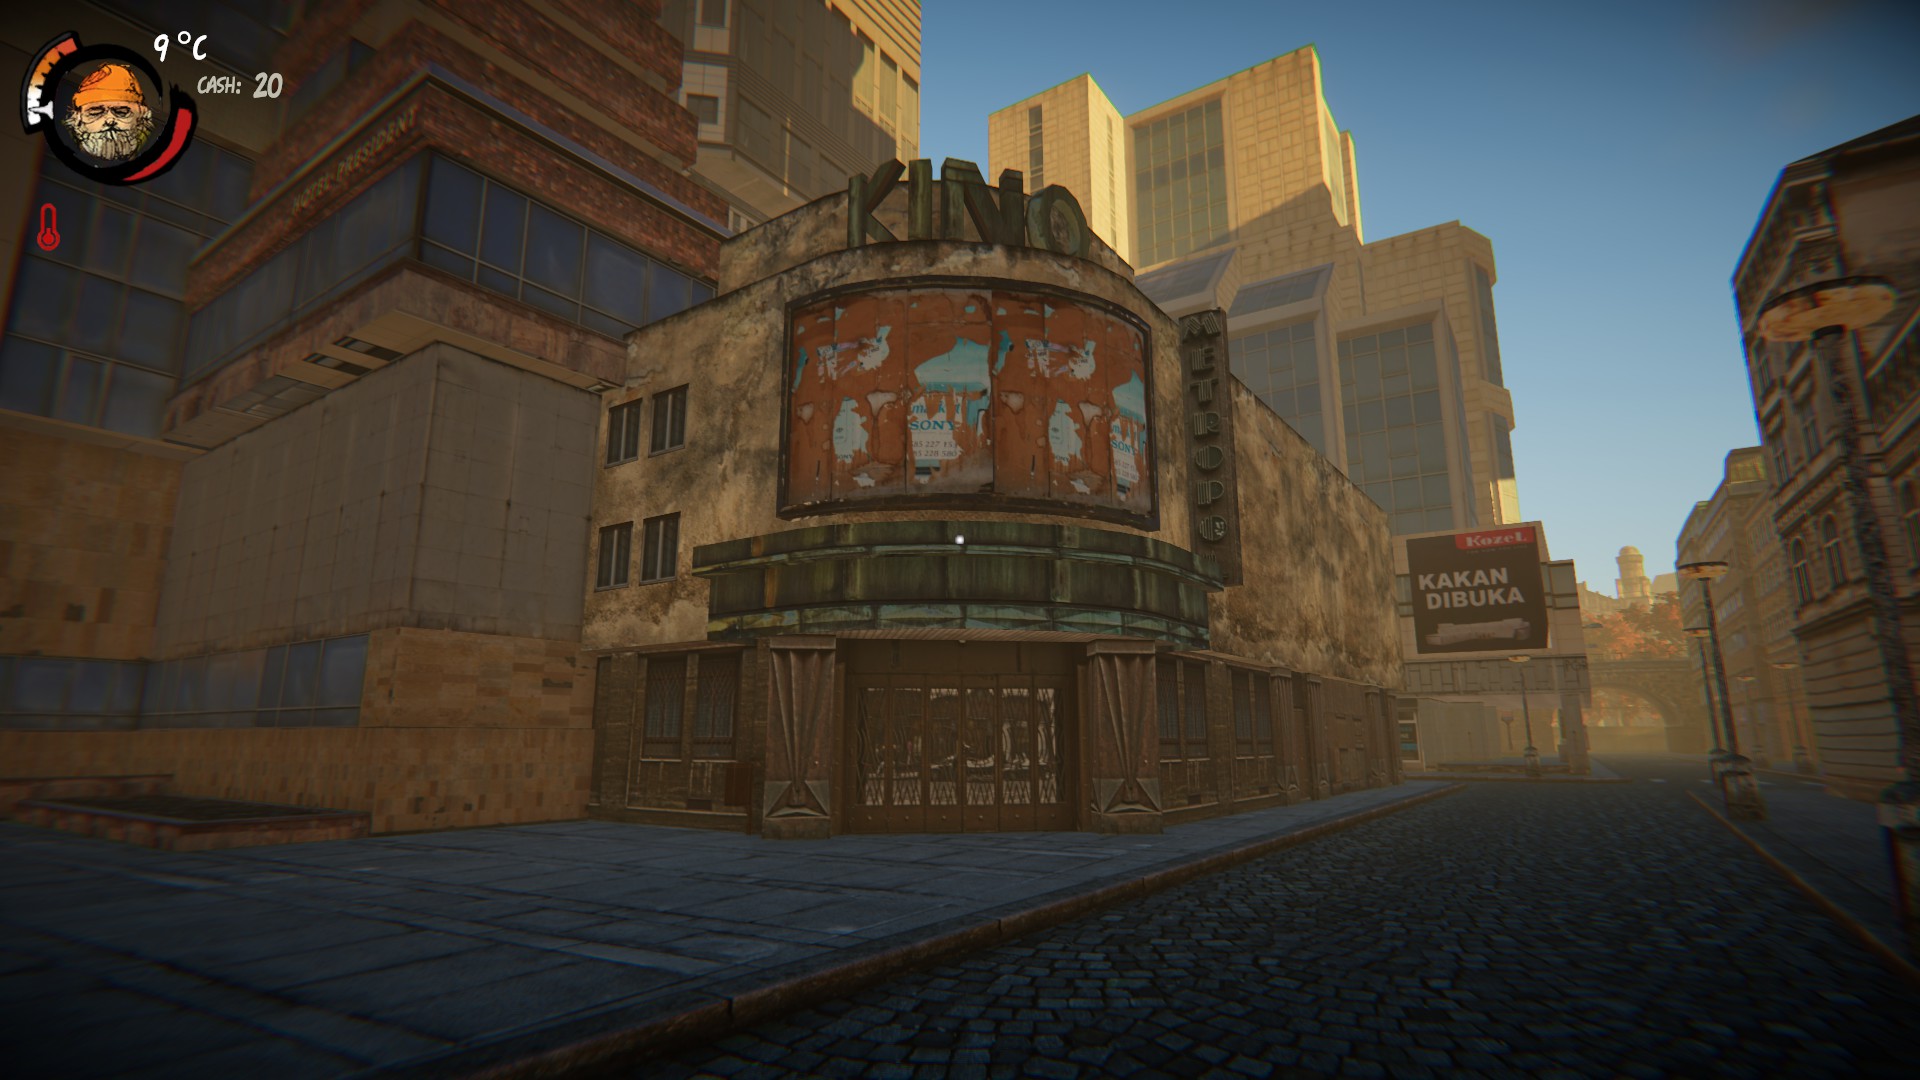

 Woodwork
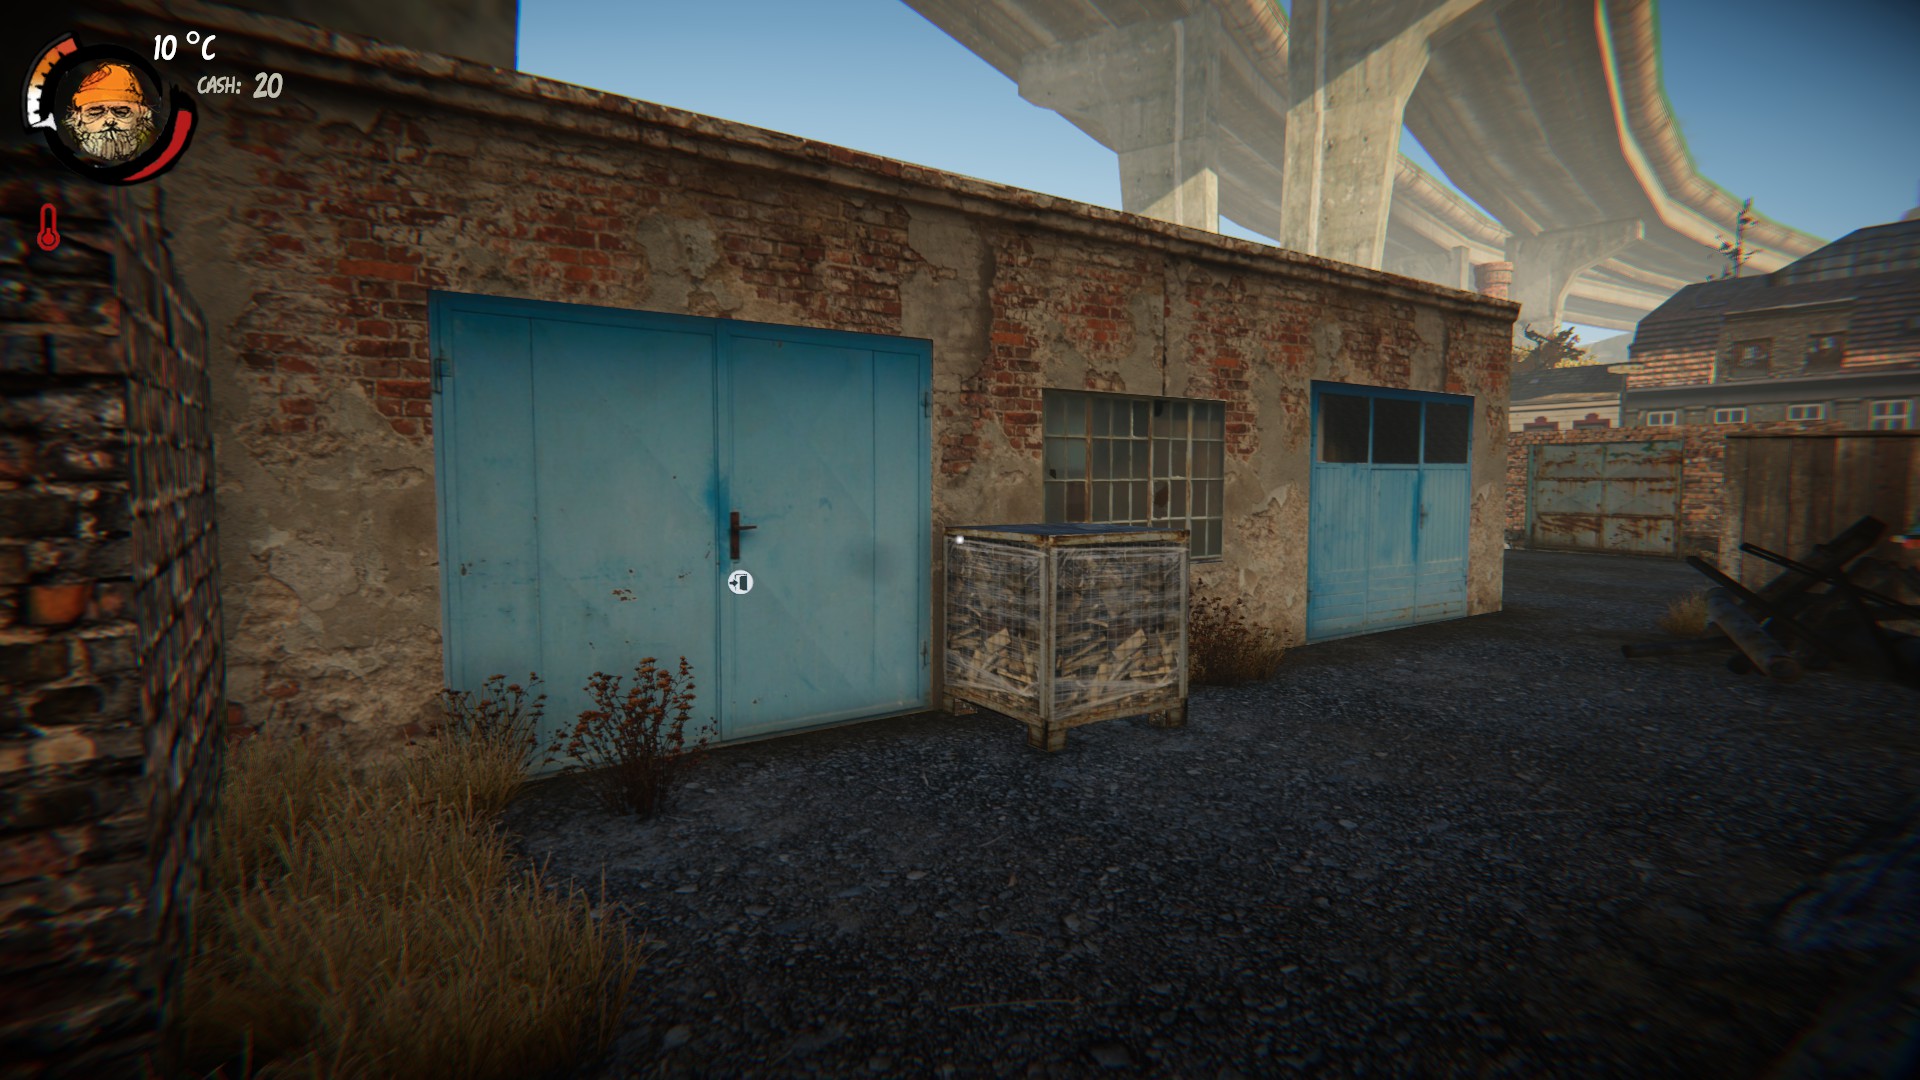
 Choir Clubhouse
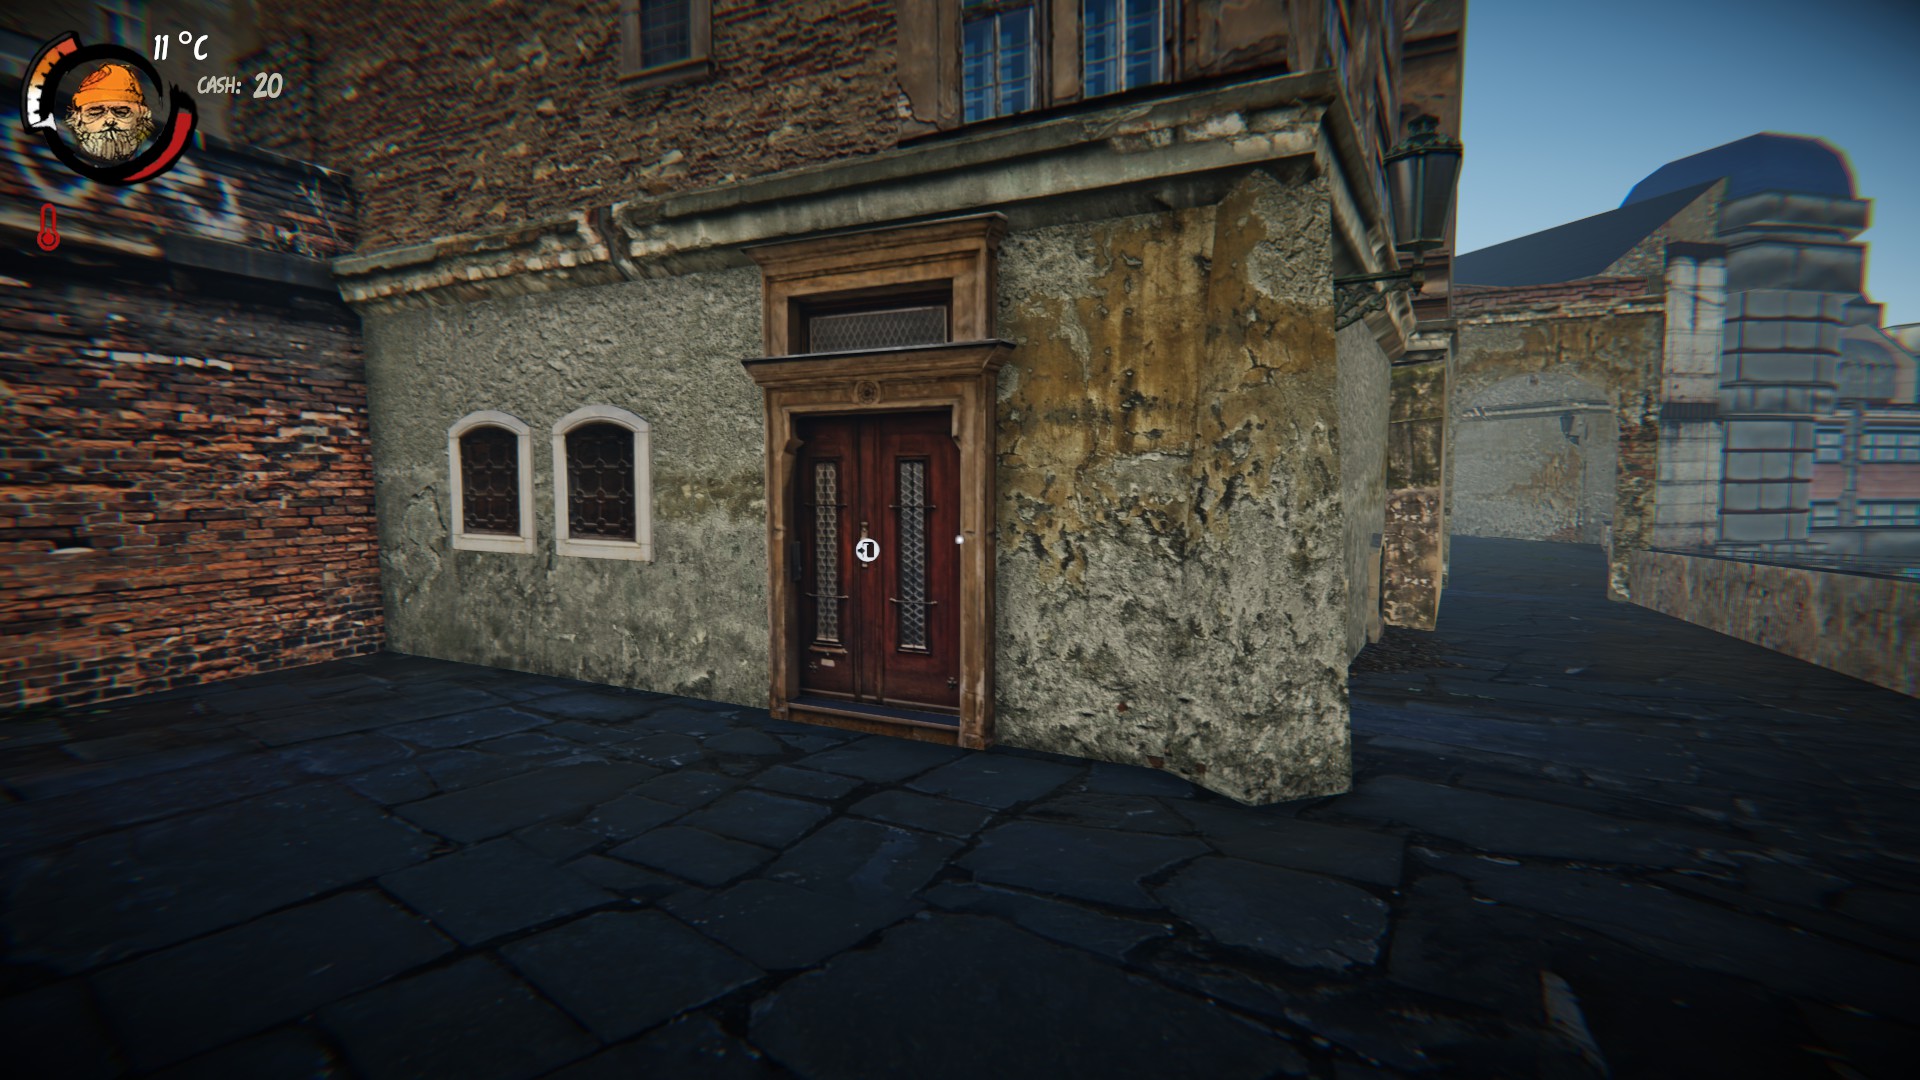
 Evropa 2 Building

These are locations that either don't have any function or very little function.
Tips
SurvivingMaking Money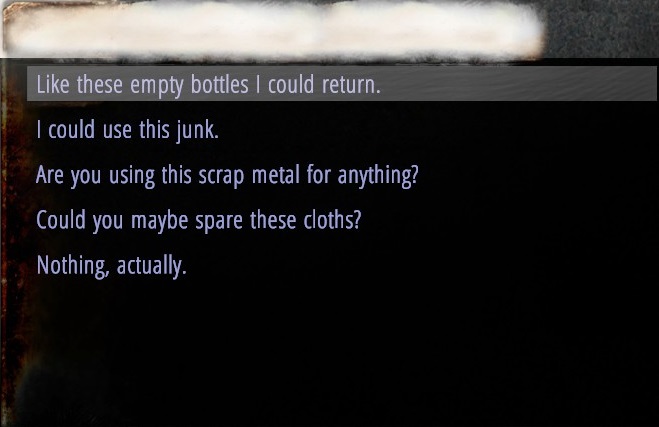
In this section I'll basically be giving you an idiots guide on surviving and making money. I wont be adding many screenshots here just because there's already heaps in the guide and pretty much all are labelled with descriptions and map locations.
Before focusing on anything else, survival is your main concern. When you spawn in if you head up the dirt and turn left you'll find heaps of useful stuff for staying alive / getting money, there's bottles to sell, junk to craft with, wood you can burn (for now), get all of it.
Watch your stats!!! I can not stress this enough, the game has a lot of stats which effect everything, if you smell, need to crap, are hungry etc etc conversations will be harder, the mini game will be harder and probably the hardest part of all, when you die the maximum of your primary stats goes down by 10 every. single. death. so when you die 9 times your all but screwed because you'll have 10 health, 10 food etc.
Dumpsters are now your best friend. Dive every single one you can find but don't go insane, once you use up all your shrapnel warnings (you gain 1 extra warning per dump diving level) move onto the next dumpster otherwise you'll start to stink and that just make everything 10x harder.
Craft food. When you get 10 scrap food go into the crafting menu and make Delicious, it'll give you 10 hunger, 5 heath and best of all it wont poison you like scrap food on it's own does.
Don't forget you can learn to craft more food at the Master Hobo, that food is harder to craft but if you don't have the money to buy food it's worth having as a back up.
Once you start making money you can buy food, the best 2 foods you can buy are the Ham Sub it costs 30 crown & gives 30 hunger and the Hamburger but it costs 50 crown, gives 30 hunger but also gives 5 health.
Make bedding. Once you have 10 junk I seriously suggest you make Cardboard Bedding, it'll keep you warmer when you sleep and give you a 40% rest bonus so your freshness will go up faster.
Once you have the money go to the Master Hobo and learn either the Makeshift Couch or Comfortable Couch, personally I make do with the Cardboard Bedding until I have the money and Master Hobo has the patience then I learn the Comfortable Couch, just remember both of these are harder to craft.
Don't waste money on lotto. This should go without saying, Lotto may seem like a fun thing to do but until you have at least 500 - 1000 crowns don't bother, just use the one you have in your inventory when you start, I actually suggest that's the first thing you do when you spawn and if you win nothing, restart, you don't need to get all 3 numbers but if you at least get 1 win you'll find that small amount of extra money will help.
So the long and the short of it is, as long as you play smart you can survive pretty easy, even if you play kinda dumb you can still survive easy enough.
Making money in this is actually pretty easy, you've got a few ways of doing it.
Conversations. During conversations you can obviously beg but you can also steal and sell stuff to NCP's, this includes the ones walking around on the street and the Working Men / Residents in houses.
Repairing items. If you go to the Master Hobo you can learn how to repair stuff like Kettles, Radios etc. You'll need to have all the crafting items to repair them however.
Then sell them to NPC's on the street, Working men, Residents or the Pawnshop. Honestly if your repairing items just sell them to the Pawnshop, its quicker and easier.
Bottles. By far the easiest and best way to make heaps of money is bottles, you pick them up from dumpsters very easily but a way to get them much quicker is to bug the Working Men and Residents, if you do this you'll get 3 bottles every 10 patience until they run out of patience.
Now the reason I like bottles and the reason it's the best way is because you can sell them at Snack Bars or Stores, 1 bottle for 3 crowns or 10 bottles for 30 crowns, if you have 100 bottles you make 300 crowns. Easy money.
You can also get a lot of other useful stuff from Working Men and Residence as you can see below,
So now you know the basics of surviving and making money, you can find out the rest of the stuff by yourselves or by looking at the rest of this guide.
Source: https://steamcommunity.com/sharedfiles/filedetails/?id=1098588632
More Hobo Tough Life guilds
- All Guilds
- Chapter 10
- Guild 9
- Guild 7
- Locked dumpster locations
- Guild 6
- Hobo: Tough Life - Useful Tips for Best Start
- Hobo: Tough Life - Hobo / NPC Locations
- Hobo: Tough Life - Long Term Survival
- Hobo: Tough Life - Important Locations