
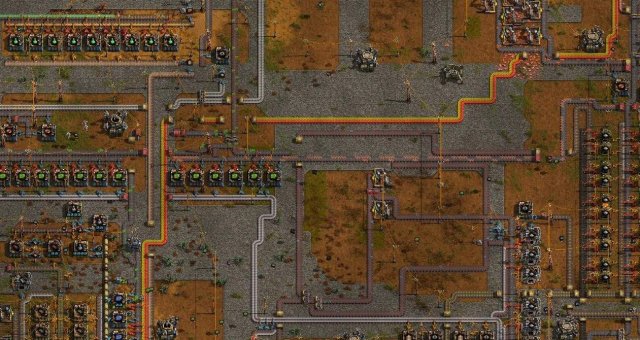
Basic example of a train network setup.
Trains And Station Limits
Introduction

This guide will just be showcasing a simple setup of a train network using the new train limit feature and some circuit conditions which u can easily adapt to your 1.1 base.
I'm in creative mode using editor extensions mod, just to demonstrate the principle, so you won't see any miner or something like that in these screenshots.
Setup
This System will just use 3 different types of stations:
- Depots, where trains will wait until their next target is free and also get fueled there.
- Provider Stations (load), all of one type will be named with a provider chest icon and the provided item, in this case iron ore.
- Requester Stations (unload), same naming principle as provider, just requester chest icon instead.

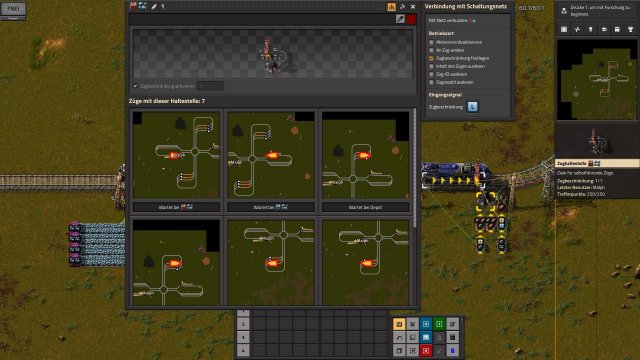
Train schedules can be kept very simple like this:
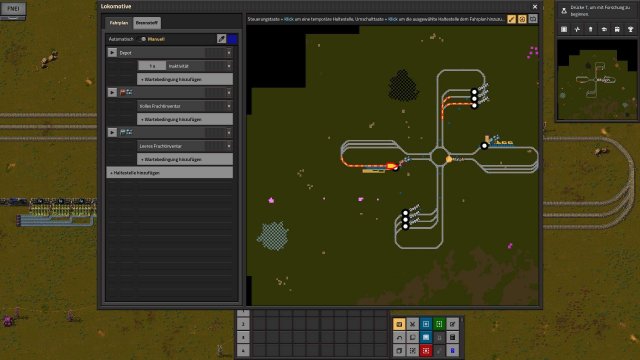
Depending on the actual location/ your needs/ preferences, you can adjust when u want to travel to a depot.
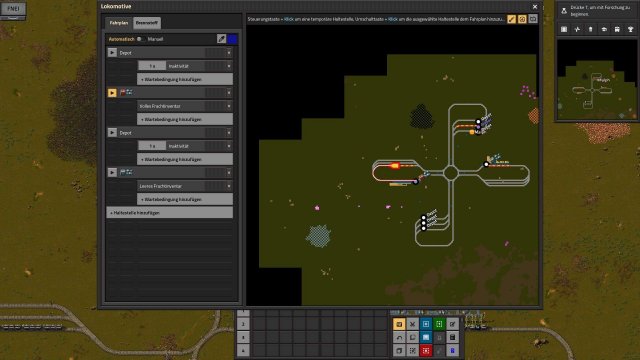
Everytime trains will go:
- To provider -> until full cargo.
- To requester -> until empty cargo.
- And as mentioned they will also need to have a depot in their shedule with -> inactivity for 1s or something like that, so they will be refueled.
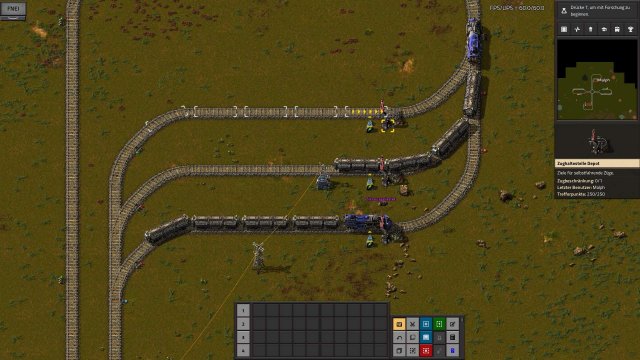
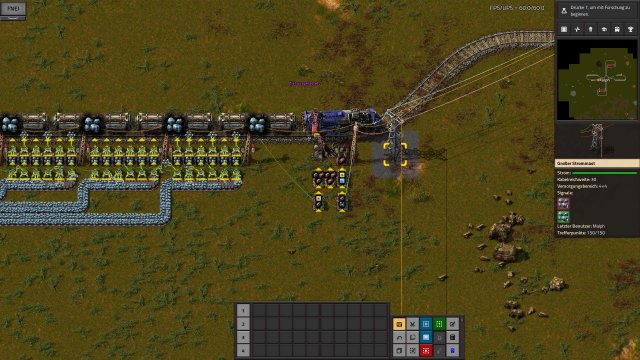
Depots
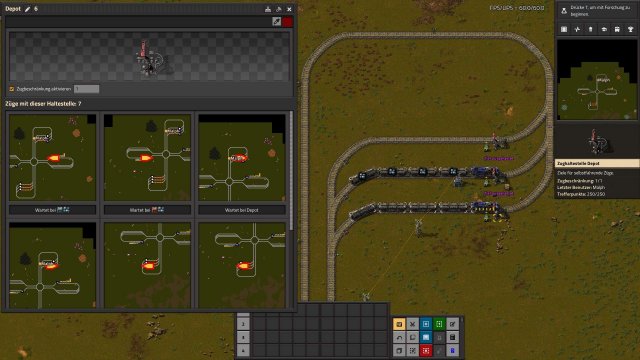
Since Depots are the most simple to setup we will start with these:
Basically you can use any design for those, just make sure to set their limit to 1 and that a full train will have space in it without blocking any other lane.

Here is a very basic example how 3 of these could look like for 1-4 trains:
Here are requester chests used to get trains fueled by robots, but you can of course also use belts etc.
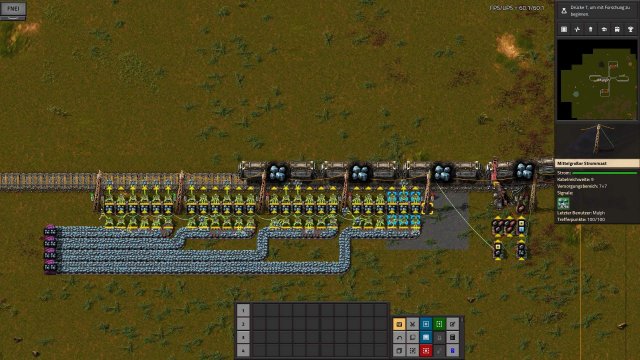
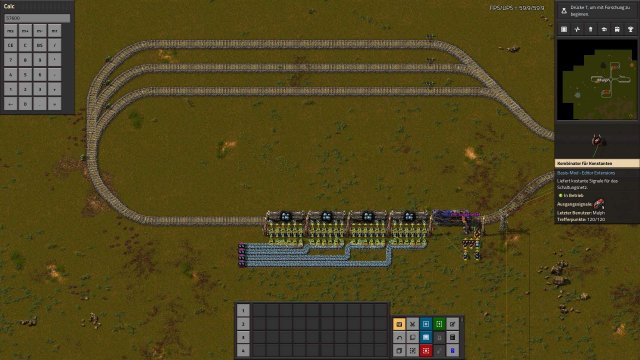
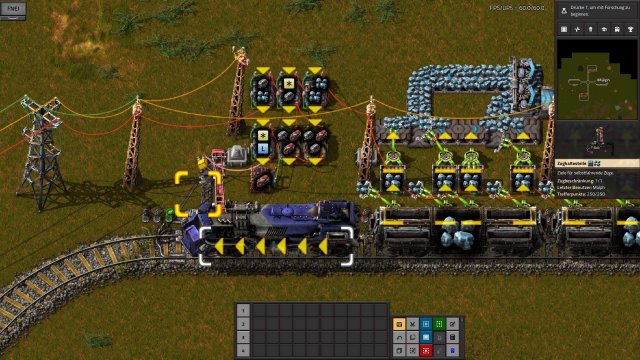
Provider Stations (Load)
Same story as before, very simple train setup, but here is also some circuit logic used this time which i'll explain.
Don't worry about those purple undergrounds, they are just for testing purposes, usually you would connect your miners there.
To get this system running, you have to keep some things in mind:
How many trains can be in this station, without blocking other paths?
How many cargo can a full train carry?
So you also need the number of items per stack provided at this station.
Playing it through with the example provided:
- These stations we're layed out to have one train (always 1-4 in these examples) loading, another directly behind it, and also 3 additional stackers, so there could be 5 trains theoretically without blocking any other path.
- This will be the max limit we will set the stations to. (Note: This many might not be necessary)
How many cargo you ask?
Each cargo wagon can carry 40 stacks, we are providing iron ore, so 50 per stack, makes 2000 per cargo wagon and 8k for a full train.
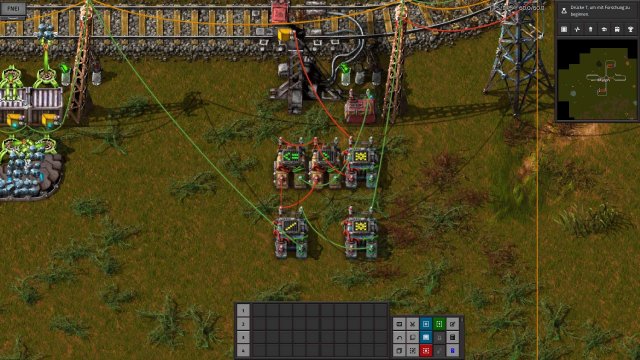
So now we can go into wiring and using the combinators:
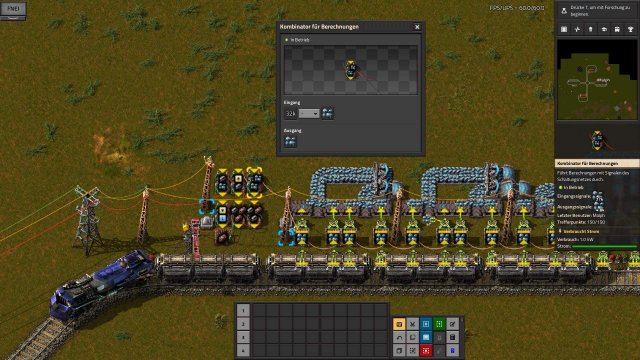
First connect all the chest together, i like also to connect it to a powerpole next to it, to have the amount of items also displayed there. Color of wire doesnt matter in this case.
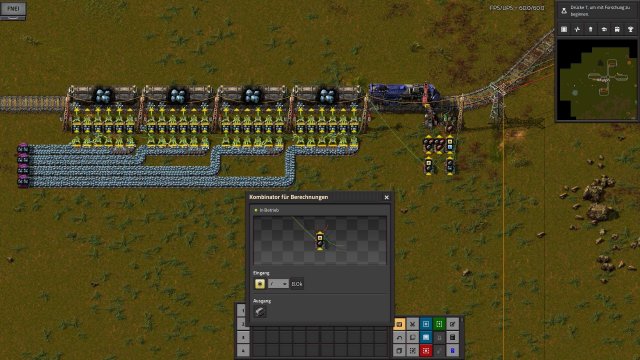
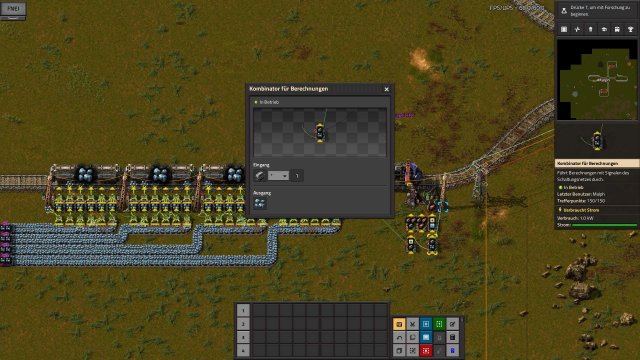
As you have this signal, connect it to the input of an arithmetic combinator.
Set the combinator to divide each signal by the full train cargo amount (8000), so we have the number of trains we can fill fully and therefor request them to come.
Output signal is cargo wagon in this case, but you can use basically whichever you want, but be constant.
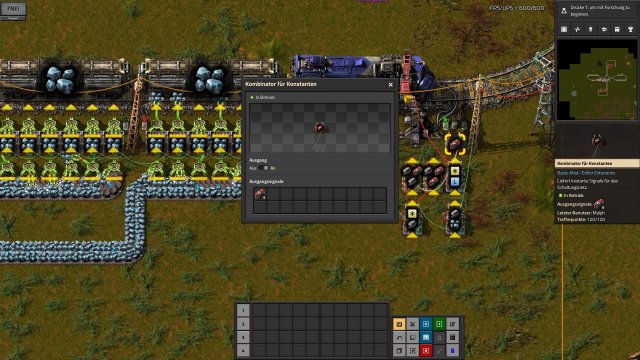
Speaking of constants, we will also need a constant combinator, which is there to keep the maximum train limit this station can handle
Ok so next step is to make sure the number of requested trains doesnt exceed the maximum train limit that this station can handle (which might happen if u have less space, bigger buffers etc).
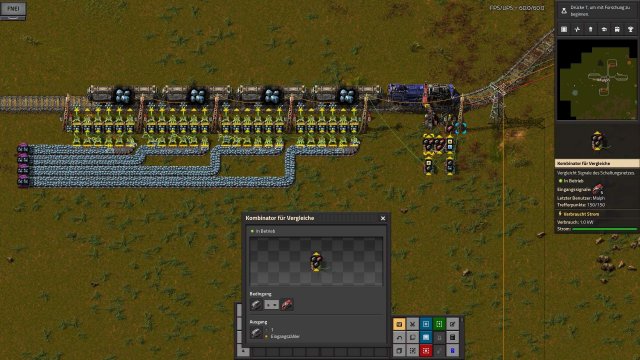
To achieve this, we setup two decider combinators comparing the signals we have just provided
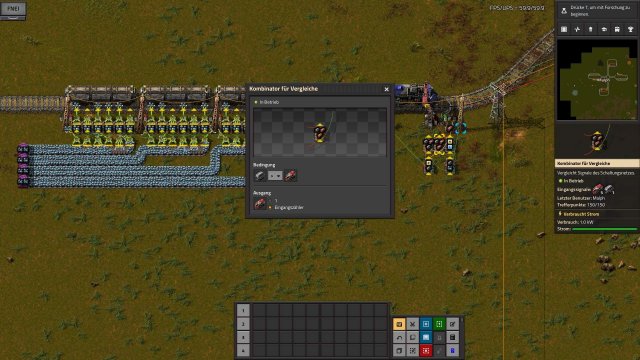
If the calculated number of trains we would request (first arithmetic combinator) is lower or equal then the max number from constant combinator, then use this the cargo signal:
If it's greater, just use the max number:
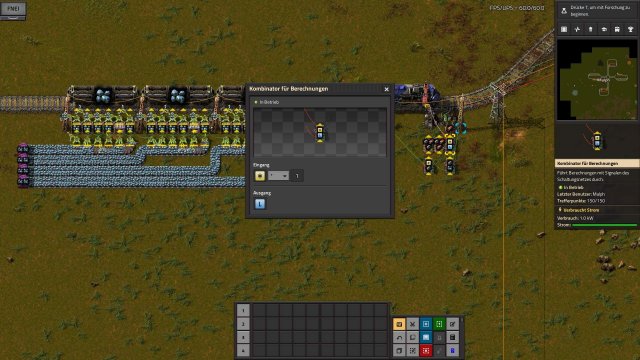
The last thing u really need to make this work, is another arithmetic combinator, which gets input from previous deciders and output connected to train station. It just takes whatever signal it gets, and set that to the actual limit of the station:
Remember to set Mode at the station to Trainlimit.
Maybe wires are better visible like this, another not as compact, more explanation friendly setup will follow
With this setup the station will be capable to run and request trains dynamicaly depending on items buffered.
The last arithmetic combinator on these pictures (bottom right one) is just used to provide information to global network, so it's absolutly not necessary. It just converts the number of full trains into readable information, so you can have a quick overview how many is requested/ provided atm (not taking traveling trains and depots into account)
Requester Stations (Unload)
As you see, those stations look pretty much the same as providers, except there is one additional arithmetic calculator:
This is simply to use a threshold, determining how many items you want at this station.
Source: https://gameplay.tips/guides/9684-factorio.html
More Factorio guilds
- All Guilds
- Schemes for oil refining. Advanced and liquefaction of coal
- Vanilla LTN Using Interrupts
- Factorio
- Factorio Guide 1313
- Factorio, (Be)
- Factorio Guide 1301
- Mid/Late Game Furnace Layout
- [Easy Mode] Factorio Dedicated Server using Windows Batch
- Factorio Guide 1278
- Useful checkboxes in the interface settings (ENG)