Learn how to create a megafactory, with step-by-step instructions...
I have created this guide because i construct this factory often and find it very useful, and thought it would be nice to share with you all a chance to build it yourselves. When its completed it will have the following attributes.
- 1260 Combined Room Volume
- Generate 500 watts of solar energy
- capable of holding all tierII workstations
- Accomadate internal stockpile(s)

Introduction
They are various options to this design, you can build a smaller version without the large extension if space is limited in your choosen location. The entire thing can be expanded in width or length at your desire so this in mind it may be worth your time to quickly read through the guide and make a decision on how your going to proceed, etc..
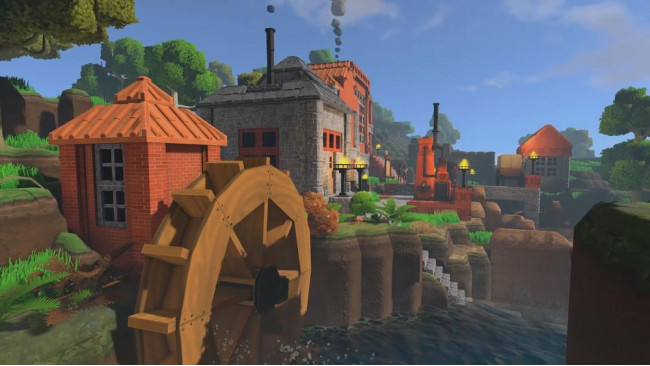
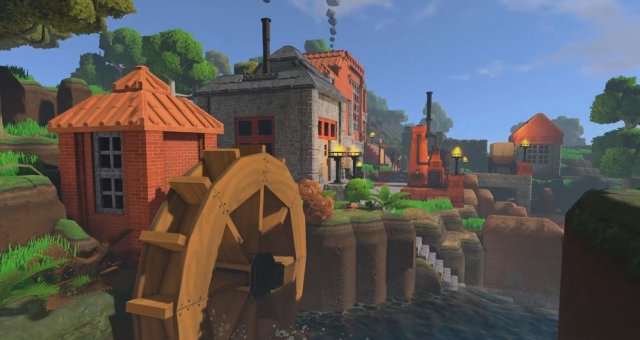
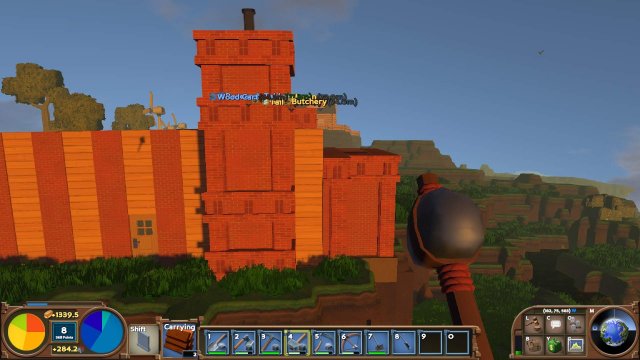
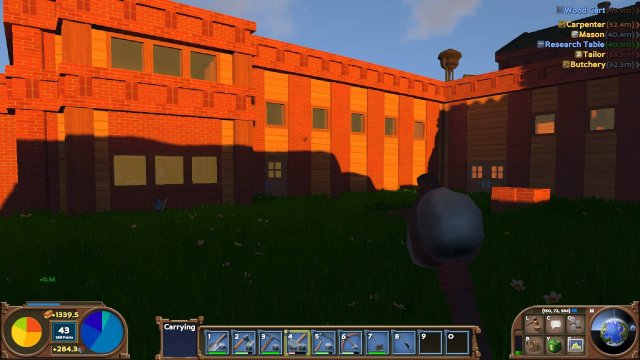
Without the extension which i added over time the factory itself is based of this real world building...
This guide the large extension part of the factory is smaller than when i first made this building because the choosen location on this game had a river in my way, so its not as long, but it just proves you can make those adjustments regardless of how large a structure it is when required...
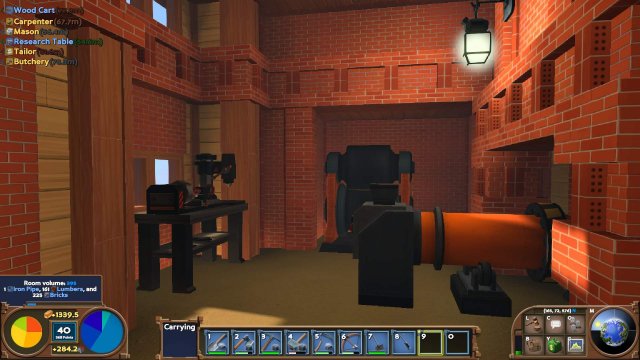
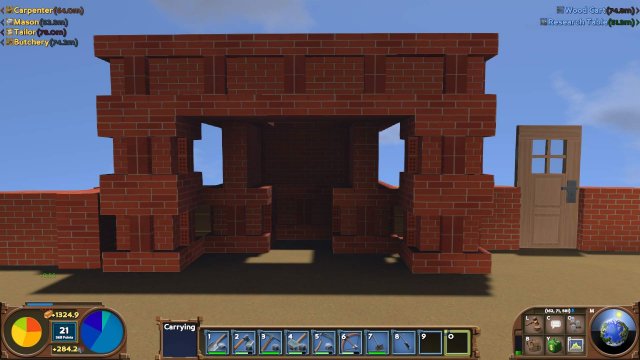
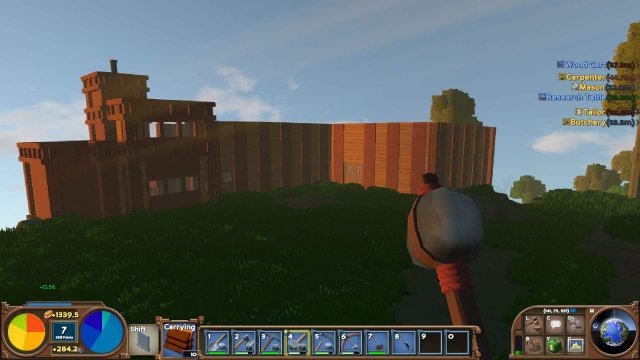
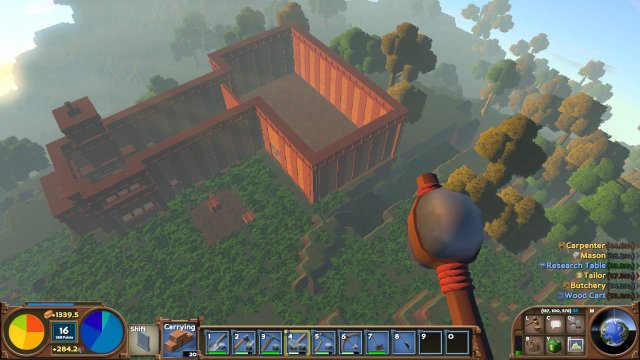
This example shows a brief insight into the space at hand, when laying out your workstations:
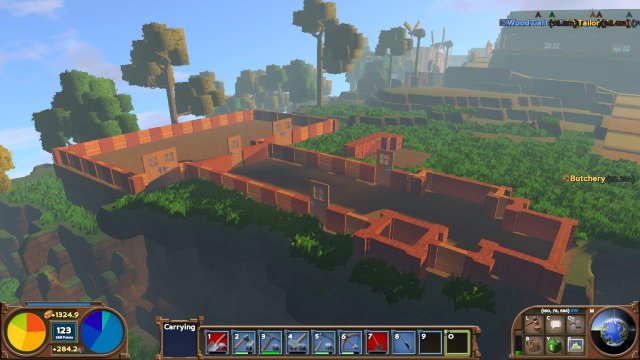
You can even opt to remove the inner brick wall, and as mentioned already increase its footprint, or decrease it with ease once the first sections have been mastered, its really simple to achieve.The building is designed tall enough to house stockpiles inside its walls, for those who prefer this option, i often bury mine underground however, its all a personal choice when it comes to layouts, so theres not to much point droaning on about this aspect.
But it was something that made me almost not bother with this guide, building in games, is a personal thing for most people. and many want to create their own designs, but if you wish, please feel totally free to use this guide, adjust the design, at your own leisure.

I had as much fun making the guide, and the factory itself yet again, as i did the first time around.
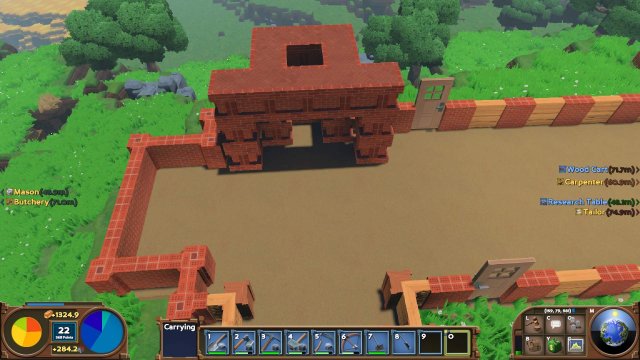
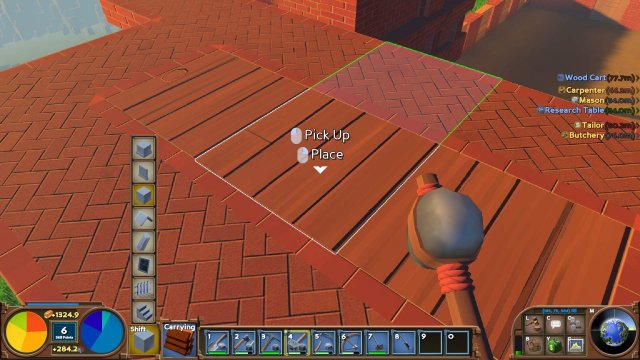
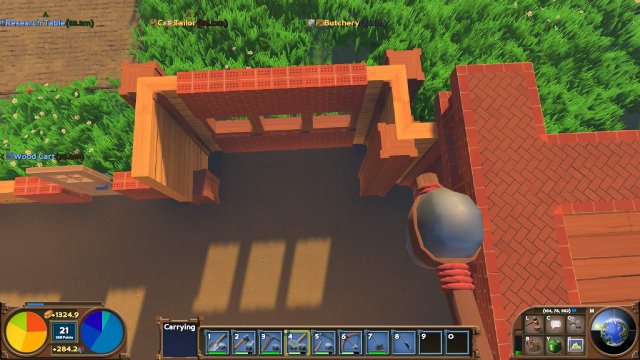
Step #1: Foundations
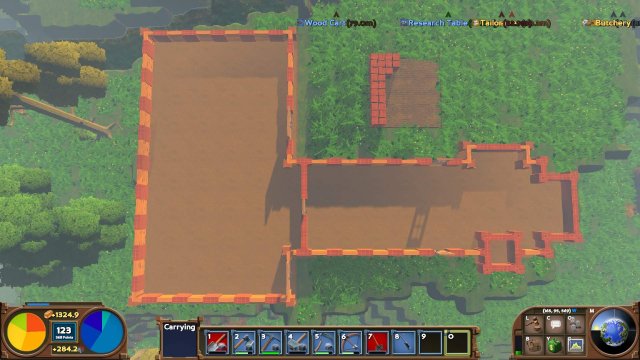
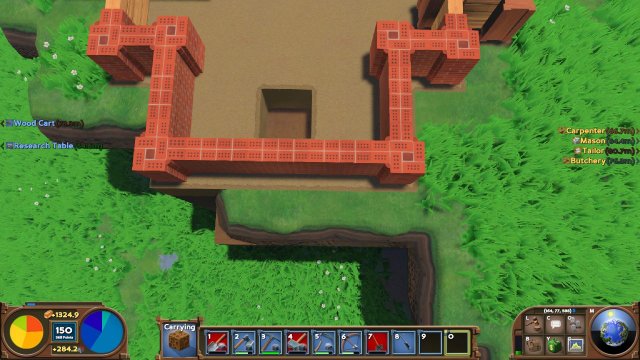
First you need to lay your foundations for the entire factory to make construction easier as you go up in height, this picture shows the first layer from a birds eye perspective and you can clearly see the layout and where lumber walls, and brick walls are used.
It also provides a point of reference when counting out the blocks because they alternate lumber/brick making it quick and easy to get started from that perspective as well...
The brick only section on the right of the picture is focused on here, with a dirt block removed to show the measurement requirements where theres is no lumber providing a distinction
This picture also shows where i have placed doors, you can adjust as you see fit, but this guide is using those positions, i may add another at a later stage for the fire escape. but for now to make it go smooth i suggest you all copy the exact locations regardless.
You can use the roadtool to make the interior grass blocks a more suitable floor (or) apply your choosen block as a floor in your own time. but this is quick and easy to achieve and is the best method ive found for the flooring.
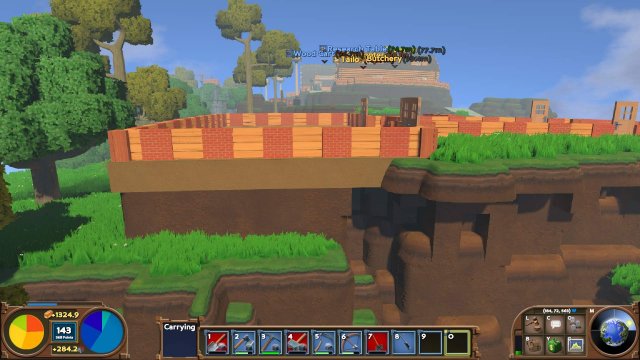
Because how terrain is in Eco, and how large this buildings footprint is, it may be neccesary to expand or dig out a large section of the ground, when selecting your location i highly suggest you try and make it so your adding dirt, rather than digging it out, ive done both and this method is less of a headache.
Of course the perfect option is finding a nice space and avoiding all terrain landscaping..
One last change to make before we move on is to change the wall sections to blocks on what will be the single pipe chimney stack... I will try and avoid making that happen again folks.
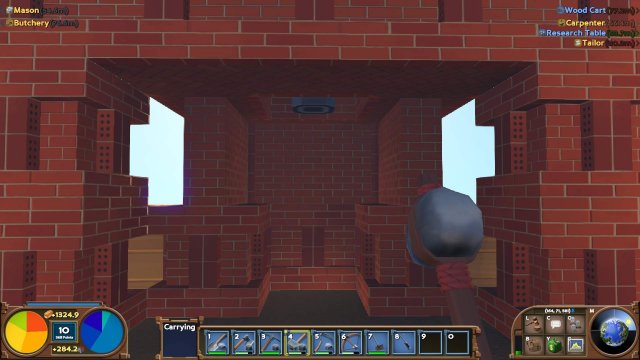
Step #2: Chimney Stack

Firstly bring the chimney stack up two more blocks, the first layer should be brick wall sections, then the next will be block sections (making it a total 3 high) like so...
Then on the inside section of the factory, remove the bottom two layers of brickwork (6blocks) and place three on each side so that it creates a open fireplace type effect.
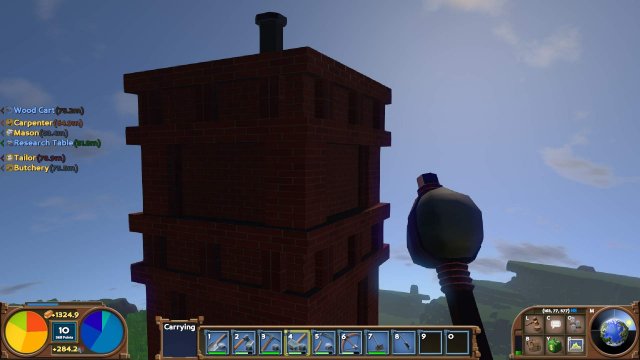
Next switching back to brick wall sections, bring the whole stack up another two levels...
Finally, bring the whole thing up another 3xlevels, this time your going to start with blocks, switch to the wall sections, and back to the blocks, then add a iron pipe all the way down the chimney stack (stopping two blocks before the floor of the factory)..., this is a perfect place for the cement mixer, but you can decide on that stuff for yourself once the building is completed..
So you should end up with this...
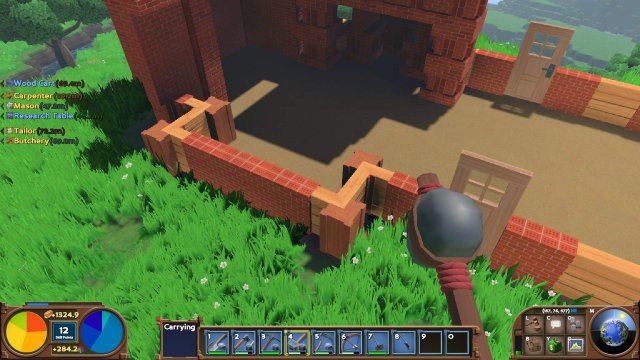
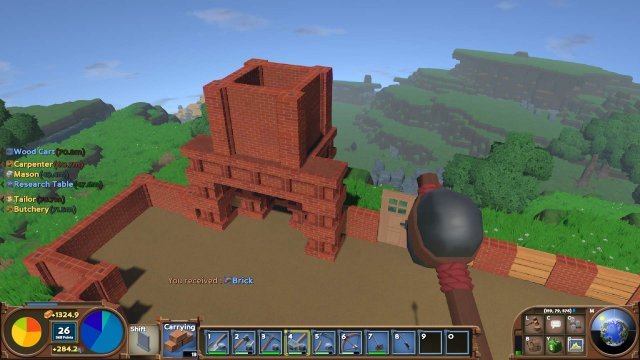
Step #3: Small Extenstion
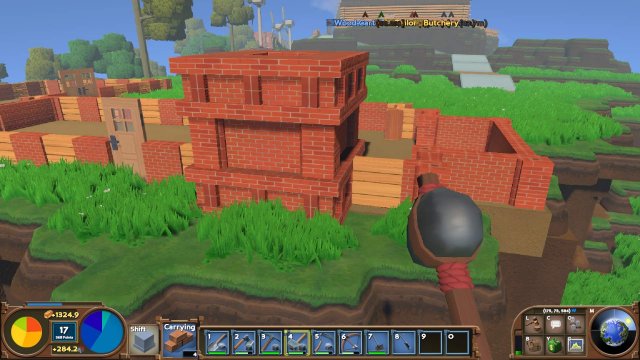
You remember that brick section, where i dug out the dirt block for a reference point, well we are now going to bring that up another 3xlevels, the first two layers are going to be brick walls, and the last will be brick blocks, it will take 21bricks to achieve...
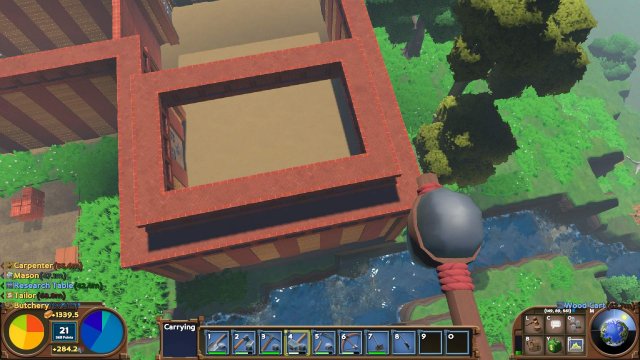
Finally add a row of brick blocks across the inside, poking out the edge by one block at each side, which will create this shape, it will have a hole in the middle and be suspended in mid air at this stage.
Next lets take care of the fact that its suspended in mid air by filling in the 8xouter wall sections on the gaps underneath the overhang we have just created, leaving the centre open.
And also adding 3xlumber blocks in the hole on top, Giving us a completed extension/section...
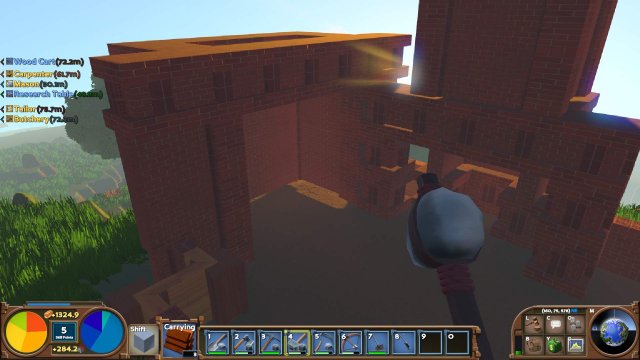
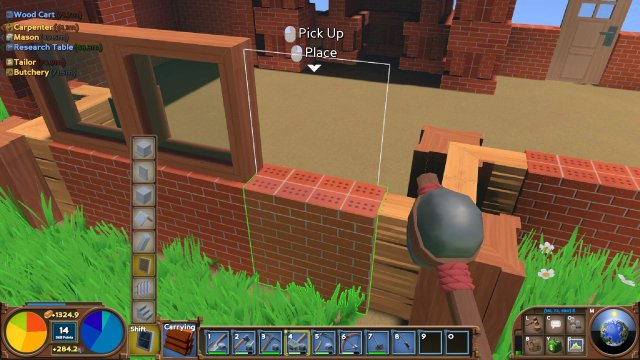
Step #4: Office Windows
Turning your attention to this section now (nicknamed office windows for lack of inspiration) we are going to create the main focal point to the front of the building, using a mixture of lumber and bricks...
Using lumber create three windows on the front brick layer, then on top of those windows 3xbrick wall sections, like this...

Once we have that shape, bring the lumber sections adjacent upto the same hieght, then add a layer of brick blocks along the top of the whole thing.
Reference picture of how it should look at this point
Finally add another lumber/window layer, and a brick block layer, in just the same manner, giving us this completed office window section...

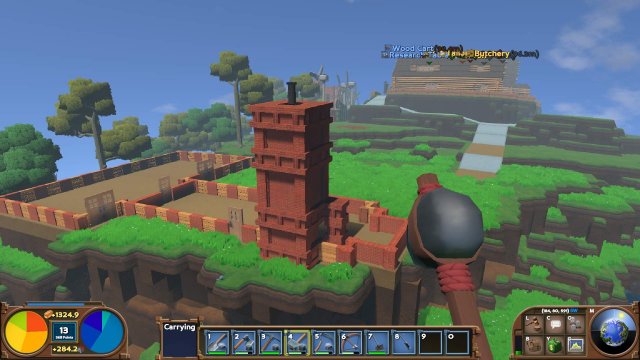
Step #5: Walls
The hard parts are mostly constructed at this stage, things get much faster, and much easier to deal with from here....
Do not touch the side with the small extension at this stage, only add to blocks at the foundation level itself...
Next we are going to create the walls to the entire building, by taking every wall section up another 4xlevels. Starting with the bricks, so where you see a brick placed at the foundation stage bring them all up four more sections (wall sections of course) and you should have this...
Note: by adding x4 to the foundation each column will be 5xhigh at the end...
Now we are going to repeat that process but with the lumber sections, so bring all foundation lumber sections up 4xlevels to match the brick ones, dont forget to add lumber above each door, same as you will have to have done on the interior brick wall part...
You can also bring up the lumber sections either side of the chimney stack we constructed at the start of this guide, shown here...

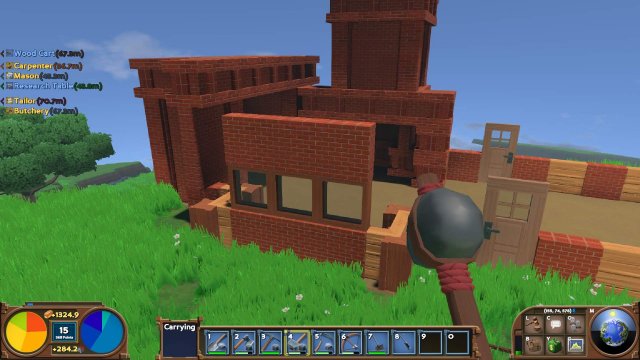
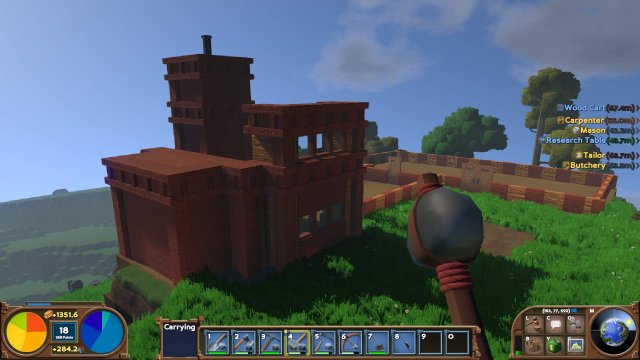
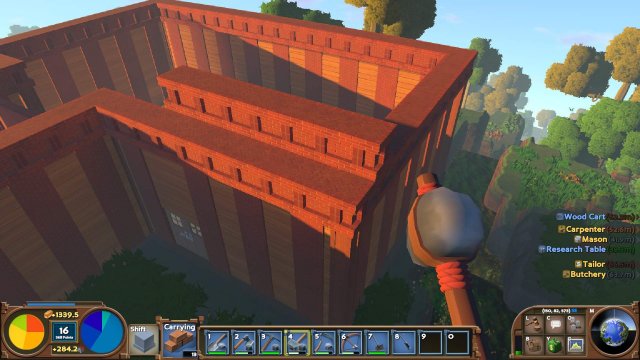
When you have finished the entire thing should look something like this when constructed:
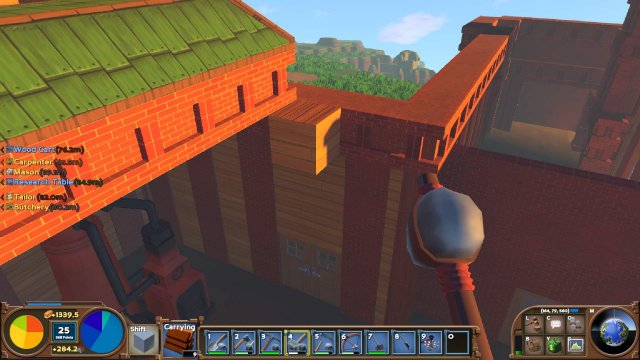
Last but not least, to finish of the walls part of this building, add brick wall sections along the roofline of the small extension section, like so...
Then add a brick block layer all the way around the outer edge of the entire building so that you have one place on top of every wall section creating a lid on the outer-rim of the structure.
Remember because you have now essentially taken each wall part up another level, that interior brick wall creating a room divider will be a level lower, allowing the roof to be placed down later.
the only thing left with this section is to add windows, at some stage...
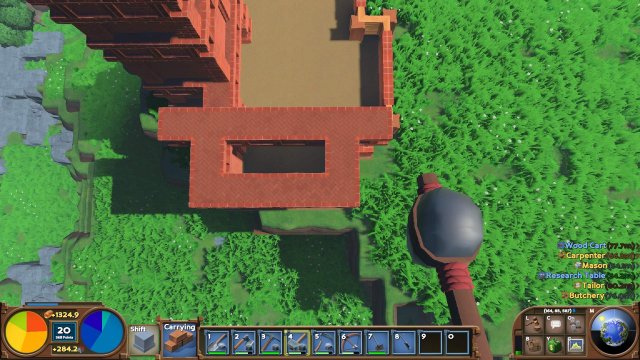
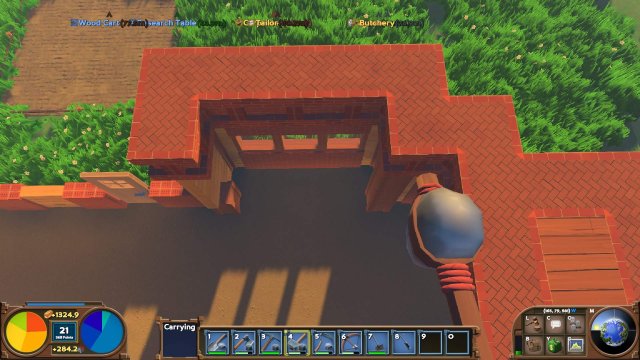
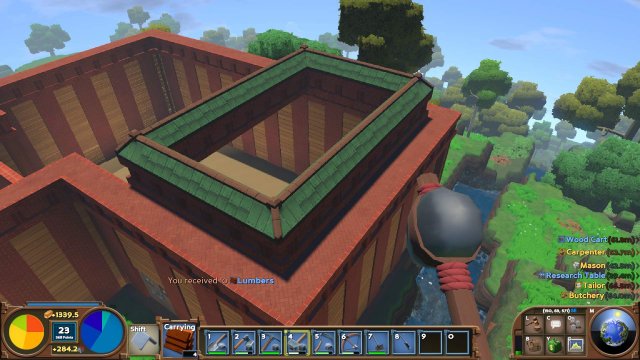
Step #6: Roof

The time has come to put a lid on things people, this guide will show you how to create a dedicated triple pipe outlet on the roof of the large extension section, i personally use this to run dual blast furnaces, but you can also opt for other workstations if you so desired...
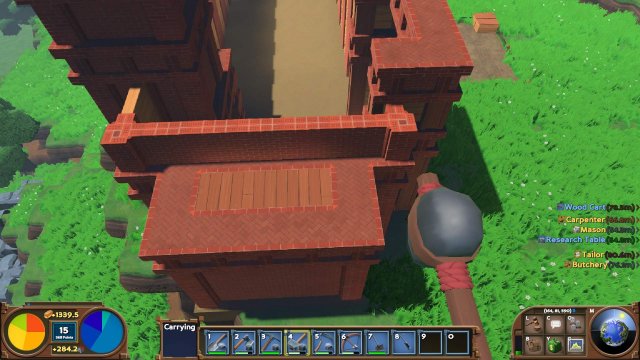
To begin focus on the corner bang centre of the following screenshot:
Using brick blocks take a line out x7 from the edge of the building, creating a suspended line, then once complete, remove the edge block, leaving just 6xbrick blocks, the pictures will explain better than words...
Once that is done, we are going to make it squared, heres the finished look....
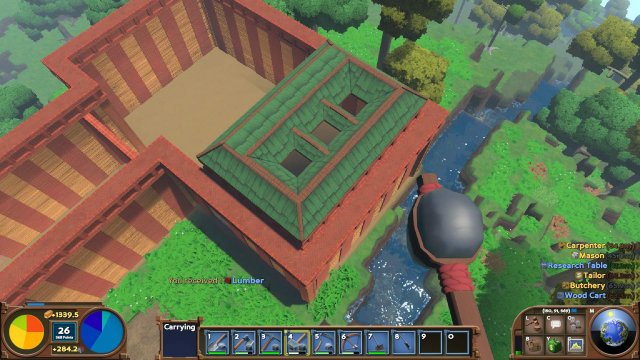
Using lumber roof tile sections, go around the edges of the box, then at the same level create a flat 1xhigh roof with 3 holes to poke pipe sections out the top.
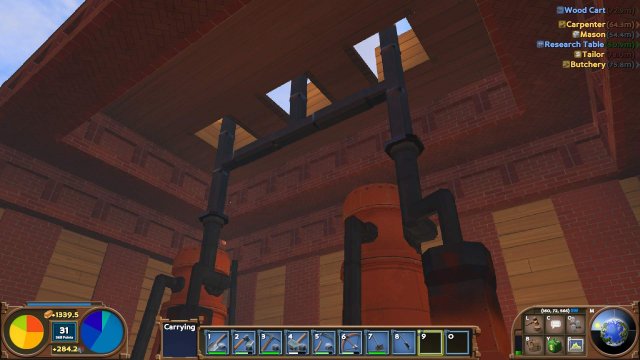
This image just show my setup with dual blast furnace, and how the pipes are connected, this can be adjusted to your own taste or needs, its just a reference picture...
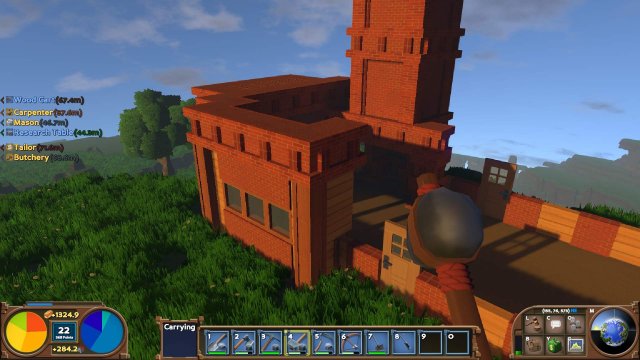
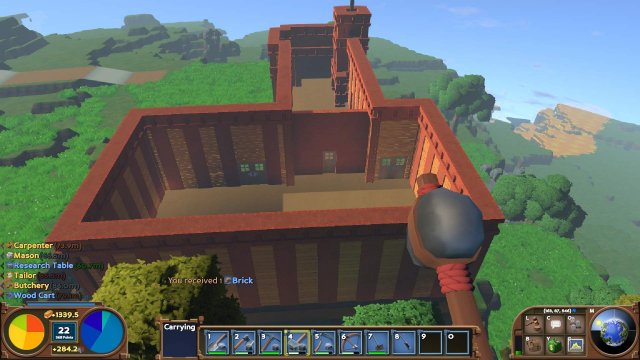
All that remains now is too place the same lumber blocks we used on the small extension earlier, to create a flat roof on the entire building, we dont place them underneath the box we just created a second ago. so starting here...
Complete the roof, like so...
I stuck a solar panel on mine, it just fits!
Source: https://gameplay.tips/guides/2208-eco.html
More Eco guilds
- All Guilds
- ECO - Guide 100% des Succs
- Guide 9
- Eco Beginners Guide! Tips & Tricks included! - Outdated -
- Best Food Combos [Updated to 0.9.4]
- [DE] Config-Guide (nicht aktuell)
- Advanced plant configuration (ecosim.eco config)
- Admin Commands & Chat Commands
- Utilizing space according to the Land Claim system
- Eco - Beyond Sustenance: Farming for Large Collaborative Communities