
Finding And Downloading Mods
Recommended programs: WinRAR or 7zip. Nexus Vortex is not recommended.
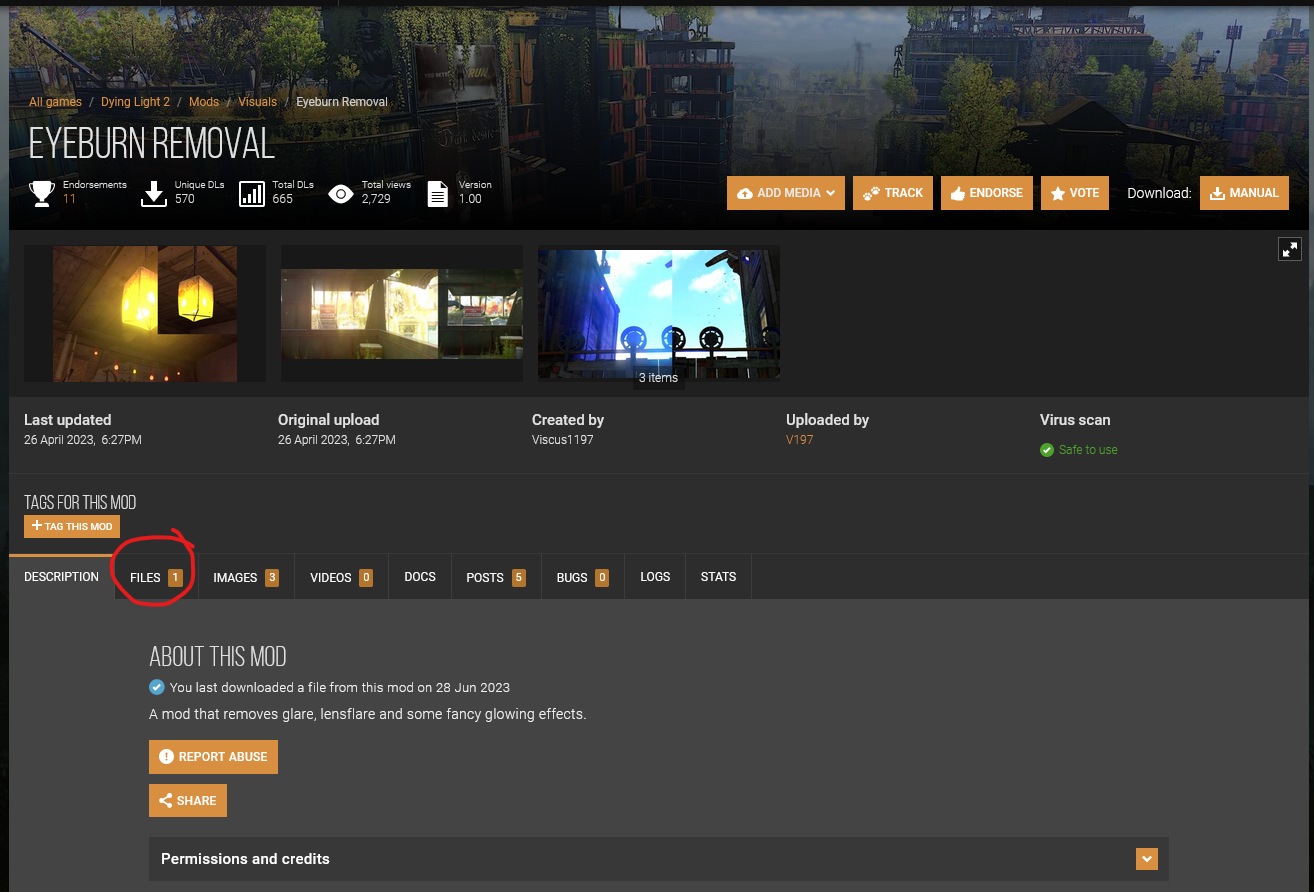
Mods for Dying Light 2, and many other games, are hosted on Nexusmods[www.nexusmods.com] . You can sort them by different categories and criteria. I will be using the Eyeburn Removal[www.nexusmods.com] mod for this guide (which I recommend for every DL2 player).
Once you find a mod you like, go to its main description page. Read through the description to check for any other requirements the mod may have, as well as special instructions and information.
Click on the "Files" tab and download the newest version(s), which will likely in the form of a .pak file or a zip file (zip/7z/rar).
If you are downloading the I Am Legion Reborn mod, then it will have its own installer that you can follow.
Finding The Game Directory And Unpacking Your Mods

First, you want to find your game directory where you will place the mod file(s).
The easiest way is through steam. Go to your Library, right click on Dying Light 2, hover over Manage your game and select Browse local files.
Keeping this directory in mind, let's return to where you downloaded your mods. If you downloaded a pak file, then you can skip the following list.
If you downloaded a .zip file, use the built-in windows zip unpacker by right clicking and clicking "Extract all", revealing data pak file(s) and any other information you will need.
If you downloaded a .7z file, you will need to use 7zip to unpack the files.
If you downloaded a .rar file, you will need to use WinRAR to unpack the files.Look through any readme files for special instructions. Most mods for Dying Light 2 use data pak files, but there may be instructions for other files.
Load Order

Return to your game directory.
A load order is the order in which a game loads its installed mods. In Dying Light 2, configuring your load order is pretty simple. The order of the mod is determined by the number in data pak file names. The lowest number is loaded first, and the highest number is loaded last. data0.pak and data1.pak are native to the game and should NOT be touched, so every mod you install should be numbered higher than these.
First, rename the data pak files for the mods you downloaded. If you only downloaded one pak file, then rename is to data2.pak.
If you downloaded multiple mods, then whichever mod pak has the highest number number will take highest priority over lower-numbered mod paks. I would recommend only numbering up to data9.pak.
For example, imagine you downloaded a mod that changes the zombie animations and your animations, as well as a mod by another author that only changes your animations. The first mod you name as data2.pak, and the second mod you name as data3.pak. You put them in this order:
pak name desc and load order data0.pak Native game file, doesn't apply to load order data1.pak Native game file, doesn't apply to load order data2.pak zombie and player animations mod, first in mod load order data3.pak only player animations mod, second in mod load order
You will see the changed zombie animations from the first mod, but your player animations will only be that of the second mod. This is because the second mod overwrites the first mod's player animations, but doesn't have anything that overwrites the zombie animations. That is an example of the importance of your load order, as mods with higher data pak numbers will overwrite (or possibly conflict) mods with lower data pak numbers (if applicable).
After your data paks have been renamed (remember, avoid data0 and data1), place them in ph → source.
If you would like to configure different aspects of the mods, I would recommend using WinRAR to open the pak files. It would also help to know some basic coding.
Once you open the pak file, you can skim through the different files and directories it contains. Modifying the mod contents can be done by opening certain files within the pak using Notepad or another WinRAR window.
If you are encountering crashes, then I would recommend looking at your crash logs located in Documents → My Games → dying light 2 → out → logs.
Reshade Mods
Using reshade mods requires the ReShade[reshade.me] software.
After installing it, simply open it up and select Dying Light 2. Then select Direct X10/11/12 and it will prompt you to choose a preset. The reshade preset you downloaded should contain a .ini file, which you will select for this.
You will then be offered to download premade packages that you can apply to the game. I recommend selecting all of them as you can always turn them off if you don't like them.
To access the reshade menu in-game, first pause and press Home. Not pausing first can cause the mouse cursor to get stuck. In the menu you can modify the preset, along with being able to make your own.
Source: https://steamcommunity.com/sharedfiles/filedetails/?id=3001776228
More Dying Light 2 guilds
- All Guilds
- Dying Light 2 Guide 1805
- Niezniszczalne bronie bez modw / Unbreakable weapons without mods (1.8.3)
- Dying Light 2 Guide 1785
- Dying Light 2 Guide 1775
- Dying Light 2 ()
- Deluxe Ultimate Edition Dying Light 2
- "-21 2023"
- Dying Light 2 - + ( 10.2024)
- " " Dying Light 2.
- Dying Light 2 Guide 1741