
Intro

Record of Lodoss War: Deedlit in Wonder Labyrinth Any% Speedrunning Guide!
First and foremost, if you need any help with maps or general info to know beforehand, be sure to read the DiWL 100% guide on Steam.
Second, the video below is the world record and route this guide is based off of.
A more visually and updated guide is here:
https://docs.google.com/document/d/1CZyOG1zdinxcNIwcAWt8NVO6Fd9ti74wsxOEWDSJmF0/edit?usp=sharing
This one is much more visually detailed and has more sprites and gifs for convenience.
Table Of Contents:
General Movement and Tricks
Skips/Strats
Route:
Stage 1 “Forest of Illusion”- Bosses: Abram and Pirotess.
Stage 2 “Blazing Caverns” - Bosses: Djinn/Efreet and Shooting Star.
Stage 3 “The Fortress of Mist” - Bosses: Flaus and Demon God.
Stage 4 “The Dark Capital”- Bosses: Narse and Pirotess Rematch.
Stage 5 “Hall of Knights” - Bosses: Beld and Ashram.
Stage 6 “Memory’s End” - Bosses: Boss Rush and Nihil.
General Movement And Tricks
You always want to backdash whenever possible (until Slide), as this is the fastest way of moving around. Switch to slide with Salamander once you get it as this is faster.
You can cancel the damage animation with back dash:
The arrow rope sections can be completely skipped by using the bow right next to the wall, clip also works in other sections as well: https://imgur.com/gallery/xwjfpqK
You can backdash slide with Salamander for super fast horizontal movement: https://imgur.com/gallery/xwjfpqK
Skips/Strats
Quick Abram Kill:
Beld Skip Starting location: https://clips.twitch.tv/AntediluvianElegantRhinocerosSoBayed-dk6ZZ0HM3r3h2sLj
Not in use currently:
Green switch before Djinn/Efreet fight:
Chapter 5 sequence break:
Misc:
Misc
Sword Jump Glitch:
True Flight Glitch:
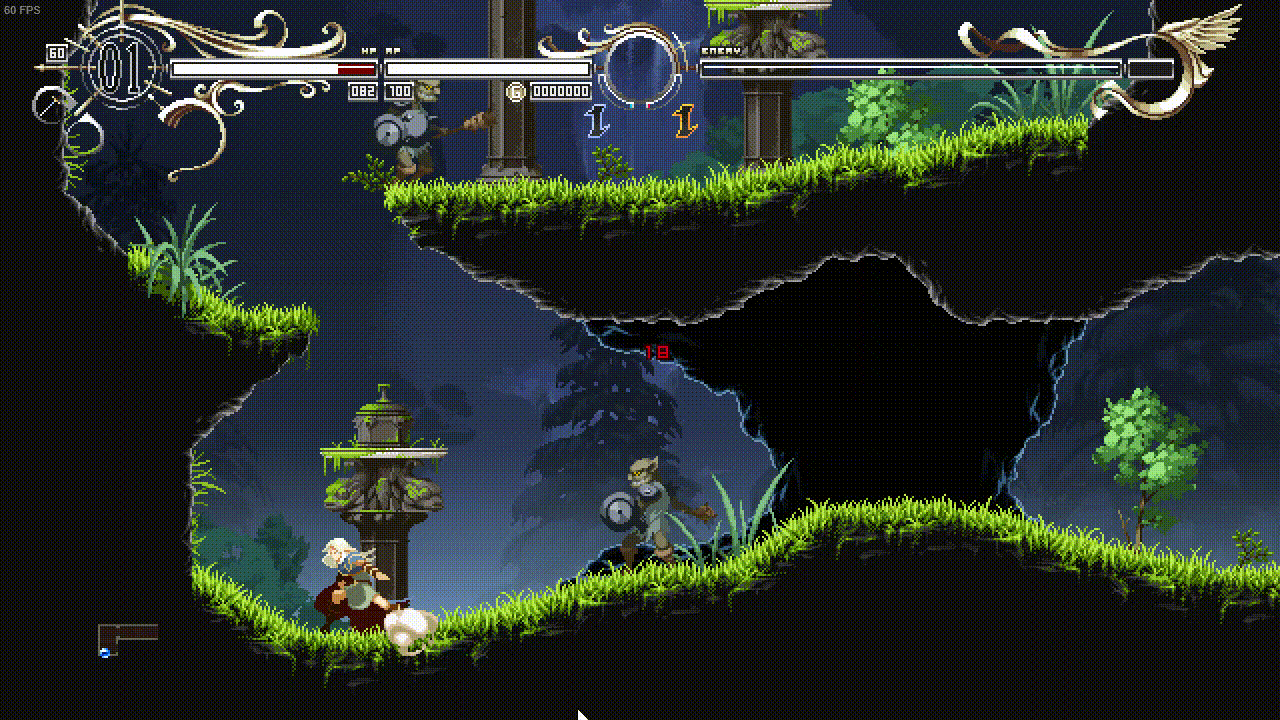
Stages 1-5
[Note: Route map is currently WIP and will be added ASAP.]
Stage 1 “Forest of Illusion”- Bosses: Abram and Pirotess.
Head left immediately once you gain control of Deedlit. Grab Sylph and go back the way you came. Head up and to the left above the flames, ascend the next room and go into the right room momentarily to activate the warp room. Go to the left and then the bottom right of the vertical room. Snag Salamander and the knife. Head straight to the left and down the room with the barrels. Go to the second room down on the left past the hanging meat to grab the bow. Head back to the room directly across on the right side. Jump and shoot the first two ropes. Bounce an arrow on the third and shoot one straight ahead to sever the fourth, once the way is clear. Go to the right through the air and flame pillars to unlock the blue doors and to get Will o the Wisp. Head back all the way left past the save point and down through the vertical room’s lowermost blue door. In the next vertical room go through the very bottom left and enter the secret area in this vertical room. Shoot an arrow on your way down at the gear and backdash through to grab Undine. Go back the way you came and head right without ascending. Head to the bottom left of the vertical room after that and continue left to the boss room. Try and get a quick kill Abram to save some time. Then use Salamander and spam the knife to nullify the fire column section. Kill the Door Imitators and head upwards. Jump and shoot an arrow straight ahead and grab the slide. Head down to the next room on the right to warp back near the start. Head down and to the right through the blue door towards the save point. Ascend through the rooms. You can knife jump on the ledge with the one mummy to skip going overhead with the other two. Slide past the enemies to the bottom left. Head down to fight Pirotess. Proceed to Stage 2.
Stage 2 “” - Bosses: Djinn/Efreet and Shooting Star.
Slide to the right with Salamander and ascend to the upper left room. Grab Zebra and fall all the way down to the bottom left room. Continue to the left and fall all the way down to the bottom right room. Go to the right and then the bottom left in the room with the centipede to the Djinn/Efreet fight. Float with Sylph and hover next to Efreet. Move to the right slightly when the fire pillars appear and wail on him with Zebra. Take him out then move onto Djinn. Wail on him in the right corner and then run away from their pillars. Wail on Djinn in the left corner and defeat him. Grab the double jump and head back the way you came, but choose the bottom left exit in the Wisp room. Head left and use the warp to the highest warp in Stage 2. Head back to the Pirotess room and up. Go through the middle right room with the Dragon Warriors and again the middle right room. Grab Katar and return left. Return back to the warp and go through the top left exit in the wisp room. Go left past the Scarlet Vultures and take the bottom left path. Navigate up and choose the upper left path in the large room. Continue left to unlock green doors. Choose the upper right path in the large room and head down to the bottom right. Go bottom left in the wisp room. Navigate down to the left into Shooting Star’s boss fight. Cast Undine immediately and float with Sylph to wail on Shooting Star. Proceed left to Stage 3.
Stage 3 “The Fortress of Mist” - Bosses: Flaus and Demon God.
Shoot the lower vines of the first plant enemy and slide past using Salamander, then ascend up left past the Ethnoa. Repeat the slide trick, slide left under the next Ethnoa, and continue left. Choose the upper left path in the room with the Troll and Fria Harpy. Shoot the gear most of the way up on the ground, jump on the elevator and then continue on your way. Slide past the zombies with Salamander once again. Continue up. Open the yellow door and grab the Thief Soul Key. Head up to the right and navigate past the enemies. At the next fork choose the lowest left path. Go down to the left past the Troll and Fria Harpy. Shoot the elevator enough and proceed. At the next fork take the lower right path and slide past the Medusas for the Ghim Key. Head back and choose the upper left path in the vertical room to proceed to the Flaus fight. Head left to grab the Parn Key. Go back to the vertical room, ascend the elevator and head left to grab the Slayn Key. Head right across the hall, ascend up and go right. Choose the lower right path in this room and head to the bottom left for the Etoh Key . Head back the way you came and go left across the hall. Activate the elevator. Head up and to the right in both rooms after. Follow the rooms to the Demon God fight. Defeat the Demon God and proceed to Stage 4.
Stage 4 “The Dark Capital”- Bosses: Narse and Pirotess Rematch.
Head up and to the right at the first fork. Grab the Spirit Magic Windstorm. Go back and head up-right at the fork. You can attack spam to skip the ledge above you. Slide through the giant sword and head right. Continue right after the cutscene and shoot the gears on the swords facing downwards and slide through. Undine the Sand Worms and continue up and then right. Go into the secret room behind the scorpion and grab the Sylph powerup. Then fall through the sword and grab the Water Breathing relic . Head back the way you came and choose the highest path on the right side in the vertical room. Activate the warp and head left. Skip to the upper left path by attack jumping. Windstorm the first Crocodile and shoot an arrow at the magnet. Dash past the other Crocodile and sword. You can save in the lower left room before the boss fight or continue if you want. Will o Wisp is recommended. Spam it while attacking Narse for maximum damage. Defeat him and continue left to unlock the Red Doors. Head back down and continue left of the save point. Warp to the other Stage 4 warp you have. Head down to the middle right room with the Crocodiles. Head up-right through the Red Door. Head up-left and continue left in the room ahead of the save point. Slide past enemies and choose the lower-right path in the vertical room. Choose the lower-right path again and rematch Pirotess. Go left through the Dream Sequence afterwards. Head right once Deedlit awakes to Stage 5.
Stage 5 “Hall of Knights” - Bosses: Beld and Ashram.
Head to the right. Continue to the room with the Wight enemies and take the upper right path. Float as high as possible with Slyph, double jump and knife spam to the ledge. Continue past the enemies and the Eagle to activate the warp room. Go up and through the narrow path. Float next to the sandbag and shoot two arrows, wait for it to swing right again and shoot two more. Take the lowermost right path to fight Beld. Use Windstorm on him and defeat Beld. Head right after the fight and down left to acquire the Super Jump. Take the uppermost right path in the vertical room and continue on through the linear section. At the next fork with the mirrors take the lower-right path. Continue back to the narrow path you slide through. Head up-left then up-right. Take the left path again to the Ashram boss fight. Use Windstorm on his normal form and Will o Wisp on his imperfect form. Head left after the cutscene and activate the Purple Switch. Head back and choose the lower left path in the vertical room. Go the lower left path in the nex vertical room to the windy one with the Gnomes and Wights. Go left through the Purple door to Stage 6.
Stage 6 - "Memory's End"
Continue straight to the left, and slide down past the dragon. Take the upper left path and slide past the Lifeless Kings and Manticores. Backdash through the Basilisk and take the upper left path with the Lifeless Kings. Go through the room to the right to open the Teal Doors. Fall through the hole and slide right. Continue right and use Windstorm to help take out the Basilisks. Take the left path in the vertical room and continue through the teal door. Continue forward for a boss rush sequence! Use all earlier strategies and blitz the bosses as fast as possible. After finishing them continue through the winding room to the last boss fight. First, kill Memory as quickly as possible. Wind Storm works well here. Then, engage Nihil. Undine is excellent for this boss fight. Maneuver around Nihils’ attacks while whittling him down to finish the game! Skip the cutscenes and head left to the bridge. Once the screen fades out to black end time!
Congratulations! You just beat Record of Lodoss War: Deedlit in Wonder Labyrinth! Thank you for taking the time to read this guide and the DiLW community looks forward to seeing you on the leaderboards!
Thanks And Credits
Hey, thanks for reading this guide! Be sure to check out the discord if you're interested in speedrunning DiWL! The link can be found on the Speedrun.com page.
Credits:
https://steamcommunity.com/sharedfiles/filedetails/?id=2236455573
Special thanks to Bozo and TMG_Drakanwolf for the sprites and icons that are present throughout this guide. I wouldn’t have these otherwise. Furthermore, the translations for the names of Stages 1,2, and 6 were also provided by Drakanwolf.
Finally, thanks to the Deedlit in Wonder Labyrinth community for discovering these breakthroughs that make this game so fast.
Source: https://steamcommunity.com/sharedfiles/filedetails/?id=2444638280
More Record of Lodoss War-Deedlit in Wonder Labyrinth- guilds
- All Guilds
- Guia de Conquistas para Record of Lodoss War - Deedlit in Wonder Labyrinth BR-PT
- Record of Lodoss War-Deedlit in Wonder Labyrinth- Guide 103
- Lodoss-tou Senki Anime/Manga Order
- Stuck Reformation Achievement Fix
- Save File Editing
- memory damageless strategy
- Record of Lodoss War-Deedlit in Wonder Labyrinth- Guide 85
- Record of Lodoss War-Deedlit in Wonder Labyrinth- Guide 76
- 100% Achievement Guide!
- Bestiary 100% - Where to find monsters #21 and #56