Introduction

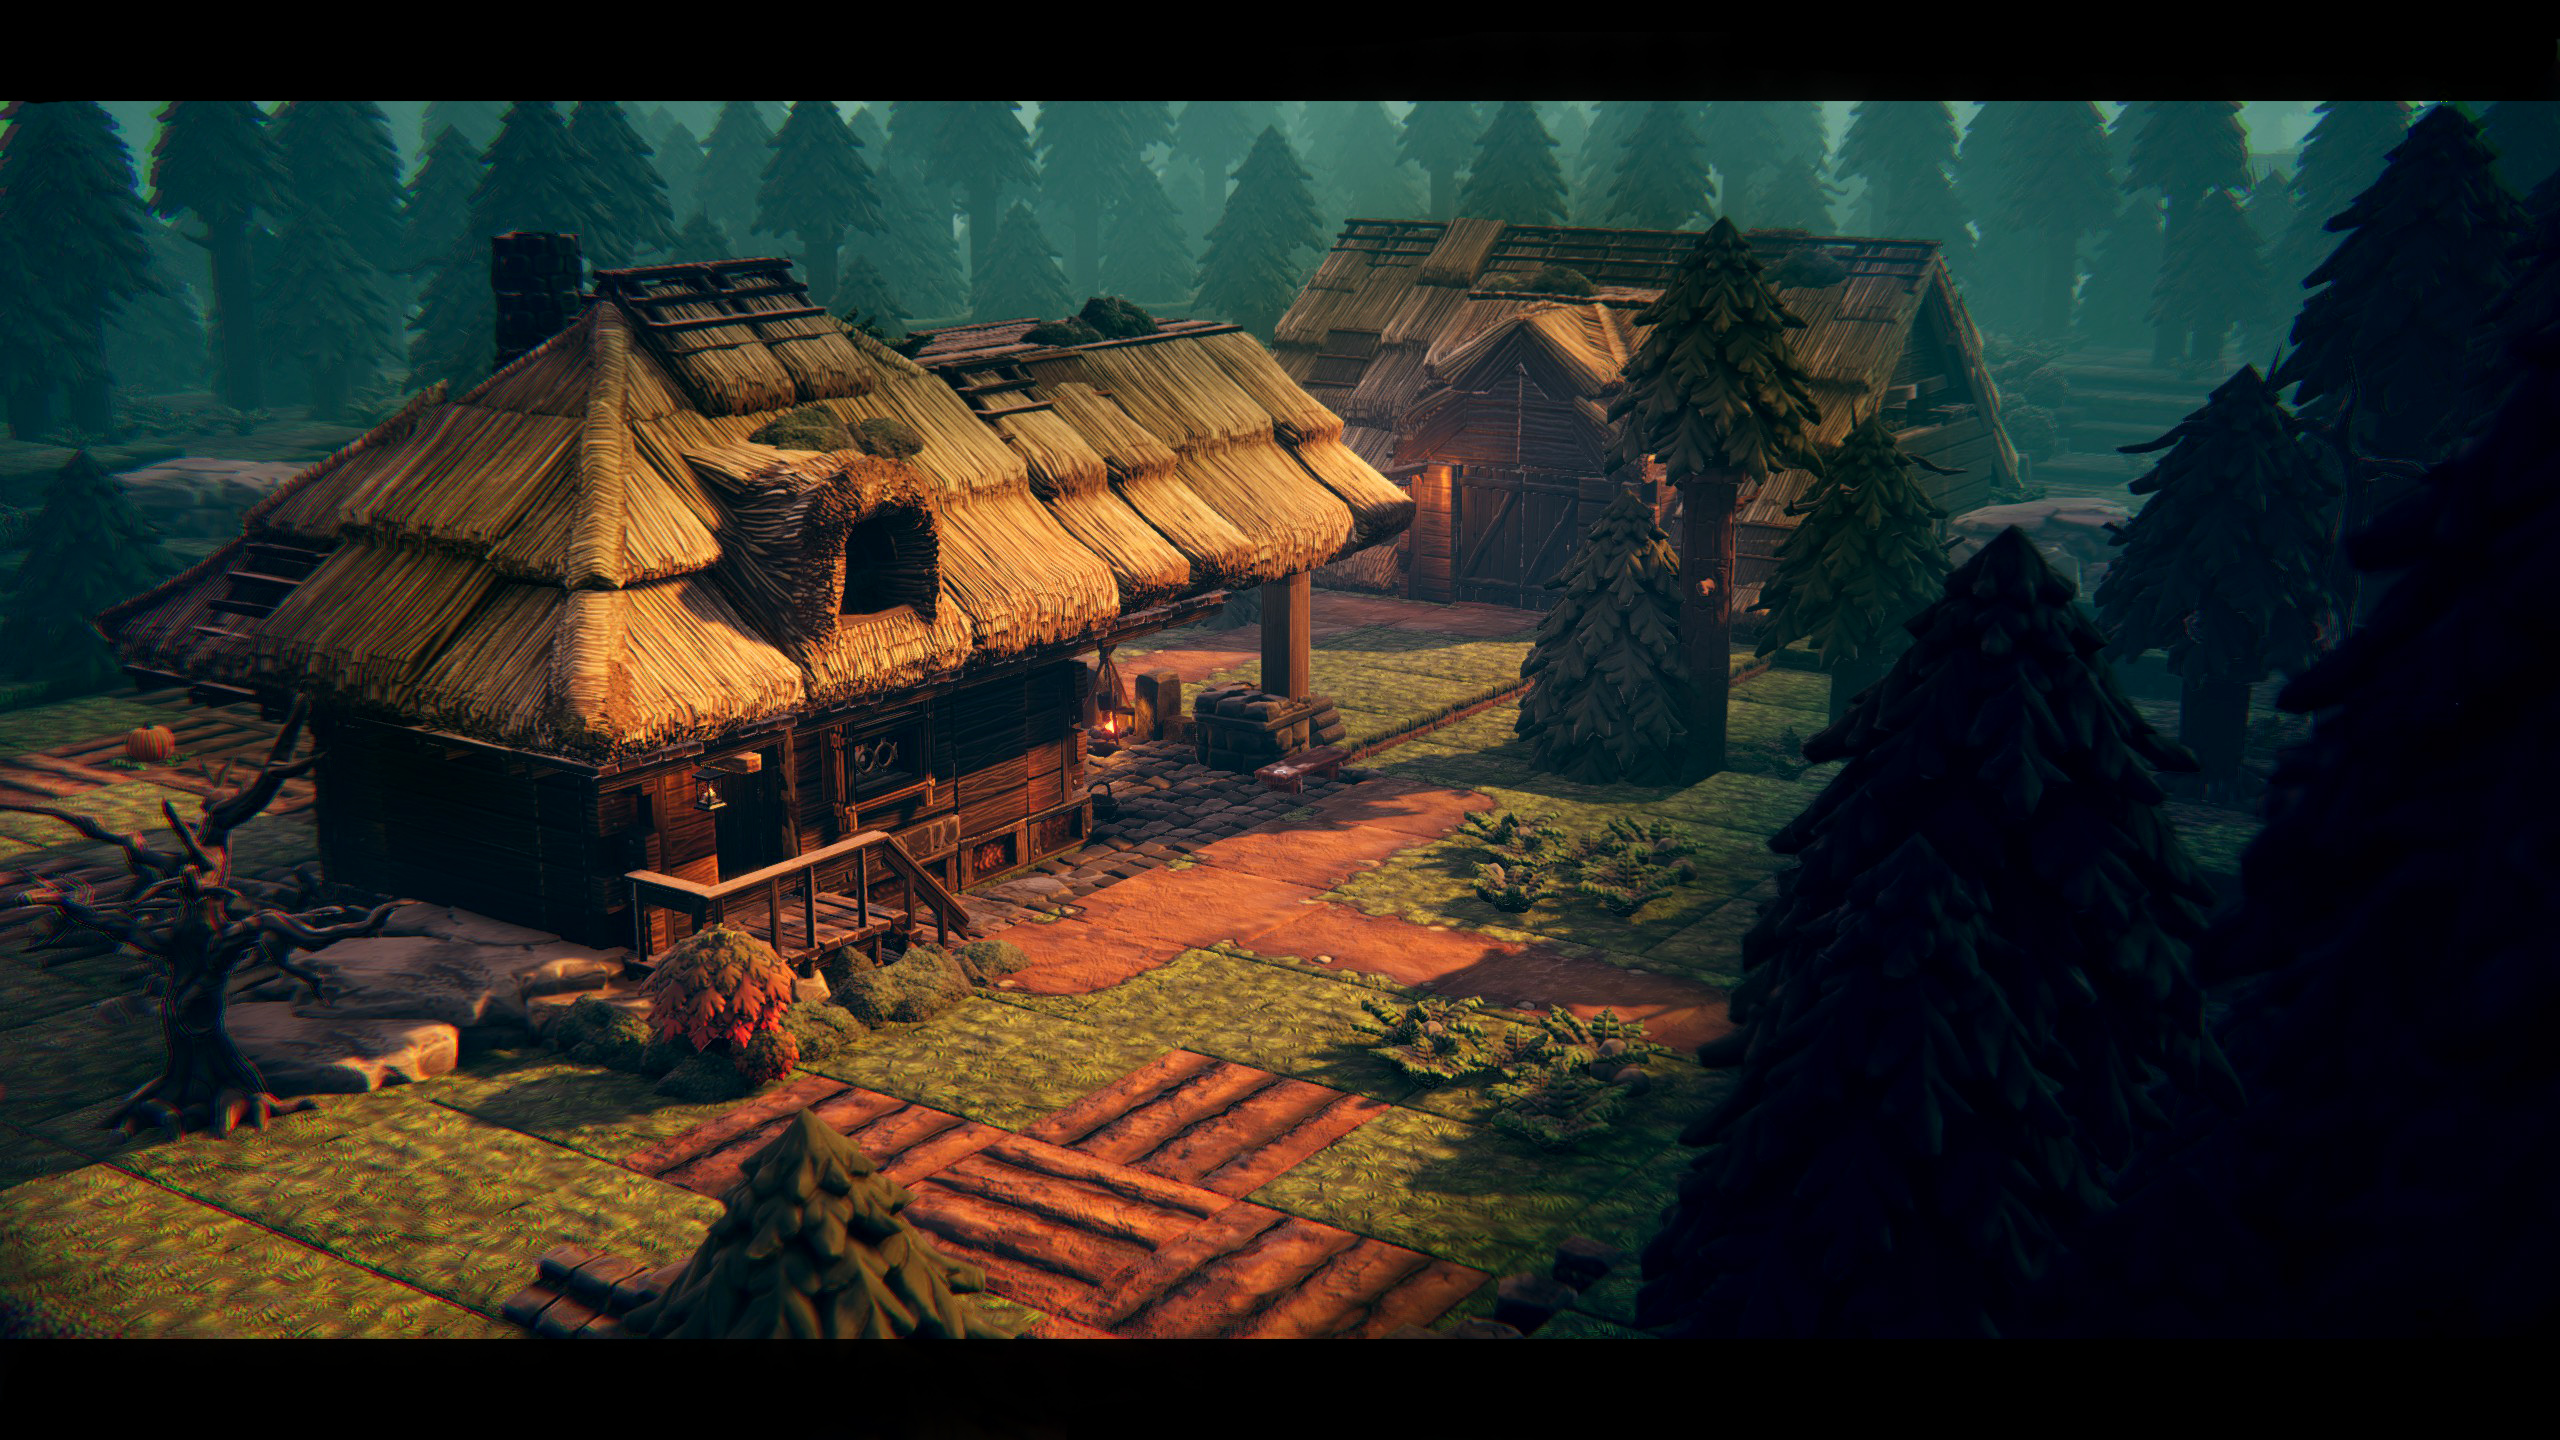
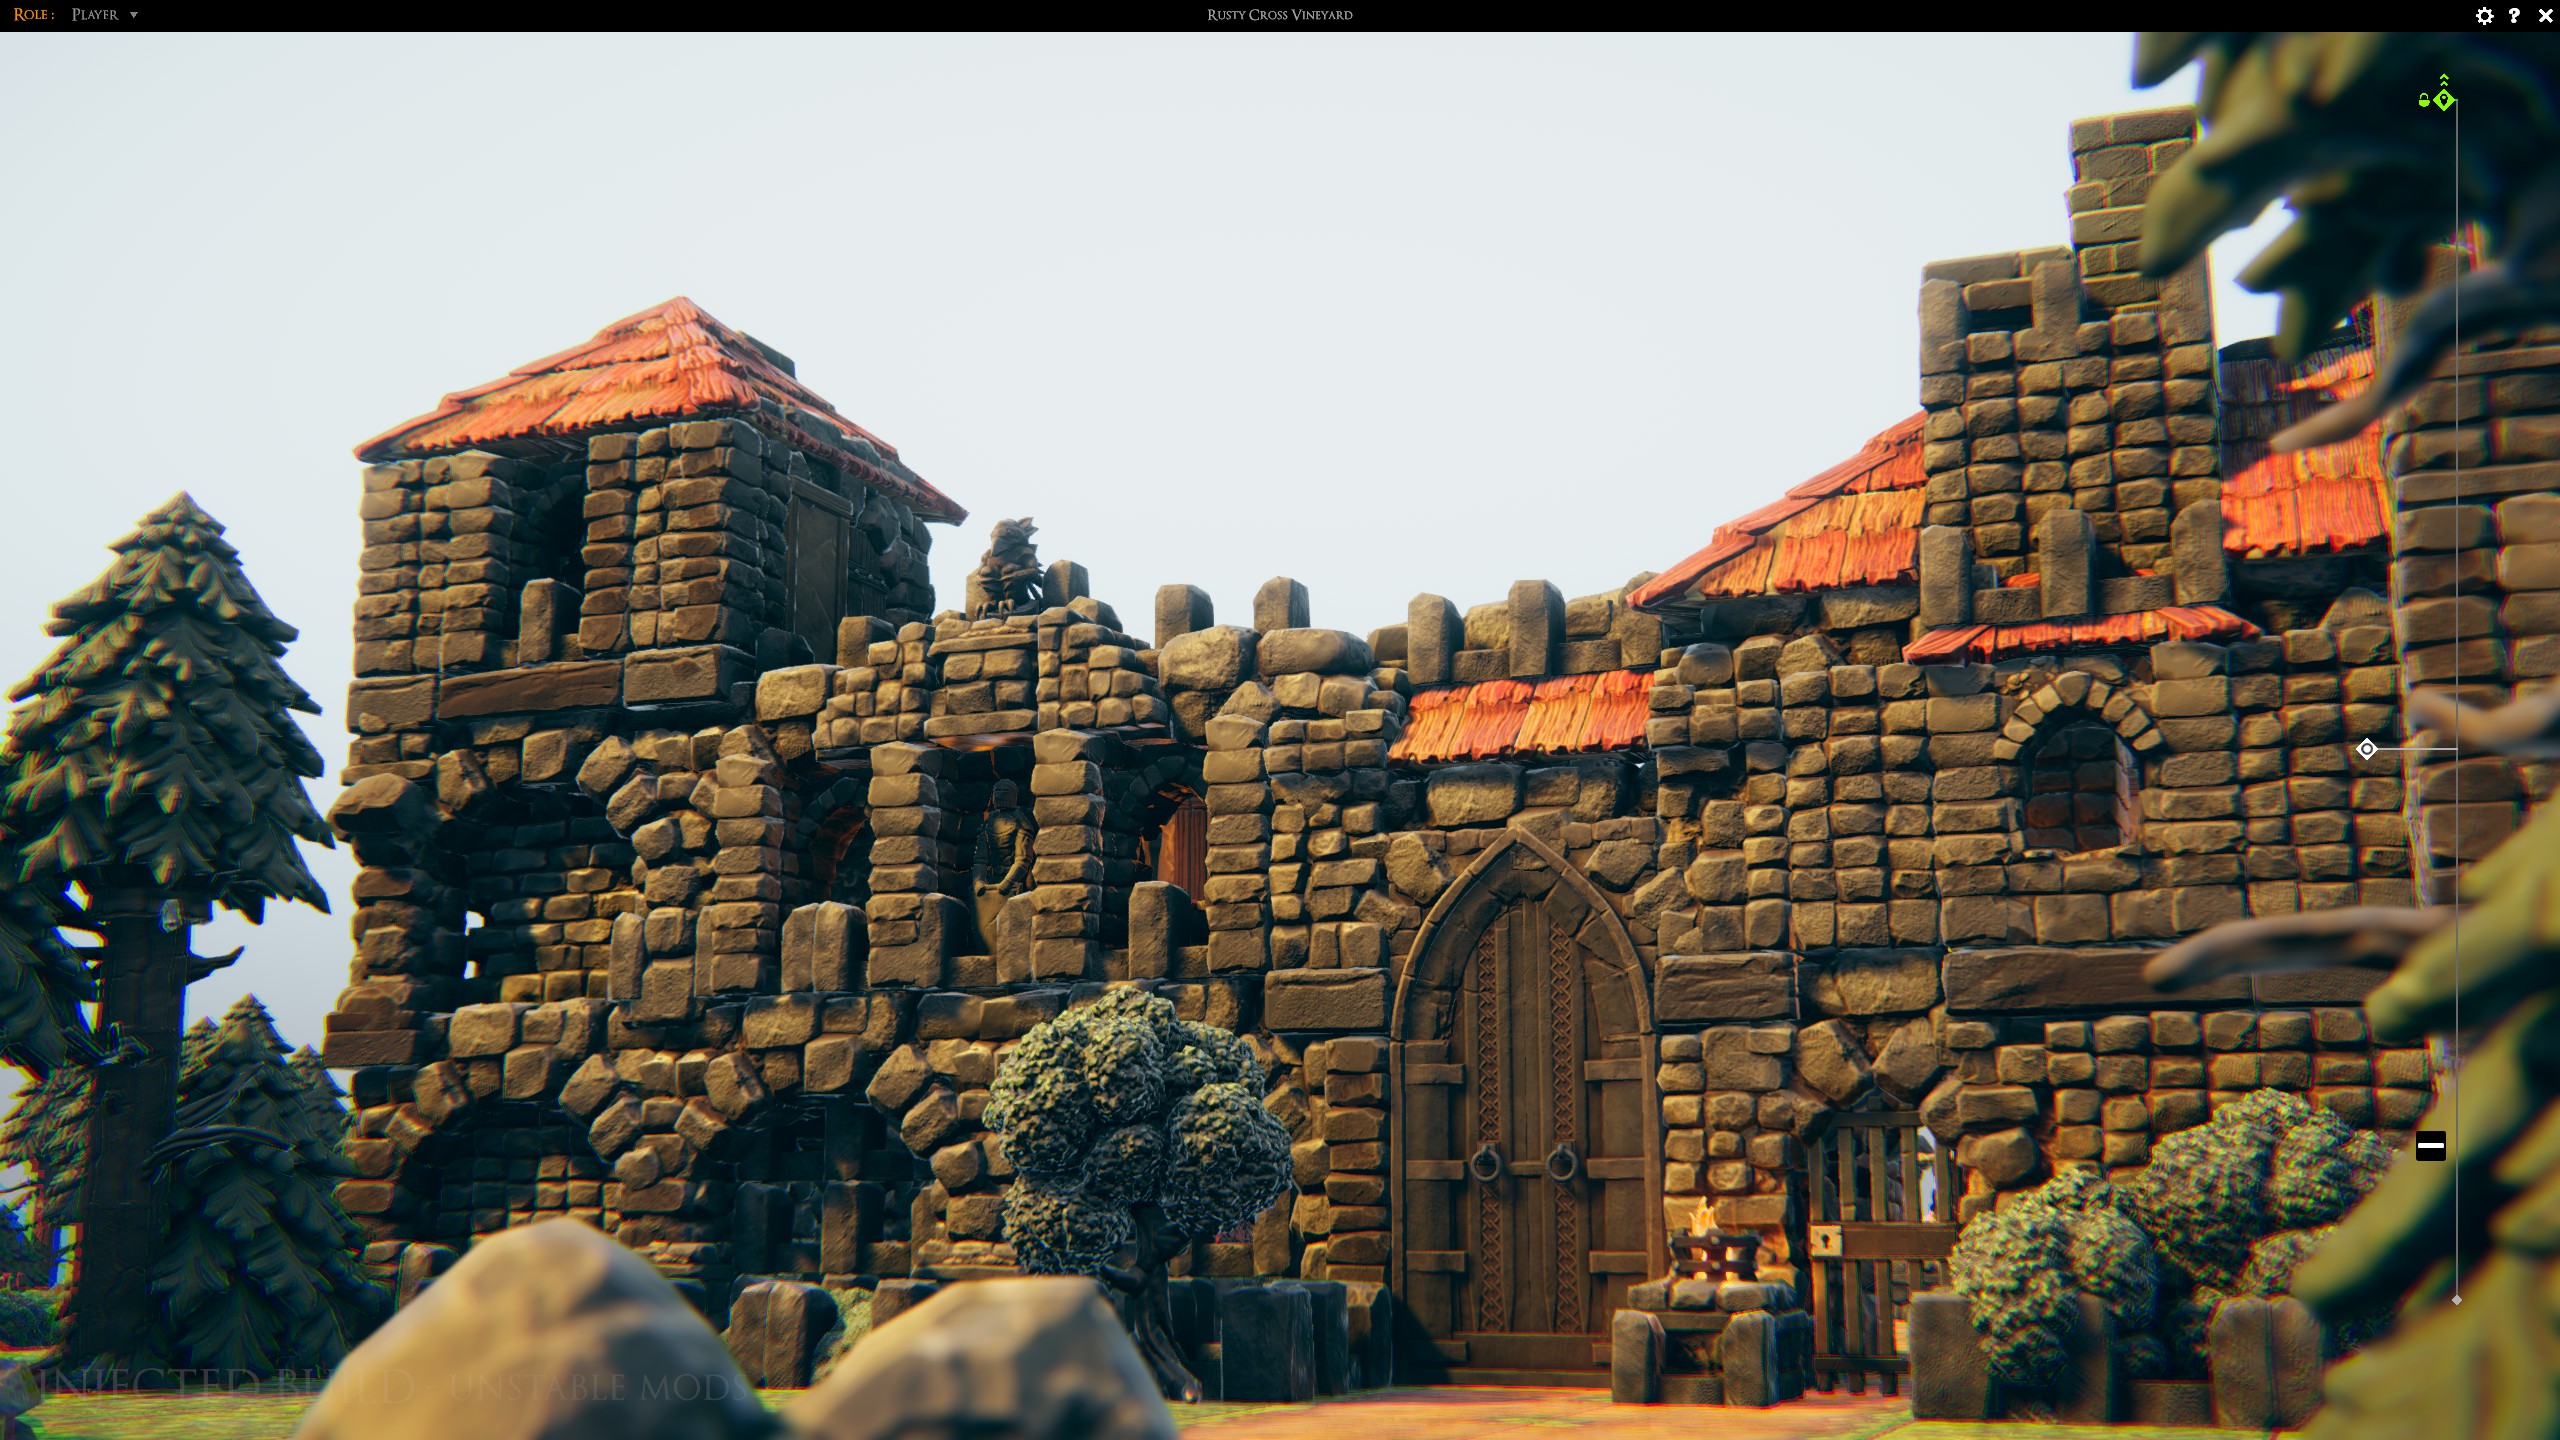
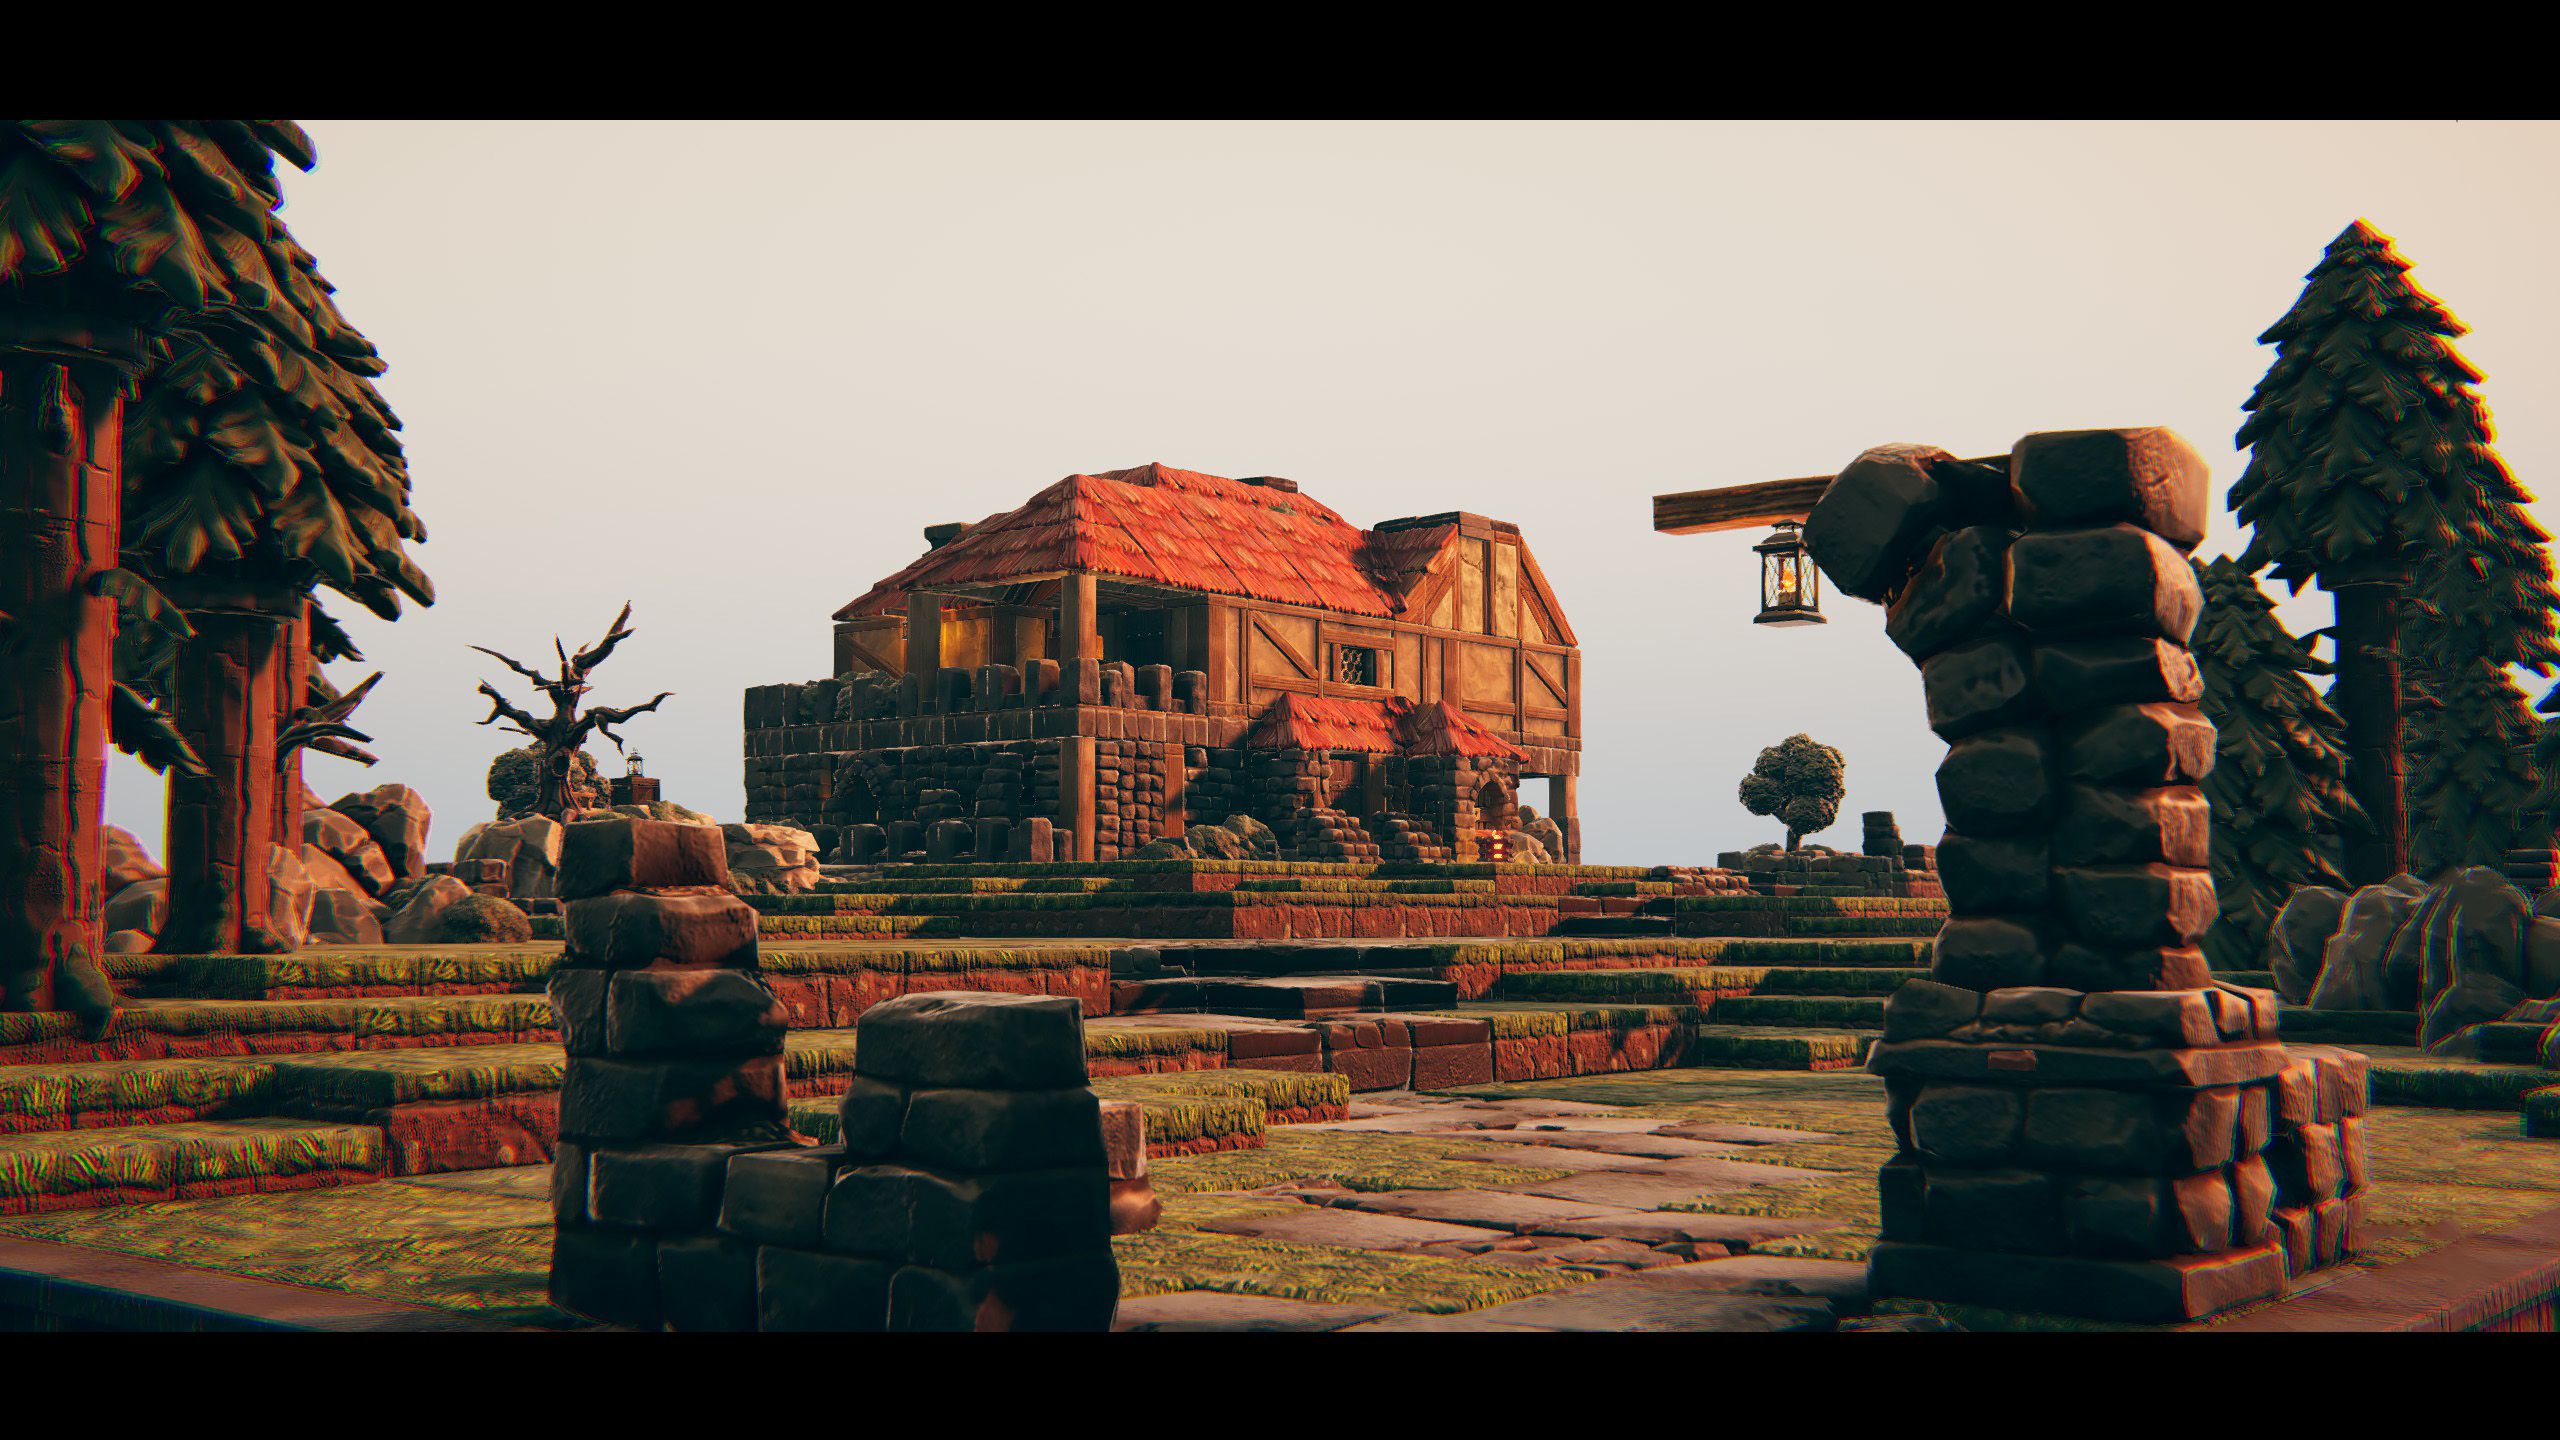
If you want, you can find more assets I've done here:
https://talesbazaar.com/author/76561197998840002/profile
https://talestavern.com/userprofile/22/
You can find a full youtube playlist on how to get started until uploading a slab here:
https://www.youtube.com/playlist?list=PLL5K8NQZ2OibCujR85T41BK2bNWE5AfLt
Each video has timestamps/chapters to help you get the right information quickly but I woukd encourage you to watch everything as a lot of tips are given :)
The playlist goes through:
Interface & Camera
The video below is the first video in the Series but is now outdated since the Chimera update!
Not all is broken, but if you want the latest keybinds, watch the Chimera update video! :)
Here's the timeline breakdown:
0:00 - Presentation of the Tutorial Series
2:23 - Outline of the tips video setup
3:15 Tips Start - Function Keys and tips for starting off
F1 - Displays controls
F2 - Return to origin point
Try to start maps/entries at the origin point as it's where users first load in, and the point you can easily return to
F7 - Loads player mode (what the player sees).
Good for screen shots
F8 - Loads GM (builder) Mode
B - Turns on Build mode
Space - shows dice and assets
Tab - Turns on Game Master Overlay Mode
Holding Tab - Displays names of miniatures
8:00 - Toggling and grid height/placement tips
Sample height from grid tool
Samples and sets height from existing assets for grid height. If there isn't something at the height you want, you can't move up to that height
Move grid to camera tool
Moves the grid to whatever height you've set the camera at
Right white slider sets the camera height so you can set and use the move grid to camera tool to get there
Orange slider
Moves the building grid to a specific height
11:08 View/Camera Tips
Green slider is the cutoff slider
Used to open building and cuts off (hides) items above that level
Only works when closer to the building
Double left click sets the camera location and height
Double left click on a spot with something above and it will auto move the green slider and expose above one wall height above where you clicked.
Hold left click and then right click to quickly set build height
14:10 Grid Measurement Tips
2 Stacked Tiles = same spacing as 1 square width
Grid can be moved in 1/4 square increments
15:00 Mouse Controls (camera, and asset controls)
Right click and mouse move moves the camera
Middle click and mouse move rotates the camera
Left click and mouse move selects an area.
Drag to set width and length, then let go to set height and left click to stop
Shift Left Click to pick up and move original asset
Shift Middle click to pick up but leave original asset
Shift Right click to delete an asset
Hold shift after picking up an asset lets you maintain the height to place it in mid air
Holding shift after picking up an asset lets you scroll the mouse wheel to move it up or down in increments
Planning & Preparation
0:00 - Introduction
2:22 - Notetaking Begins
Be flexible
Be creative
Write it all down
5:22 Basic Sketching Example
6:26 Castle Willehm Sketch Example
7:45 Modular Houses Sketch Example
8:14 Tutorial House Sketch Example
10:15 Asset Preparation (in TaleSpire)
Lay out all the assets in advance for easy access
12:20 Planning for scale
Start with a small build
13:03 Height Management
Don't build directly on the ground
Make your board big enough for navigation
Add cutout views if possible
Use a second board for different levels/underground
16:20 Recap
Macro To Micro & Hero Asset
0:00 - Introduction
0:32 - Macro to Micro
Layout foam floor for basic shape outline
0:57 - Shaping the Terrain
Exterior wall to frame it
Foam base to get your base elevations (leaving room for your actual dirt/flooring)
3:33 - Primary (Hero) Asset Placement
Block out it's base shape
Add base walls for feeling of space to work on.
5:47 - Stairs!
Add your stairs early as they are harder to add later
Place and use them to provide separation and work with your flow
7:38 -Tips
Reminder to start at your entry point
Start with basic shapes first
8:10 - Outro
Breaking The Patterns
0:00 Introduction
0:50 Adding interest
Pull walls in or out (intrude/extrude) to make them more interesting
3:44 - Adding the Cellar
Shift-mousewheel to change elevations
4:52 - Filling the Terrain
5:12 - Shaping the Path
Do path early since it's key
6:05 Breaking repetitions & patterns
Rotate pieces to show difference
Add windows to break the patterns
9:33 - Path Patterns and details
Break out tiles to allow injecting differing tiles
Look for patterns you can break
Find tiles without dark or obvious marks
Add in mixes of more recognizable patterns
12:35 - Terrain Pattern
Add height variations
Break lines
Working from top down is easier
13:52 - About linearity
Extrude/Intrude when using multiple assets that provide linear repetition
14:53 - First Tree Pass
Use trunks to quickly determine tree locations
Place in clumps
Larger trees towards the inside, smaller on the outside
15:55 - Outro
Details Pass & Lighting
0:00 Start
0:12 Details and starting the Facade
Build details with a story in mind
Roofs get done last
Cover gaps
1:50 Floor details
Break up patterns
2:28 Furnishing & Breaking Space
Break up larger rooms
4:17 Tell a Story with your Space
4:42 2nd Floor Furnishing
Starting with the easier room and expand outwards
7:20 Roof Work
Build basics first
Then add details to make it interesting
8:13 About detailed assets
Unique assets are great to add, but don't put them close together as they will be easily seen as repeated
8:39 Space & Density
Account for space for users to move and play in
10:08 Terrain Details
11:00 Lighting
Place lighting last
Use it to illuminate or
Draw attention to specific locations
Look at different lighting from different time of day to get the feel for how daylight impacts your view.
12:28 Outro
Clipping & Assets
0:00 Start
0:12 Explanation of clipping and examples
Assets can be clipped at same or different levels
1:00 How to clip
Use exclamation to turn it on
Shift and drag to pull through another item
1:09 Clipping warnings
Can impact performance
1:42 Recipes
Experiment to create new interesting patterns
2:03 Special Assets
Some assets can clip without clipping enabled
2:45 Z Fighting
This is when 2 assets are in the same space and it's not sure how to show it
3:08 Talespire Aesthetic
Some assets are not realistically scaled, especially compared to minis
Just accept this to move on
Some block spaces or issues can occur, especially in beta
Cleaning & Sharing

0:00 Introduction
0:17 Cleaning your Build
Look for any holes, mistakes, z-fighting or aesthetic issues
Delete tiles that aren't useful to lighten the build
Touch up borders if it makes sense
0:56 Selection Tool
Left click and drag to select
Release button and mouse up to set height
Click to stop
Use bounding controls to resize the bounding box
Copy with Ctrl-C, Cut with Ctrl-X, Ctrl-V to paste
1:45 Save a build
You can paste into notepad to save a backup copy of your slab
It's an ugly block of text, that's ok
2:05 Copy Limitations
Maximum is around 30-39K. This is a windows clipboard limit
3:25 Best Practices
Square shapes are easier to select
You can prepare break points making it easier to share
3:40 Share a Slab
You can share on TalesTavern.com or TalesBazaar.com
4:15 Copy a Community Slab
Or browse those sites for slabs shared from others
Copy out the slab code by using the copy button
Then paste using Ctrl-V into TaleSpire
4:35 Outro
Tutorial Asset Download

Here you can download the slab for the finished tutorial asset:
https://talestavern.com/slab/rich-house-board-tutorial-series/
I'll probably add more episodes as time goes by and I get requests by the community or find interesting topics :)
How To Make Better Forests
Here is a new tutorial on how to improve your forest building game!
Either by hand or with a neat tool, you can really tailor the process to your needs :)
From 2D To 3D, Convert Your Maps To TaleSpire!
The slab I produced for the example can be found here: https://talestavern.com/slab/alchemist-workshop/
Source: https://steamcommunity.com/sharedfiles/filedetails/?id=2182163851
