Serenity's Waste: Vault Symbols


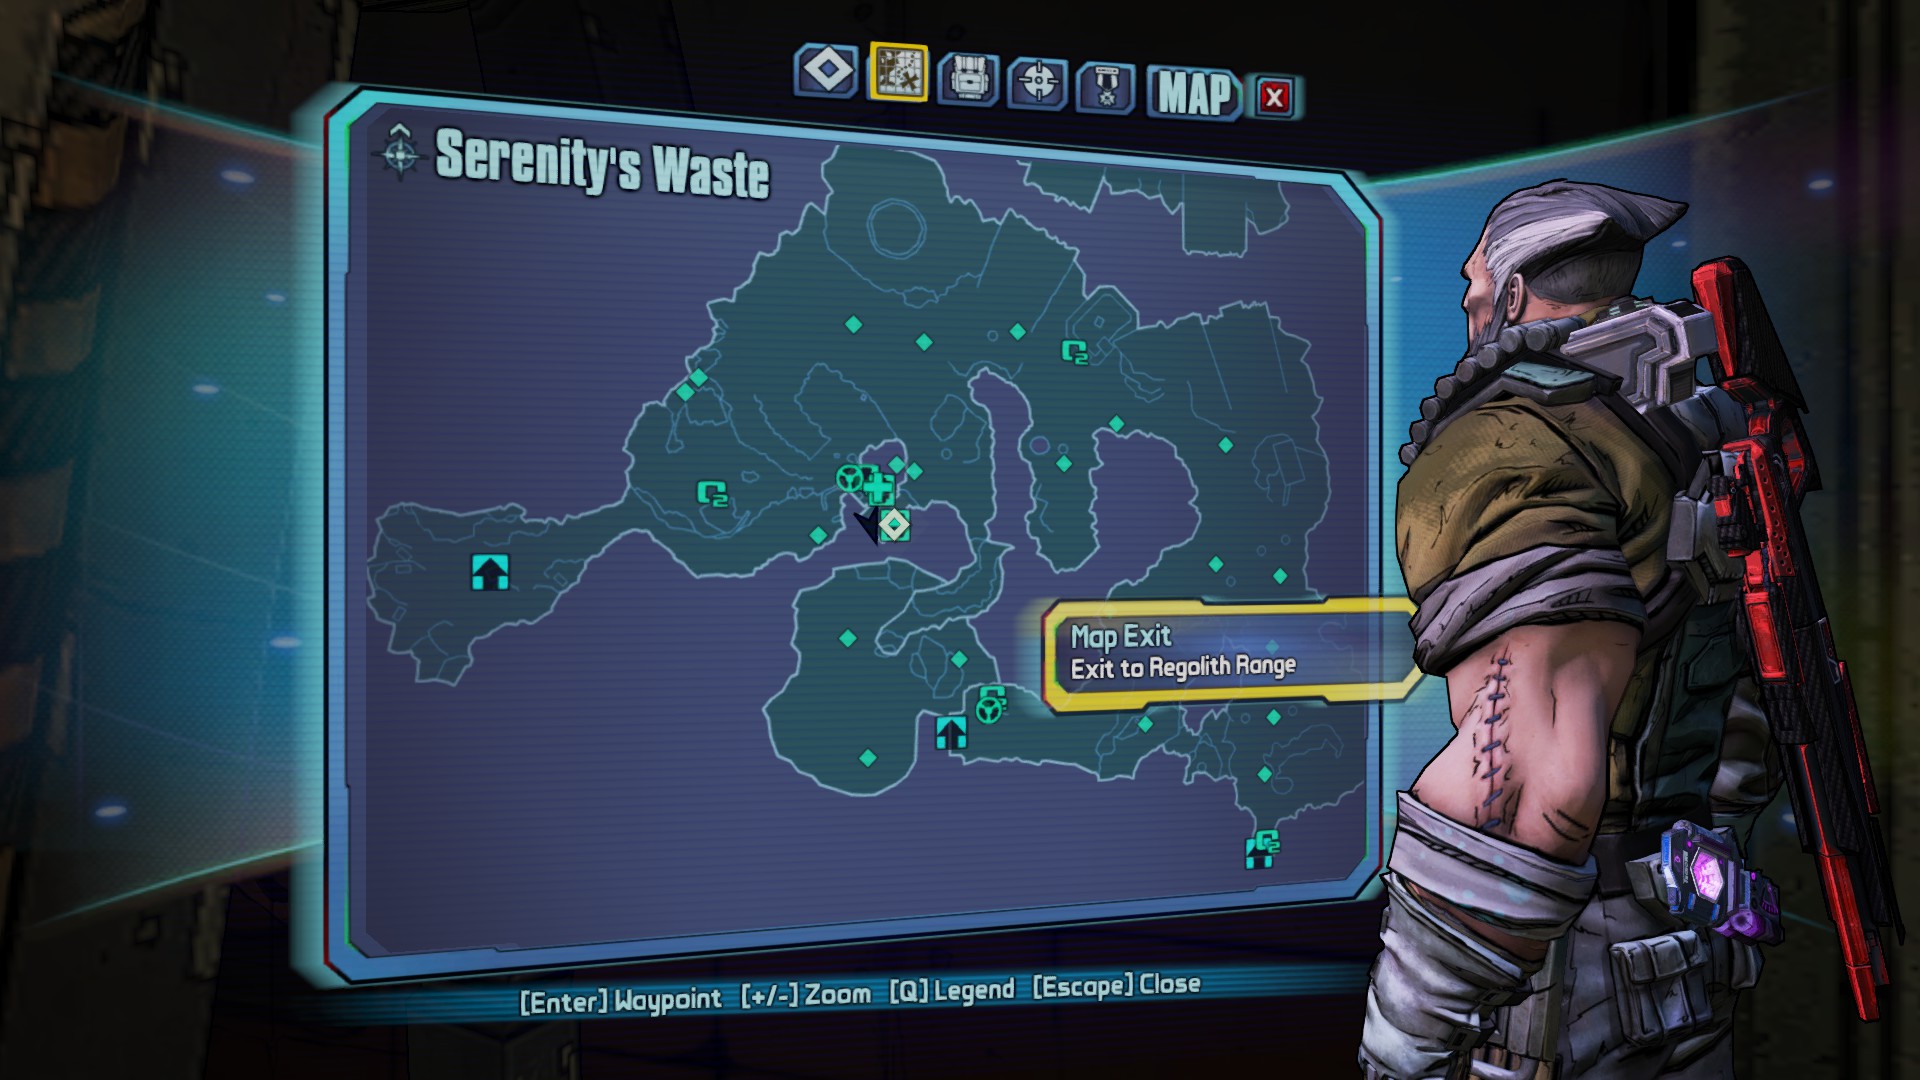

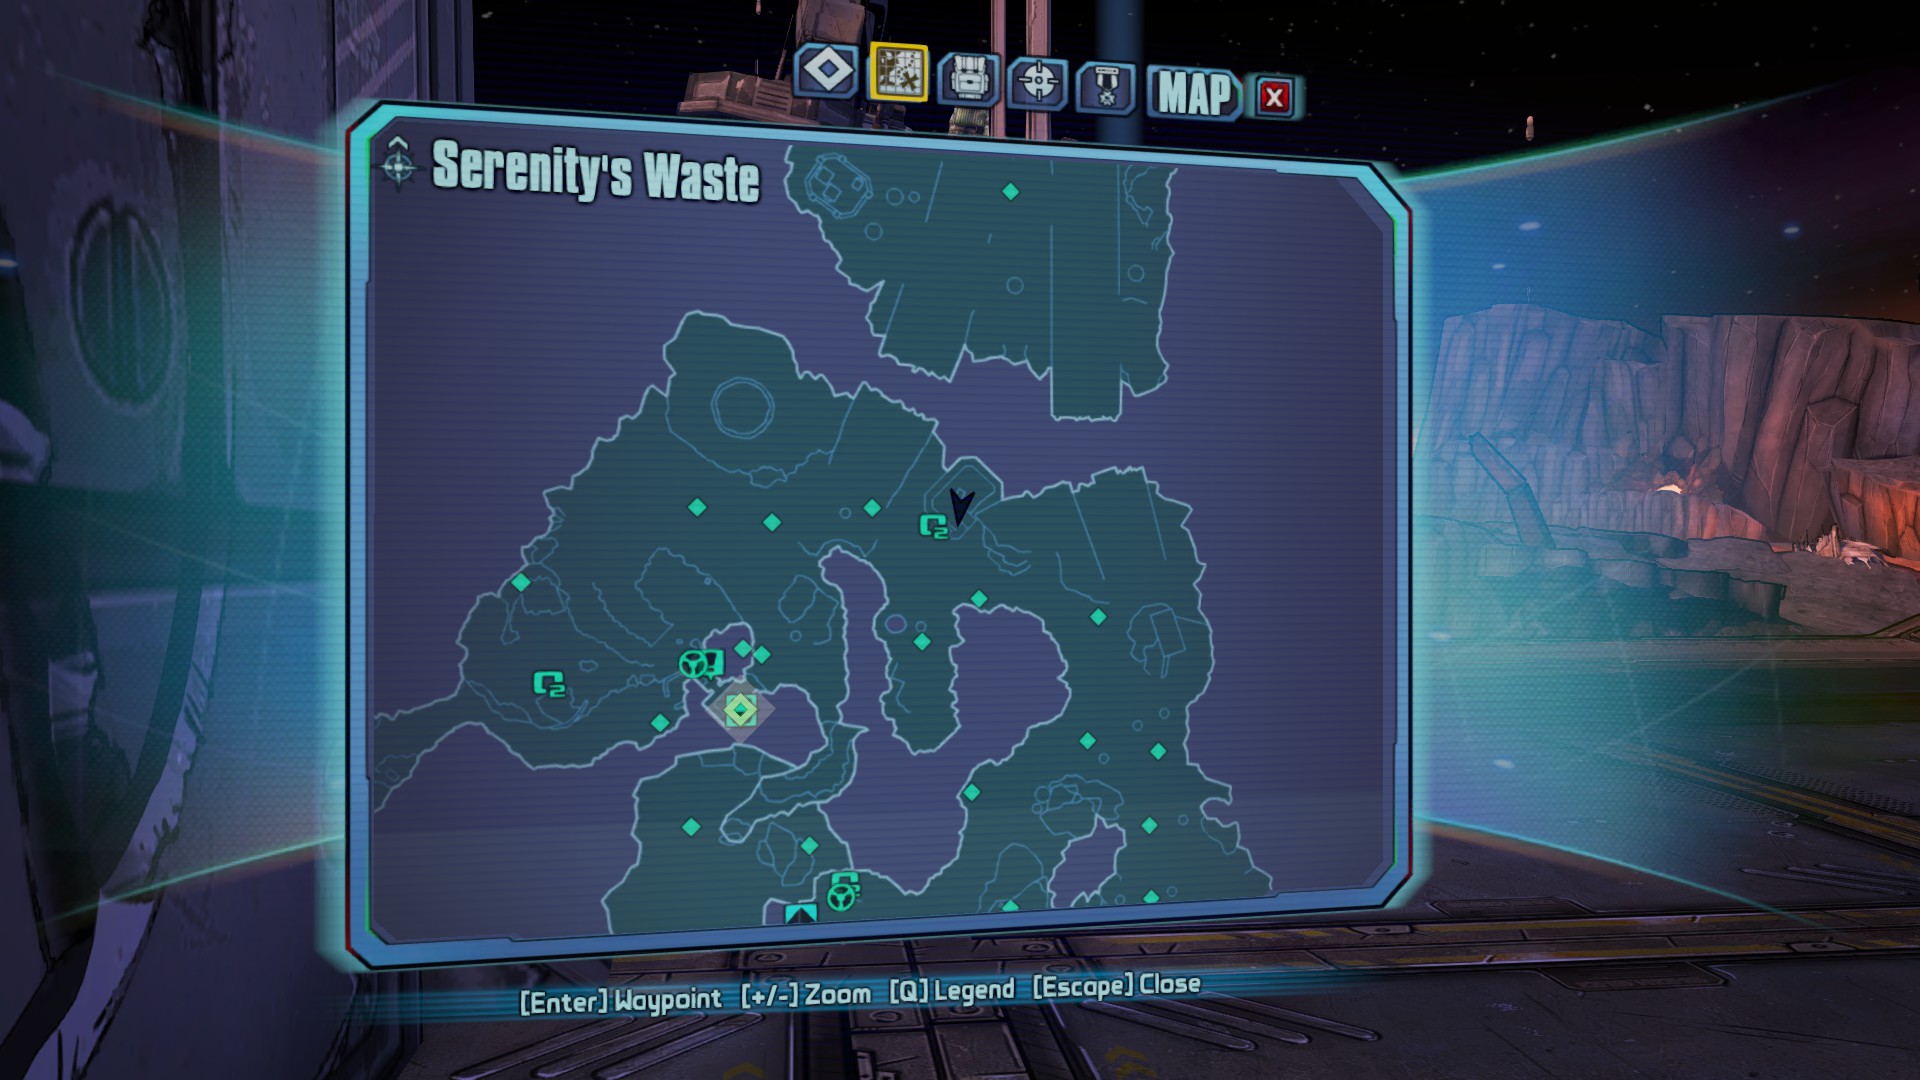

1. The first symbol is grabbable before you get an OZ mask. Just north of the first O2 station is a large beige-white wreck. There is a fin-like piece at the top that has the symbol on it.
2. The second symbol is in Springs' base. It's directly underneath the stairs, hidden in the dark between a container and the wall.
3. The last symbol is on top of the building where you get the broken mask. Just circle around east of the area and drop down onto the roof.
Regolith Range: Athena ECHOs
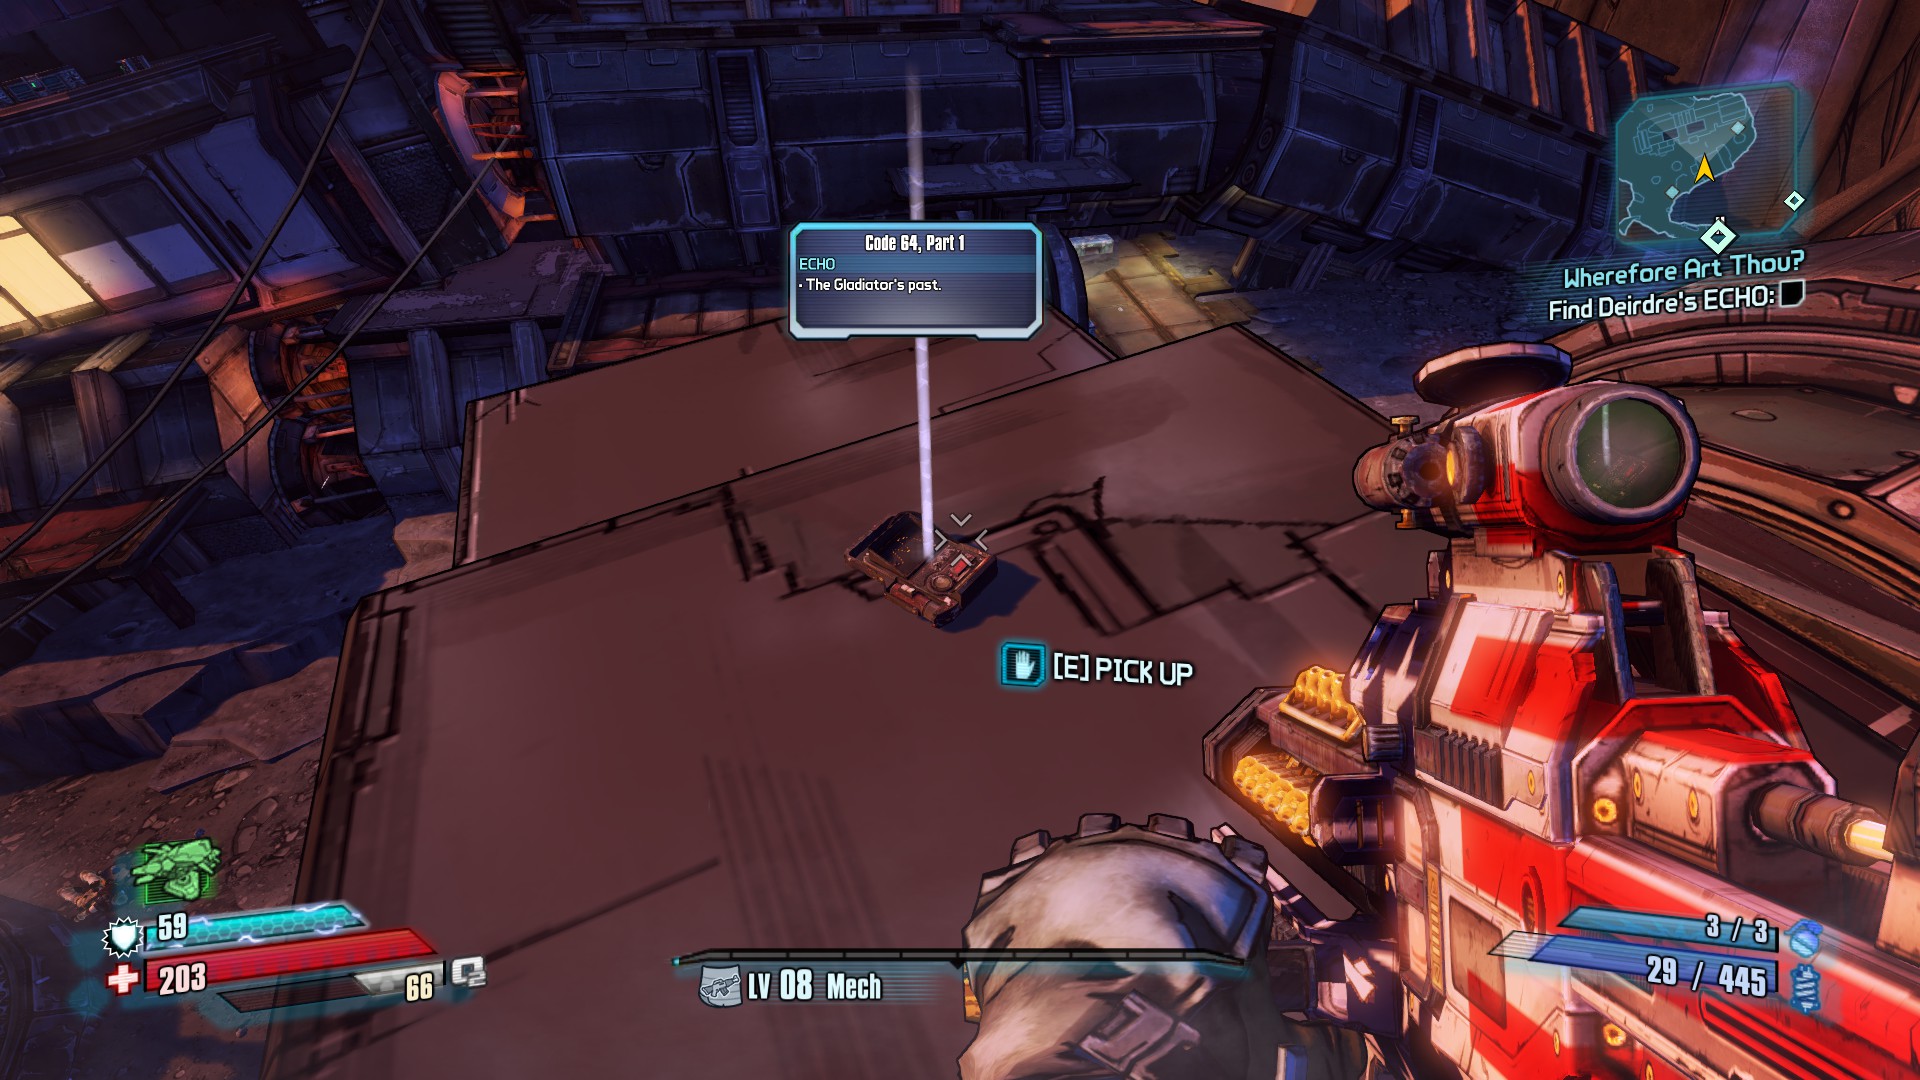

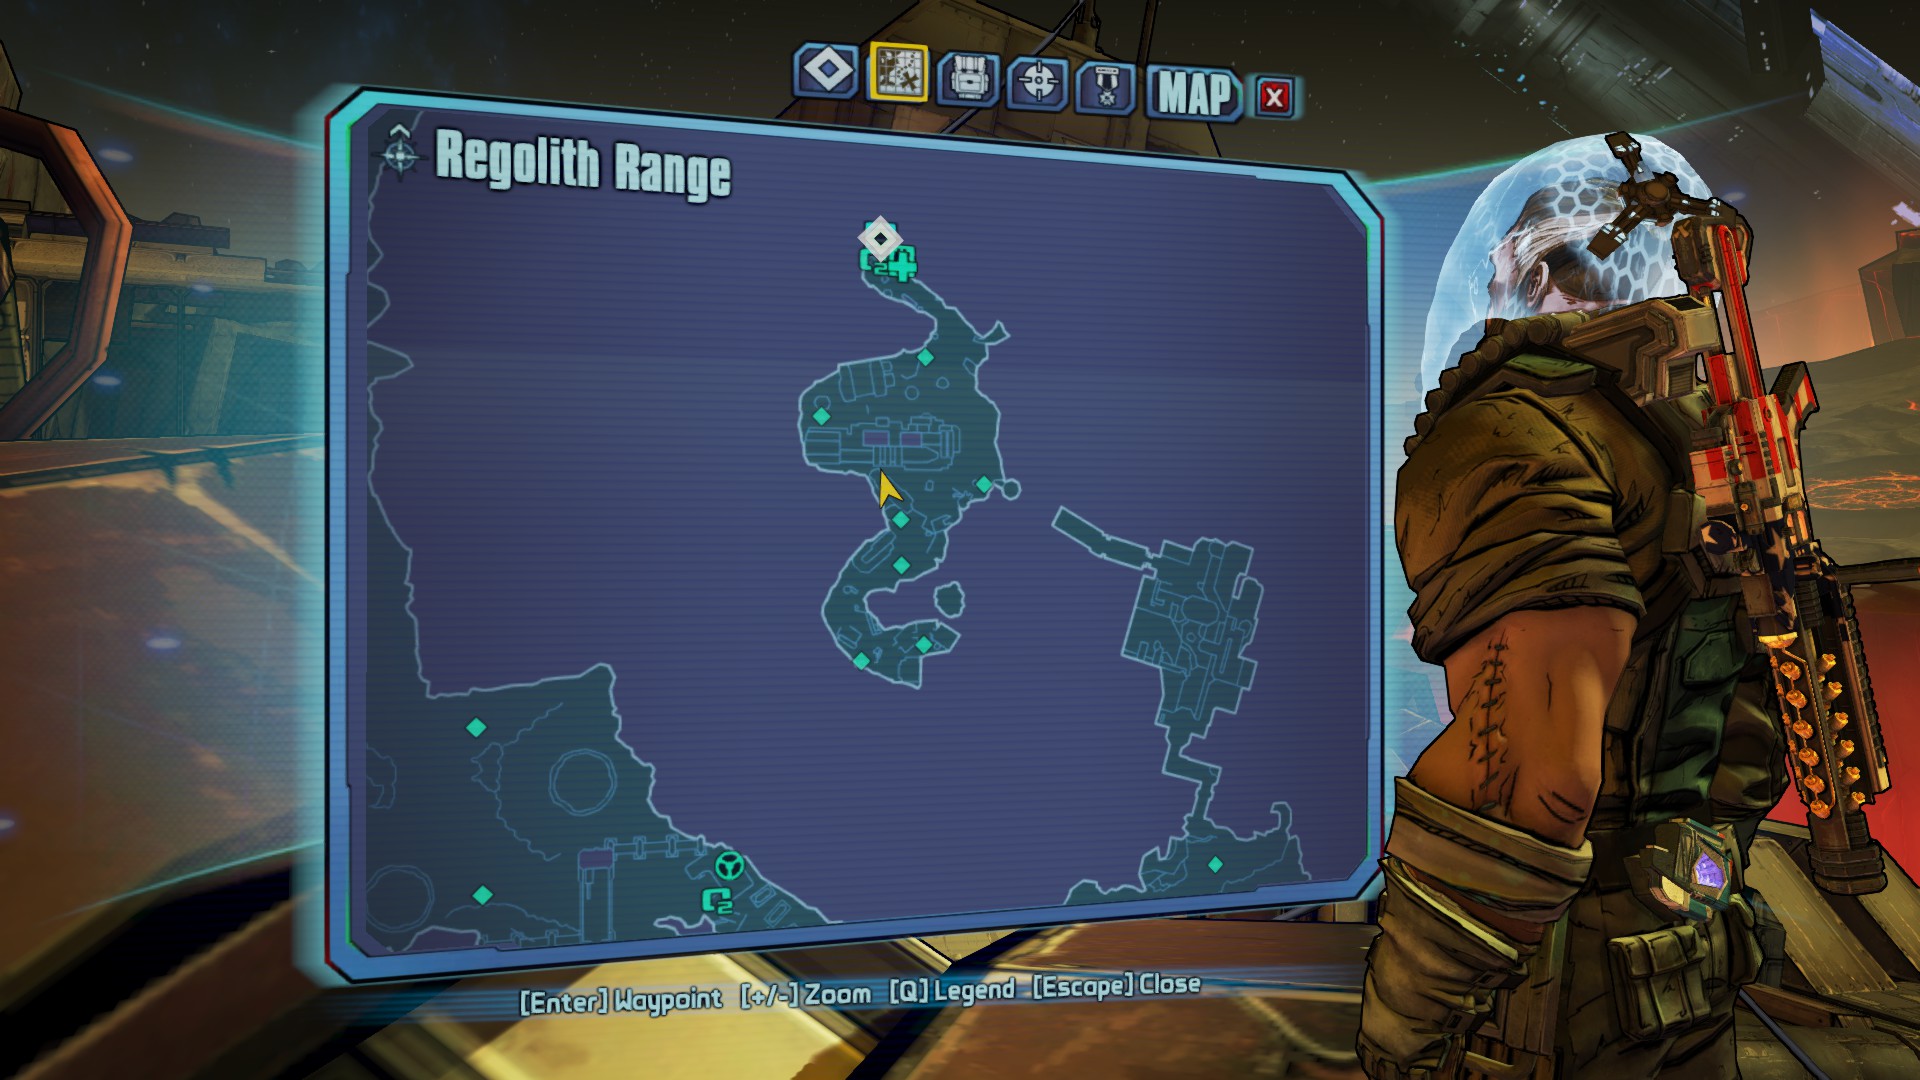


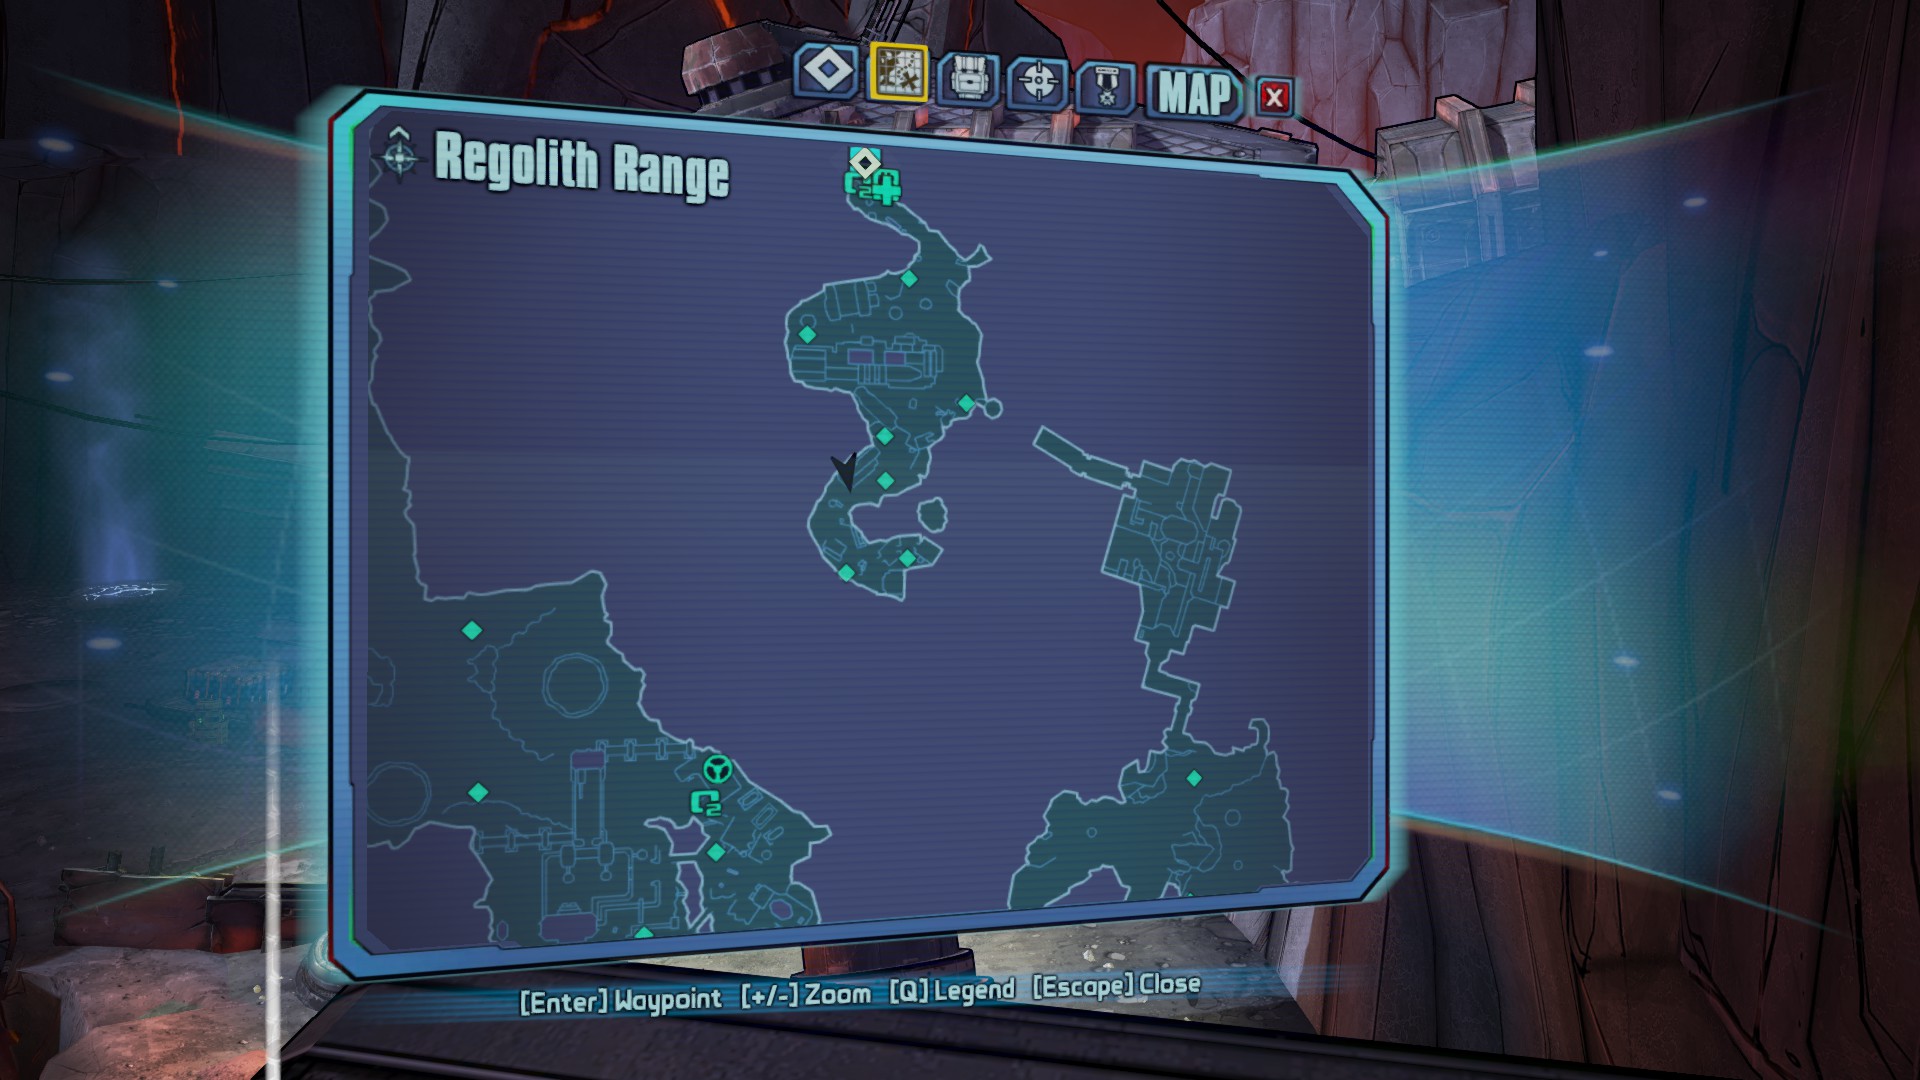

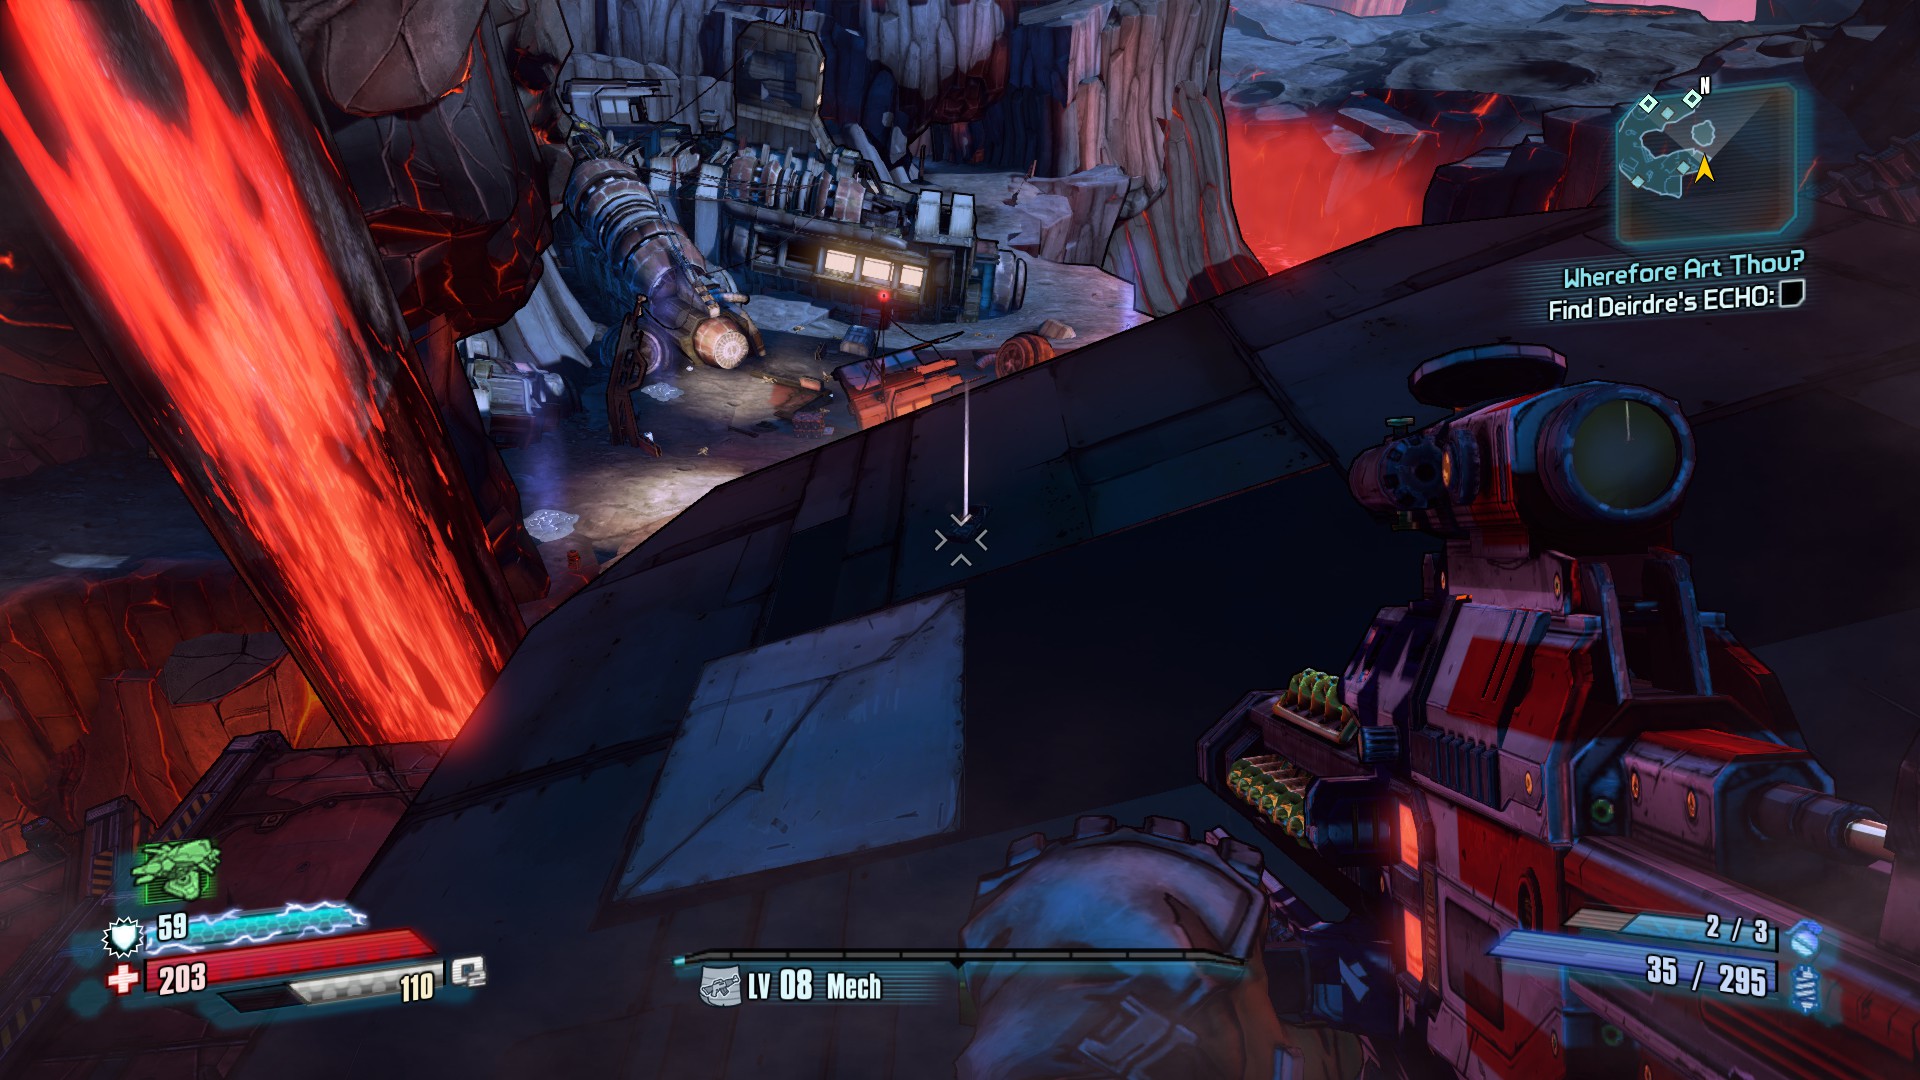
All of these ECHOs are really easy to find as they're close together in a small area. They are near the entrance to Regolith Range, before you use the jump-pad to Deadlift's base.
1. The first ECHO is just to your right after you exit the cave that is the entryway. There's a medium sized brown structure opposite where the enemies attack from. The ECHO is located on top of the east rooftop of the structure.
2. The second ECHO is also near the entrance, to the south side of the large structure, on top of a slanted medium sized building.
3. The third ECHO is just a short jaunt south, on top of the grey wreckage. If you get to the fuse relay, you've gone too far.
4. The last ECHO is above the fusebox, on top of the wreckage. Double jump from on top of the box over to the roof and head on up.
Regolith Range: Vault Symbols

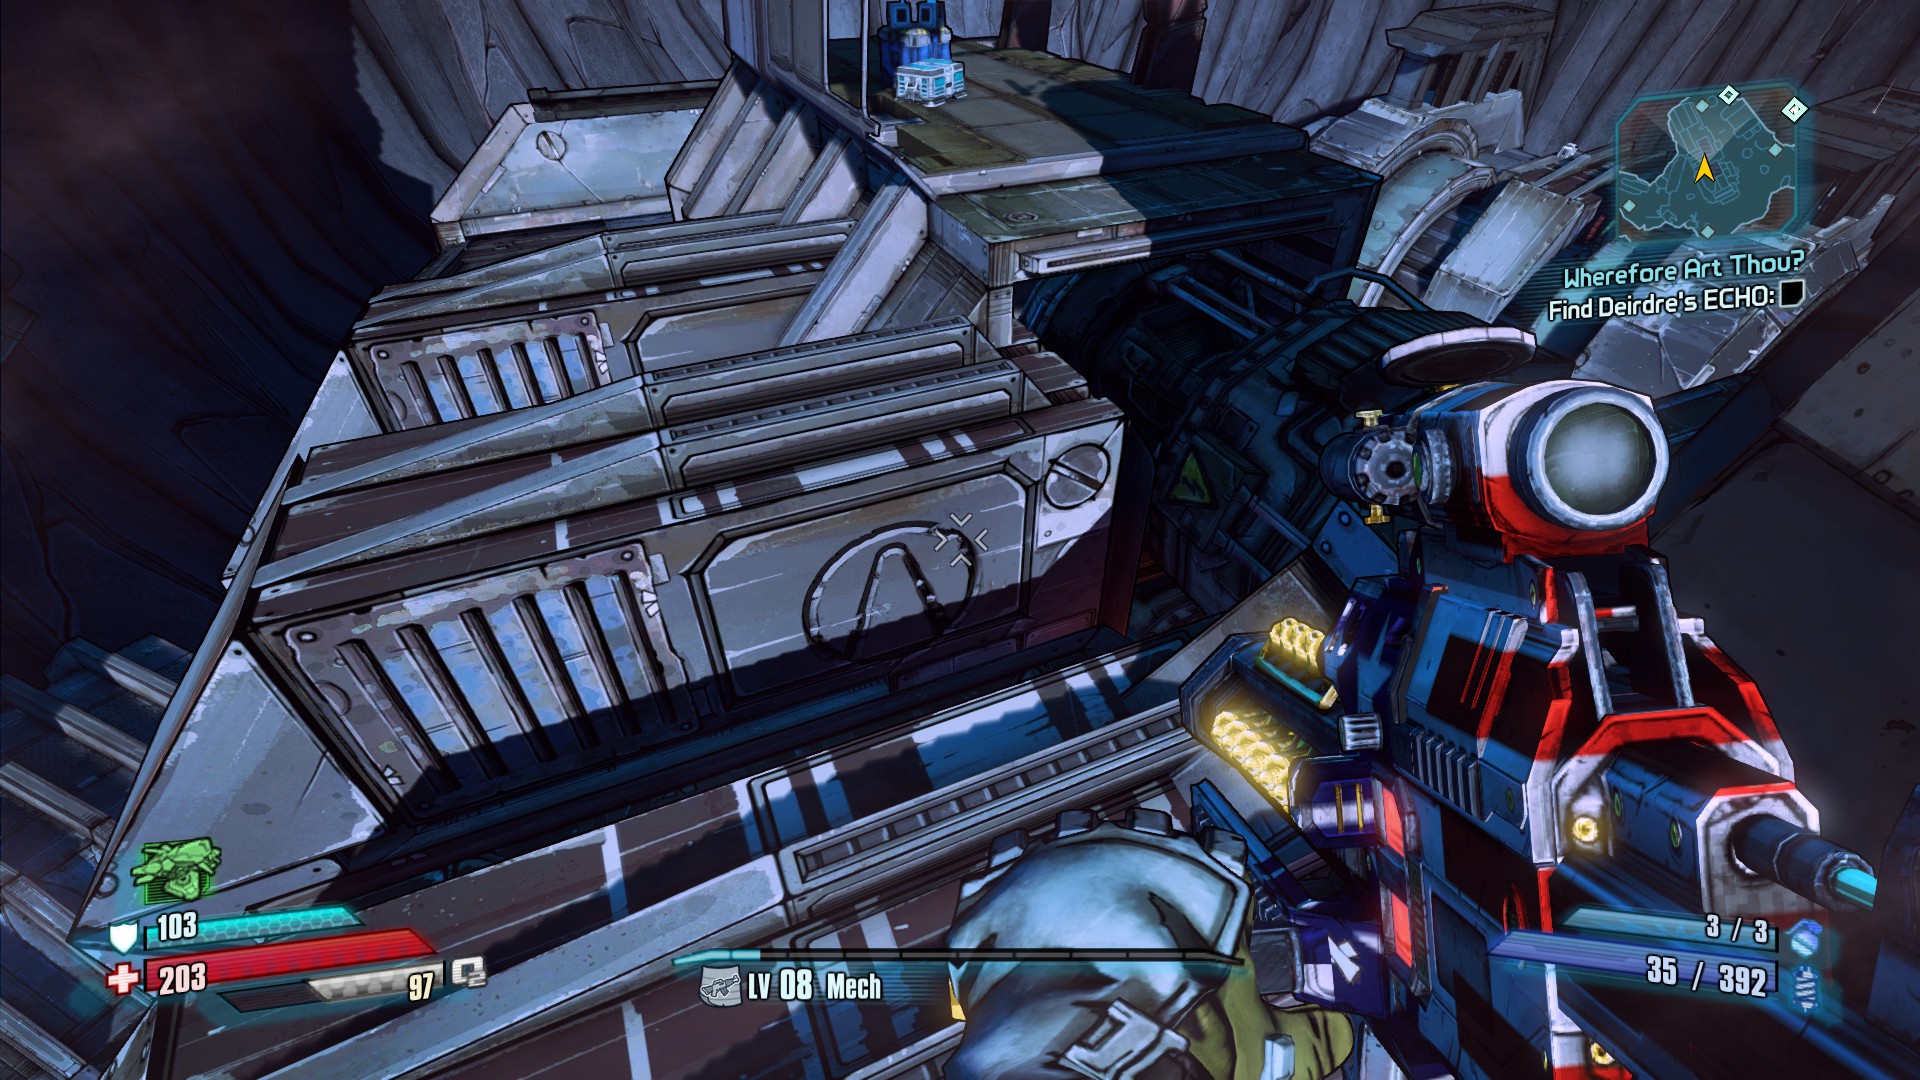


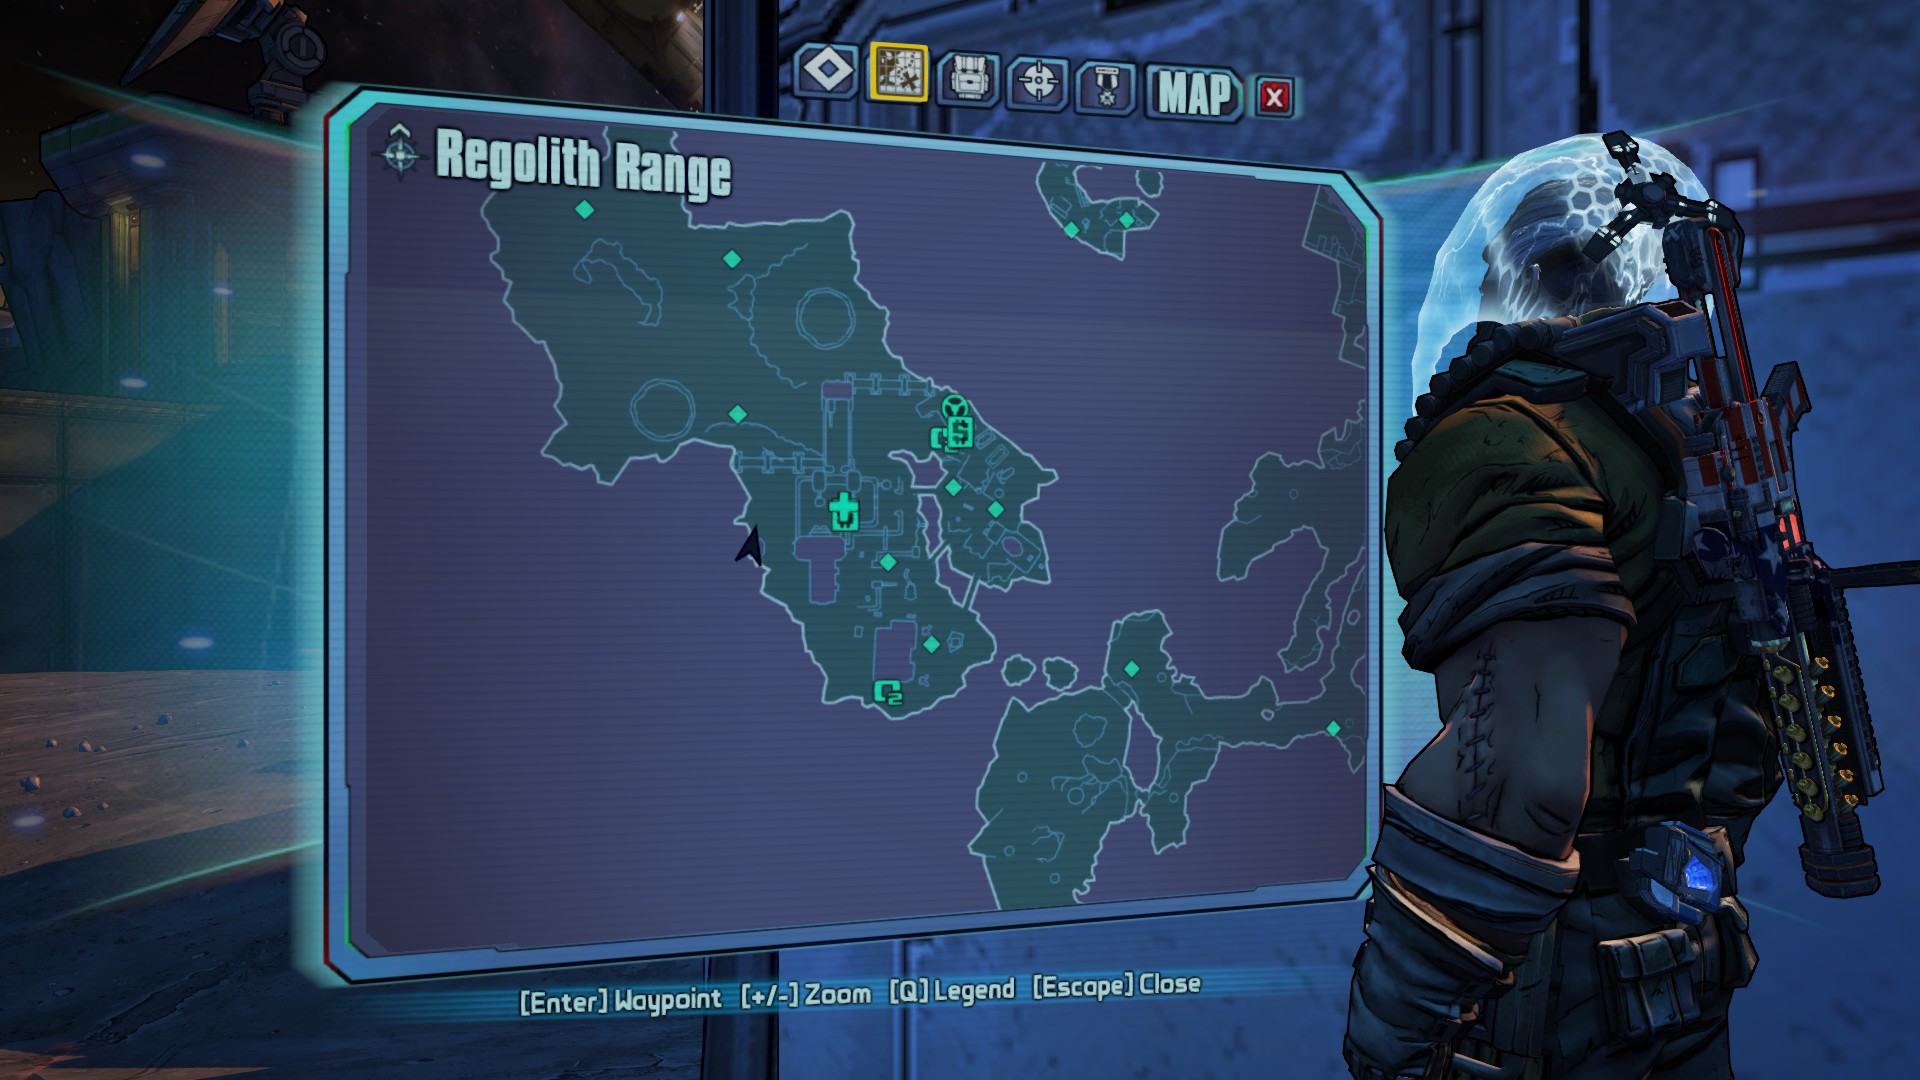

The Vault Symbols for this area are pretty spread across the area. You will find one before Deadlift, one in Kraggon Pass, and the last at Split Wound Waystation.
1. The first symbol is found shortly after entering the area. There's a large ship/building that the first wave of enemies will spawn from and attack you. On the backside of that, on the roof, you will find the symbol.
2. After exiting the airlock at Deadlift's base, head down and to your left around the ridge. You will find a section of building with a defensive cannon on it. The symbol is just to the left of the barrels.
3. The second Vault Symbol is on the west end of Split Wound Waystation in the south west section of the map. To get to it, head west along the bunker wall from Nel. Jump up on to the promontory and then face back east to see it on the side of the building. You will have to double jump from here to hit it.
Regolith Range: FR4G-TP ECHOs


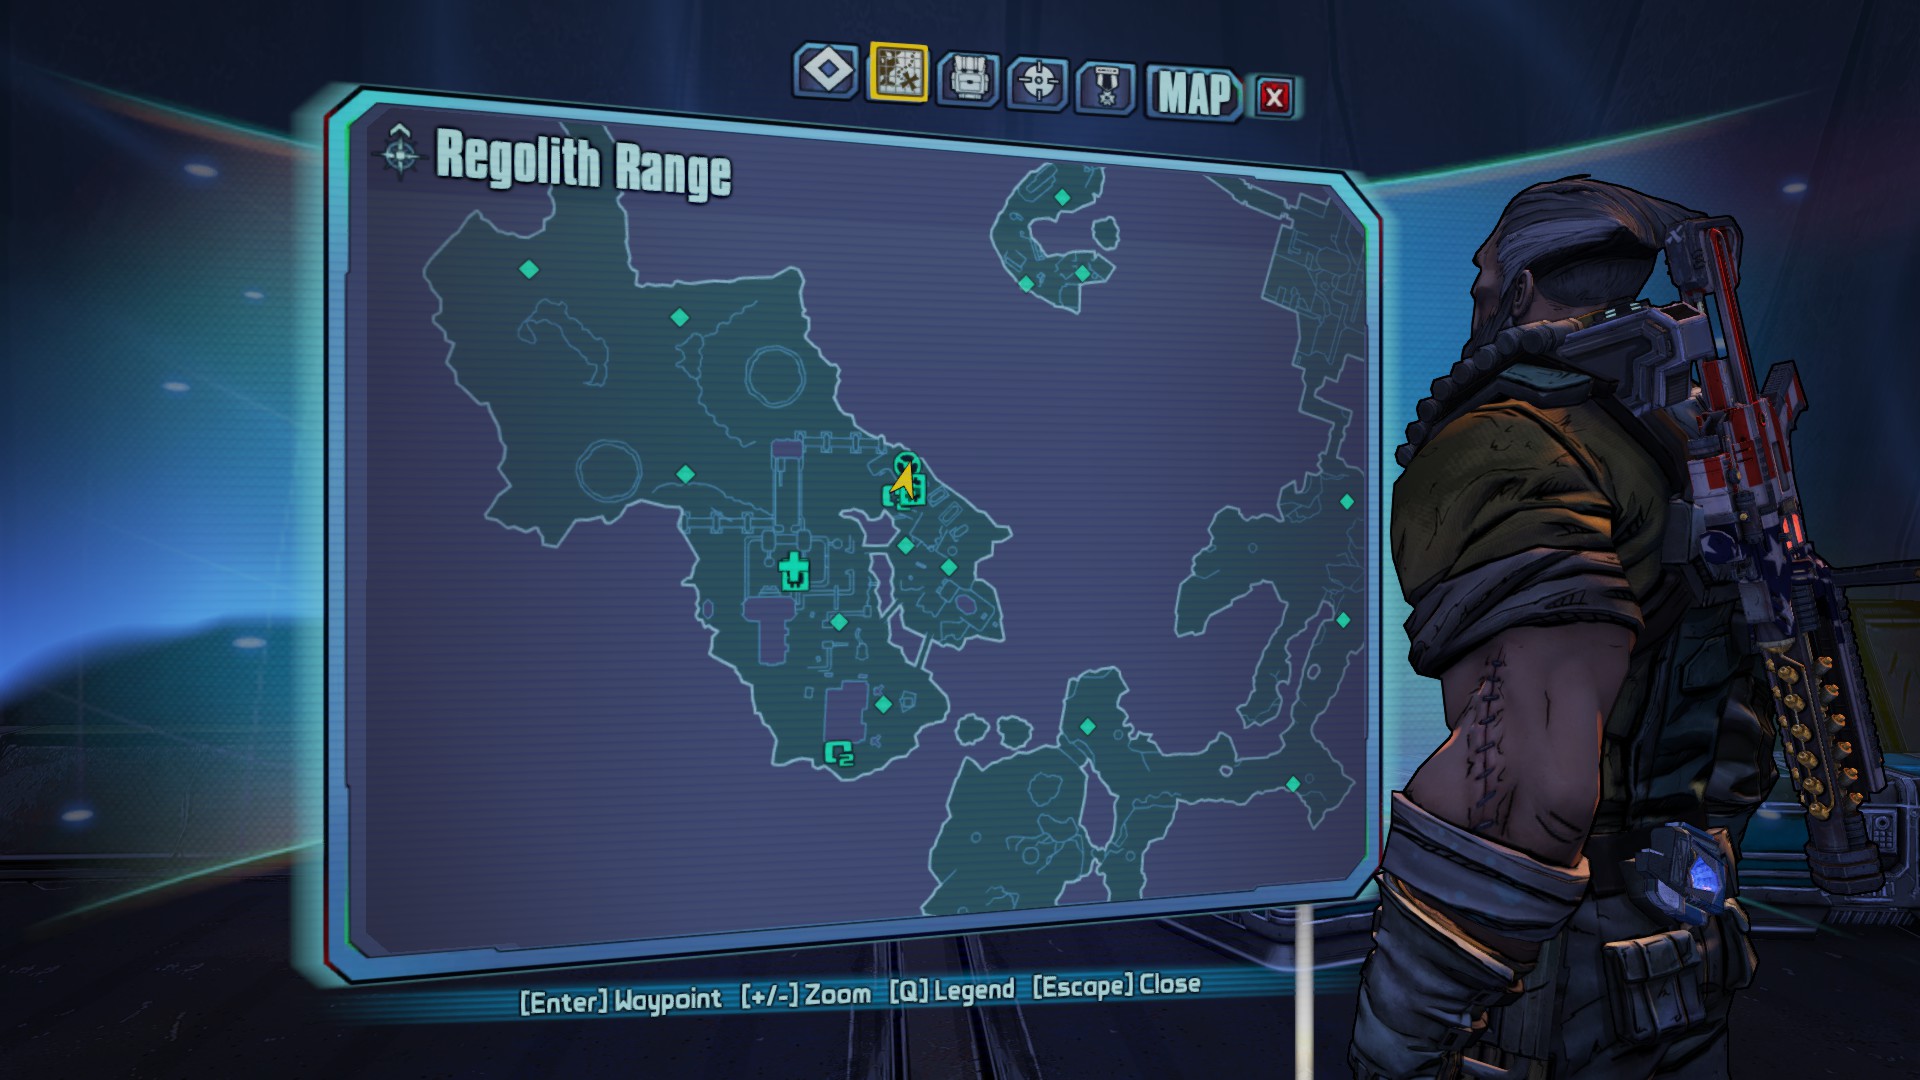


The FR4G-TP ECHOs are all located after Kraggon Pass, after you cross a large gap and start fighting Scags in Split Wound Waystation.
1. As you enter this area you will see a large sign on top of a building advertising "Split Wound Waystation". The ECHO is located behind the sign. You may have to circle around the north side of the building and use the jump-pads to gain access to it.
2. The second ECHO is almost due east of the last. It is located at the base of an antenna array towards the south east part of the area.
3. The third ECHO is on the roof of the vehicle spawn point. Just jump on top of the air generator and then bounce from it onto the building.
4. The last is just west of Nel, on top of the bunker wall.
Concordia: Vault Symbols
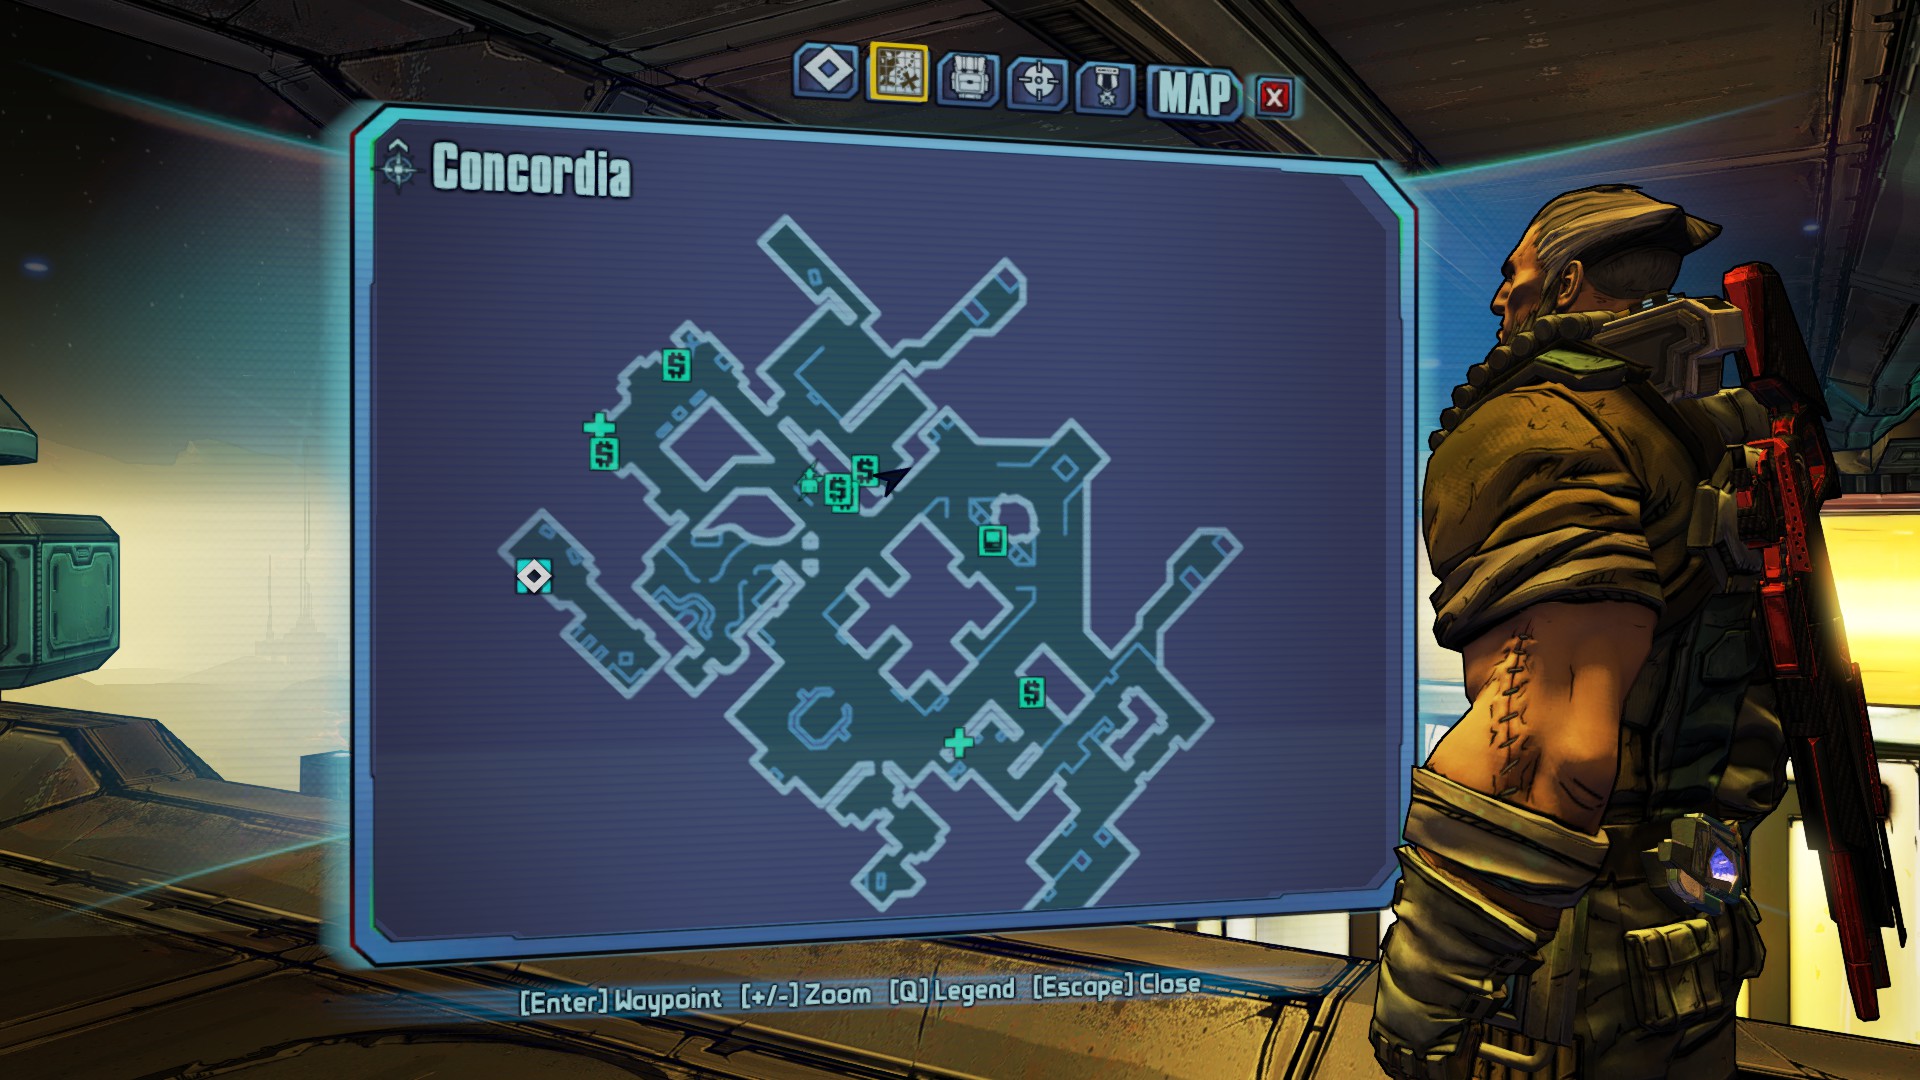


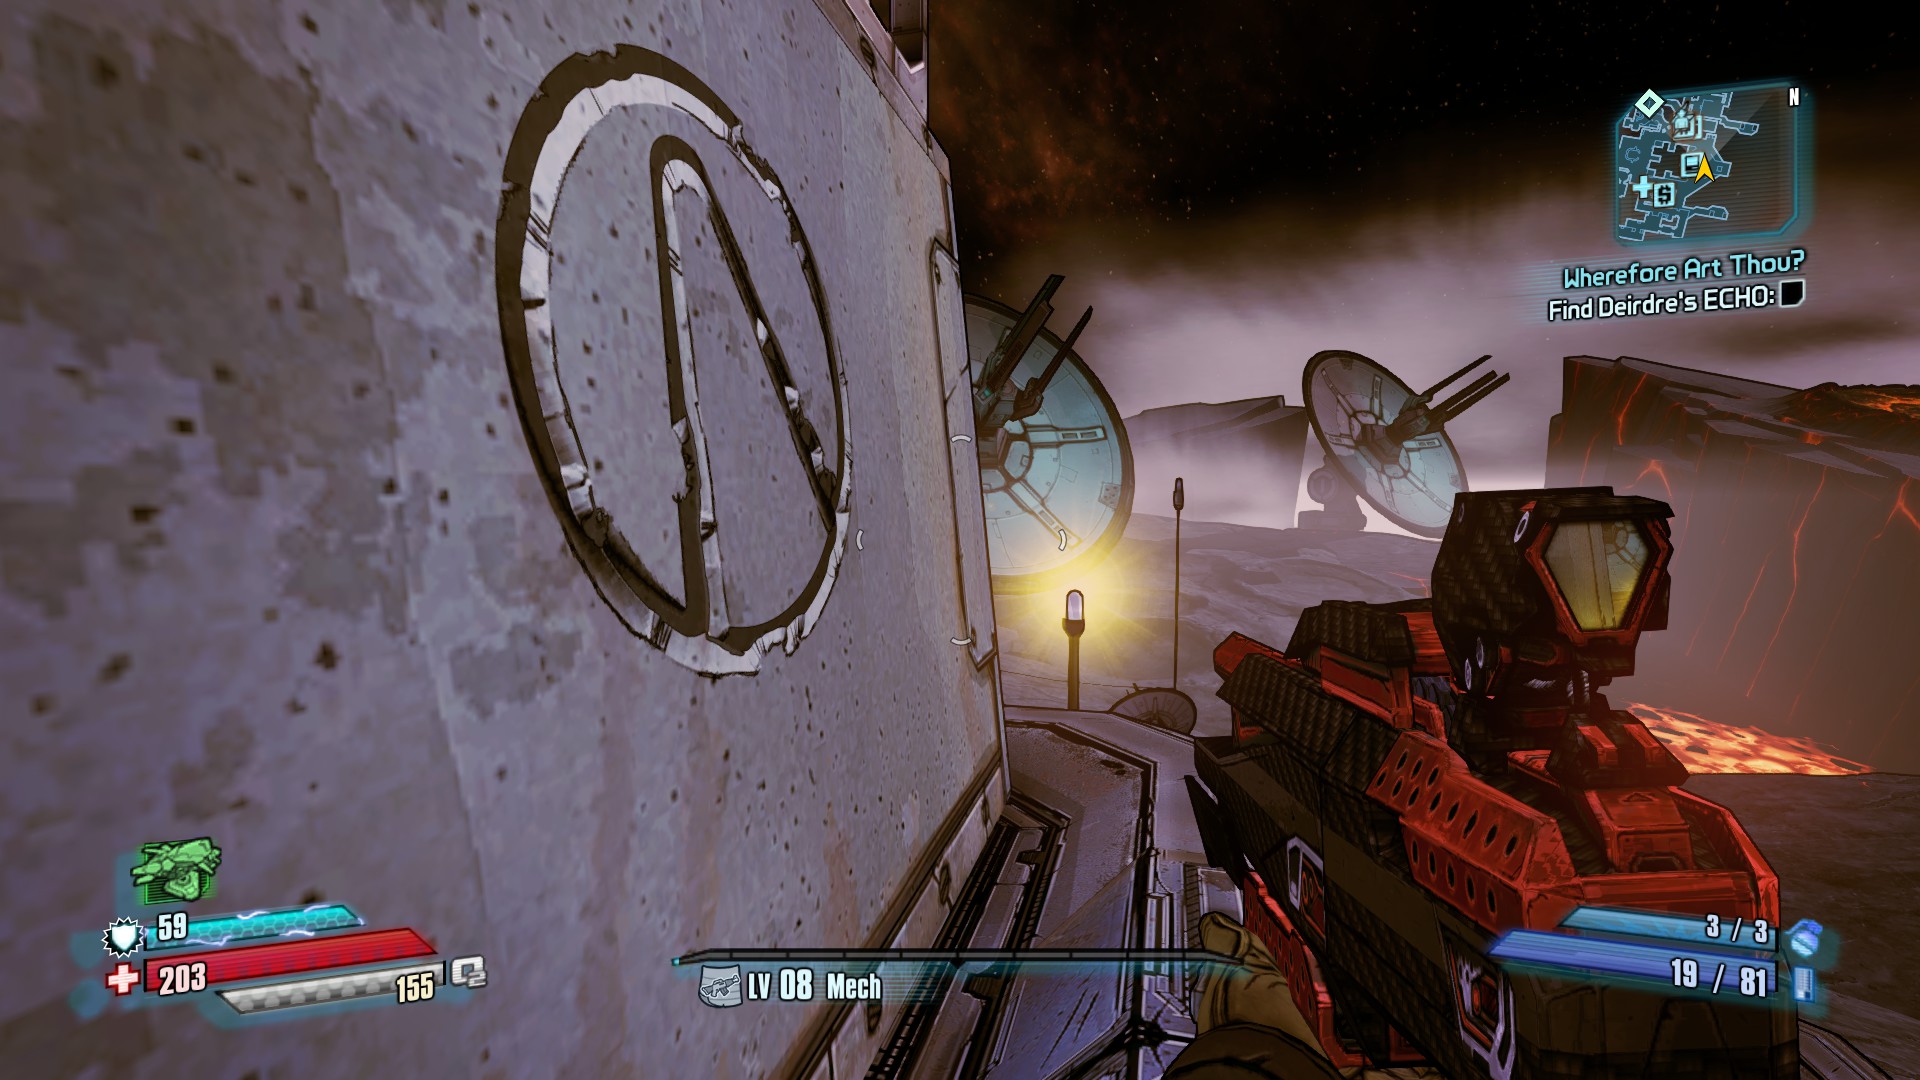


All three symbols in Concordia are accessed via the rooftops. The easiest route there is from the west ship bay on the northeast side of town. There's a stairway that wraps up outside of it and gives easy access to the defensive guns.
1. The first symbol is near where you get onto the rooftops. It can be found behind a sign advertising "Springs' STUFF".
2. The second symbol is on the back side of the turret defended relay on the rooftops.
3. The last symbol is on the roof near the entrance to town. Some smooth double jumps can get you on the roof and able to backtrack.
Triton Flats: Vault Symbols


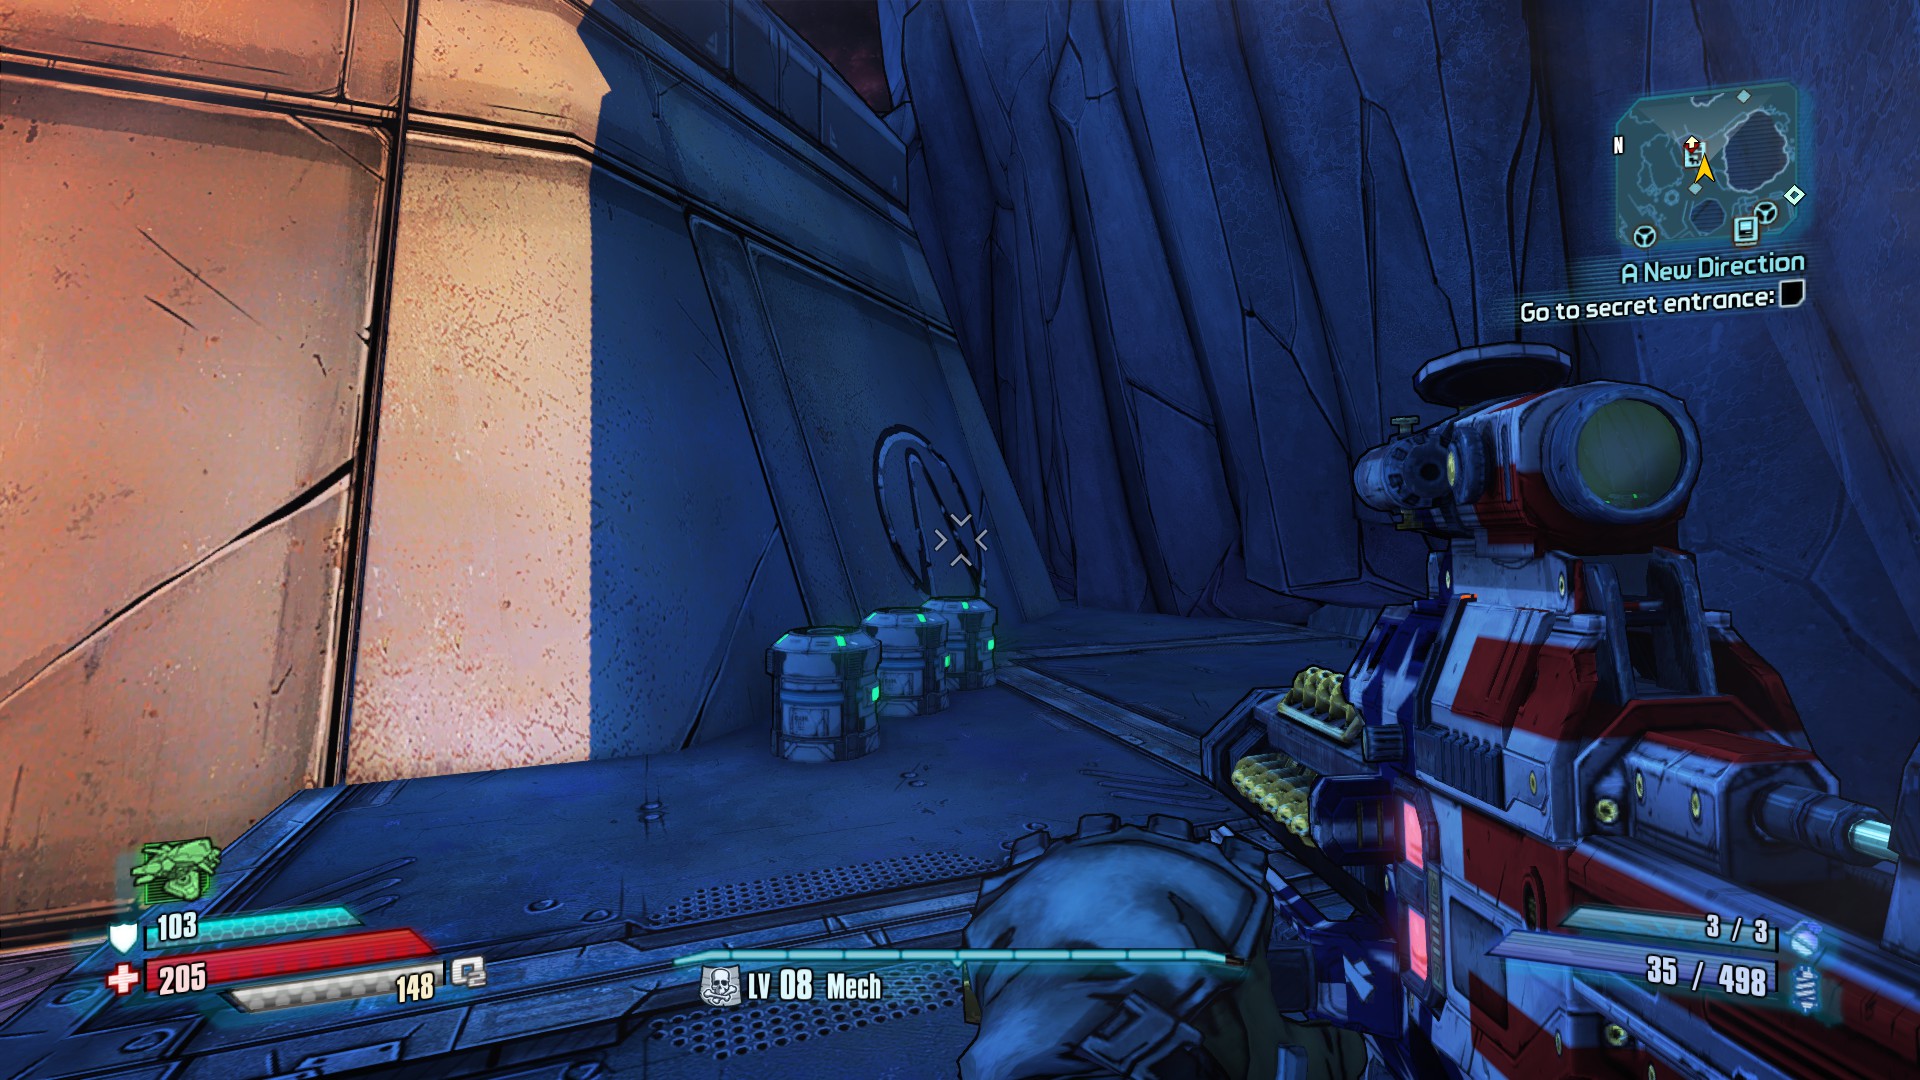


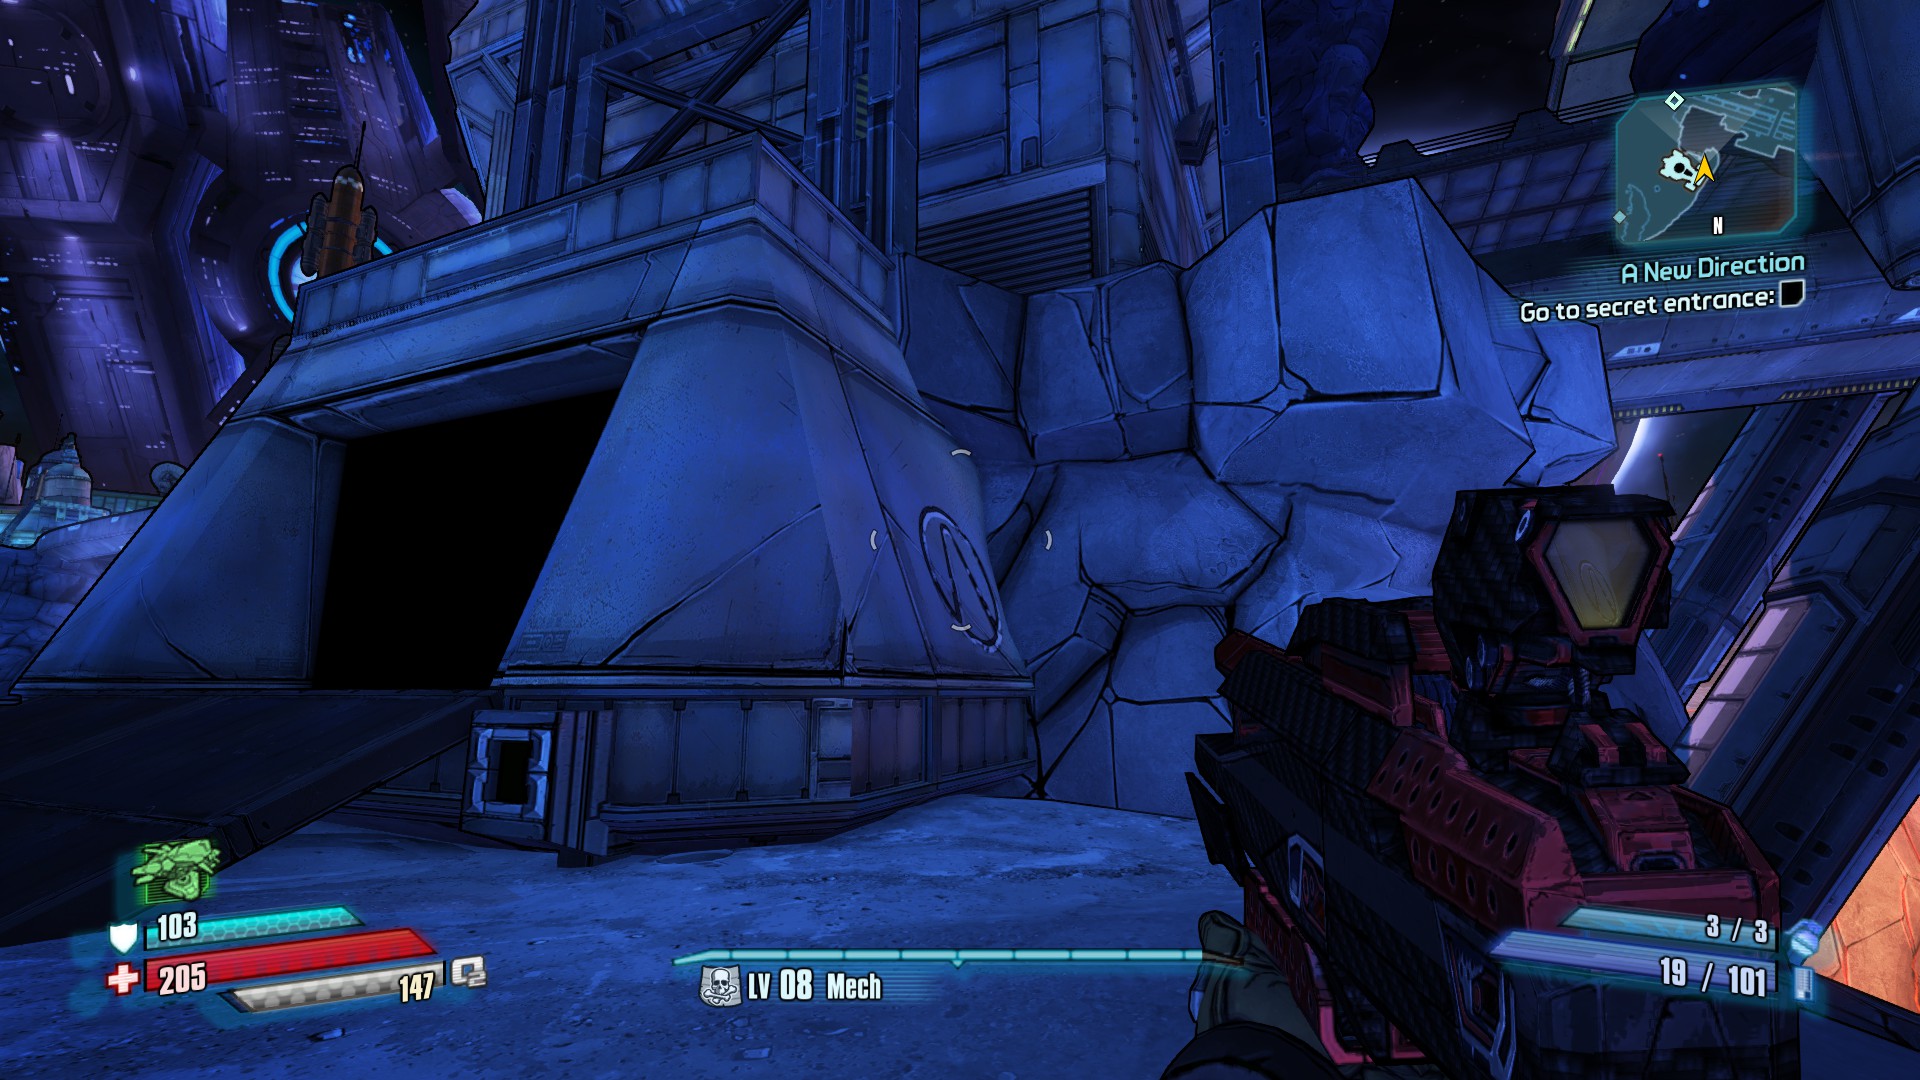
1. From where you enter Triton Flats, grab a buggy and drive south. At the very south end of the map is a building with a destroyable glass roof. The vault symbol can be found on the south wall of the outside of the building.
2. The second symbol is in the middle of the map. After you cross the bridge to the north half of the map, there is a series of buildings at the south end. In the middle of this is a section of impassable glacier (a ragged clear hole on your map). There is a building just north of that with a gun vendor. The symbol can be found just outside on the south part of the building.
3. The third vault symbol is at the very northwest tip of the map. There's a spur of railway leading off into the distance. Circle right around the north side of that building and you'll find the symbol on the wall in front of you.
Triton Flats: Wilhelm ECHOs


All of Wilhelm's ECHOS are found outside, in vehicle accessible areas, and in craters with some wreckage. It makes them easy to find once you know what to look for.
1. The first ECHO can be found in the southern half of the map, on the western edge of the main area. There's some smoking wreckage in a crater and the ECHO is found just south of it.
2. The second ECHO is still on the southern half of the map, in the upper east area. Go down an incline towards the lava river and you will see another smoking piece of wreckage in a crater.
3. Head across the bridge to the north half of the map. In the north central area will be yet another crater with wreckage, though this one is not smoking.
4. Again on the north side of the map, in the western central area is some broken rail lines and the Wreck of the Dundee. Just southwest of the Dundee is our last smoking crater and ECHO.
Triton Flats: Story ECHO
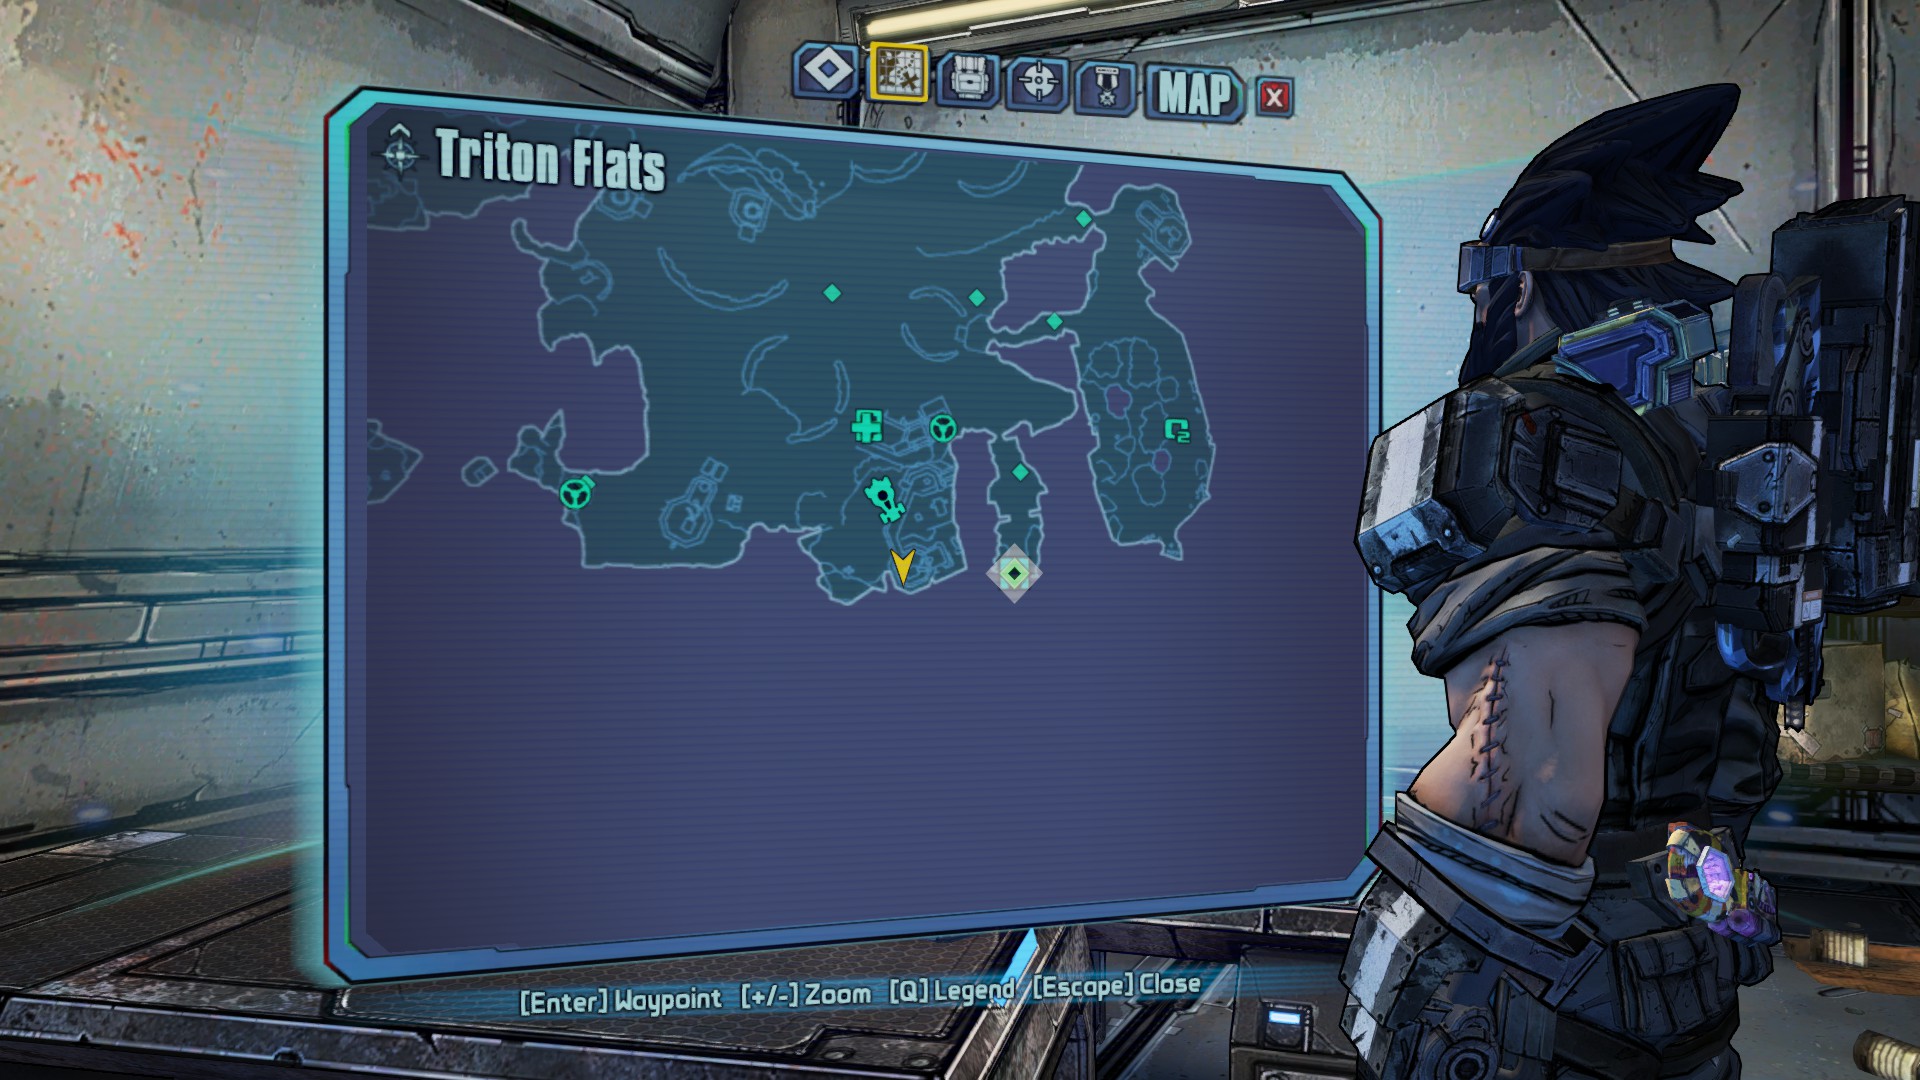

1. This ECHO isn't part of a challenge or anything, but is still amusing. Check out Banjo Point in the south part of the map. Inside a building, you'll find this on a table.
Triton Flats: Random Challenges
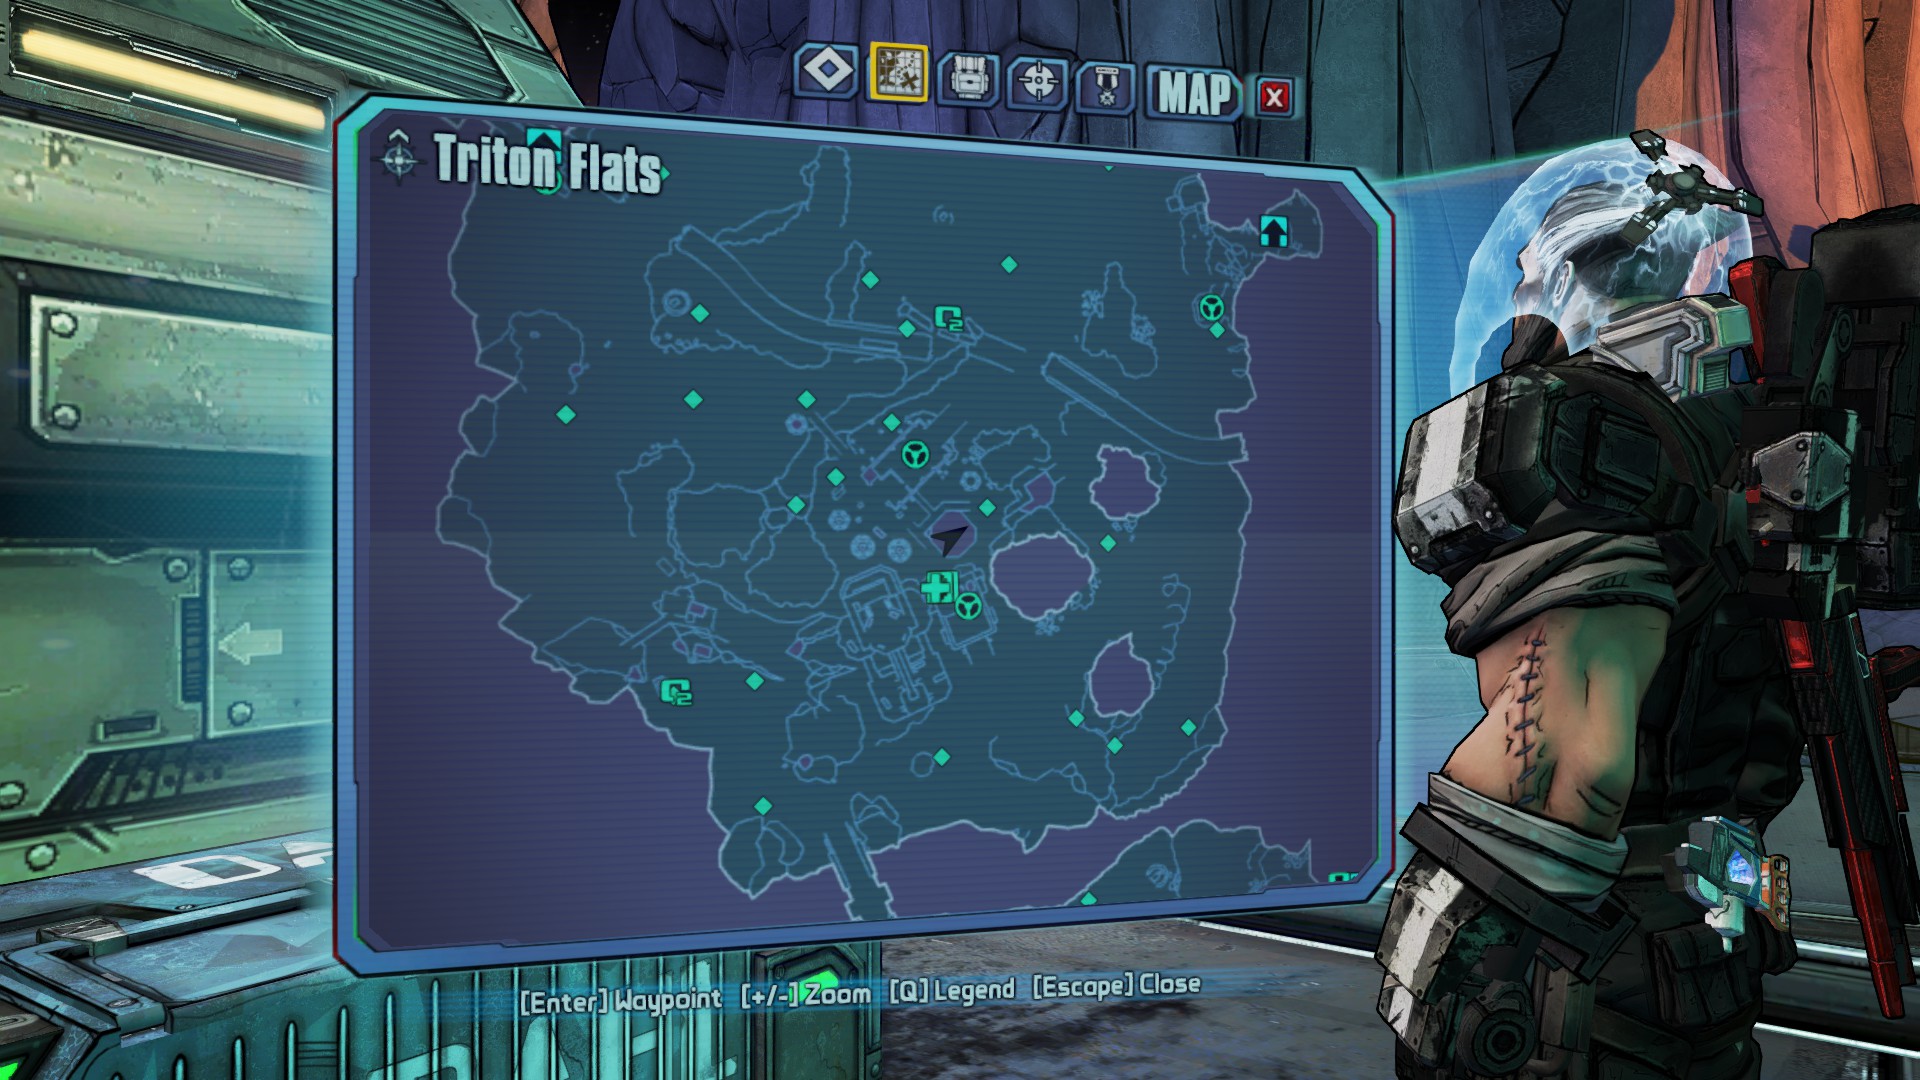

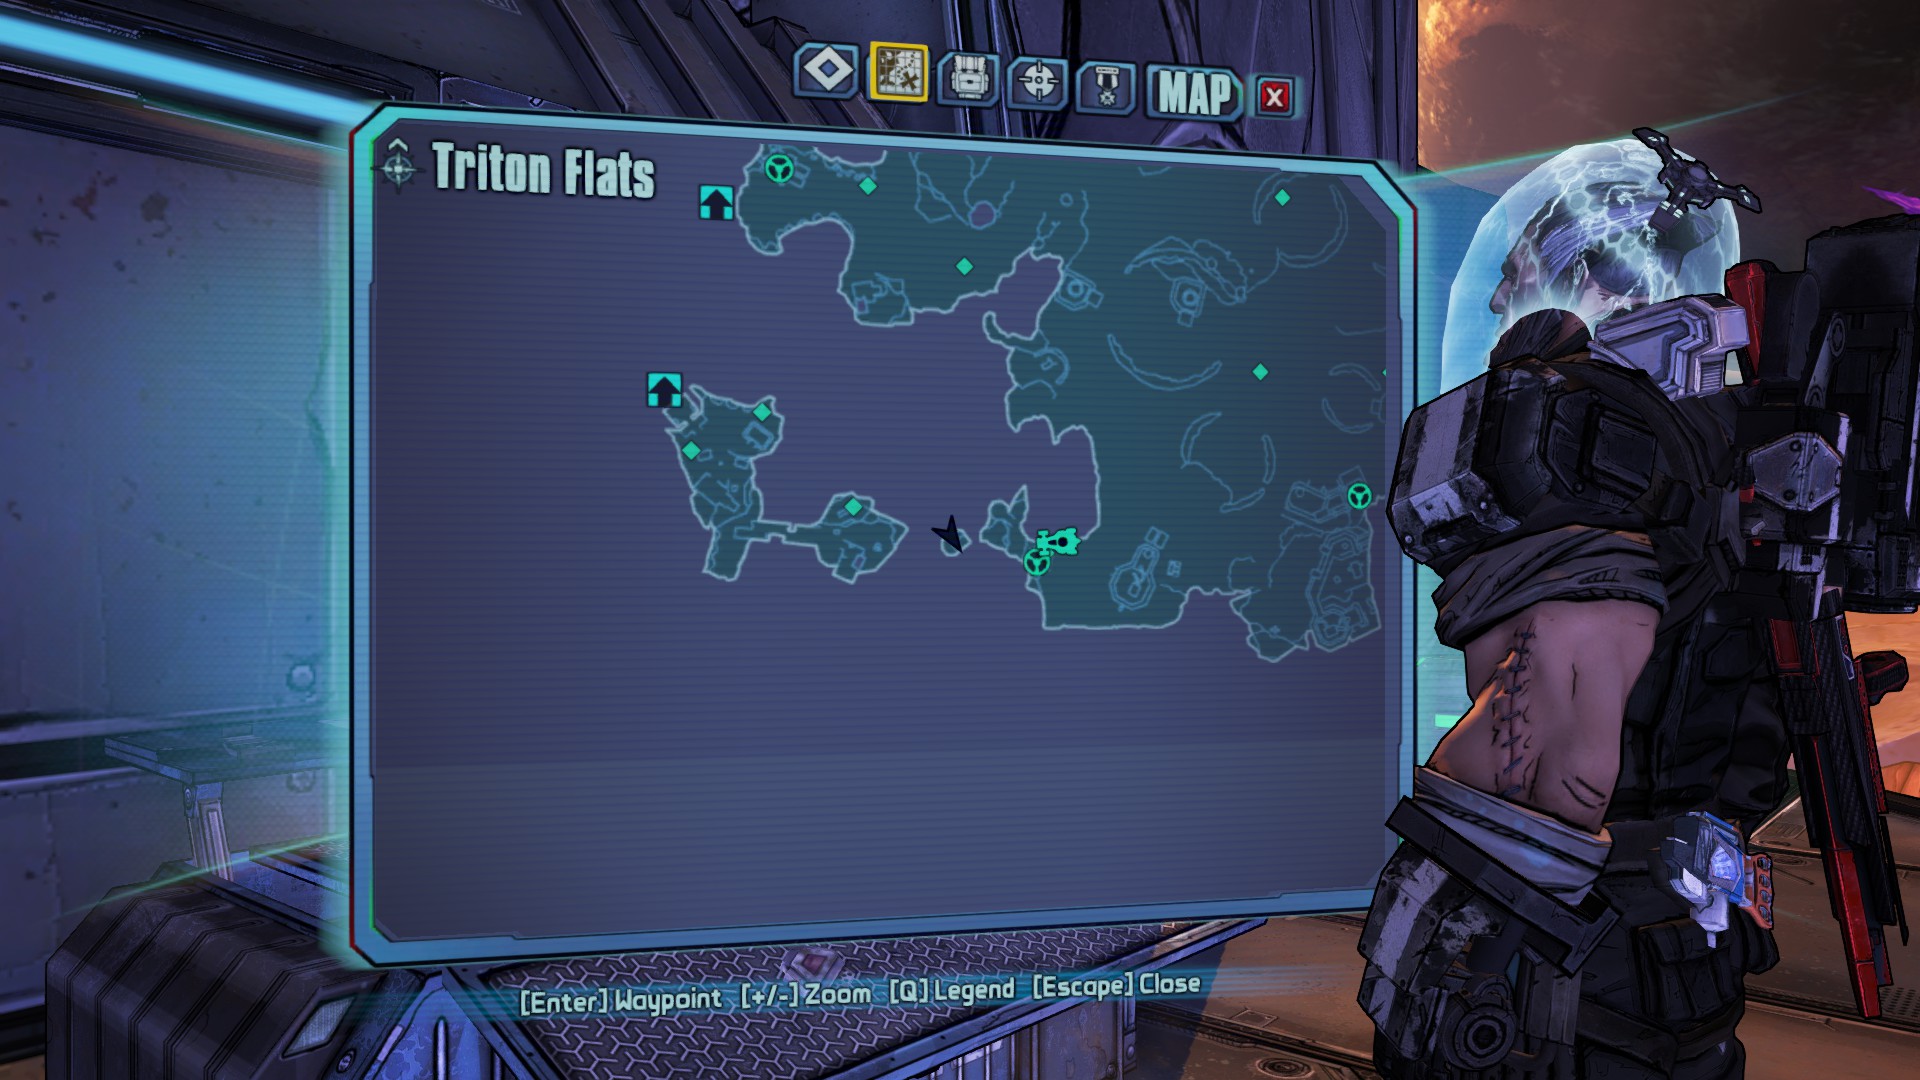

1. Leap of Faith: Head up the Darksiders' base (center of the map) to the area you fight Wally Wrong and Fair Dinkum. There will be two jump-pads that take you up to the top. As you bounce from the second pad, a well timed boost will take you to the eastern platform. (Alternatively, you can wait until the center area opens up during a later side mission.) The platform has a small extension with no railing: this is where you want to jump from. Look down and to the left (north) and you will see a shack made of metal scrap on top of a building: that is your target. You'll know you've hit it right if the shack flies apart, you complete the challenge, and you now have access to the loot chest.
2. Hidden Treasure: At the southwest side of the map, there is Flinder's Needle. You will have to progress a certain amount in the main story to open this area up. After you finish clearing the area, there is a jump-pad to send you back to the mainland. Look a bit to the right as it throws you and boost for the platform stuck to the side of a cliff. Opening the loot chest there will complete the challenge.
Crisis Scar: Vault Symbols


1. The first symbol is down to the south near where PeePot gives you a quest. There's a spur of map wrapping to the east of where he is. The symbol can be found on the ground in the middle of this spur.
2. The second symbol is also on the south end of the map but west of PeePot. There's an island in the river of lava with a chest and chair on it. After looting the chest, look behind it to find the symbol on the ground.
3. The final symbol in this area is found in the middle of the Red Belly Stronghold. There's a closed antenna dish and some ducting on the roof near the west side of the complex. If you get to the dialogue about "Tea & Death", turn around as you've passed it.
Crisis Scar: Story ECHOs
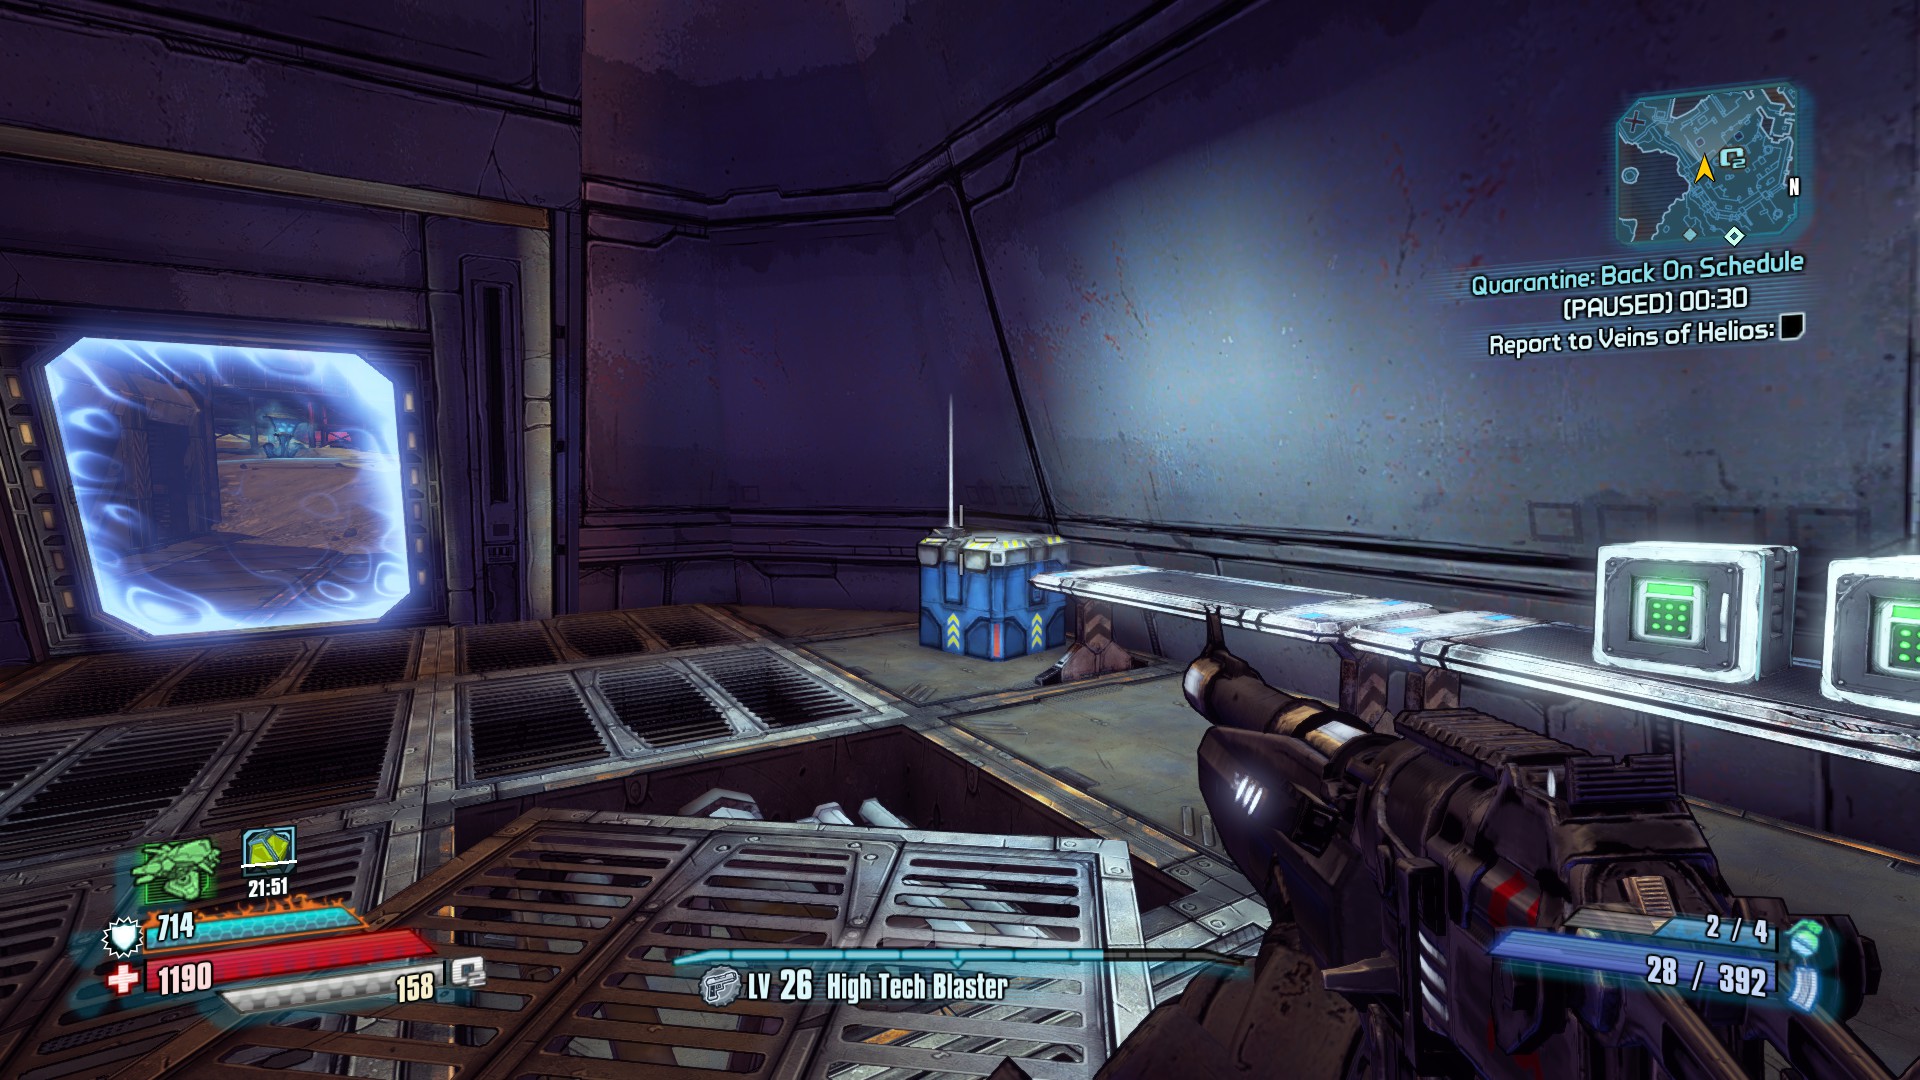


These aren't linked to any challenge, but are amusing.
1. Upon entering Red Belly Stronghold, slide along the left until you hit a room with air. The ECHO is on a table at the back.
2. After you fight a BadAss Scag in the courtyard, take the hallway leading up. Midway will be a Moon Zoomy in a repair bay. The ECHO is on a shelf in an attached room.
Stanton's Liver: Dahl ECHOs
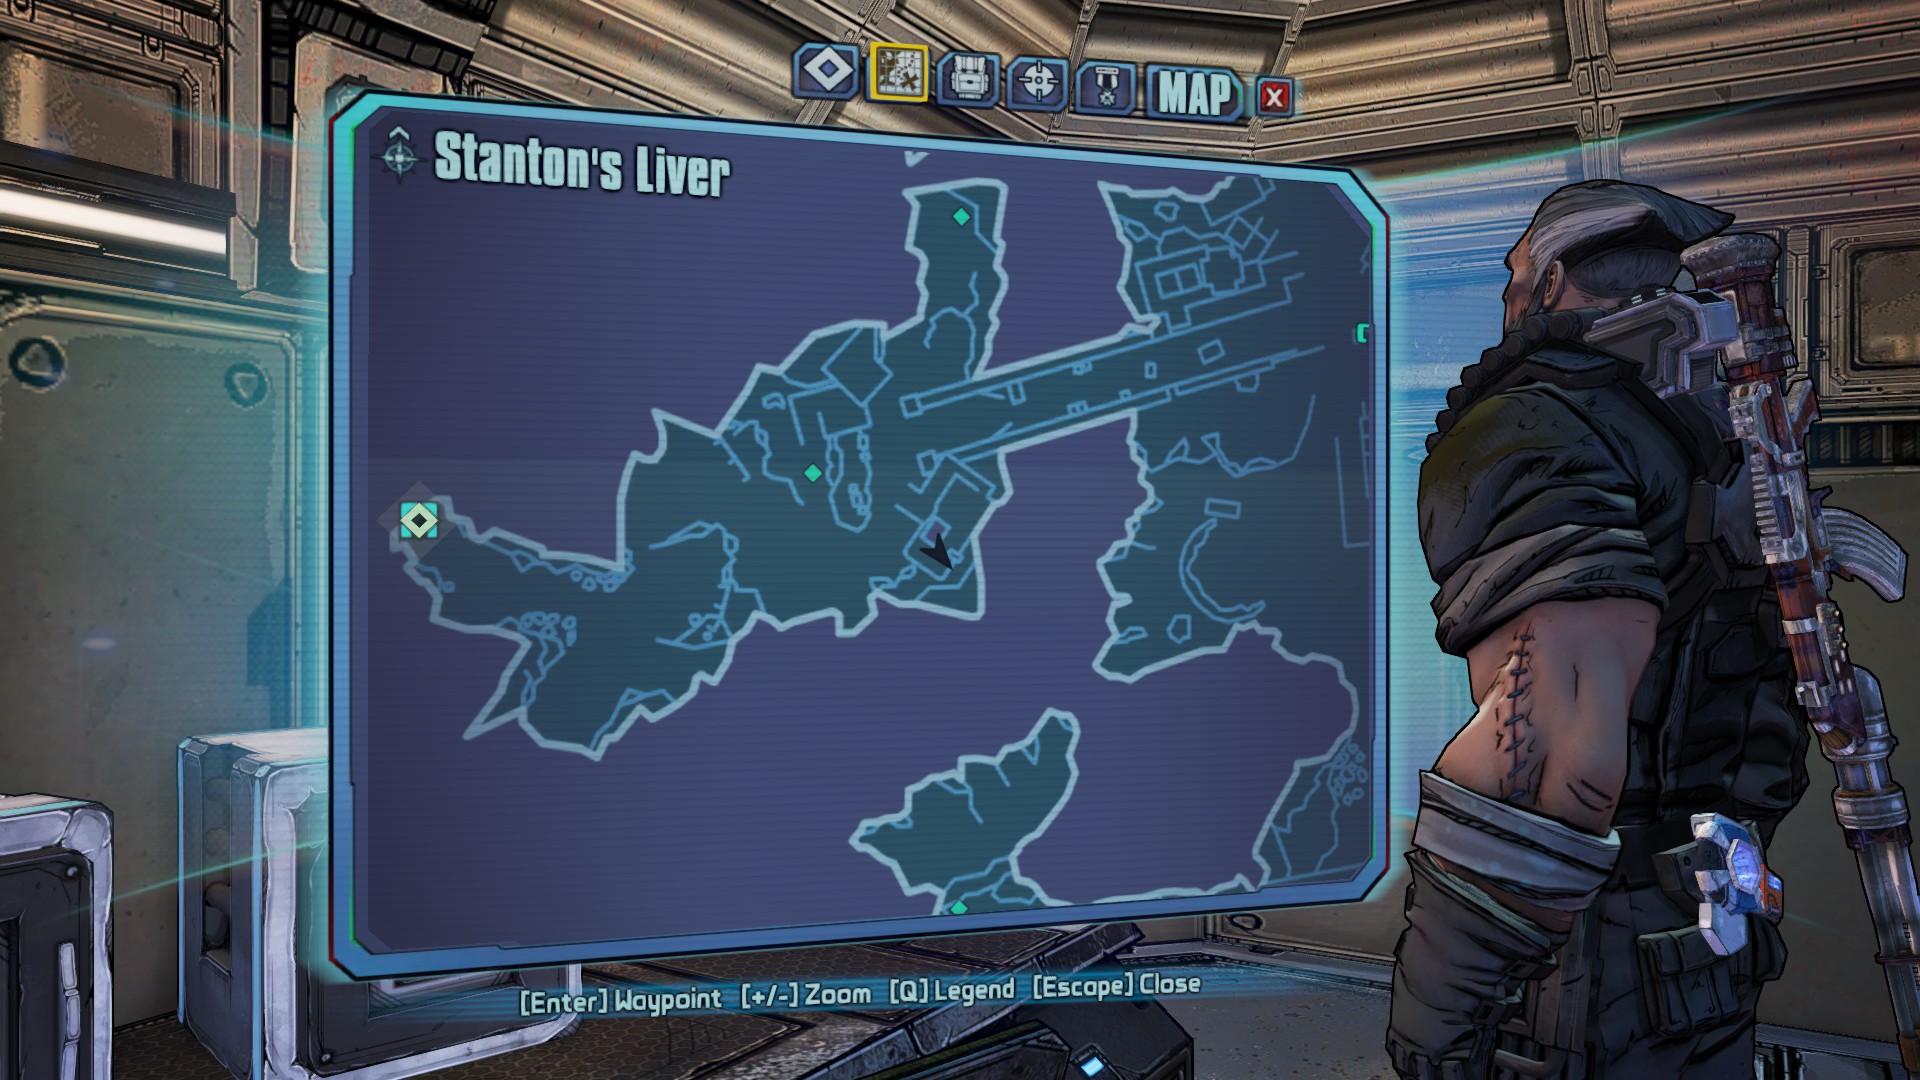

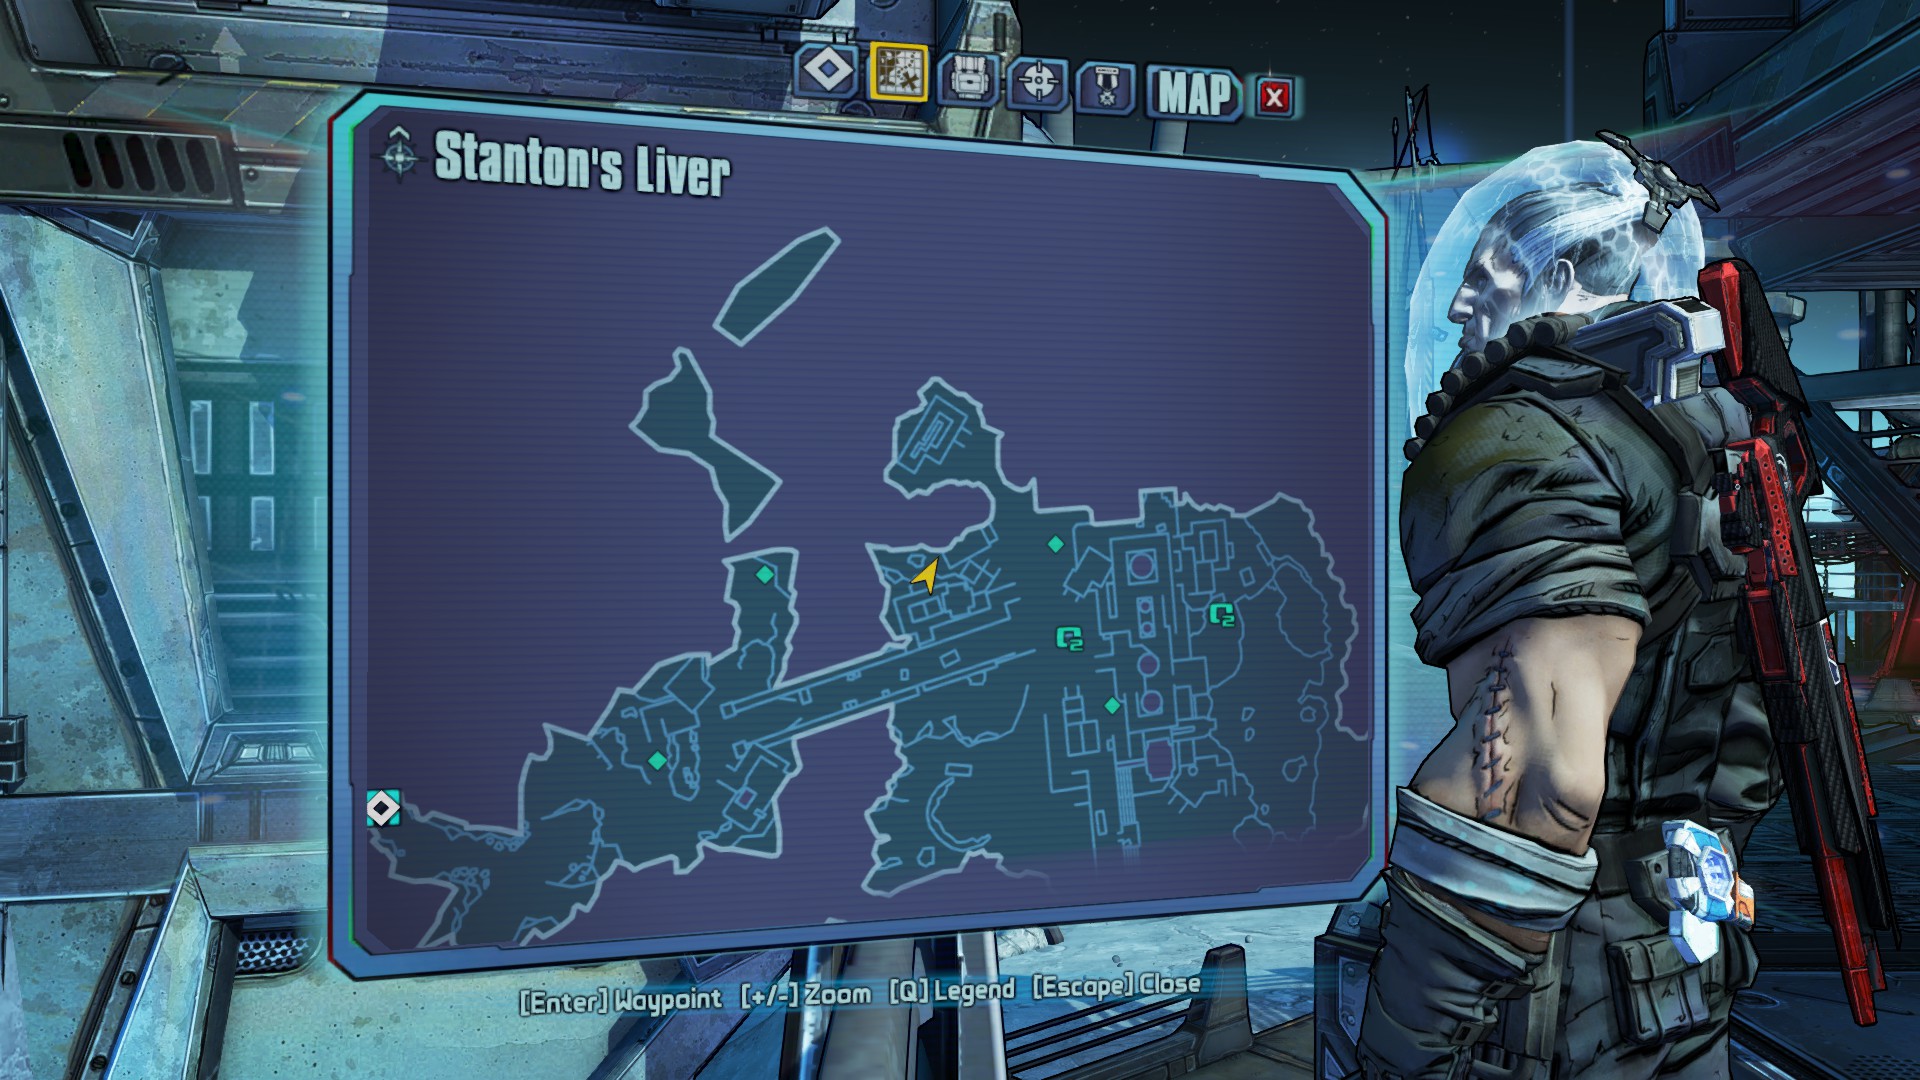
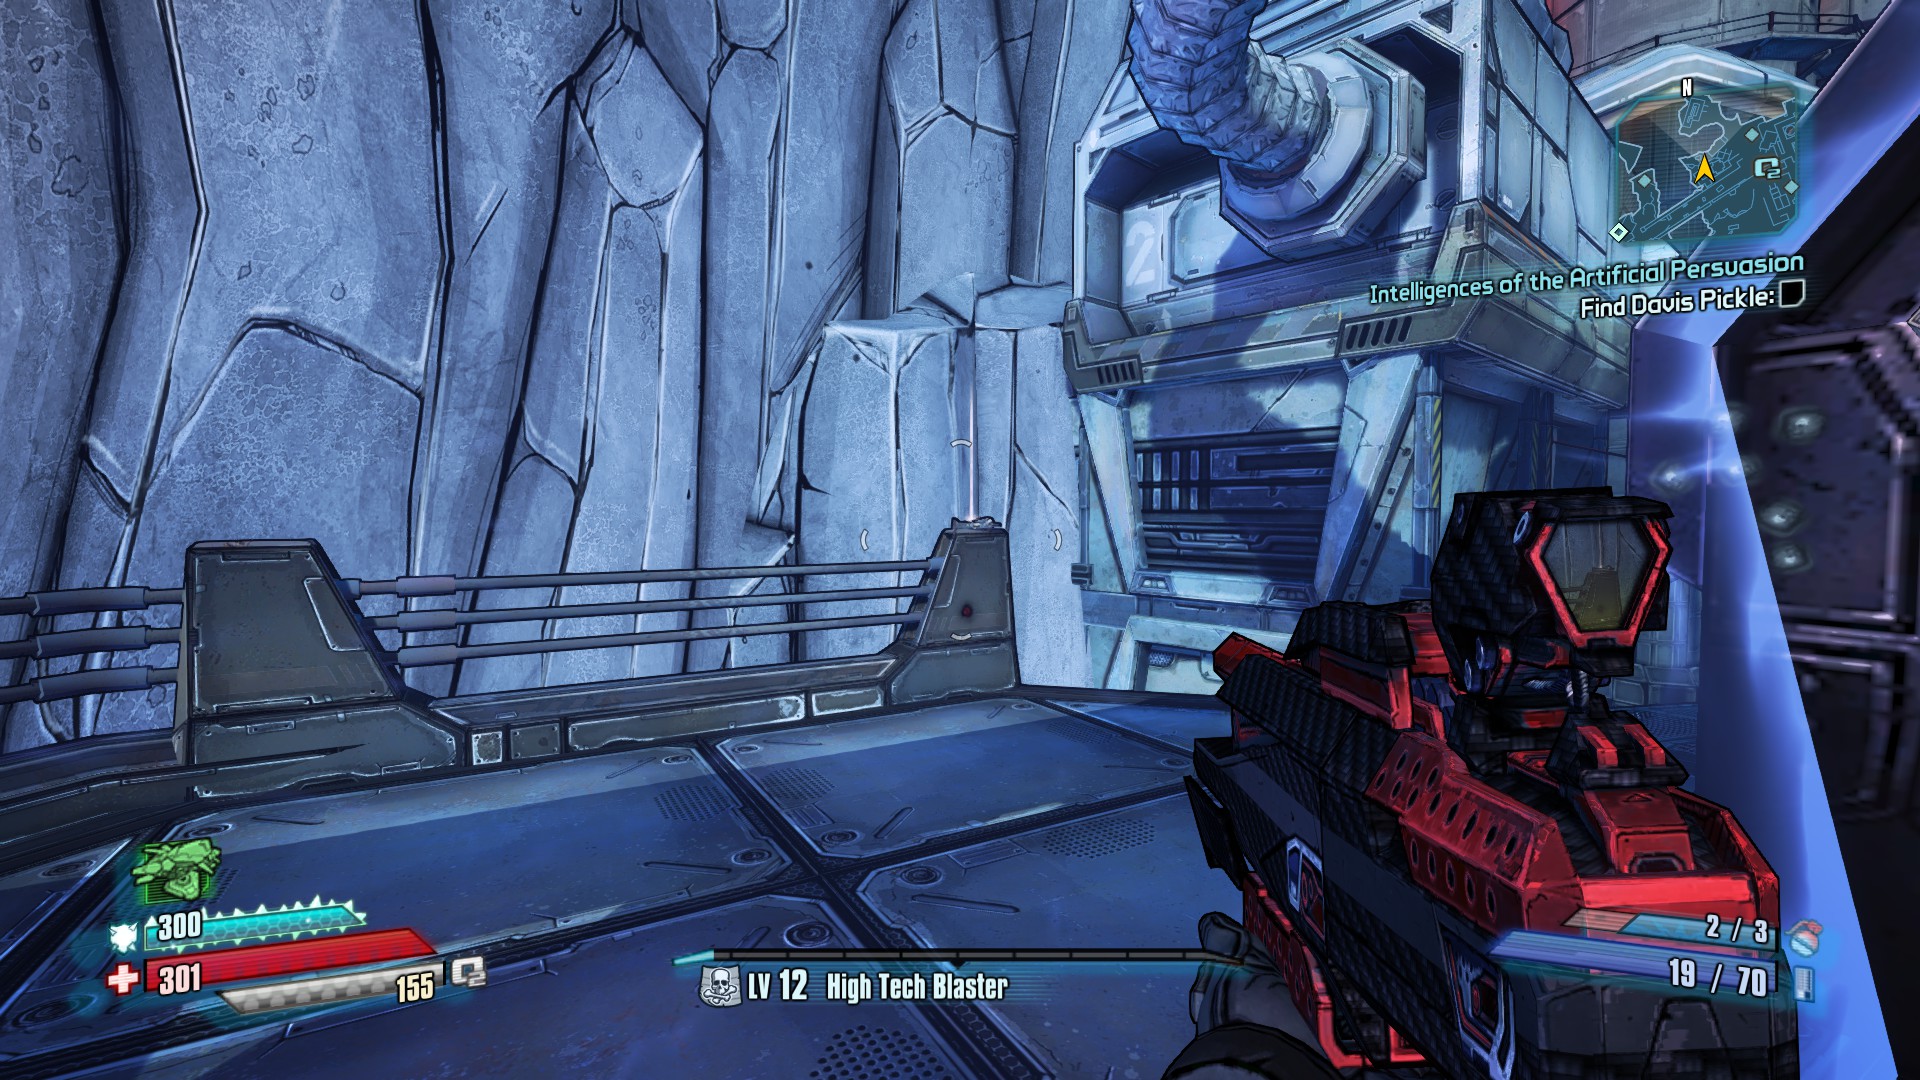


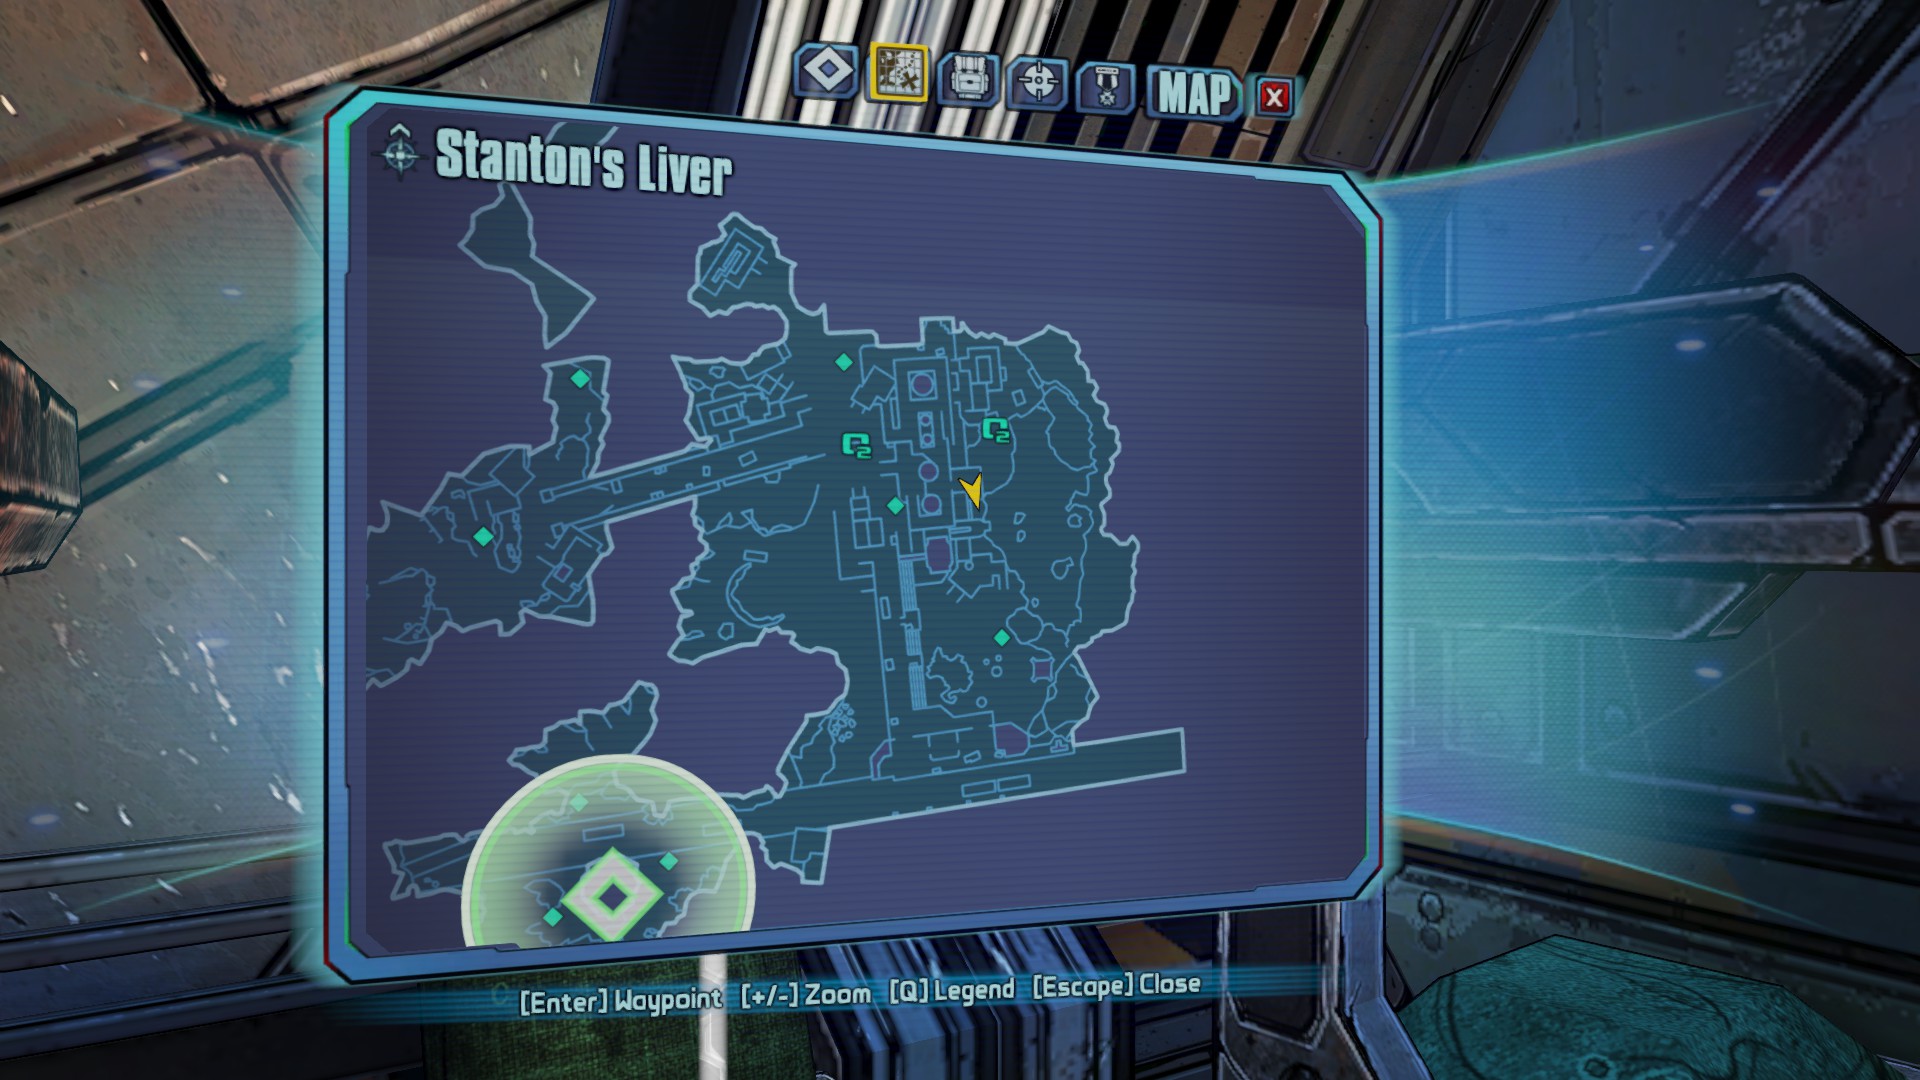

All four of these ECHOs are found in or near buildings with breathable air inside. Find the room, find the ECHO.
1. The first ECHO is near where you encounter the first wave of enemies on this level. There's a building in the middle of this area, before the bridge. The recorder is in the building and on a desk off to your right after entering.
2. After crossing the bridge into the main area, there's a large building off to the left. The ECHO is sitting on a bannister on the back side of the upper floor.
3. Head east to the main pumping station and clear the area. On the second floor at the northeast end will be a room with a balcony. The ECHO is on a shelf in this room.
4. This ECHO is in the main pumping station on the third floor. You'll know you're in the right one if it has air and a weapons chest. You'll find it to the right on a chair.
Stanton's Liver: Slam Pad
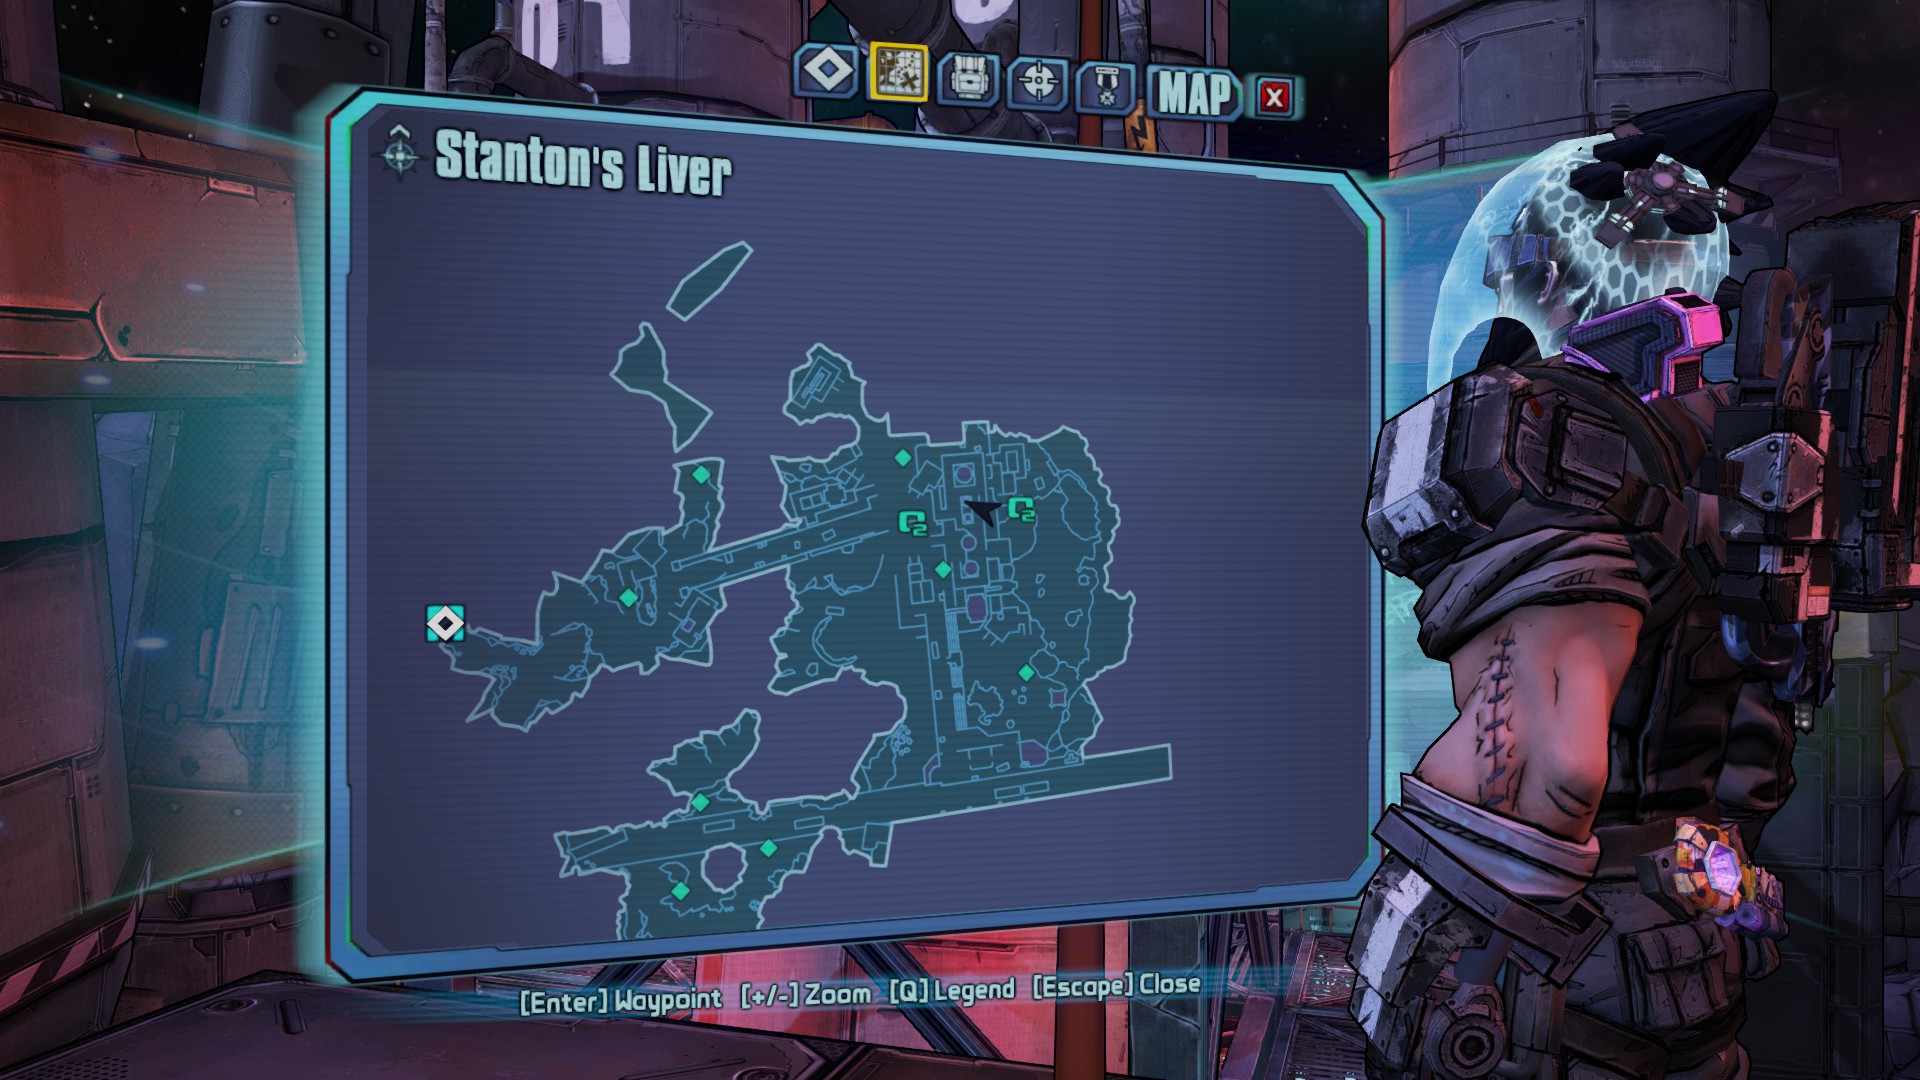
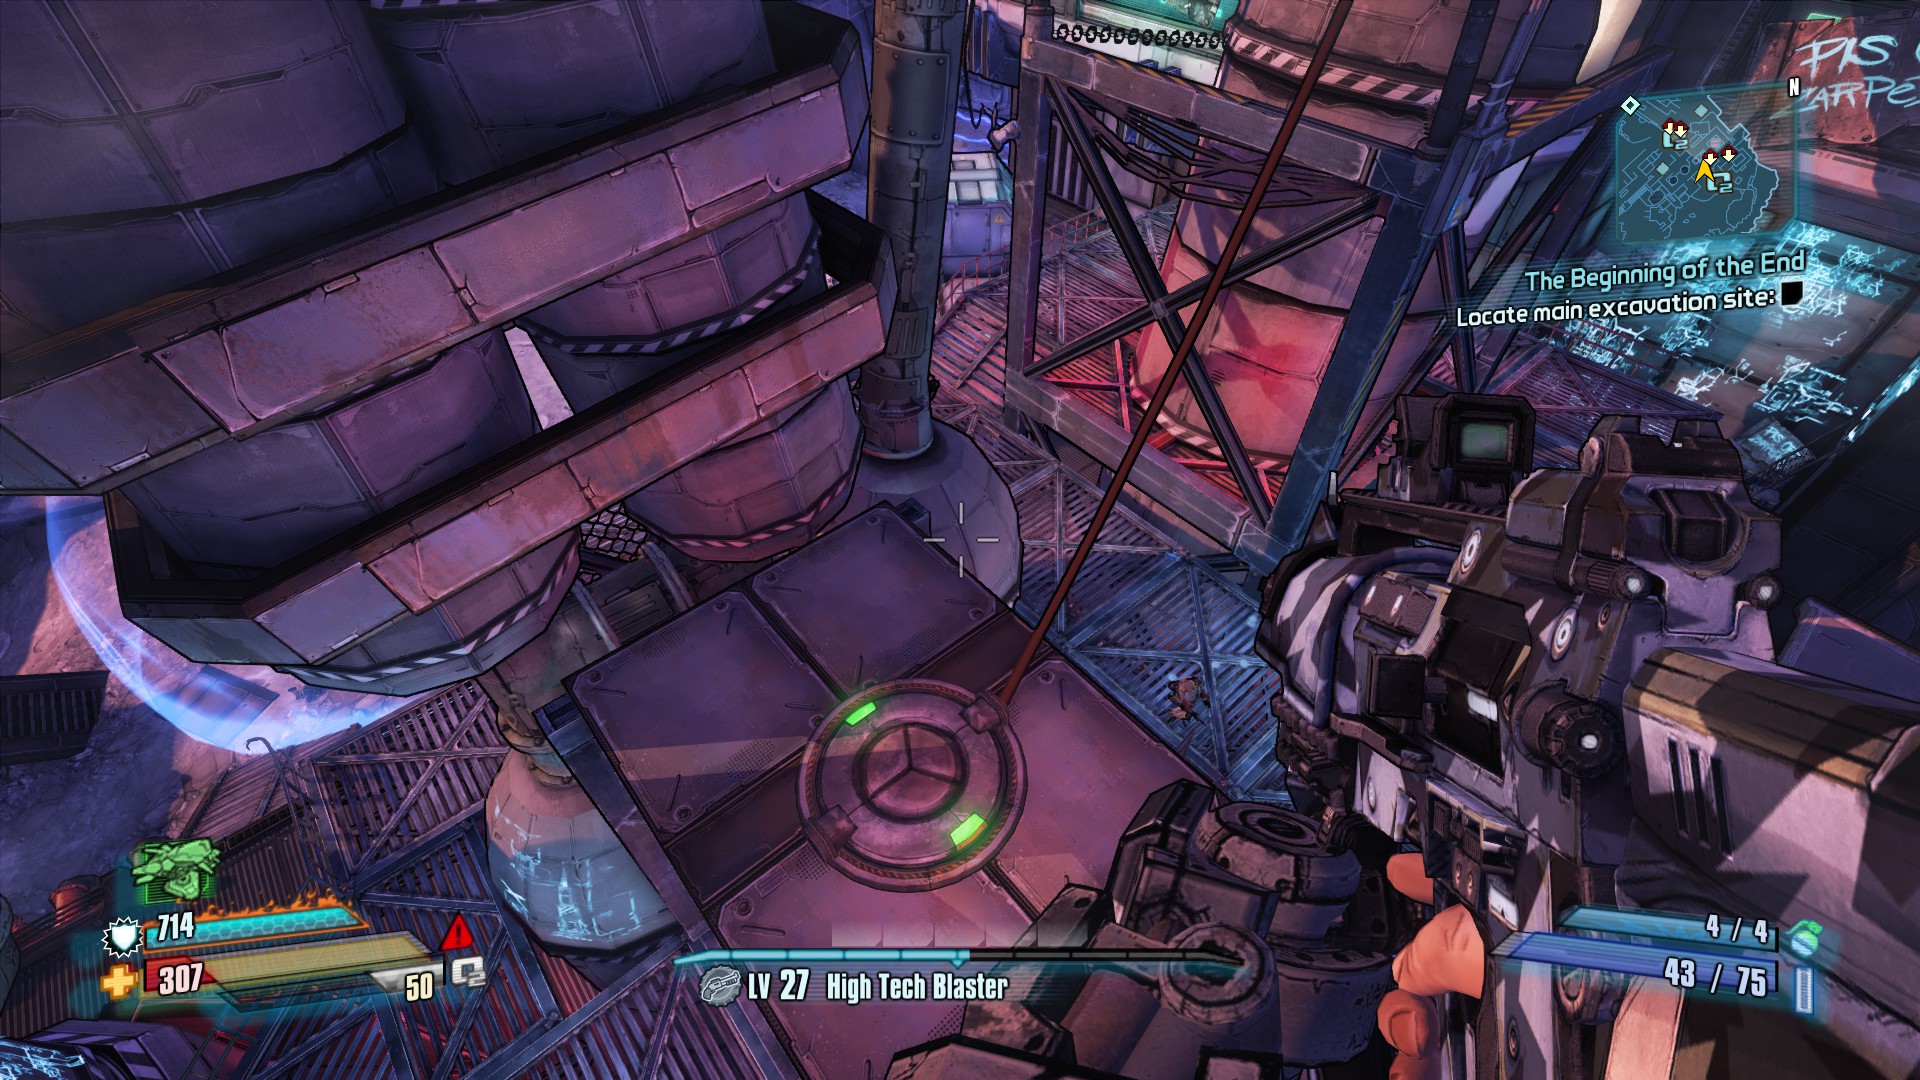
1. This pad is in the northern part of the processing plant. It is between the two rooms with air and accesible by a double jump from the roof of either. It will open the electric gate visible to the northwest.
Outlands Canyon: Vault Symbols


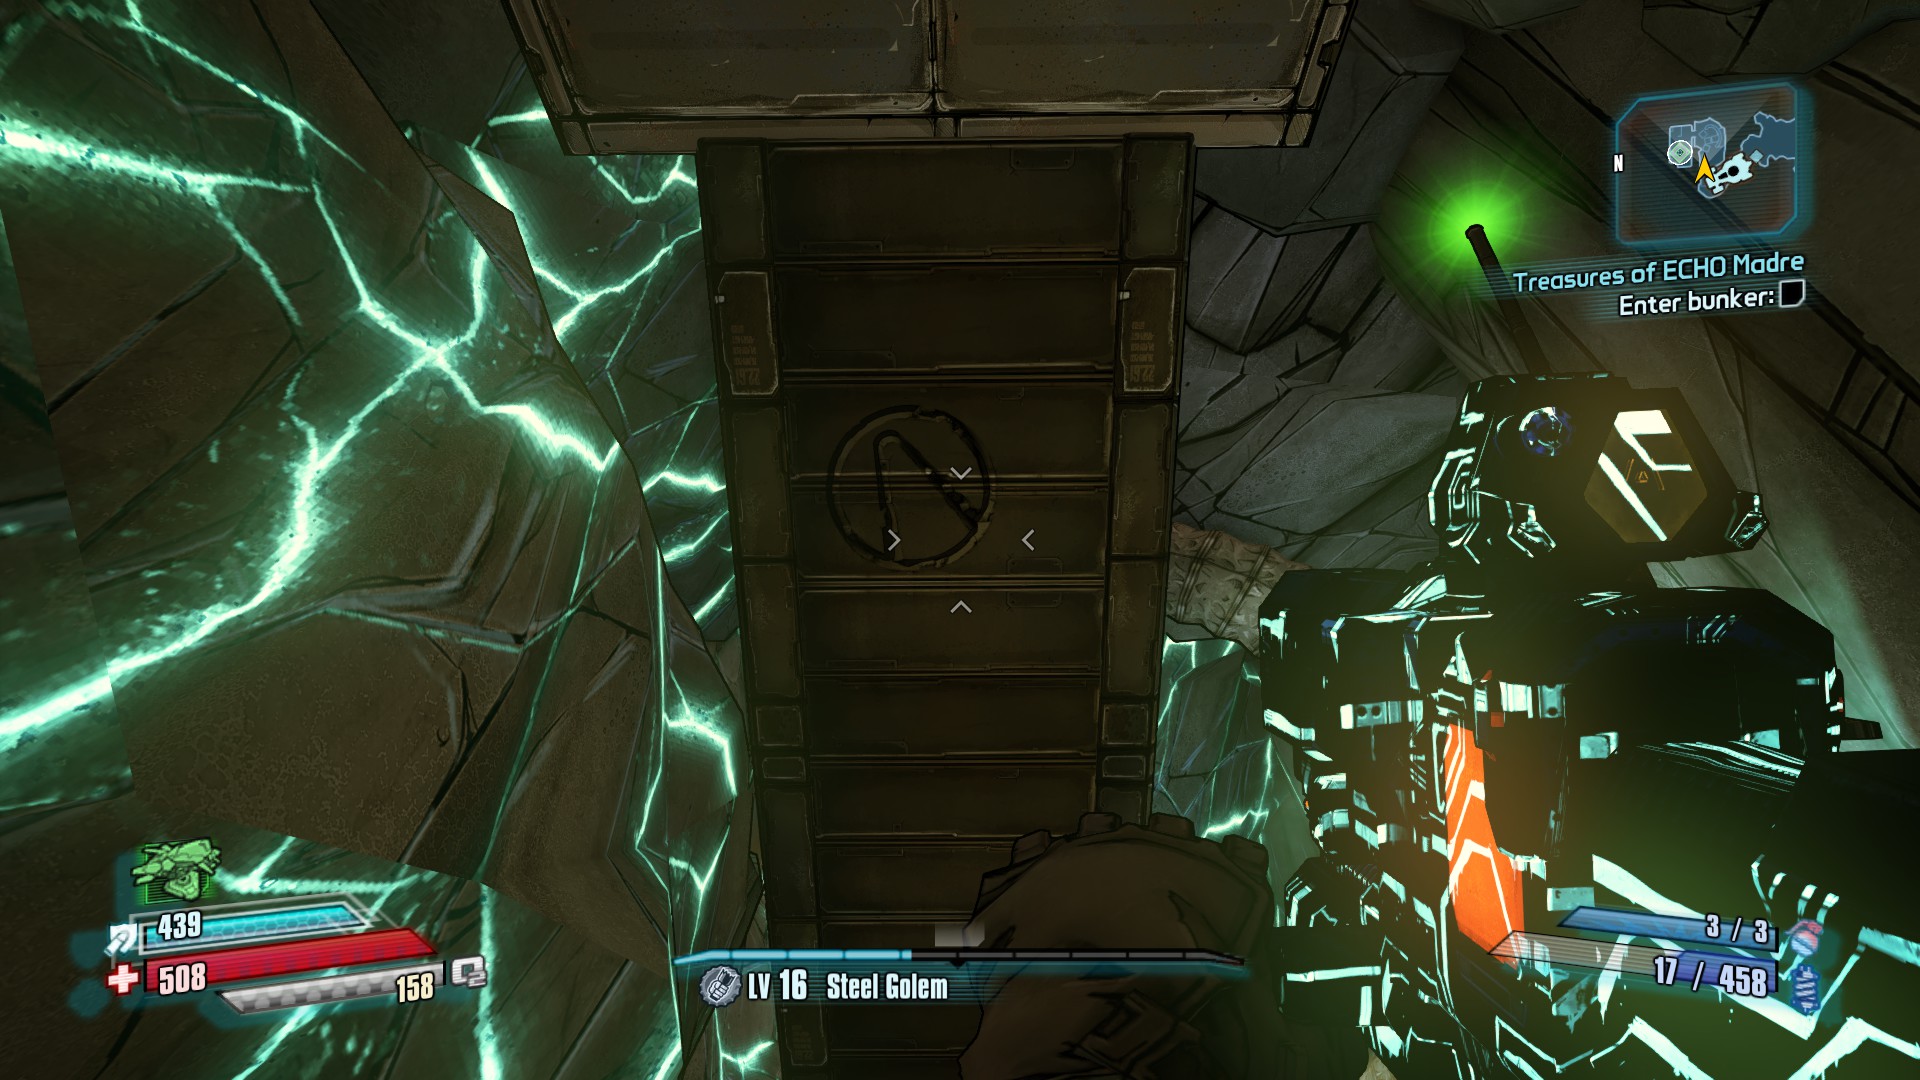
***NOTE*** The third symbol cannot be accessed until your have completed the story mission "Intelligences of the Artificial Persuasion" and progressed through most of the side mission "Treasures of the ECHO Madre".
1. From the entrance to the area, head west on foot to the Research Facility. Clear it out and get up to the upper areas. There is a building east of the main facility atop a small hill. The vault symbol is on the outside of it, facing east over a cliff.
2. The second symbol is found in the valley that is the west side of the map. There's several buildings along both sides of the valley. The symbol can be found on the north face of a tower up at the north end of the area.
3. The last symbol for this area is way off to the north and only accesible once you have progressed in the main mission and a side mission. After you enter Adams' hideout, look underneath the ramp that leads in and out of the room. You'll have to jump to tap it.
Outlands Canyon: Nisha ECHOs
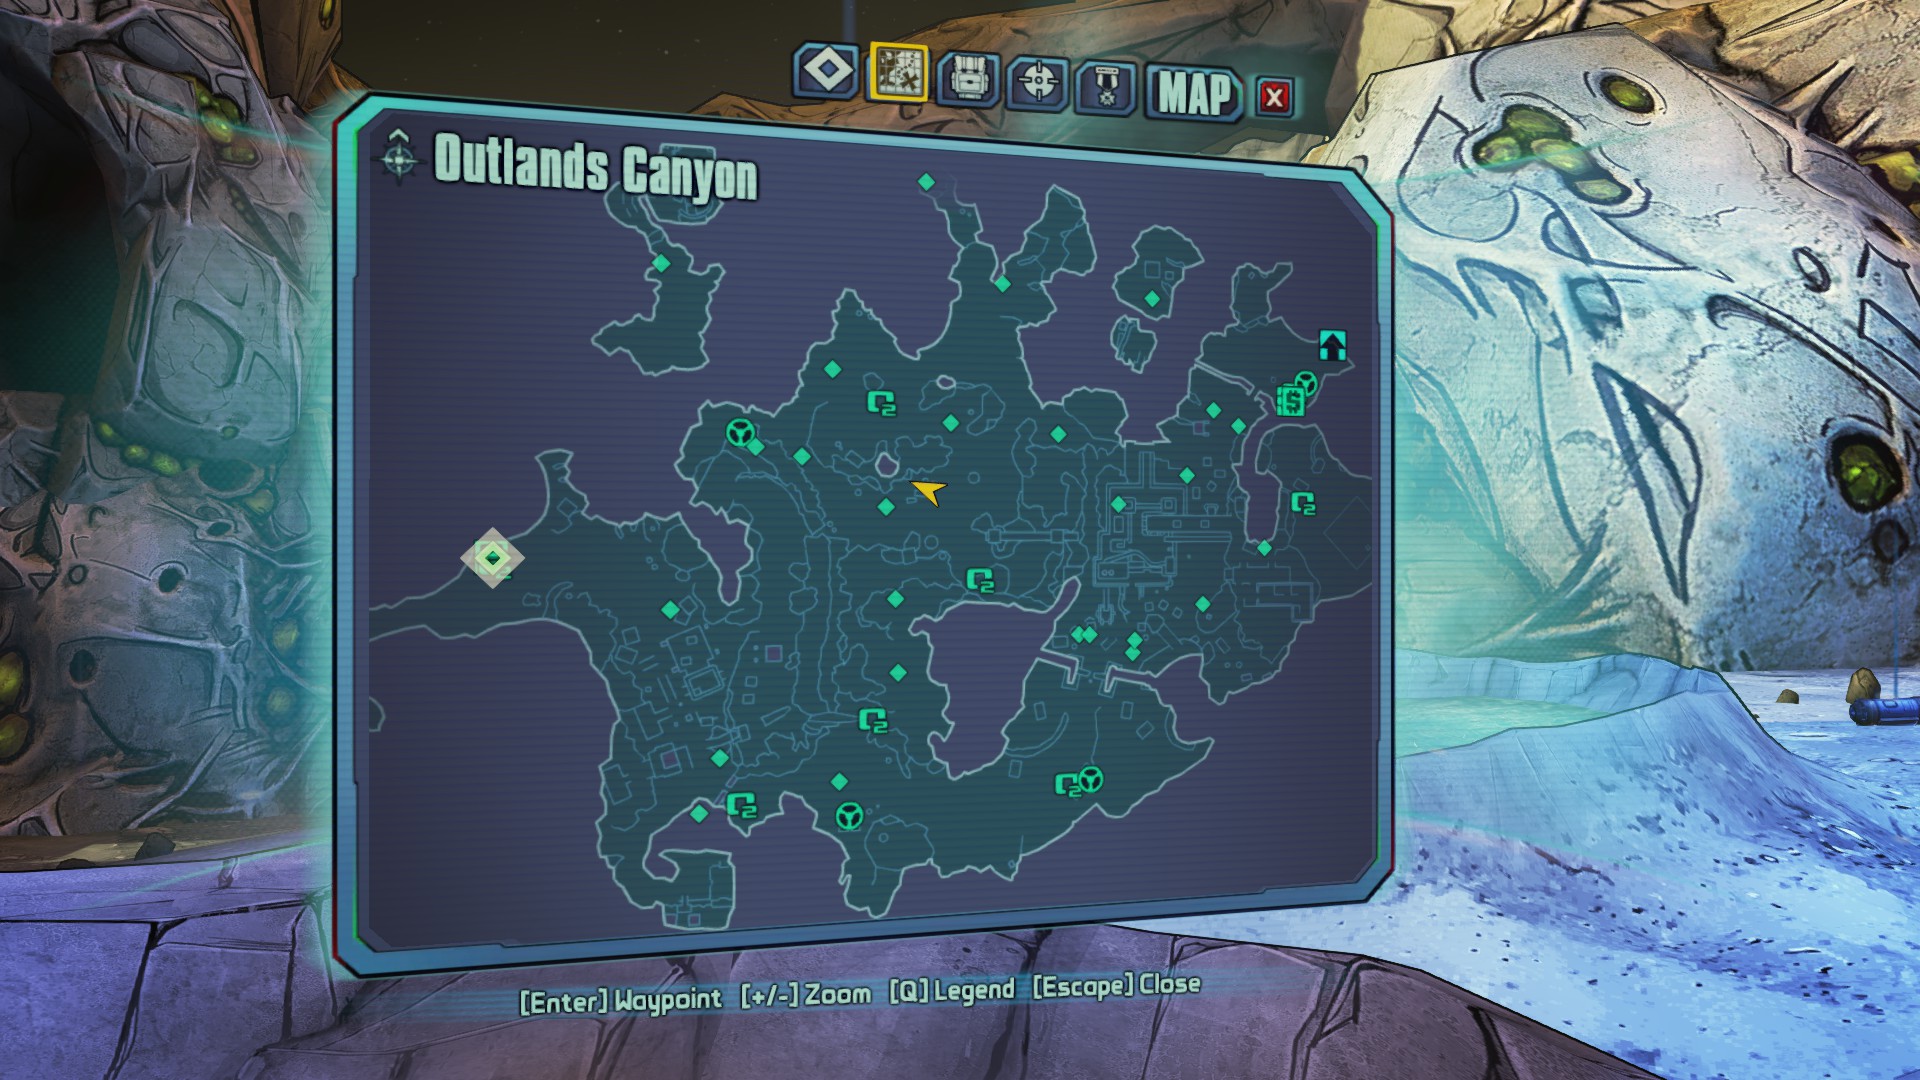

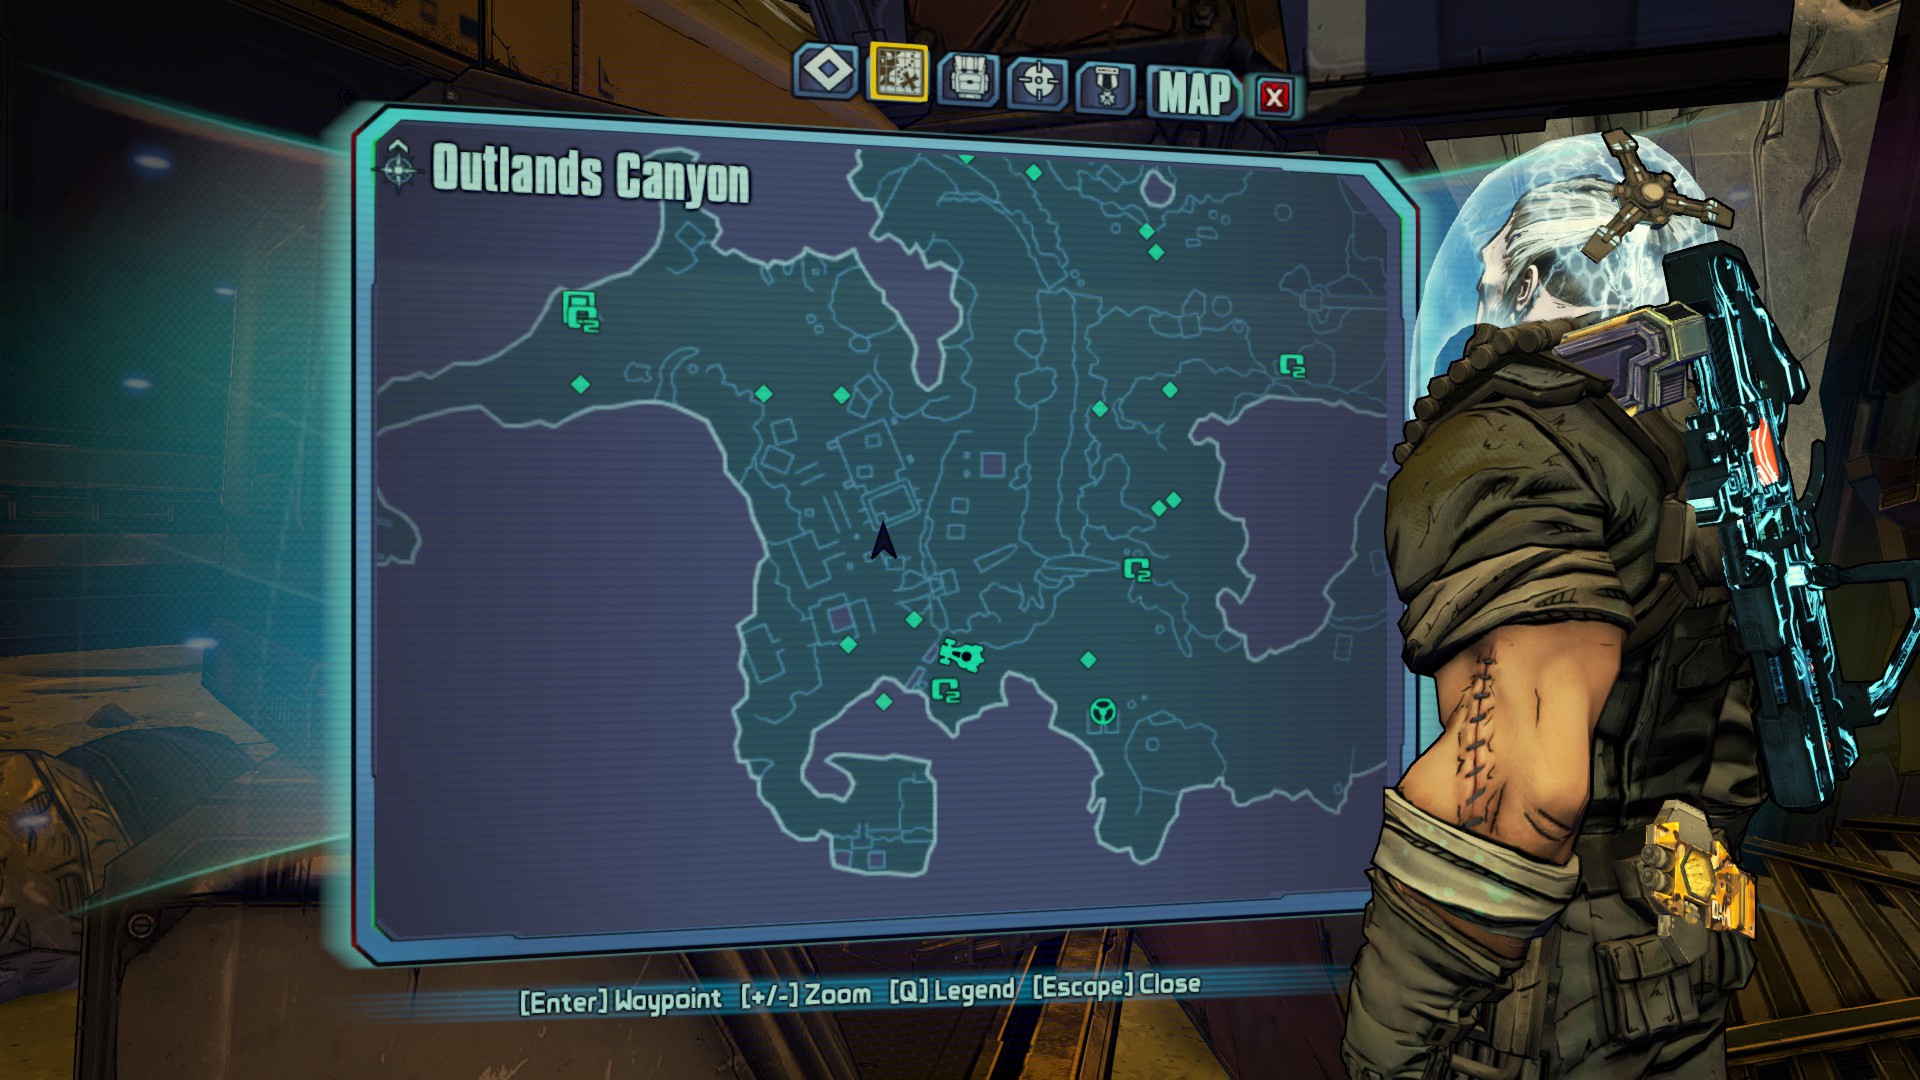


1. Nisha's first ECHO is found in the central area of the map that is infested with Torks. There is a silver and red structure crashed into a crater here. The ECHO is hidden just north of it behind the lip of the crater.
2.The second ECHO is located in the western section of the map. You will have just left the area full of torks and probably had to ditch your vehicle. There's structures on both sides of the valley with an open lane between. The second structure on the right will have a ramada; the ECHO is on a table under the ramada.
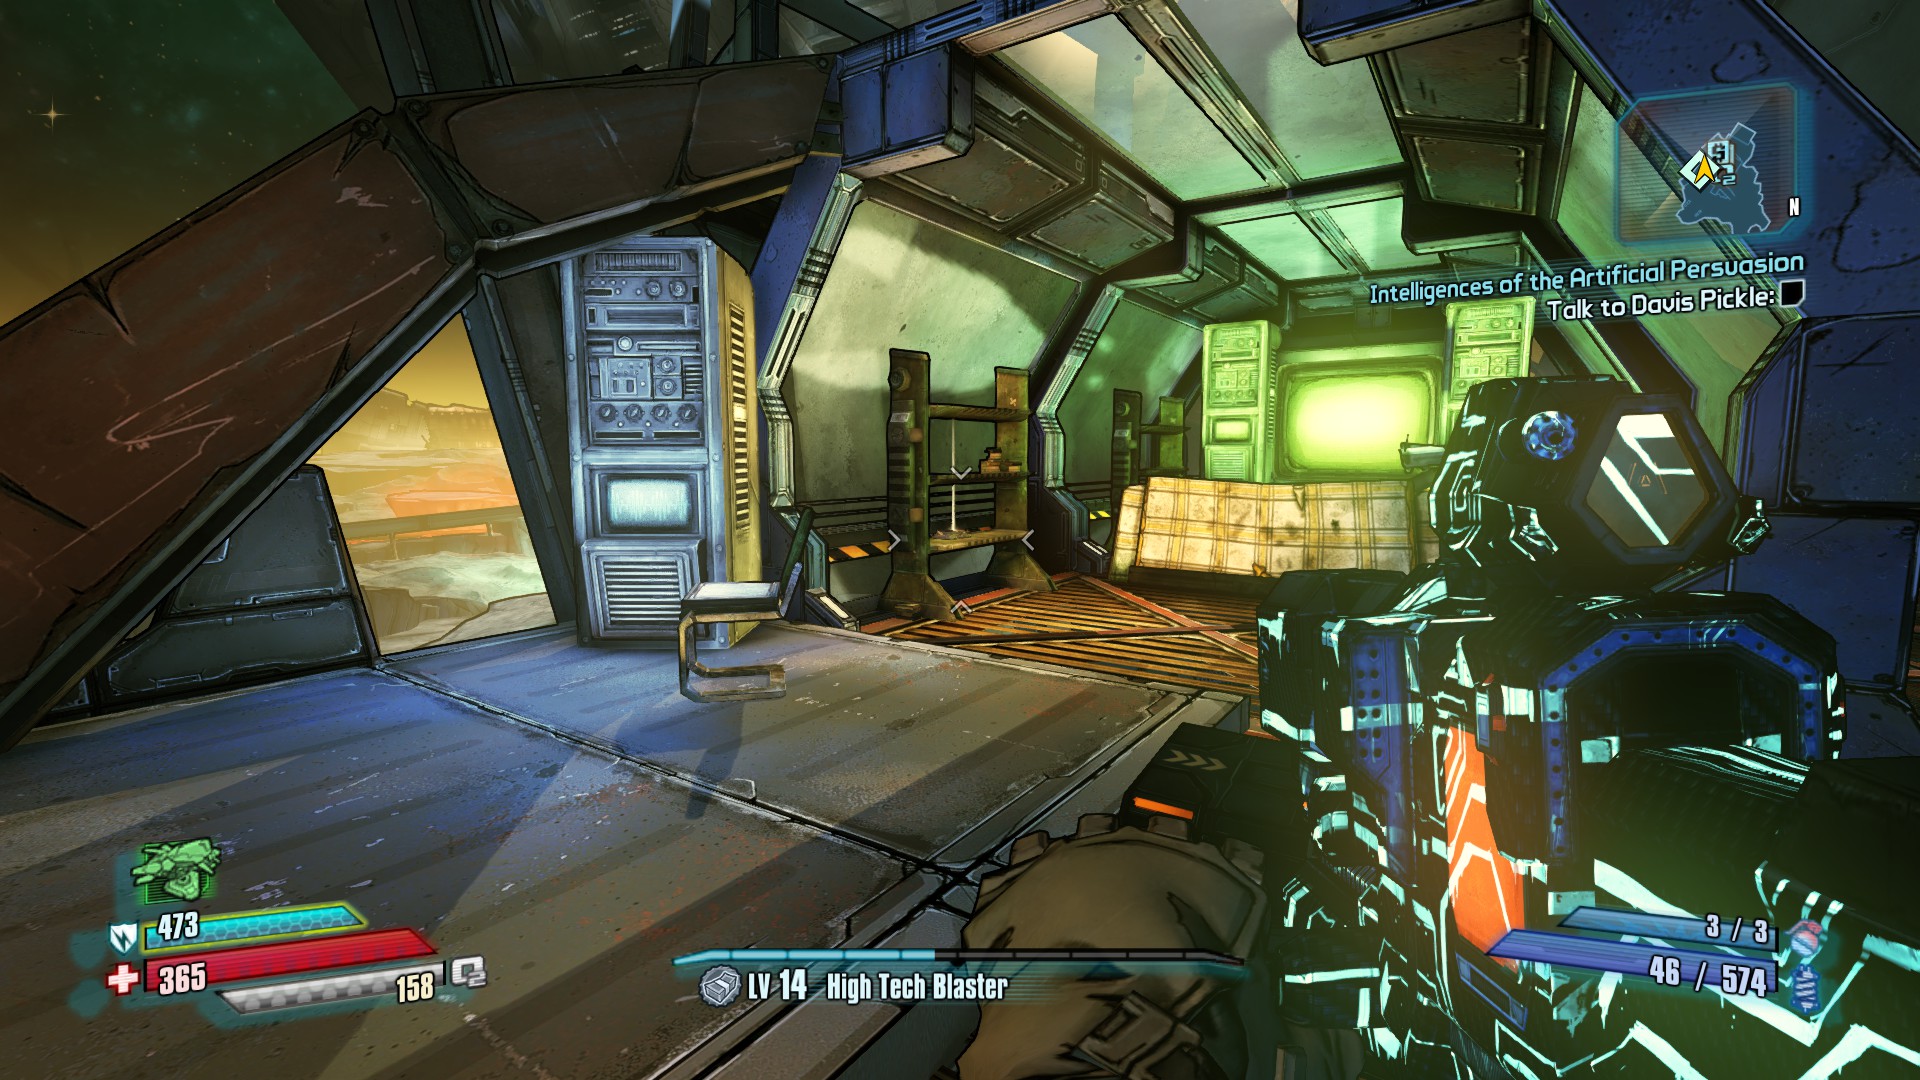
3. The third ECHO is at the very west side of the map, in Fingersmith Halls. Just follow the quest to find Davis Pickle and you'll get there. Off to the right of Davis is a small room with a couch, TV and shelving. The ECHO is on a shelf to the left side of the room.
Outlands Canyon: Slam Pads


Hitting all three slam pads will unlock the electric field blocking access to the building near the third pad. Doing so in less than three minutes will also complete the challenge "Perfect Timing".
1. The first slam pad is right next to the O2 generator and spawn point that are in the garbage dump.
2. The second slam pad is on a hill to the northwest, next to a small building.
3. The third slam pad is in the valley to the west, at the base of a tower.
Abandoned Training Facility: Vault Symbols


1. The first symbol is in the main arena. Carefully drop onto a ledge above the lava river. Head to the west end on the river and you will find it under a small overhang.
2. The second symbol is at the east end of the arena, on the cliff face below the partially destroyed building.
Outlands Spur: Vault Symbols


Each major map area here typically has a Vault Symbol, a Pickle Poster, and an OHS Sign. I have kept the guides for each in chronological order to the story mission and/or when it is minimal deviation to get them. I recommend picking up all of them in one go rather than circling through the map multiple times.
1. The first symbol is found in the processing plant on the north side of the map. Cross the ravine however you desire. Head straight across the middle of the facility to the north end. The vault symbol will be found on a wall.
2. The second symbol can be found at the drilling platform in the south west corner of the map. Go up to the top of the platform and climb the ladder. Jump onto the large structural beam to the north west. Turn around and the symbol will be on the wall in front of you.
3.The third symbol is pretty easy to find. Just head as far south and east as you can, into the ice cave full of Kraggons. Fight your way past them and to the building at the end. The symbol is on the back side of the building, facing over the cliffs.
4. The last symbol can be found in the refinery that is the middle section of the map. It is on the north face of a building on the east side of this area.
Outlands Spur: Pickle Posters


Originally this guide was just going to be Vault Symbols... and then I decided to add ECHOs too since I'd run across so many. That was going to be it. Then I met Pickle. Now my guide has been expanded so that you too can deface the posters of that little snot.
1. The first Pickle Poster is near where you enter the area, where the first wave of enemies attack. There's a small bunker on the right that has the poster on the south (land-facing) wall.
2. The second Pickle Poster is in the processing plant that is the northern island. When you enter the plant, there is a area with air and a couple vending machines. Slide around to the right and look at the wall to your left, the poster is on the wall.
3. The third Pickle Poster is just southwest of the refinery in the middle of the map, just after crossing from the small floating island. If you're in open vacuum and being attacked by Kraggons, you're in the right spot. The poster will be east of you, on the west wall of a small building.
4. The fourth Pickle Poster is on the drilling platform, in the building before you go up the platform itself.
5. The last poster is found in the refinery area that is the eastern part of the middle of the map. There is a structure at the northeast section of the area than has the poster on the west wall.
Outlands Spur: OHS Signs


1. The first OHS sign is near where you enter the area, where the first wave of enemies attack. There's a small bunker on the right and the sign is just west of it.
2. The second sign is in the processing plant, overlooking a methane pool. Please note that the pool will be an empty basin if you are just starting the area story mission. I missed it on my first pass, so the screenshot is from after.
3. The third sign is in the southern part of the middle of the map. There's a small island with a save point and air bubble floating free. The sign is just south of that, facing towards the island.
4. The fourth sign is on the drilling platform, by the base of the crane sticking out over the lake.
5. The last sign is in the refinery, on the second floor. A couple boost jumps or a jump-pad will get you vertical and then you just have to head east.
Pity's Fall: Vault Symbols


1. The first symbol is after you enter the ship and have to fight a Dahl SAM turret. You will need to be on the third floor above the O2 generator here. I was able to do this by back tracking toward the airlock and double jumping up onto the gray lattice that is holding up a chunk of green hull. A simple long jump east took me to the area. There's also a slightly more tricky route: head due east of the O2, jump onto the storage container and then double jump up to the edge of the hull plate. Be careful as a missed jump will send you into the abyss.
2. The second symbol can be found in the Engine Room. Head up to the top area at the north, where there's turrets after you overload the engine. From the east turret plinth, make a double jump up onto the grren pipe heading back down the east wall. Follow the pipe to the south end of the room to find the symbol on the wall.
3. The last vault symbol is at the end of the Crew Quarters, just before the shaft dropping down to Security. If you miss it, there will be an active jump-pad to take you back up. The symbol is hidden to the west of the room, behind two large yellow duct tubes.
Pity's Fall: Bosun's Mate


1. The first chest is after you enter the ship and have to fight a Dahl SAM turret, on the thrid floor above the O2 generator. There's routes up on the hull wall to the east or some framework to the west.
2.1. The second chest is in the hangar bay. It's on the lowest floor on the north side of the bay. However, it's protected by an electrical field.
2.2. The field can be shut off using a smash plate on the gantry way above. It's enough of a pain to find that I thought I'd go ahead and include it:
3. The last chest is easy. It is off to the right as you enter the room with The Skipper.
Regolith Range: Secret Letters


***NOTE*** These are only available once you have completed the side mission "Last Requests". Completing this sequence will give you access to the secret boss, Nel.
1. This letter is on at the top of the antenna array in the southeast part of this section; the same as where you get FR4G-TP's second log. North of the tower is a rock over an O2 geyser. Use the geyser to boost you up onto the air duct on the east side of the tower. Follow that around to the south face of the building. Then you'll have to do a series of double jumps up the vent covers. These will have to be double jumps away from the face of the building and then boosting back to it, else you'll hit items above you and not get enough elevation. The letter will be on the roof, at the north part, next to a DAHL treasure chest.
2. This letter is on top of the main building in Split Wound Junction; the tall one where you collect the reward for Last Requests. Use the jump-pad to boost up to the platform and follow it around to the south. From the chest there, you should be able to jump to the vent cover, duct, and then vent cover. Looking west, you'll see another vent cover sticking out from the support arch. Jump to that and then double jump up on top of the arch. Follow that up to the roof of the building. The letter is at the east end just past the treasure chest.
From the second letter, drop off to the north of the building. Turn around and look at the north face at the bottom of the building and you will see where to use your new found letters. Be warned that Nel and his friends spawn at level 28+ in Normal Mode, so it can be painful for a low lever character.
Titan Industrial Facility: Vault Symbol


1. There's only one Vault Symbol in this area and it's so obvious that it is easy to miss. It is near the end of the level, opposite a door that connects back to the main base. If you've made it to the doors with the power loaders, you've gone too far. Just drop down the gantries to the ground and find this one on a wall.
Titan Robot Production Plant: Vault Symbol


***WARNING*** This symbol is bugged. It will mark off as discovered, but not properly update your challenge log. You cannot go back and re-discover it either. A great suggestion was made to avoid it for now and get it after a patch.
1. Another area with just one symbol, this one won't be accessible until after you progress enough in the story mission to get to the Transit Area. After you enter the room, there is a ramp down under a bridge in the center. Go down and then hook a left. The symbol will be at the end of this hall on the right.
Sub Level 13: Vault Symbol


***NOTE*** This area is not accesible until you accept the side mission "Sub-Level 13" from Pickle. I believe it becomes available after the story mission "Let's Build a Robot Army" is completed.
1. Descend the elevator down to Sub-Level 13. Walk out and hit the button to send the elevator back up the shaft. Look on the ground underneath the elevator to find the symbol.
Hyperion Hub Of Heroism: Vault Symbols


***NOTE*** The second symbol cannot be accessed until you complete the story mission "Science and Violence". The third cannot be accessed until you complete the story mission "Science and Violence" and progress through most of the side mission "An Urgent Message".
1. The first symbol is at the north end of the map, by entrance to R&D.
2. The second symbol is in the access tunnels at the south east end of the map. It is on the floor in the northeast corner, behind the shuttle car.
3. The third symbol is in the third cell of the Security detention center.
Hyperion Hall Of Heroism: Random Challenges


1. Feed the Fishes: Head north to where you exit to Research & Development. The fishtank is in the northeast corner of the last room.
2. Flame Off: I have encountered Corporal Bob in the northwest area pictured, and in the southeast by Nakayama. He deploys after you have defeated the normal Legion troops in the area. All you have to do is kill him before he places any turrets.
3. Window Shopping: This challenge is unlocked by going into the robot store, gun store, and to the door of the flower shop. The first two are only accessible through story/side missions. I'm not going to post their locations unless someone REALLY needs them. The flower shop is across the hall from the gun store and you will naturally encounter it during the side mission 'Paint Job'.
4. Playing Chicken: In the northeast section of the area, before the hall leading to Research & Development, there's a set of stairs on the eastern side. Take these up and you will be at a rail line with a "train" that comes through periodically. Dodge the trains as you follow the tracks south to a platform. This will get you the challenge and a red loot chest.
5. Oh the Humanity: There's a "blimp" that flies through this level. You can complete this anywhere you can draw line of sight to the target and hit it. In the case of my screenshots, that was just outside Jack's office. All you have to do is shoot the large camera eye that is on the left center of it, just above the large display screen. Do not bother shooting the small video camera at the back of it, unless it just amuses you.
6. Perfect Dive: In the southwestern corner of the map, there's a waterfall leading to a small stream. During the side mission 'Boarding Party', you'll find an access panel that allows you to get up to of the waterfall. However, I have been able to trigger the challenge before that with a double jump into the water from the nearby pillar.
Jack's Office: Vault Symbol


1. Only one symbol to find here and it's quick. Upon entering the area, just check the northeast area of the cubicles to your right. The symbol is on the floor.
Source: https://steamcommunity.com/sharedfiles/filedetails/?id=326872835
More Borderlands: The Pre-Sequel guilds
- All Guilds
- Loyalty Rewards
- Borderlands: The Pre-Sequel
- SHiFT Codes 2022 Edition!
- Jack Solo game 70 lvl Build
- - /
- 990---
- Part 2: Vault Symbols, ECHOs, and Other Collectibles Location Guide
- R4MB0-TP!!! A Fragtrap Build
- Borderlands: The Pre-Sequel Guide 2
